


This isn’t an ultimate guide to chisel sharpening.
This is a bare bones, no nonsense outline of how to get your chisel razor sharp in under a minute.
There are a lot of opinions out there on the “right” way to sharpen. And it can get intimidating.
I’m here to tell you it doesn’t have to be.
The process below is not the only way to sharpen chisels. But it’s simple, quick, and works damn well.
It’ll take time at first. But with a bit of practice, you’ll have no problem breezing through these steps in under a minute.
When it comes to sharpening, it’s the results that matter — not how you got there (Machiavelli was at least right in this case).
So if anyone tells you you’re not a real woodworker unless you sharpen freehand or use a certain type of stone, ask them why they don’t cut mortises with their fingernails.
Let’s get to it.
HOW TO TELL IF A CHISEL NEEDS SHARPENING
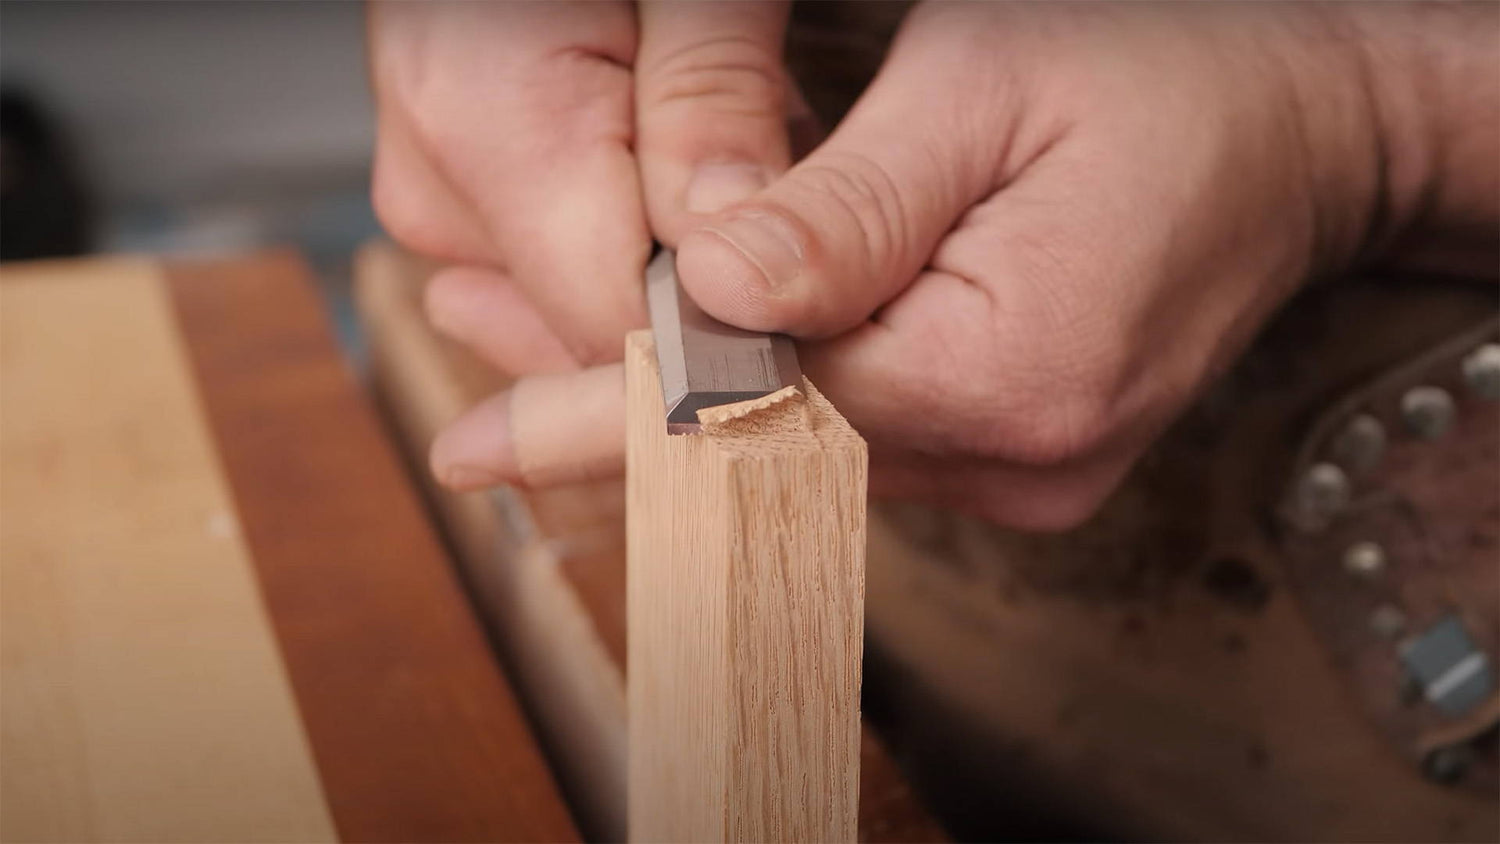
To test a chisel’s sharpness, use the Paper Test.
Hold a piece of paper in one hand then try to slice off strips with the cutting edge of your chisel.
The blade should slice effortlessly and leave clean edges, like a pair of scissors.
If the paper is tearing, it’s time to sharpen.
You may have seen people test chisels by shaving off arm hairs. I don’t recommend this — and you better believe that’s based on personal experience.
A piece of paper costs a lot less than a Band-Aid or stitches.
HOW OFTEN TO SHARPEN YOUR CHISELS
Sharpening frequency depends on how often you use your chisels, what materials you cut, and the type of cuts you make.
Chopping out a mortise in maple will dull chisels a lot faster than taking thin shavings off poplar.
My strategy is to do the Paper Test every time I’m about to use my chisels.
If it’s mostly slicing but tearing the paper a little, I’ll give the chisel a quick strop.
Stropping really extends the time between full on sharpenings. I can get away with stropping 7 or 8 times before needing to re-hone the secondary bevel (sometimes a lot more if I’m lazy).
Do the Paper Test before every chiseling session and you’ll know whether it’s time to sharpen.
CHISEL SHARPENING MATERIALS
- Sharpening stones and lubricant: You’ll need a set of water stones, diamond stones, or lapping sandpaper. All of them work great and have their respective pros and cons.
- Honing guide: A honing guide makes consistent sharpening easy — which is all that really matters. You can of course sharpen freehand, but the learning curve is steep.
- Strop and polishing compound: Stropping is the key to getting a razor sharp edge — and can extend the time between full on sharpenings.
- Non-slip work surface: Having a non-slip work surface keeps your stones from sliding all over the place — and prevents inadvertent water spills (trust me, I know). Here's what I use.
WATER STONES VS DIAMOND STONES VS LAPPING SANDPAPER
Water stones, diamond stones, and lapping sandpaper all work great for sharpening. Which to choose depends on preference.
Water stones cut the fastest of the three mentioned and are fairly affordable, but need to be flattened before use (you’ll need a dedicated flattering stone for this). Lubricate them with water.
Diamond stones always stay flat and require almost no maintenance, but are generally more expensive. Lubricate with water, Windex, or non-hardening oils (I prefer Windex).
Lapping sandpaper mounted on a flat surface has a super low start up cost, but won’t last as long as diamond or water stones. You can also only stroke backwards (mind out of the gutter). Lubricate with water.
Any of these three options works great. And honestly, I choose to use whichever is closest at hand.
THE BASICS OF HOW TO SHARPEN A CHISEL
There are 3 main steps of the sharpening process I follow:
- Grinding and Flattening: Grinding a fresh 25° primary bevel and flattening the back of the chisel.
- Honing and Lapping: Creating the 30° micro-bevel and removing any burrs.
- Stropping: Polishing and fine tuning a razor sharp edge on the tip of a chisel.
Re-grinding is something you do NOT need to do often — and certainly not on new chisels.
It’s only necessary when honing the secondary bevel stops being efficient (i.e. it’s bigger than the primary bevel). Or if your chisel’s absolutely mangled.
90% of the time, you only need to hone the micro-bevel and lap the bottom.
And even still, you can put off honing for a while by stropping consistently (some people disagree, but it works for me).
Because it’s so rarely needed, I’m going to skip details on the grinding stage. It’s essentially the same as honing the micro-bevel, only you do it at a 25° angle.
To save time, I use a wheel grinder. But with enough time and elbow grease, you can definitely grind by hand.
Now onto the meat and potatoes.
1. HONE THE MICRO-BEVEL
Set up your chisel in a honing guide so it sits at 30°. Use a digital angle guide, bevel gauge, or set-up block to get it close.
You can even just set it so the primary bevel is flat, then pull the chisel back a hair until the back of the primary bevel raises slightly.
Do your best to make sure the chisel is square to the honing guide. No biggie if it’s not perfectly square, but try and get it close.
Lubricate a semi-coarse sharpening stone (around 1000 grit) and set the wheel of the honing guide on it first. Then lower the tip of the chisel onto the stone.
Never start by putting the cutting edge down first, as this can dull the blade or dig into your stone.
Put even pressure on the chisel blade with your fingers and pull it back across the stone. Lift the tip of the chisel, roll the guide forward, and repeat.
Once you’ve done 3-5 back strokes, you can push and pull the chisel edge over the stone (except on lapping sandpaper — only move back on this).
Continue making strokes until you feel a small burr on the back of the chisel.
A burr is a nearly invisible sliver of metal that spans the width of your chisel. Though hard to see, you can feel the small ridge and it makes a clicking sound when you run a fingernail over it.
Think of it as a microscopic speed bump across the back of your chisel that is created where the metal gets so thin at the tip that it folds over.
Once you feel that burr you can continue through the higher grits until you reach your finest stone. Go to as high of a grit as you like. But 6,000 or 8,000 is probably plenty.
Now it's time to lap the back.
2. LAP THE BACK
Remove the chisel from the honing guide. You’ll be able to feel a small burr on the back edge of the chisel’s tip. Time to take that off.
Set the back of the chisel onto your coarse stone, but don’t start with the tip (I said stop). You can even set it down so the tip overhangs the stone to make sure.
Drag the chisel back onto the stone making sure to keep even pressure. I recommend keeping your fingers only on the steel. Holding the handle can make you inadvertently raise or lower it.
After pulling back for a few strokes, move back and forth over the stone.
Again, you’re looking for fresh scratch marks. But don’t stress if they’re not appearing over the entire back of the chisel.
It really only matters on the tip and edges. If there’s a hollow in the middle that’s not taking scratches, it may actually be by design.
As long as scratch marks appear on the tip and edges of the chisel back, you’re good.
If you’re a perfectionist, you can lap the entire back of the chisel flat. But honestly, I usually only worry about the first inch and half from the tip. You’ll rarely need more.
Repeat this process on your higher grit stones until you’ve got a nicely polished back.
At this point, your chisel should be razor sharp. But to get it where it can slice through oak like butter…
3. GIVE ‘EM THE STROP
Time to pull out the old horse’s butt.
Stropping takes the sharpness of your chisel to the next level. I didn’t really believe it until I used one — but man, does it make a difference.
Put a healthy amount of honing compound on your strop. It doesn’t need to be caked on, just solidly covered.
Once you have a decent amount on there, I add more only about every 5-10 times I strop.
Place the tip of your chisel on the strop bevel side down. Lift the back until the very tip is flat on the leather (you’ll see the shadow disappear).
Lock your wrists in place and drag the chisel back over the strop. Do your best to keep the chisel from tilting out of position while putting decent pressure on the edge.
Repeat this about 30 or so times, then switch to the back.
Use light pressure when stropping the back. You’re just trying to get rid of any last remnants of a burr, and don’t want the cutting edge digging into the leather.
Test the edge on a piece of paper — and I’m sure you’ll be more than happy with the results.
4. DRY AND PROTECT
Dry the chisel off completely with a clean cloth.
Once dry, coat the steel with a thin layer of paste wax or 3-in-1 oil. This will keep it from rusting and help it slide more easily over surfaces.
Rinse off your sharpening stones, pat them dry, and you’re ready to start chiseling.
STRAIGHT TO THE POINT SHARPENING
People make a big deal out of sharpening. But it doesn’t need to be.
As long as your chisels slice through paper like a pair of scissors — you’re absolutely fine.
Check often, strop frequently, and enjoy the feeling of a razor sharp edge (on wood, you masochist).
Got any of your own chisel sharpening tips? Share them in the comments below!
Follow us on Instagram @katzmosestools, on TikTok @katzmoseswoodworking, and check out my YouTube channel for more great woodworking content...
And as always, STAY SAFE IN THE SHOP!

6 comments
Duane
I used to build reproductions of antique furniture and everything was hand planed, spoke shaved or chiseled if it was visible or touchable.
The thing was , we were working basically on piece rate, so stopping to sharpen a blade was costing me $ and using a dull blade was too. I learned quickly that I could sharpen just about everything on a simple soft Arkansas stone and kerosene ( it was the’80’s and I was impressionable) or spit on a diamond stone which were really expensive back then.
The strop was king. I still have my original two sided leather paddle from back then but have expanded my sharpening methods and abrasives to even include a buffing wheel for the quickest mirror polish and insanely sharp edges. My most favorite thing is the slow meditation of Japanese water stones on excellent steel because I am now old and like the experience of being one with the process.
Thank you for your excellent products and easy teaching style.
Steve
Agree on all points, but suggest that a honing guide is not necessary. That is, it’s best to use a honing guide when learning. I have two good guides that I don’t use. Be sure to spray the stone with glass cleaner. I use diamond stones. Just grasp the chisel as you would with a guide. Place the chisel bevel down with both index fingers at the edge. Rotate the chisel slightly forward until glass cleaner squishes out in front of the edge. At that point, the edge is in contact with the stone. Lock elbows and draw the chisel backward as you would with a guide. Repeat 10 to 20 times as needed. Then flip to the back and remove the burr. As easy as sharpening a pencil.
Agree on all points, but suggest that a honing guide is not necessary. That is, it’s best to use a honing guide when learning. I have two good guides that I don’t use. Be sure to spray the stone with glass cleaner. I use diamond stones. Just grasp the chisel as you would with a guide. Place the chisel bevel down with both index fingers at the edge. Rotate the chisel slightly forward until glass cleaner squishes out in front of the edge. At that point, the edge is in contact with the stone. Lock elbows and draw the chisel backward as you would with a guide. Repeat 10 to 20 times as needed. Then flip to the back and remove the burr. As easy as sharpening a pencil.
Thom
After watching your little video, I’m going to spend more time on the strop. I have tended to do maybe 3 or 4 passes up to now. Thanks again.
After watching your little video, I’m going to spend more time on the strop. I have tended to do maybe 3 or 4 passes up to now. Thanks again.
Marvin
This was a very helpful and instructive video. Your approach to sharpening seems simple enough and your presentation was complete.
This was a very helpful and instructive video. Your approach to sharpening seems simple enough and your presentation was complete.
t hertwig
what a joke 1 minute
what a joke 1 minute
Brian
JKM, great video on very useful information, thank you! Also love the fact that you wore proud the “gotcha” that we all experience in one way or another when the water bucket fell. You’re the best, love your channel, store and site!
JKM, great video on very useful information, thank you! Also love the fact that you wore proud the “gotcha” that we all experience in one way or another when the water bucket fell. You’re the best, love your channel, store and site!