


Ever feel like your back is screaming while you lean over your rickety workbench to cut joinery?
Well, this build won’t fix your rickety bench.
But it’ll definitely help your back — and more importantly, your joinery (priorities, am I right?).
This mini-workbench with a built in moxon vise is the ultimate hand-cut joinery workstation.
It lets you quickly hold workpieces vertically, horizontally, face side-down, even inside-out (?) — so you can get to work with your hand planes, saws, chisels, and more.
If dovetails and other hand-cut joinery are your jam, this DIY+ bench will be invaluable in your woodshop.
The moxon vise lets you easily work on any edge of a board. And the dog holes work for clamping as well as holding tools like your chisels and marking gauge.
Best of all, the materials can cost as little as $50 — making it an inexpensive workbench perfect for big and small shops alike.
If you’ve ever watched one of my videos — you’ve seen this mini-workbench before. And here, I’m going to show you how to build it yourself.
Want to make this build even easier? We have physical templates that include digital plans (and the digital plans alone) available in our store.
TABLE OF CONTENTS
HOW TO BUILD A MOXON VISE
Note: this project is pretty drill press heavy.
If you don’t have a drill press, here’s a trick to help you drill at 90° with a handheld drill.
QUICK 90° DRILL GUIDE
Take two small pieces of scrap wood that are milled square, so all faces are either parallel or at 90° to each other.
Attach them to each other so one piece extends past the other, creating a 90° inside corner. Hold them together with squeeze clamps, CA glue, or a couple screws.
When you go to drill, place your bit in position, then slide this jig up so the bit rests on both sides of the inside corner.
Hold the jig steady, and drill away. It may not be perfect, but it should be good enough.
MATERIALS AND TOOLS
Wood wise, this project uses two 8 foot long, 6 ½ inch wide 6/4 boards. But you can definitely get away with using pieces around your shop.
The final cost really depends on the hardware. If you want fancy zinc wheels, it’ll cost more. But if you’re happy with simpler cranks, it can be dirt cheap.
- 6/4 Hardwood: You could make these with plywood, but hardwood is way prettier — and thicker, which helps with strength and stability. Cherry, maple, walnut — take your pick.
- ¾ inch all-thread rods (2x): You can find these online or at the big box stores. 2 foot long pieces should be enough, but adapt to your needs.
- ¾ inch nuts (2x)
- 1 ⅝ inch washers with ¾ inch hole (2x): If you want more flex, you can upgrade to these washers that allow up to 3° of offset while clamping
- Handles or Wheels: These are what you’ll turn to tighten the vise, so they need to fit the ¾ inch threaded rod. You can find a few options here.
- Forstner bits: 1 ⅝ inch, ¾ inch, and maybe a couple others
STEP 1: MAKE THE MINI TABLETOP
This can be as big as you want it, but I make mine 21x16 inches and 1 ½ inches thick.
Do a standard panel glue up, making sure it dries flat. That might involve using dowels, dominos, or prayers — whatever works for you.
Once it’s dry, clean off any dried glue and flatten it if necessary.
STEP 2: CUT AND ATTACH THE LEGS
Each leg is a 1 ½ inch thick board, 4 ¾ inches wide and 21 inches long.
Cut off a section at the back so they have wings you can screw through to attach to your workbench (printable templates available in the plans).
Now cut two ¼ inch deep dados in the bottom of the mini tabletop (from front to back). Each dado should be 3 ¾ inches from the edge.
Place the legs in position and mark the other side so you get the dado width dead on.
If the legs fit, glue them in place. Their flat edges should be flush with the front of the tabletop.
STEP 3: MILL AND SHAPE THE JAWS
Start by milling the front and back jaws to their rough dimensions, leaving around ¼ inch of extra material to square it up later.
Measure the exact height of the mini workbench, then cut the back jaw to that width so their tops are flush.
In theory, it should be 6 inches — and yes, he said that.
You can cut the front jaw to the same width, or leave it slightly wider so the bottom inside edge registers against the edge of your bench.
The back jaw will be longer since it has little “legs” that extend out for clamps or screws to hold it down. Cut these so they’re around 3 inches long and 2 inches tall.
In terms of length, think about how much space you’ll need between the threaded rods.
I cut my front jaw to 21 inches long, with the rods 3 inches in. That leaves about 14 inches of space between — which is more than enough for clamping most boards vertically.
If you have the templates, be sure to read this post about template routing.
STEP 4: DRILL A GUIDE HOLE
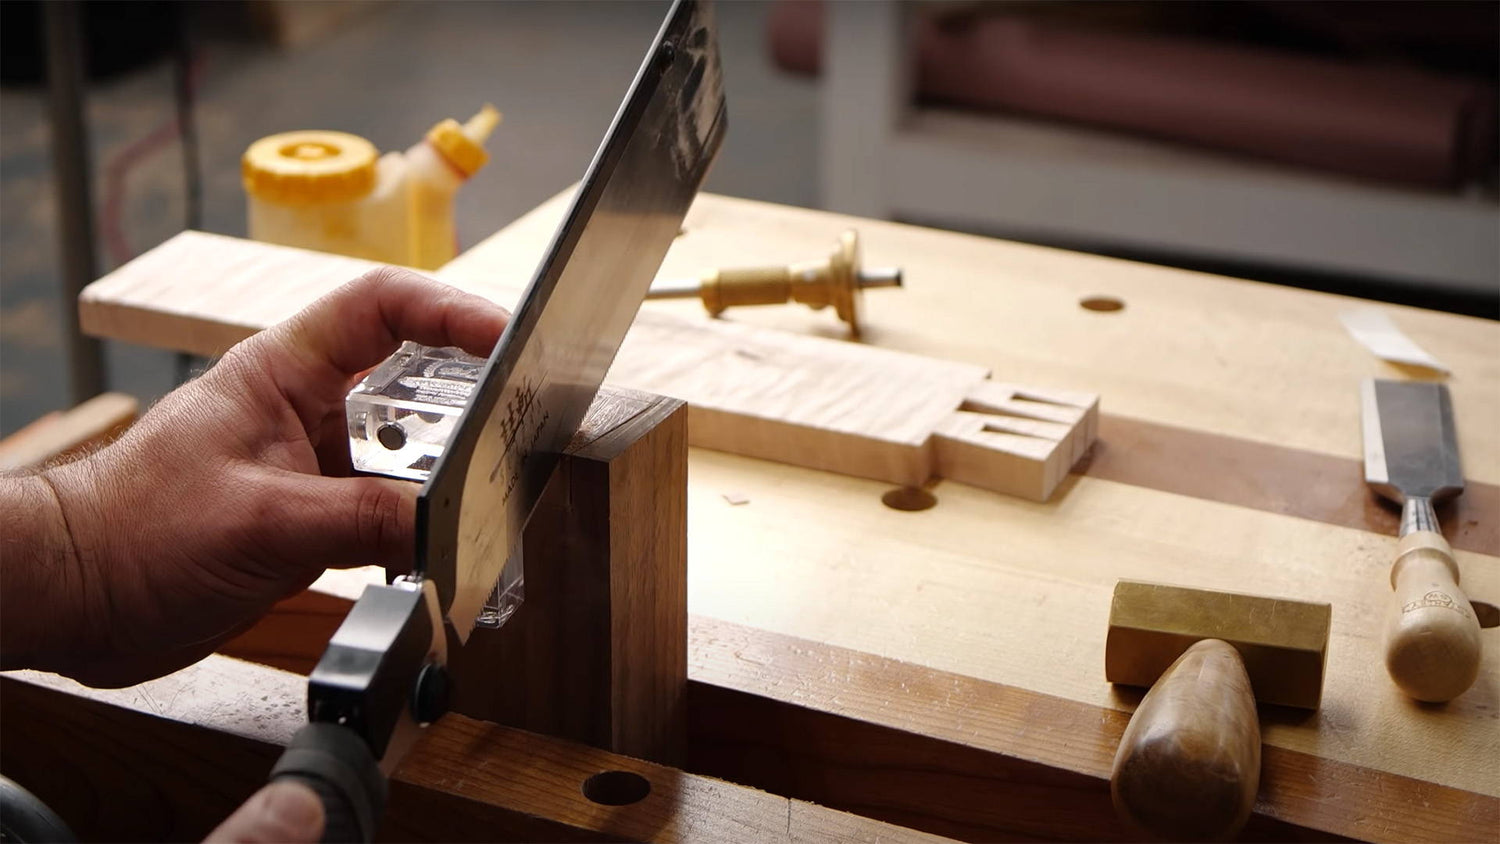
Aligning the holes on the front and back jaws is the make-or-break step of building a moxon vise.
But I’ve got a super easy, fail-safe way to do it.
Use double-stick tape to attach your front and back jaw together so their top edges are flush.
Then use a center punch to mark a point on both ends of the front jaw — 3 inches from the top, and 3 inches from the corresponding side.
Take it to the drill press, and drill through both boards with an extra long ⅛ inch bit. Use the center punch hole as a guide to make sure they’re centered.
This ⅛ inch hole will guide your forstner bits in later steps.
Be exact here, because good alignment will prevent racking — which means uneven clamping pressure.
STEP 5: DRILL HOLES IN THE REAR JAW
Time to pull out your forstner bits.
Start by drilling recesses on the back of the rear jaw to house the nuts. Use a forstner bit that’s slightly smaller than the nuts’ circumference.
Set your drill press so the depth of the hole is a hair deeper than the thickness of the nuts — ensuring they’ll sit flush with the back.
ALIGNMENT TIP:
Before putting them in your drill press, place the tip of the forster bit you're about to use in the guide hole. Then give it a light tap with a mallet.
When you go to the drill press, you can line it up perfectly with the indent.
Now flip the rear jaw over and use a ¾ inch forstner bit to drill all the way through the board.
Once you're done, stick the rod through with a nut on the end so it sits over the indent on the back. Score the edges of the nut onto the board with a marking knife and remove the rod.
Use a chisel to chop out the rest of the indent to fit the nut, using the lines you scored as a guide. Now the nut should fit perfectly in the recess.
At this point, you can glue the rear jaw to the mini-workbench. Just make sure the tops are flush.
STEP 6: DRILL HOLES IN THE FRONT JAW
Use a 1 ⅝ forstner bit to drill two ⅛ inch deep holes on the front of the front jaw — centering your bits on the guide holes.
This is the space where the washer will sit.
Now use a ¾ inch forstner bit to drill two oblong holes through the front jaw. The extra lateral space allows good clamping pressure even when workpieces aren’t perfectly flat.
If you have the templates, you can use the oblong hole piece as a guide.
If not, flip the board over and make a mark on either side of each guide hole, ¼ inch away.
Using these markings as center guides, drill all the way through the board with the ¾ inch bit. The holes will overlap, leaving a sort of “8” shape (or infinity symbol if you’re feeling universal).
Use a chisel to clean up the slot and make it an even oblong shape. Test the fit with the rod, and clear away any waste that keeps it from sliding freely from side to side.
FORSTNER BIT TIP:
Forstner bits are super useful — but notorious for heating up and causing tearout on the exit side. As you know, heat is the enemy of sharpness.
First of all, use a backer board to help mitigate tearout.
And don’t try to power through the entire hole in one go.
Instead, go a ¼ inch deep, pull out, then go a ¼ inch deeper. Repeat until you’re all the way through.
By now, Safe Search is probably blocking this post.
STEP 7: ATTACH THE HARDWARE
Time to test your fit.
Knock the nuts into their recesses in the back jaw, throw the washers into the recess in the front, and thread the rod through.
If you use wheels that lock on the front of the rods, set them in place and you’re good to go. For the handles, just thread them on and leave as much rod extending out the front as you need.
ROD CUTTING TIP:
If you want to cut the rods to a specific length, it’s easy to do with an angle grinder.
HOWEVER, make sure you have a nut attached you’ll be able to twist off the side you cut.
The nut will reestablish the thread on the cut end of the rod. If you don’t do this, you’ll have a hard time threading anything onto that end.
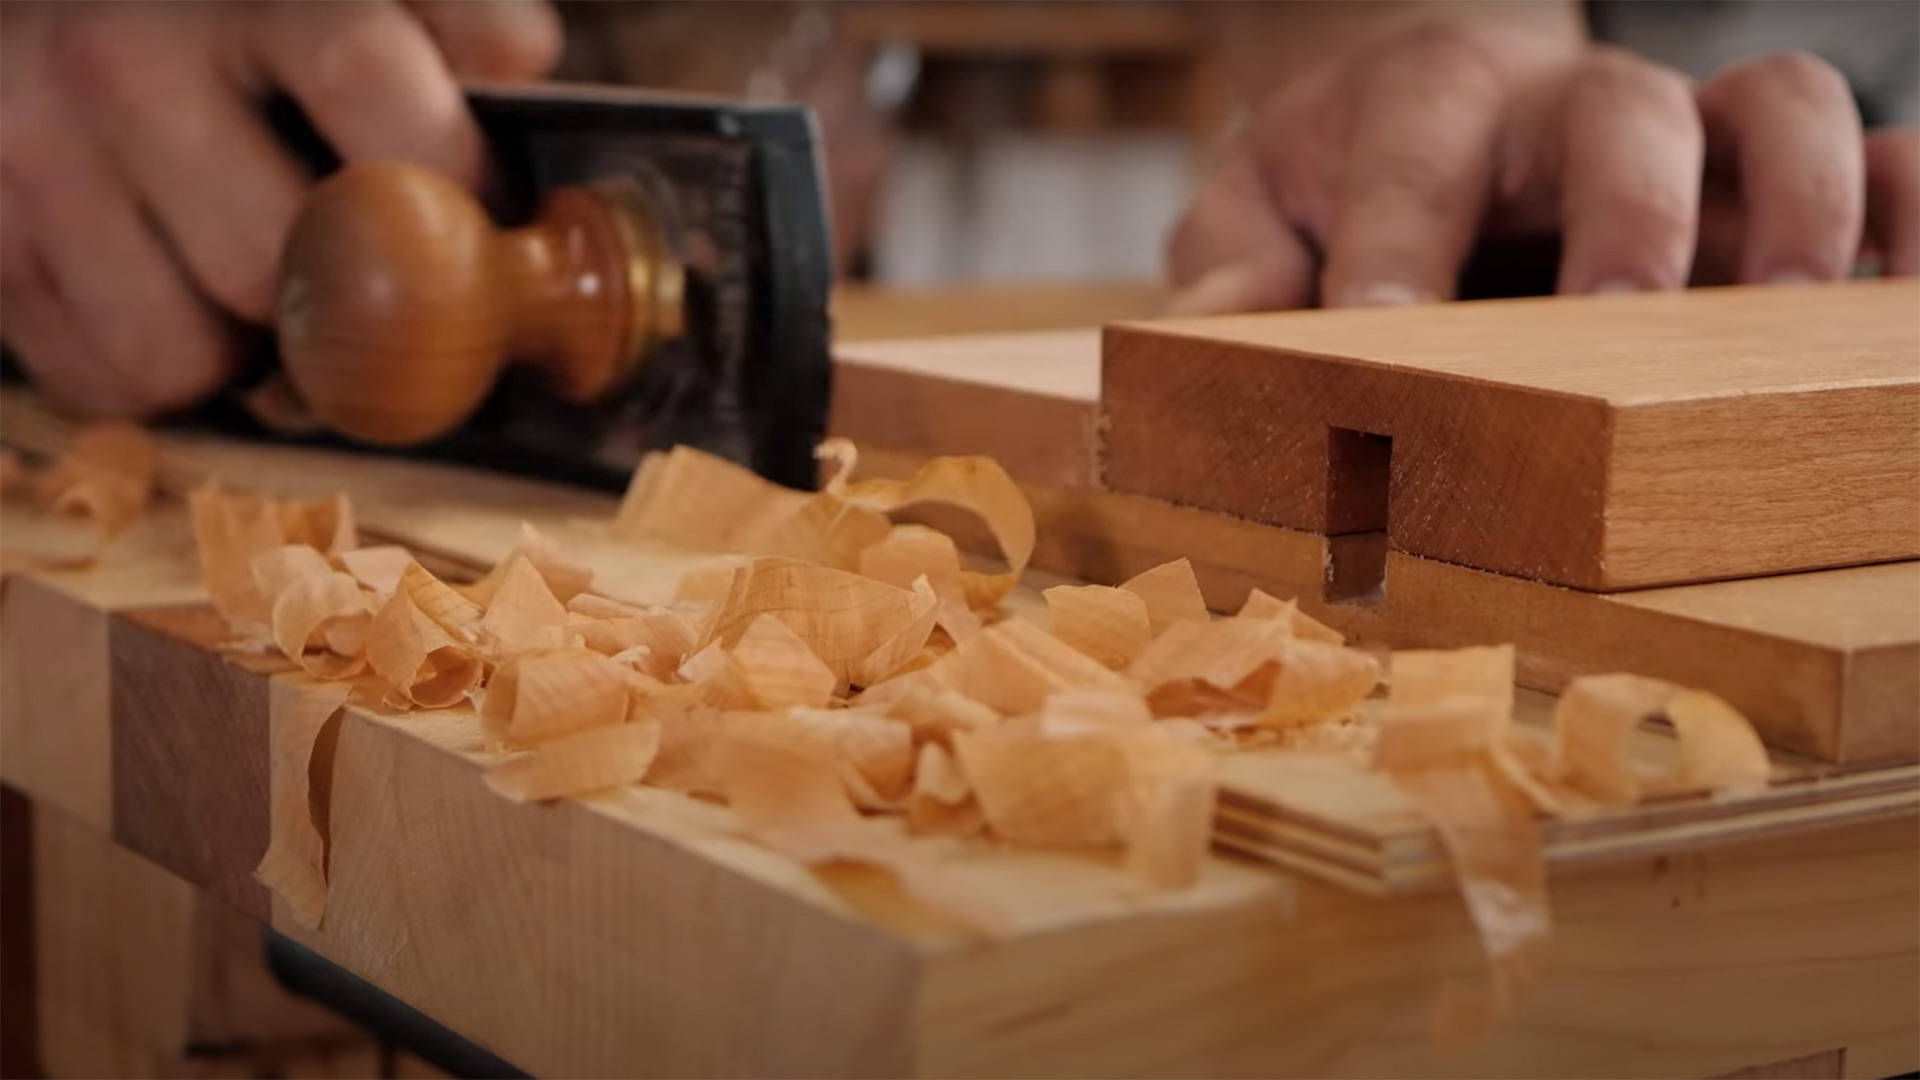
If the tops of the jaws are aligned when everything’s assembled — congratulations, you did it!
But if not, no biggie. Just lock them up tight and shave them level with a hand plane.
STEP 8: RELEASE THE HOUNDS
Time to drill the dog holes in the tabletop and front jaw.
For the tabletop, drill ¾ inch holes all the way through. Space them however you like, but I leave a 3 ½ inch gap between each set, with three rows 8 inches apart (more details in plans).
On the top of the front jaw, drill the dog holes 1 ¾ inches deep.
TIP:
Make your own bench dogs with a 1 inch dowel.
Just cut them to size then taper the ends so they wedge into the ¾ inch holes.
STEP 9: FINISHING TOUCHES
Disassemble the moxon vise and finish this sucker up.
If you want, you can cut a bevel on the top front edge of the front jaw. That guarantees it won’t get in the way if you’re sawing at an angle.
To make sure the vise doesn’t mar or dent your workpiece, I like to cover the inside face of the front jaw with a piece of leather or cork.
Use spray adhesive to attach whatever material you choose and make sure it dries flat. Do this by putting a piece of plywood on top with added weight as it dries.
Once it’s dry, trim the material down to size. You can even use a flush trim bit to cut the leather or cork flush to the holes.
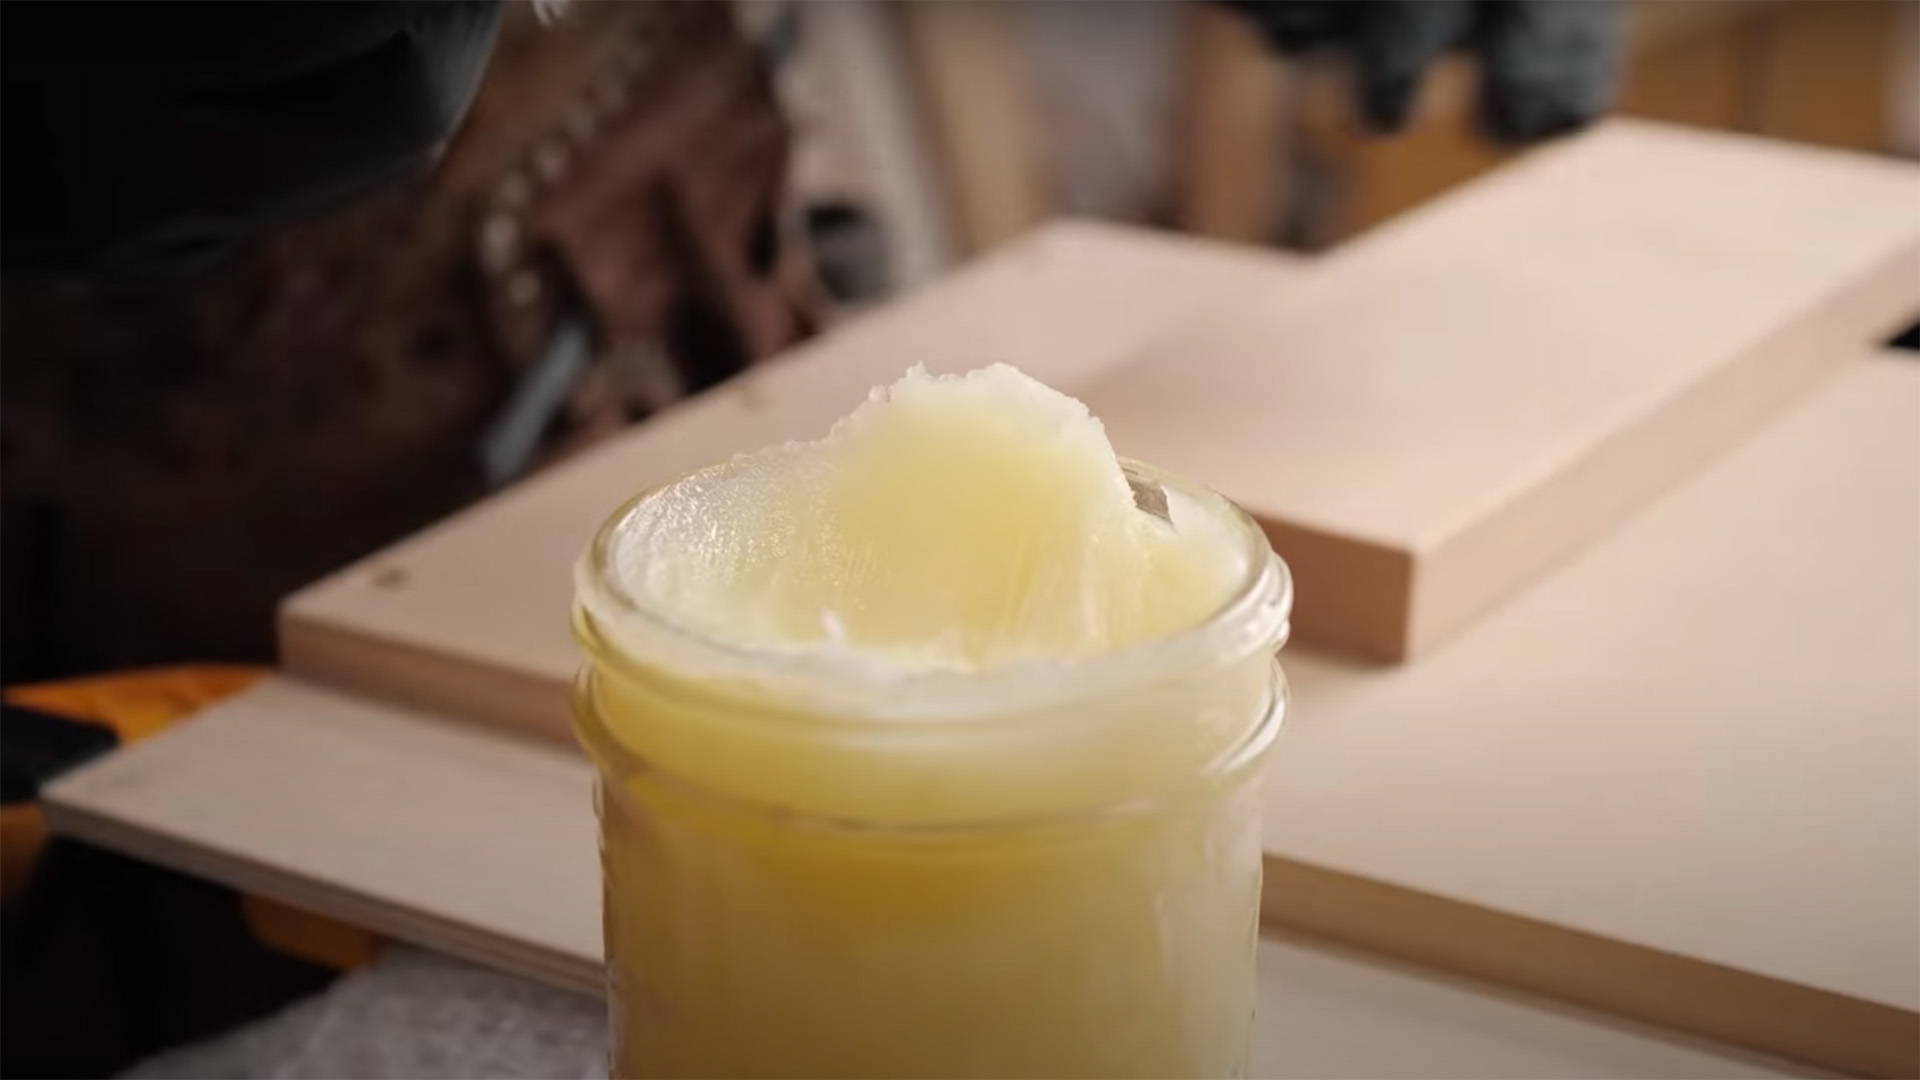
Now sand down your surfaces and apply a finish. I like shellac, but use whatever finish tickles your heart strings (or is the least pain in the butt).
TIP:
If you’re having problems with the vise racking, make two brace pieces to give the threaded rods extra support.
Just drill a ¾ inch hole through two blocks of wood, cut away the sides so it has little wings, and screw them into the back jaw over the rods.
All that’s left is to assemble the moxon vise again — and get to cutting that joinery.
SIZE ISN'T EVERYTHING
Whether you’re working from a 3,000 square foot shop or a Harry Potter closet under the stairs, this little moxon vise / workbench makes cutting joinery way more enjoyable.
This design works great for me — but you can always customize it to your needs.
Got any ideas for killer modifications to this mini-workbench? Let us know in the comments below!
Be sure to check out my YouTube channel and tag @katzmosestools on Instagram with pictures of the moxon vise / mini-workbench you build…
And as always, STAY SAFE IN THE SHOP!

2 comments
Tim
Thanks for this share Jonathan. This might well be the very thing I’m looking for to use in the shed of chaos!
Thanks for this share Jonathan. This might well be the very thing I’m looking for to use in the shed of chaos!
Rick Dafler
I just completed a Moxon vise build using the hardware and plans from Taylor Tools. I’d been gifted an 8/4 X 5 1/2 X 62 Hickory timber, resulting in a relatively inexpensive build. So, I spent a little extra and picked up a Katz-Moses Dovetail Jig – SWEET. I’m not perfect yet but I just might get there.
I was ruminating about building a “shelf” off the back jaw of the Moxon when your email arrived. The universe works is strange and mysterious ways. THANKS!!
I’m off to sort out lumber for the Mini Workbench. Keep those ideas comin’.