


Miter gauges are super practical. Unfortunately, a lot of them are also super janky.
That’s especially true of the ones that come with power tools.
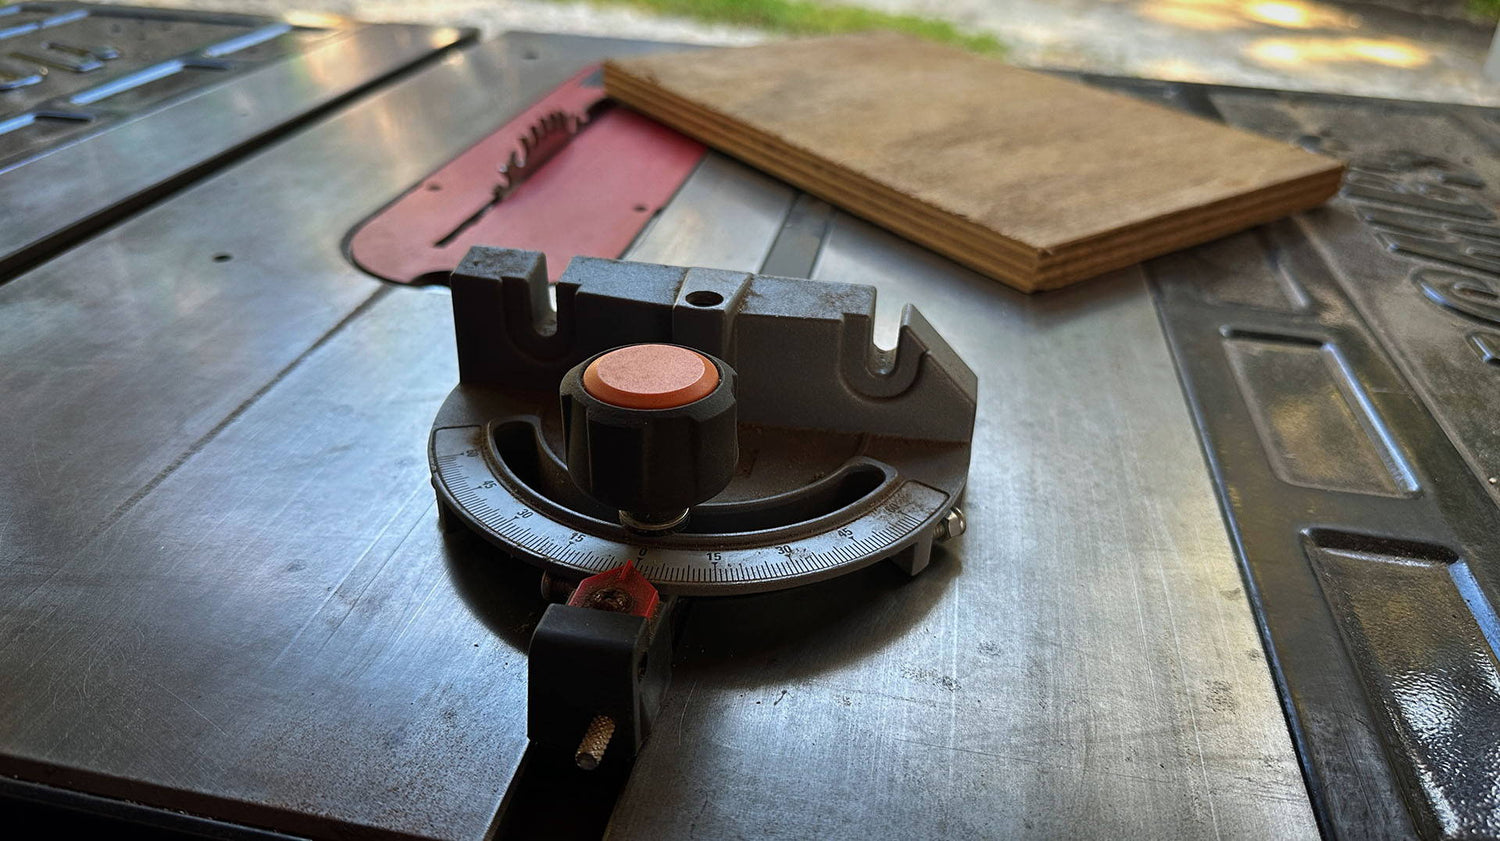
They’re often made of cheap plastic components… and it can be hard to trust that what they label as “0°” will actually lead to square cuts.
One option is to buy an aftermarket miter gauge. There are some awesome options (like this one), but they’re not cheap.
Luckily, there’s an easy way to test your miter gauge’s squareness — and adjust it for perfect 90° cuts (even if it is a little janky).
All you need is your miter gauge, table saw, and a scrap board.
Here’s how it works.
1. GRAB A TEST BOARD
First off, you’ll need a board with two straight and parallel edges.
The bigger the board, the more accurate this test will be. But use a size you can reasonably move with your miter gauge — around 12”x12” is fine.
You can probably find something that’ll work in your collection of plywood and MDF offcuts. Just rip one fresh edge on the table saw or with a track saw, then rip the opposite edge parallel.
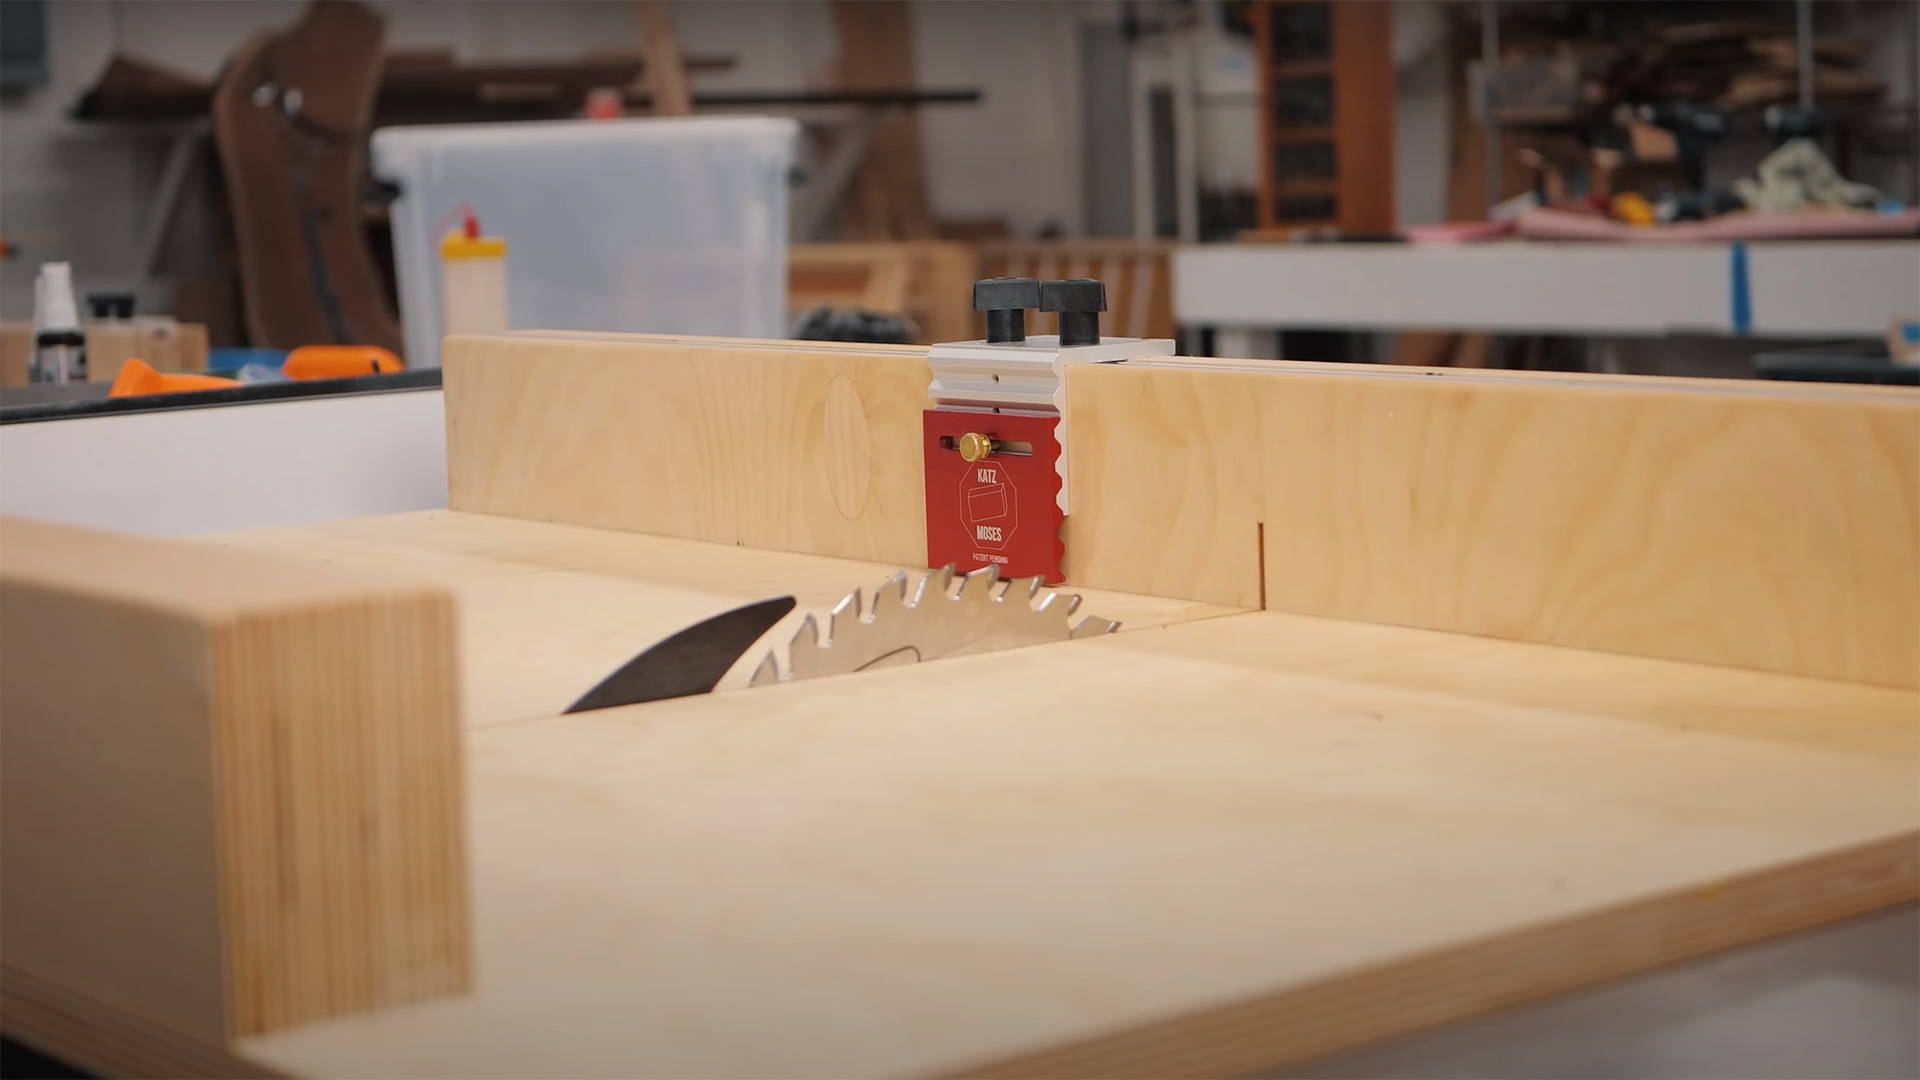
Set your miter gauge to its 0° point, then place one of the test board’s straight edges against the miter gauge fence.
The side of the blade you use the miter gauge will affect how you adjust it to be square, so just make sure you keep it on the same side throughout the test.
2. CUT OFF ONE EDGE
With the flat edge firmly against the miter gauge, cut off one edge of the test board.
You don’t need to take a lot — a ⅛” deep cut is plenty.
What matters is that the cut leaves a fresh edge across the entire board.
(Unless the test board is super wonky, this should be easy to eyeball).
You can toss the offcut.
3. FLIP THE BOARD AND CUT THE OPPOSITE EDGE
Flip the board over so the original straight edge is still against the miter gauge.
Then as you did before, cut a thin strip off the test board’s edge.
Leave the test board in position so you don’t get confused in the next step.
If your miter gauge isn’t perfectly square, your test board will now be a trapezoid — even if it’s imperceptible to the naked eye.
That’s because by flipping the board for the second cut, you actually doubled any error.
Which takes us to the next step.
4. MEASURE DISCREPANCY AND ADJUST
Now using a tape measure (or a square if you have one big enough), you’ll measure the width of the front and back edges of the board.
(By front edge I mean the one closest to you against the miter gauge, while the back edge is the opposite one furthest from you.)
Whichever edge is shorter will tell you whether to adjust the miter gauge clockwise or counterclockwise to bring it closer to square.
Again, the side of the blade you used the miter gauge on will affect how you adjust.
If you used the miter gauge on the left side of the blade:
- Front edge shorter = Adjust miter gauge clockwise
- Back edge shorter = Adjust miter gauge counterclockwise
If you used the miter gauge on the right side of the blade:
- Front edge shorter = Adjust miter gauge counterclockwise
- Back edge shorter = Adjust miter gauge clockwise
Remember: Since the error is compounded, make very small adjustments.
5. RINSE AND REPEAT
Repeat this process with the same test board until the front and back edges are as identical in length as you can get them.
Once you’re there, make sure to set the miter gauge’s 0° positive stop (usually just a small screw) to this point so setup is easy in the future.
(And if you really want to level up your miter gauge game, check out this Precision Miter Gauge from Hongdui. It’s the friggin’ Rolls Royce of table saw accessories).
Know another way to test your miter gauge’s squareness? Let us know in the comments below!
Follow us on Instagram @katzmosestools, on TikTok @katzmoseswoodworking, and check out my YouTube channel for more great woodworking content...
And as always, STAY SAFE IN THE SHOP!

3 comments
Bonesaw
An option: After making that first cut (parallel sides are front and back by your definition), rotate the sample 90 degrees counterclockwise so the cut edge is now against your miter. Move the piece forward until the cut edge is just touching the front exposed blade tooth’s side. Slide the miter forward slowly, if the cut pulls away from the same tooth, line up the front left corner next to the same blade tooth. What ever gap you have, adjust the miter screw to reduce that gap in half. Come back to the saw’s front, rotate the sample 90 degrees clockwise, cut a new edge, and repeat. Usually can dial it in after the first cut, but sometimes that second one fine tunes and now the miter is exactly perpendicular to the blade and its front cutting edge.
Lastly, I put a small drop of wood glue on the adjustment screw threads – let it dry, and now the adjustment screw is secure (but adjustable should that miter take a “bump” and get misaligned in the future.
Juha Kuusama
This method is a bit more work, but it amplifies any error fourfold, so it is more accurate: https://www.popularwoodworking.com/tricks/testing-for-square/
This method is a bit more work, but it amplifies any error fourfold, so it is more accurate: https://www.popularwoodworking.com/tricks/testing-for-square/
Matt Walker
This tool is awesome for setting any angle on a jankey miter guage: MiterSet Standard For Table Saws https://miterset.myshopify.com/products/perfect-miter-joints-us-miter-gauge
product is well made, quick, and accurate – your method is free (almost), but can take a bit of tinkering / time.
I Love your content and products. Thank You for all you do for the community!