


A flat fence is critical for repeatable cuts on any jig, sled, or auxiliary table. But reality is a problem.
As much as we’d like to believe a piece of plywood or MDF is flat… it often isn’t.
And when you cut it into smaller pieces — then add the humidity changes between the lumberyard and your shop — previously “flat” boards can really twist out of shape.
Why is this such an issue?
Because if your fence isn’t truly flat, you won’t be able to make repeatable operations.
A slight curve will result in misaligned boards… leading to projects that don’t come together as well as they could.
But there’s a few simple strategies to ensure your jig fences are perfectly flat — and I’m going to share them with you here today.
1. MAKE LAMINATED FENCES
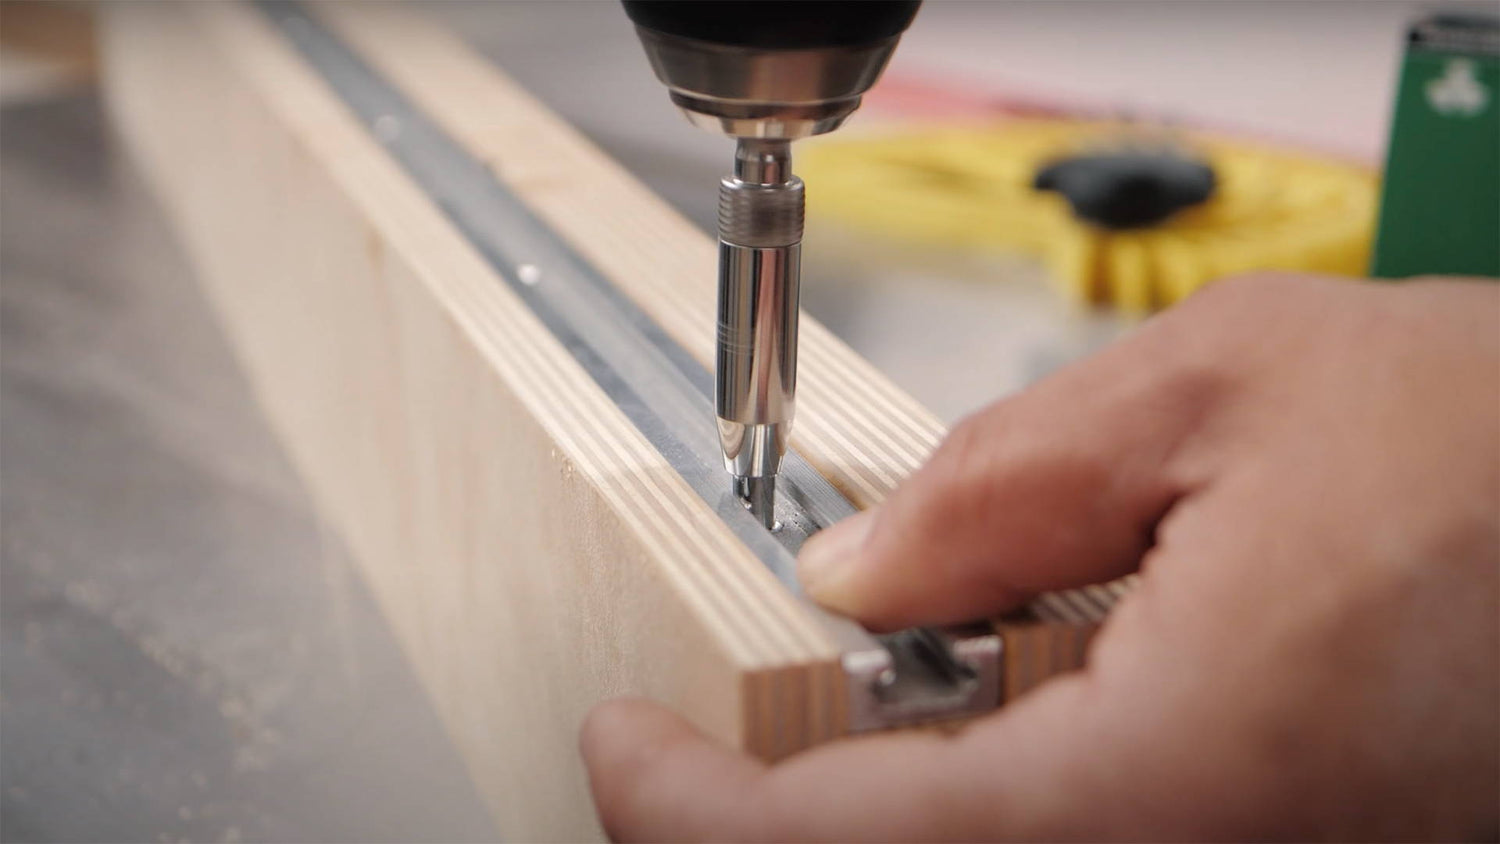
Whether it’s for a drill press table, crosscut sled, or any other jig, I recommend making your fences out of several pieces glued together.
The thicker your fence, the less likely it’ll curve or twist out of shape over time.
A single piece of plywood will have a hard time resisting wood movement.
But 3 pieces laminated together will hold its form for ages.
(Plus, a thicker fence makes it easier to drive in screws through the bottom without inadvertently creating any bumps in the faces).
2. GLUE WONKY BOARDS TO COUNTERACT EACH OTHER
Say your gluing up a fence out of two pieces of plywood — but notice they both are slightly curved.
You can counteract this by gluing them together with the boards curving in opposite directions.
Either glue them so the concave curves faces towards or away from each other.
With some good glue and solid clamping pressure — the opposite forces will even out…
Giving you a flat fence from two very not flat boards.
(Tip: If you glue the boards so the concave curves face each other, you can get away with gluing them together with only one clamp in the middle).
3. CLAMP YOUR FENCE TO A STRAIGHT EDGE
I recommend using this technique any time you’re gluing up a laminated fence.
It guarantees the faces will come out flat — regardless of how twisted the individual boards are.
As you glue the boards together, clamp them together against a rigid straight edge.
I like to use a big aluminum level I have, but even a freshly jointed board can work.
This creates a flat reference for the boards to adhere to as the glue dries…
Giving you a perfectly flat fence you can trust.
4. CUT THE FENCE SQUARE AFTER THE FACT
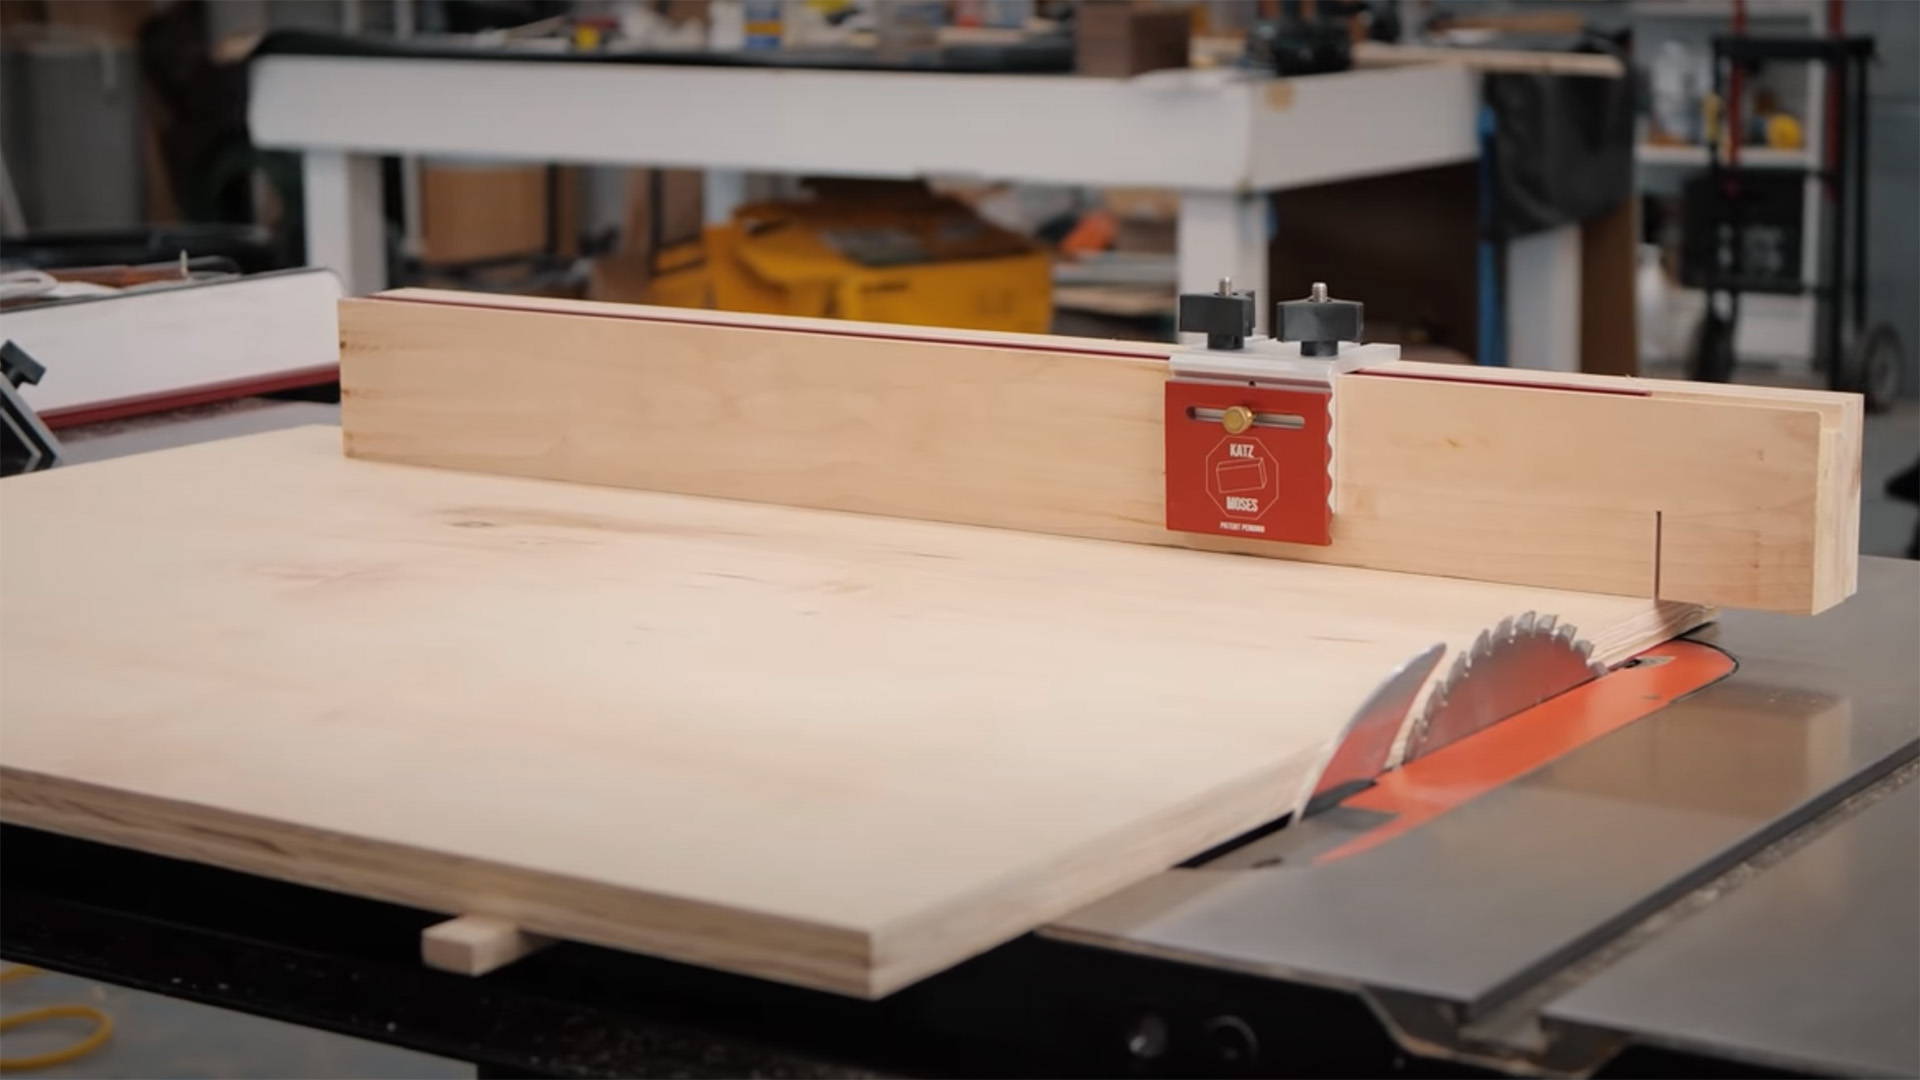
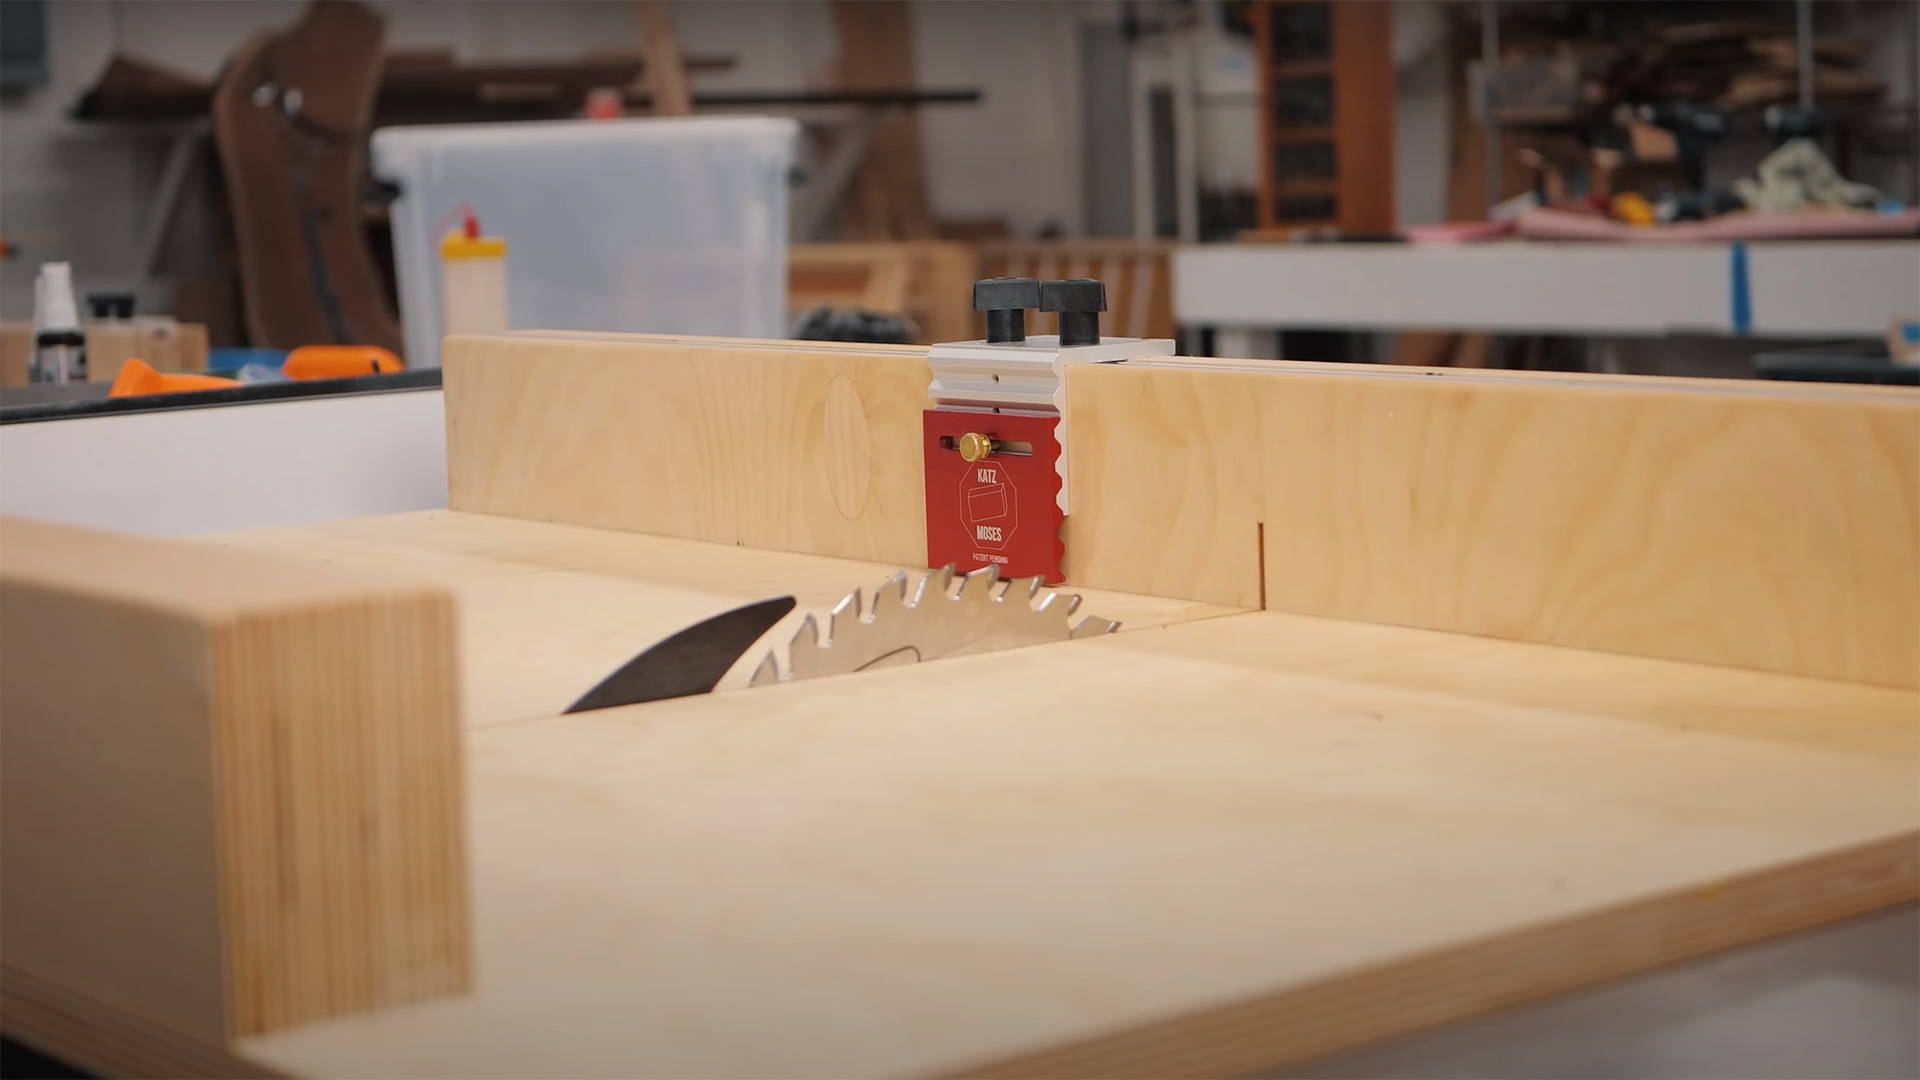
Another approach is to first glue up the fence, then rip a clean edge on the table saw (like I did on my multi-sled).
It’s an easy way to get a super flat face even with boards that twist and shout.
If you go this route with plywood, I recommend making the “end grain” edges of the plywood the reference face of your fence.
They’re easier to rip — and it’ll be a lot flatter (and better) than exposing the inner ply layers.
Want to simplify the fence-building process even more? Check out these Crosscut Sled Kits we manufacture in house!
What other tips do you have for guaranteeing your fences are flat? Let us know in the comments below!
Follow us on Instagram @katzmosestools, on TikTok @katzmoseswoodworking, and check out my YouTube channel for more great woodworking content...
And as always, STAY SAFE IN THE SHOP!

2 comments
Shawn Carignan
Thanks for another concise & very helpful set of tips….Not something everyone necessarily thinks about when building sleds/fences. I always learn something from your posts.
Thanks for another concise & very helpful set of tips….Not something everyone necessarily thinks about when building sleds/fences. I always learn something from your posts.
Jorge Spinolo
Can you please clarify the point about end grain in plywood? I thought that plywood has no grain since fibers alternate at 90 degree angles. How do you identify the end grain, and how do you orient it relative to the saw blade?
Thanks for your extremely informative and useful newsletter!
Can you please clarify the point about end grain in plywood? I thought that plywood has no grain since fibers alternate at 90 degree angles. How do you identify the end grain, and how do you orient it relative to the saw blade?
Thanks for your extremely informative and useful newsletter!