


To a lot of people, drawknives look more like medieval weapons than useful woodworking tools.
(And to be fair, it’d be the first tool I’d grab if an angry horde of garden gnomes raided my shop).
But these misunderstood hand tools are a lot more useful and versatile than you’d think. From rough to fine work, green to dried lumber, the drawknife has a place in all types of woodworking.
Today, I’m covering the basics of drawknives — including common uses, how to use them effectively, and a few project ideas they’re well-suited to.
You may realize a drawknife can be a lot more than a Keebler Elf neutralizer…and how much fun they are to use.
We’ve just started carrying a collection of Hand-Forged Hand Tools in our store — including a 10” and 6” drawknife. Check them out here!
WHAT IS A DRAWKNIFE?
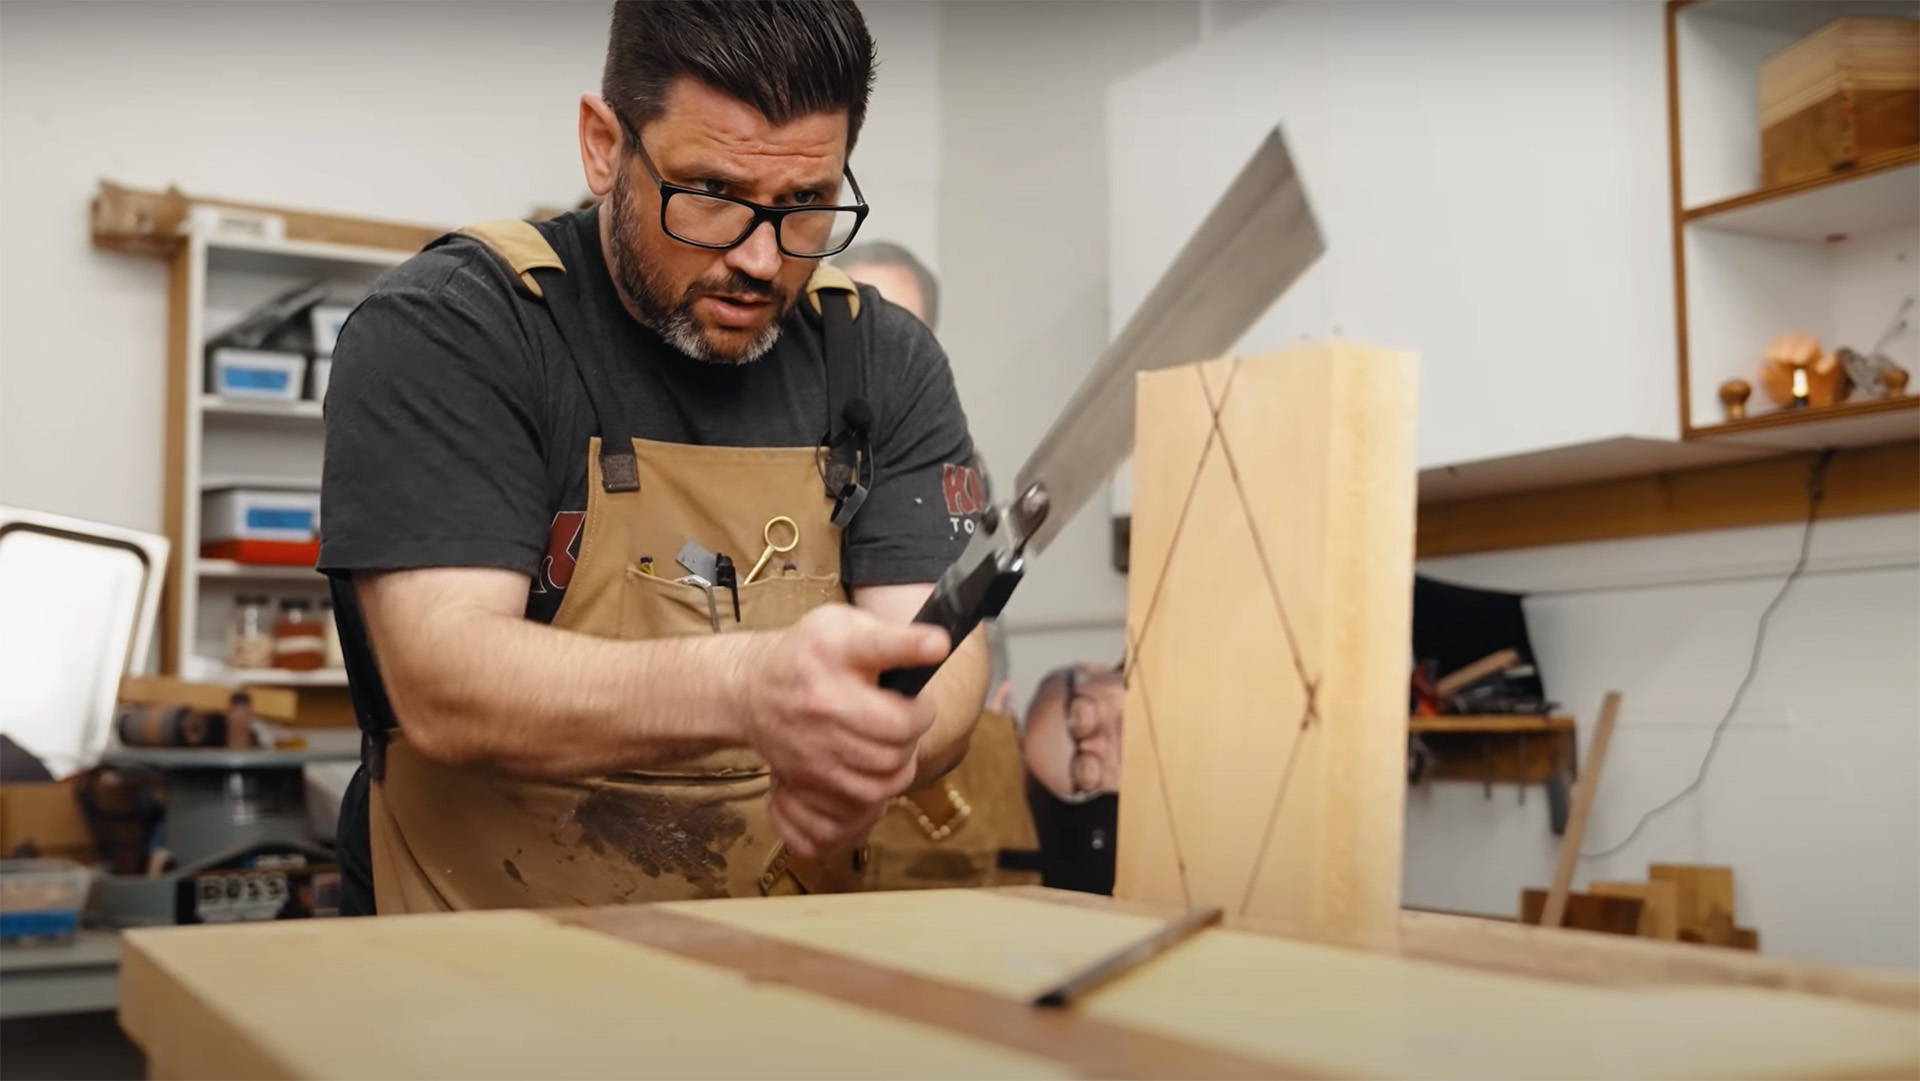
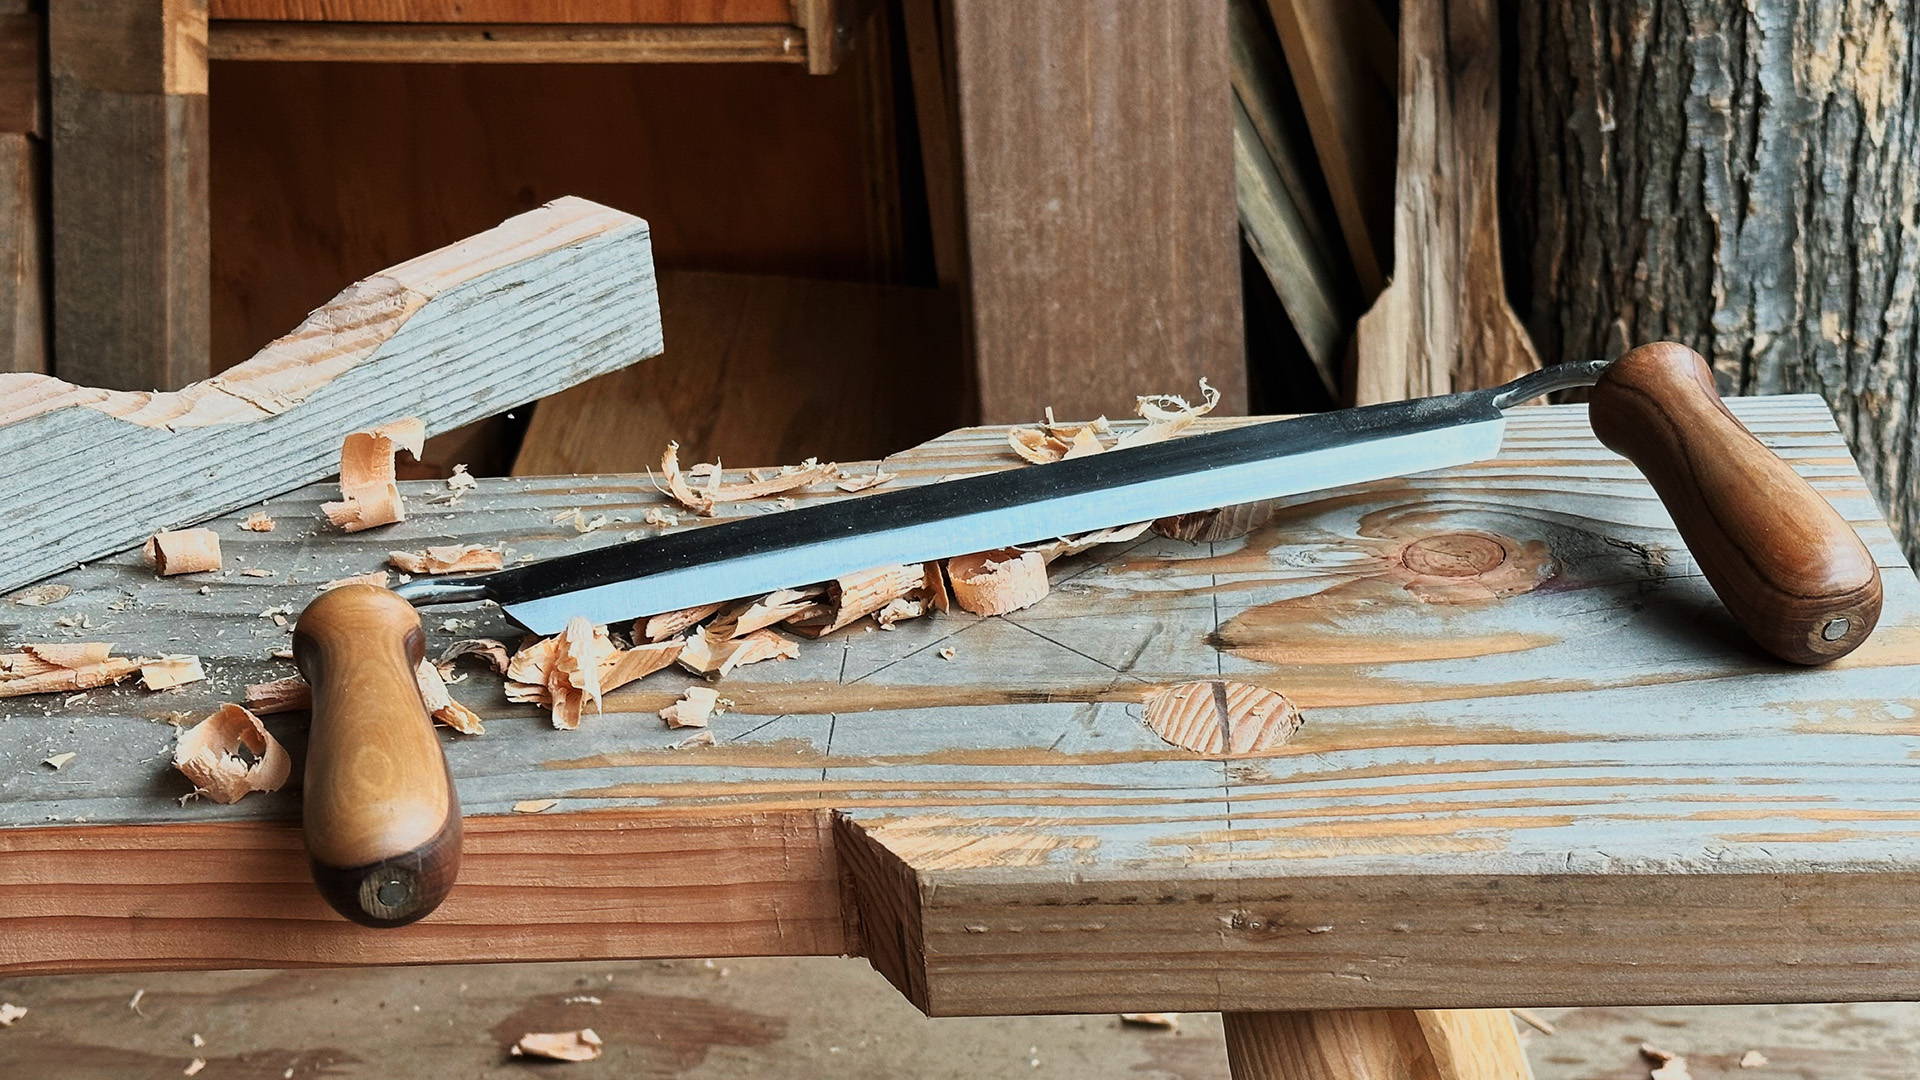
A drawknife is a long blade with handles on each side, which the user pulls to make cuts.
The handles are usually angled the same direction as the cutting edge of the blade. This makes it easier to control cutting depth and allows for more holding options.
The blades themselves come in all shapes and sizes. Some are perfectly straight, while others are curved one way or the other. (Once the curve gets pretty extreme, you’re in scorp/inshave territory).
On most traditional drawknives, the back of the blade is flat (as in no beveled edge) while the top has a wide bevel somewhere around 25°-30°.
WHAT ARE DRAWKNIVES USED FOR?
They might not look it from their simple design, but drawknives are super versatile in skilled hands.
They can be used to take off massive chunks of wood in one fell swoop — or super fine shavings to exact dimensions.
Typically, drawknives are used for heavy material removal. They’re often followed by a spokeshave, then finally a scraper or sandpaper to finish.
Drawknives even have their own traditional workholding device called a shavehorse. The user sits on one end and uses their feet to push a lever that clamps the workpiece down.
Shavehorses are great for drawknives because you can quickly unclamp and rotate a workpiece, making it more efficient to check your work or change your approach.
However, a vise works just fine as well.
A few common uses for drawknives include:
- Shaping legs and spindles for round tenon joinery (think Windsor chairs)
- Rough shaping concave and convex curves (like in chair seats, armrests, etc.)
- Removing bark from green wood or live edge slabs
- Giving beams a hand-hewn look
HOW TO SHARPEN A DRAWKNIFE
Let’s start by saying there are a lot of differing opinions on the “right” way to sharpen a drawknife.
But as long as the cutting edge slices through wood instead of splitting it, you’re good.
Generally, you want to start by flattening the back.
Either wedge the drawknife handles between your stomach and bench and move a sharpening stone over the back, or slide the back of the drawknife over your stone.
Once there are new scratch patterns and you can feel a bur across the entire opposite edge, you’re ready to work the bevel.
Most drawknife bevels are anywhere from 25° to 30°. Popular opinion suggests you should not add a micro-bevel (like you might on a chisel).
Keep the drawknife steady as you move a sharpening stone over the bevel. Make sure you’re hitting the cutting edge, and don’t stress if you add a slight roundover to the bevel. It’s pretty standard on drawknives.
Once you feel a bur along the entire back of the cutting edge, you can repeat the process with a higher grit stone, then finally a strop to remove any final remnants of a bur.
Of course, a slow-speed grinder is also a great option if you have one.
The hollow grind it leaves makes any subsequent honing you do by hand a whole lot easier (since you don’t have to grind away material in the middle of the blade).
TIPS FOR HOW TO USE A DRAWKNIFE
Drawknives seem self explanatory... But your first instincts on how to use one often don’t lead to the best technique.
Following the tips below can be the difference between quickly removing large amounts of material — or struggling to take off any shavings at all.
USE YOUR WHOLE BODY
Even if the edge is razor sharp, a drawknife requires a lot of force to cut. It’s up to you to create that force in the most efficient way possible.
The trick is to use your entire body — not just your arms.
If you’re standing and have the workpiece held in a vise, stand with one foot forward and the other foot back. Lean onto the front foot as you start the cut.
As you pull the blade through, move your body weight to your back foot, keeping your back straight.
Done correctly, you’ll be using your legs, core, back, shoulders, and arms to make the cut.
That not only gives you a whole lot more power in each pass (meaning you can take more material at once)...
It also keeps you from getting tired out quickly.
If you’re using a shavehorse, bend at the waist to start each cut and use your whole back, shoulders, and arms to pull the blade back. Do your best to keep your back straight.
MAKE SKEWED SLICING CUTS
Your first instinct might be to make cuts with the drawknife blade perpendicular to the workpiece.
And while this can work, it makes things more difficult than they need to be. Not only that, it quickly dulls the middle of the blade.
You’ll have an easier time and get better results if you make skewed slicing cuts instead.
Think about it like cutting up a piece of steak.
If you just push the knife straight down, you’re going to have to put a tremendous amount of pressure to cut through. But if you do a slicing motion with the knife, it’s no problem..
Start the cut at one edge of the blade with the blade angled. As you pull the drawknife through, slide to the other side of the blade.
It takes a little practice to get used to. But the result is a cleaner cut and more even wear across the cutting edge.
This becomes especially important when you’re cutting end grain, like on the edge of a chair seat.
CUT CORNERS
Trying to take down an entire edge at once is not efficient. Instad, focus heavy cuts on the corners of boards.
Because less of the blade is buried, you can make deeper cuts a lot more easily (this is a central lesson of using carving knives for whittling).
Say you want to evenly take down an edge.
Start by taking off a chunk on one corner. Then do the opposite corner. Finally, focus on taking down the peak in the middle.
If you always try to focus your cuts on corners, you’ll have a better time with your drawknife.
BEVEL UP OR BEVEL DOWN?
There are a lot of differing (and heated) opinions on whether you should use a drawknife bevel up or bevel down.
Honestly, you should try both and stick to whatever works best for you.
That said, using a drawknife bevel up is generally better for making straighter cuts with the grain.
Using a drawknife bevel down can be good for cutting concave curves, since you have more control over the cutting depth (like a chisel).
START WITH A SUBTLE SCOOP
The entry angle of the drawknife blade at the beginning of a cut will determine how heavy of a cut you’ll take.
For cuts where you really want to hog off material, start the blade at a steep angle as it enters the wood. Then level out the blade as you pull it through.
For finer cuts, start the cut with the blade at a lower angle to the workpiece. With practice, you’ll be able to take off shavings as fine as a spokeshave can.
PAY ATTENTION TO GRAIN DIRECTION
Like with all tools, you almost always want to cut with the grain (read this if you don’t know what that means).
On square boards with fairly straight grain, it’s pretty easy.
But when you start introducing curves and tapers — as often is the case with drawknives — grain direction gets a little more complicated.
For example, say you cut a concave curve into a straight grained board.
In order to cut with the grain, you need to cut downhill towards the bottom of the curve. That means you need to cut opposite directions on both sides of the curve (down towards the middle).
If you’re working on a circular piece, you basically need to think of the grain direction in quarters — moving from the apex of the straight grained side to the apex of the end grain side.
It might sound confusing. But try using a drawknife on any curve and you’ll quickly figure it out for yourself.
PROJECTS FOR YOUR DRAWKNIFE
A drawknife can be useful in a ton of woodworking projects.
But if you’re not sure how to incorporate one in your shop, here’s a few project ideas where a drawknife will shine.
AX AND TOOL HANDLES
If the handle on a hatchet, ax, or hammer breaks, why not make your own?
A drawknife is the perfect tool for shaping tool handles. It makes a great first project because you can practice straight, concave, and convex cuts.
FROE MALLET
A froe mallet, sometimes called a maul, is a big ugly mallet carved out of a single chunk of wood.
It takes advantage of the strength of long grain so you can smack it against the back of a froe without it splitting — and is the perfect mallet for wailing on steel tools.
Froe mallets are meant to be made quickly without a lot of concern for aesthetics.
A hatchet and drawknife is all you need to make one, and it’s a great project to practice taking off massive chunks of material.
ROUND TENON JOINERY STOOL OR SHAVEHORSE
If you really want to develop your drawknife skills, there’s no better plan than to just go for it and make a piece of furniture.
Go for a simple design with inexpensive wood, and just hack away without too much concern for it being “perfect.”
A 3-legged stool is a great place to start and will teach you a lot about tapering as well as working with grain on curved edges.
You can even build a shavehorse with your drawknife… which starts to turn into a chicken and egg situation.
And by the way — shavehorses work better outside (it's just science).
GIVE NEW LIFE TO YOUR DRAWKNIFE
Even though they’re simple, you can find a ton of use for drawknives in your woodworking.
Fine work, rough work, shaving, self defense — the possibilities are endless...
It can take time to develop your skills and feel confident with a drawknife. But hey, that’s what hand tools are all about.
Want to make your drawknife projects buttery smooth? Check out this post about how to use a card scraper.
What’s your favorite use for a drawknife? Let us know in the comments below!
Follow us on Instagram @katzmosestools, on TikTok @katzmoseswoodworking, and check out my YouTube channel for more great woodworking content...
And as always, STAY SAFE IN THE SHOP!
6 comments
Ali
Hi I’m looking for draw knife for wood cutting making cricket bats
Hi I’m looking for draw knife for wood cutting making cricket bats
Amber
Thank you for this. I use drawknives to debark sweet chestnut in all weathers. My frustration with the usual design is that the wooden handles depart from the metal shaft. I noticed that Monty Don (gardeners world) has a different design (rather like a ‘rapper sword’ or pit pony sweat scraper) where the handles are a continuation of the blade but have failed to identify the name of the design/maker Do you have any ideas?
Thank you for this. I use drawknives to debark sweet chestnut in all weathers. My frustration with the usual design is that the wooden handles depart from the metal shaft. I noticed that Monty Don (gardeners world) has a different design (rather like a ‘rapper sword’ or pit pony sweat scraper) where the handles are a continuation of the blade but have failed to identify the name of the design/maker Do you have any ideas?
Joe karcz
Made a “shave pony” recently… smaller, bench-top alternative to a “horse”… takes up less space, more mobile… worth looking up… found plans on-line…
Made a “shave pony” recently… smaller, bench-top alternative to a “horse”… takes up less space, more mobile… worth looking up… found plans on-line…
Harry Dotson
I love this stuff ! Do you have any plans for a shave horse or know of a source ?
Thanks
I love this stuff ! Do you have any plans for a shave horse or know of a source ?
Thanks
Joe
Fine Woodworking #262 (Jul/Aug 2017) has an article and plans for one. You can download the PDF for free here: https://www.finewoodworking.com/project-guides/shop-projects/build-thoroughbred-shaving-horse
There’s also an article in Fine Woodworking #286 (Tools & Shops 2021) on Dawson Moore’s spoon mule, which is a shave horse with a more specialized head to better hold spoon blanks.
Popular Woodworking also has an article/plans on shave horses from last year: https://www.popularwoodworking.com/projects/modern-shaving-horse/
Frank
Gosh – anybody know of a website for plans for “slave horse”? If I make one I’m going to name him “Sarcastic the Slavehorse”
Gosh – anybody know of a website for plans for “slave horse”? If I make one I’m going to name him “Sarcastic the Slavehorse”