


Figuring out wood grain is key to cutting it as a woodworker.
It’s the difference between glassy smooth surfaces and topographic maps of tearout.
But “reading” and “cutting with the grain” can sound pretty esoteric if you're new to the craft.
I’m here to tell you it’s not.
Understanding grain direction is just predicting how a board will react to your tools — so you can reduce tearout, save time, and get better results.
I’m going to walk you through the basics of wood grain and get into some of the grainular details of how to approach it (please help, I can’t stop punning)...
So you can start getting buttery-smooth boards with no need for sandpaper.
WHY GRAIN DIRECTION MATTERS
Understanding grain direction is key to getting clean, tearout free cuts.
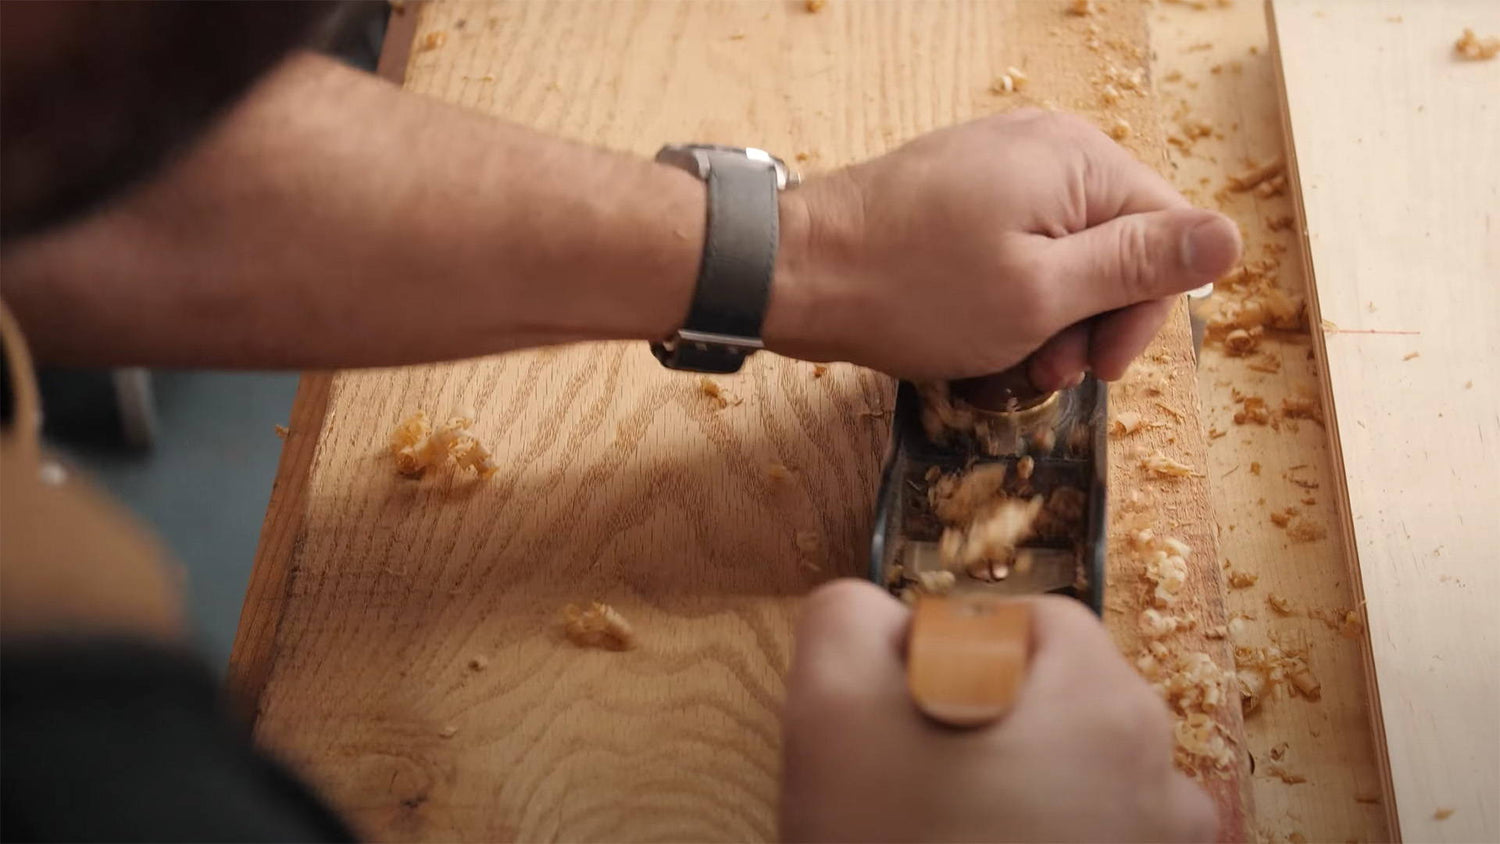
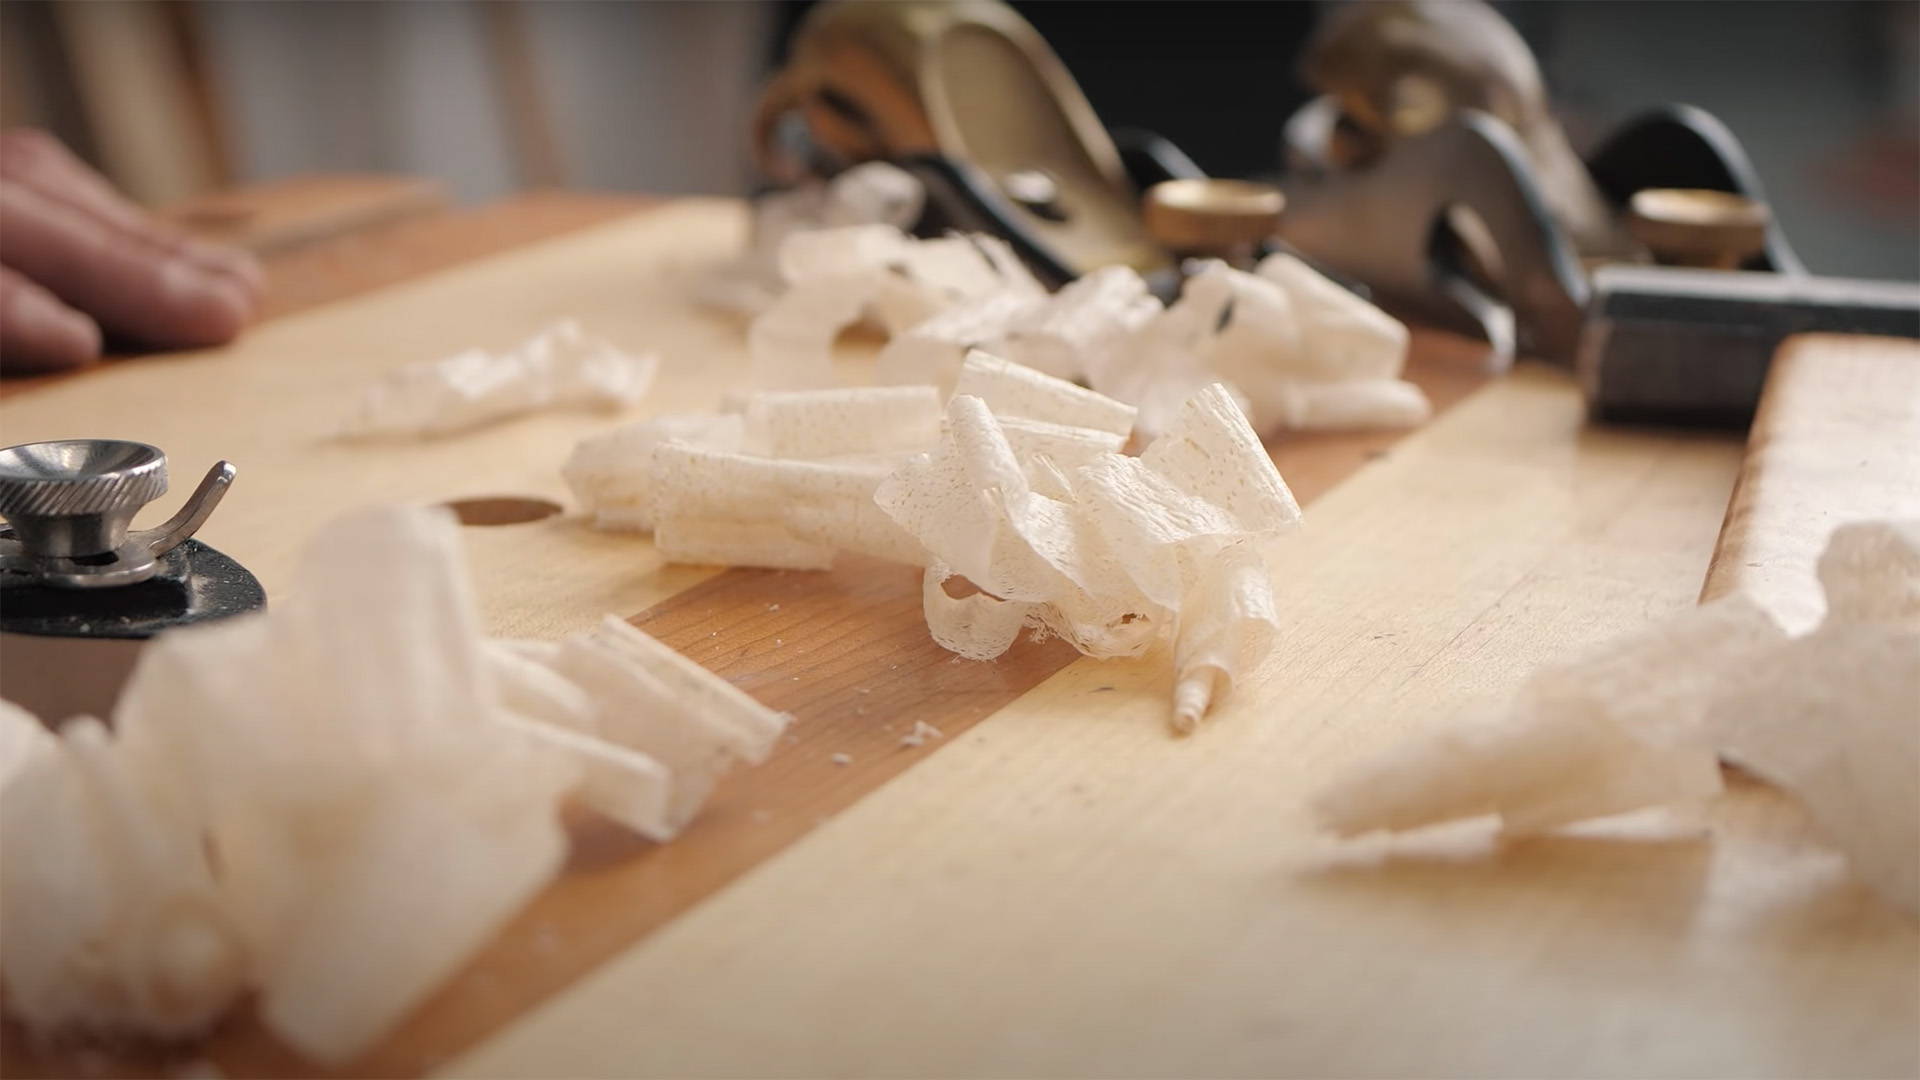
On almost any tool — including power jointers, planers, routers, chisels, and hand planes — cutting against the grain can lift and rip fibers instead of cutting them (a.k.a. tearout).
Hence the general rule of thumb: Always cut with the grain.
But beyond preventing tearout, understanding wood grain can add efficiency to your woodworking.
Say you’re cutting a tenon or half lap on a board. There are times where you can clear massive chunks of waste with a single thwack of your chisel. By looking at the grain lines, you can know exactly how the board will split.
Before we get there, though, let’s cover some terminology.
WHAT IS GRAIN DIRECTION?
Boards are made of layers of wood fibers smooshed together like a bundle of straws or the threads of a rope.
We call the fibers running from end to end long grain, and the distance across them the short or cross grain.
Point 1: Wood cuts more easily along the long grain, since the fibers can be split apart.
Think about chopping firewood with an ax. When you chop into the top of a log, it splits down the middle with one swing.
Or imagine cutting rope with a knife. If you slide a knife down the length of rope, it splits the fibers apart with very little effort.
But try chopping a log in half from the side (god help you), or cutting across a piece of rope.
Cuts across the grain — a.k.a. crosscuts — require severing each individual fiber, and a lot more work.
Point 2: Cross grain cuts require severing fibers instead of just splitting them apart.
This is the reason crosscut blades have more teeth than ripping blades. They’re needed for all the extra fibers that need to be severed.
But if you look at the long grain on different boards, you’ll notice wood fibers often don't run straight along the length of a board.
They can curve, curl, twist, and change orientations (like a college freshman stumbling from the dorms).
While this doesn’t usually affect cross grain procedures, it has a massive effect on long grain operations — especially while surfacing boards.
The orientation of these fibers and how they’re layered is what we call grain direction. And now, we’re ready to talk about the scourge of woodworking…
UNDERSTANDING TEAROUT
Tearout is caused by lifting wood fibers instead of cutting them, or trying to cut fibers that aren’t supported from behind.
It’s simple to understand with crosscuts. As you cut through the cross grain, the fibers in the middle of the board are held in place by the fibers beneath them. No tearout.
But as you exit the cut, your blade cuts through unsupported fibers. This can end up “pushing” them out before you get a chance to cut them — leading to tearout.
You can get tearout along the edges of a crosscut for the same reason, usually on the side where the saw teeth exit the cut.
Tearout in long grain operations takes a little more visualization.
Remember how I said fibers often don’t run straight along a board? They often “lean” a certain way, or rise and fall in curls.
This is where the famous “petting the cat” principle comes into play.
A cat’s fur lays down from head to tail. The fur closer to the head lays on top of the fur behind it, all the way to the butt (which cat’s seem extremely keen to show off).
When you pet them, you run your hand in the direction their fur lays. It feels nice, and everyone’s happy.
But if you pet them from tail to head, the fur lifts up, gets messy, and you’ll probably need stitches.
Cat analogy not doing it for you? Think about a featherboard for your table saw.
You can push a board past a featherboard one way, but if you try to pull it back, it binds. Pull hard enough and you might snap the featherboard tabs.
Wood fibers work the same way. Cut them in the direction they lay, and you’ll get smooth, easy cuts.
Cut against the way the grain lays, and you’ve got problems.
With no support behind them, the wood fibers can lift and snap before your blade even reaches them. The cut will be difficult to push through, chattery, and the result is a ton of tearout.
So here’s how to know what the “right way” is.
HOW TO READ GRAIN DIRECTION
Reading grain direction is about looking deeper than the surface of a board.
But you don’t need to pull out your X-ray goggles (creep). You just need to look at the adjacent side.
Say you’re going to flatten one face of a board on your jointer.
To figure out which feed direction goes with the grain, look at one of the adjacent edges and how the grain runs off towards the face you’re planing.
If the grain lines run straight along the edge, you can probably get away with feeding the board through the jointer either direction.
If they’re leaning one way or the other, make a mark with your pencil to remember which way to feed it through.
Now, here’s the one thing that can get a little annoying.
Figure — which is the growth rings and patterns you see on a board — doesn’t always indicate true grain direction.
In fact, grain direction can sometimes run opposite from what the figure would suggest.
Your best bet is to first look for rays or vessels.
Rays are dark specks or lines that run between wood fibers, while vessels are small open “tubes.”
These are your best indication of grain direction, but you won’t find them in all woods. Rays show up well in oak, and vessels in mahogany and walnut.
But for most other hardwoods, you’re going to have to rely on the figure.
If you make a cut and get tearout, try from the other direction and see if that fixes it.
Boards with straight or uniform grain direction are a breeze to work with. Just make sure you’re petting the cat the right way and you’ll get spectacular results.
Of course, a lot of boards you work with might have the exact opposite of uniform grain. Here’s how to deal with those.
DEALING WITH HIGHLY FIGURED WOOD
Some boards have alternating grain directions, or are so highly figured it’s impossible to determine grain direction at all (looking at you, birdseye maple).
So how should you approach boards like this with your hand and power tools? Here’s a few tips:
GO WITH THE LESSER OF TWO EVILS
If the grain direction switches in a board, your best bet is to go with the majority.
The exception is if there’s one section with really steep grain (again, look at the edge) that’s more liable to tearout. In that case, feed the board to appease that section.
If you’re using a hand plane, you can just stop planing where the grain switches and do the same from the other side. It’s harder to get a perfectly uniform surface, but can work.
TAKE OFF LESS MATERIAL
If you’re forced to cut against grain direction, it can help to reduce the amount of material you take off with each pass.
Set the cutting depth of whatever tool you’re using to take off just a sliver and make multiple passes. The less the blade has to dig in, the less chance it’ll rip out a chunk of fibers.
ADAPT YOUR TOOLS
When it comes to cutting against the grain, certain tools are better suited to the job.
If you’re using a hand plane, a higher cutting angle (say around 55°) can give you less tearout in shifty grain.
You can either get a high-angle frog to attach to your plane, add a back bevel to a standard bench plane iron, or sharpen a higher angle on the blade of a low-angle jack or block plane.
The last option is my favorite.
Low angle planes (with the bed set at 12°) have the bevel up — meaning you can make the angle of attack 55° by honing a 43° micro-bevel on your iron. If that’s confusing, read this.
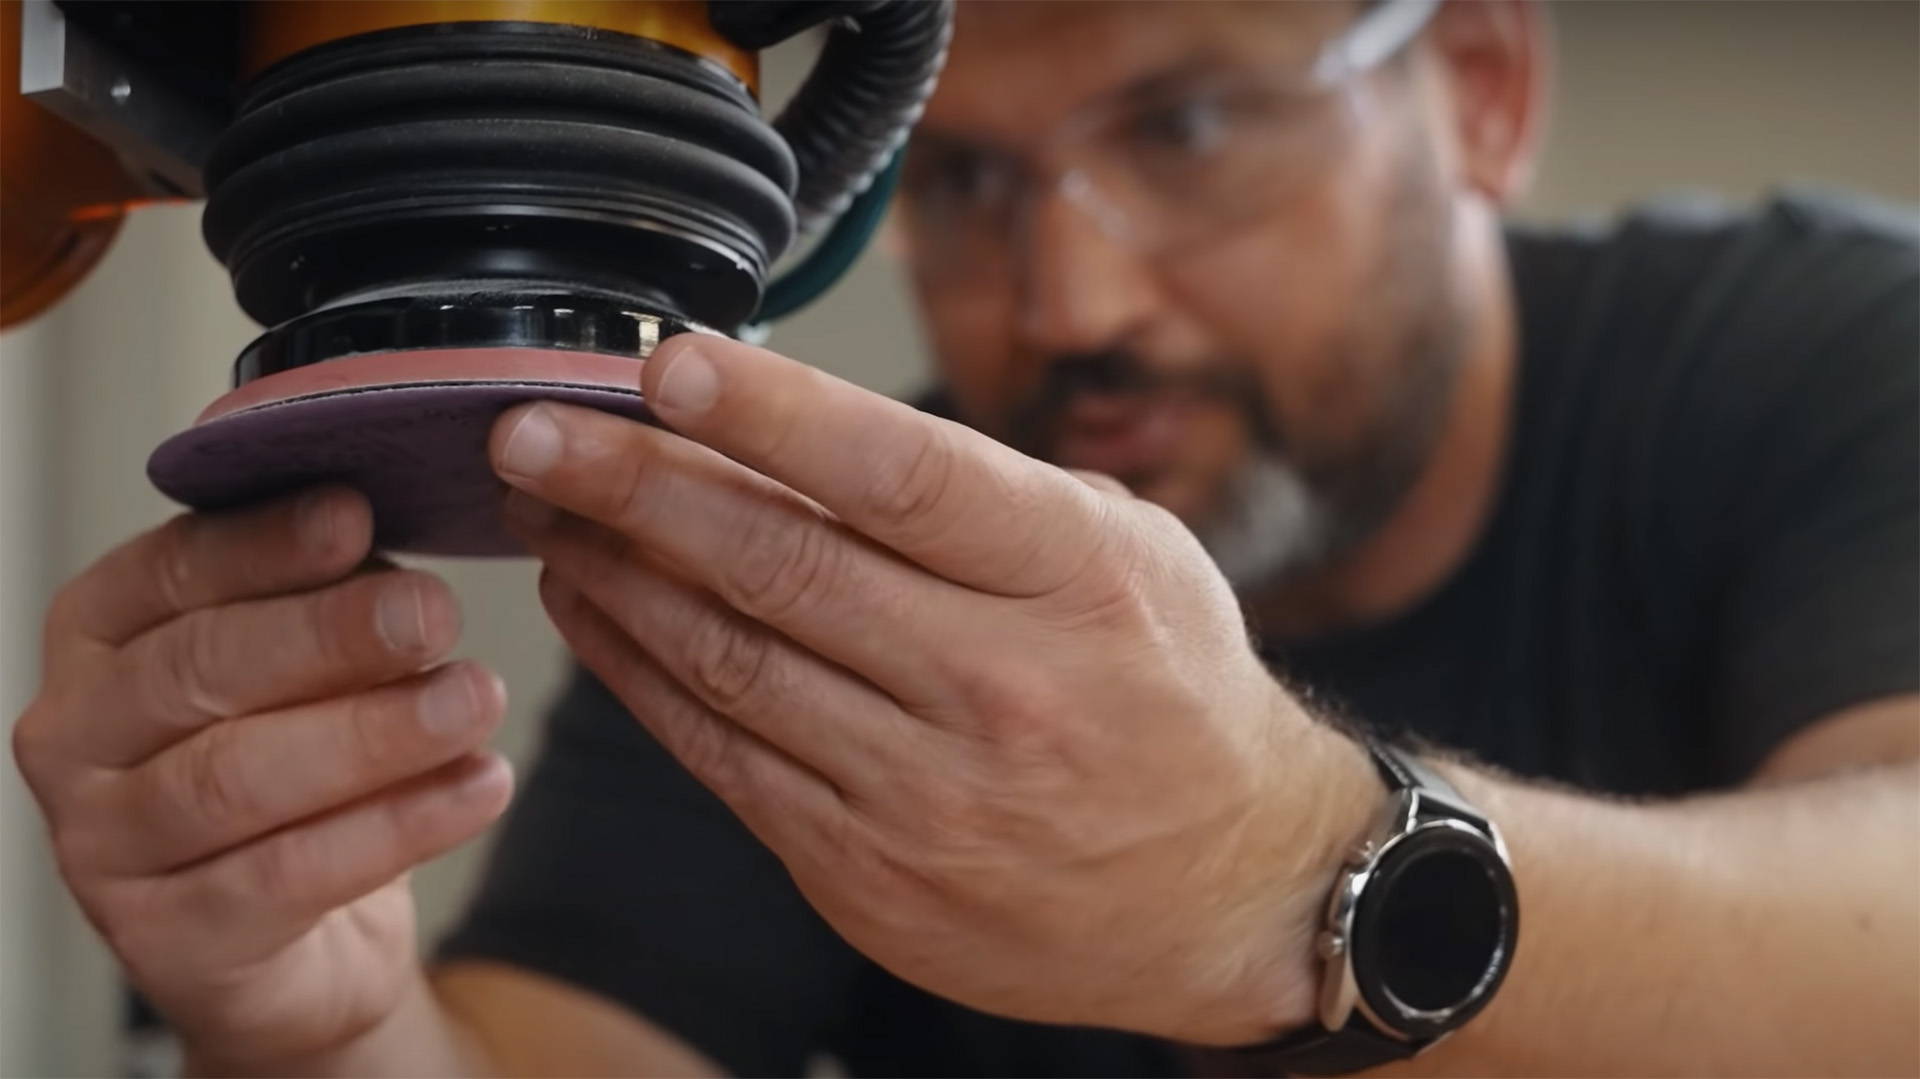
Some boards have such haphazard grain, there’s no way to plane the surface without tearout. And that’s when card scrapers shine.
A well-sharpened card scraper can take ultra thin shavings off even the most figured of boards. They’re not ideal for flattening, but a dream for cleaning tearout from small areas.
Here’s how to sharpen a card scraper, and here’s how to use one like a pro.
DEALING WITH END GRAIN
The other major tearout perpetrators are end grain edges.
They’re just severed layers of long grain with no support behind them. Try to run a chisel or hand plane over it and you WILL get tearout on the exit side.
Even router bits can cause a ton of tearout — which gets really annoying when you’re trying to cut a profile on all the edges of a board.
Here’s three ways to prevent tearout when working with end grain:
1. DO THE LONG GRAIN FIRST
Say you’re cutting a chamfer around an entire board.
If you try and do the end grain edge first, you’ll get tearout no matter what tool you use. Instead, first cut the bevel on all your long grain edges.
When you go to cut the end grain edge, the fibers that would have torn out of the long grain have already been cut. As long as you don’t go deeper, you’ll get a super clean corner.
2. WORK TOWARDS THE MIDDLE OF THE BOARD
If you’re paring down end grain with a chisel, don’t try to push through the entire edge.
Work from the outside into the center of the board. That way, you’re never trying to cut unsupported fibers that are liable to tearout.
3. USE A BACKER BOARD
Backer boards support wood fibers and hold them in place on the exit side of a cut.
On a shooting board, the fence acts as a backer board (here’s how to make your own shooting board — plus free plans).
Or when you trim down proud dovetails with a block plane, cut in the direction where the pins or tails are supported from behind by the other board.
Backer boards are also super useful on the drill press. By supporting the fibers on the underside, it keeps them from tearing out as your bits exit the cut.
BONUS CROSSCUT TIP:
Sometimes, preventing tearout can be as simple as a strip of blue tape.
Lay down a strip on the underside of your board where the blade teeth are exiting the cut. It’ll help support the fibers and keep them from tearing out.
DON’T GO INSANE IN THE GRAIN
Grain direction can seem confusing. But it’s nothing to strain your brain over.
It takes trial and error, a bit of patience, and a whole lot of tearout. But like any language, you’ll become more fluent the more you practice.
And once you do, you’ll start having a lot more success — and fun — in the shop.
Have you noticed the difference paying attention to grain direction makes? Tell us how in the comments below!
Follow us on Instagram @katzmosestools, on TikTok @katzmoseswoodworking, and check out my YouTube channel for more great woodworking content...
And as always, STAY SAFE IN THE SHOP!

2 comments
Jeff
This is very easy to understand, detailed and informative. I’m going to share it with my next woodworking class!
This is very easy to understand, detailed and informative. I’m going to share it with my next woodworking class!
Robert Dubuc
Many thanks to you for so much informations. Tons of Tips and Tricks worthwhile for everyone!
Keep-up the Good Work :)
Many thanks to you for so much informations. Tons of Tips and Tricks worthwhile for everyone!
Keep-up the Good Work :)