You’ve probably got enough squeeze clamps to hold down a rhino that just drank a palette of energy drinks.
But if you don’t have at least a pair of these Adjustable Fence Clamps, you’re missing out on some seriously useful shop hacks.
The beauty of these clamps is they apply solid clamping pressure WITHOUT getting in the way…
Making them ideal for all sorts of shop hacks where regular squeeze clamps don’t work.
Here’s 4 ways to use Adjustable Fence Clamps in your woodworking:
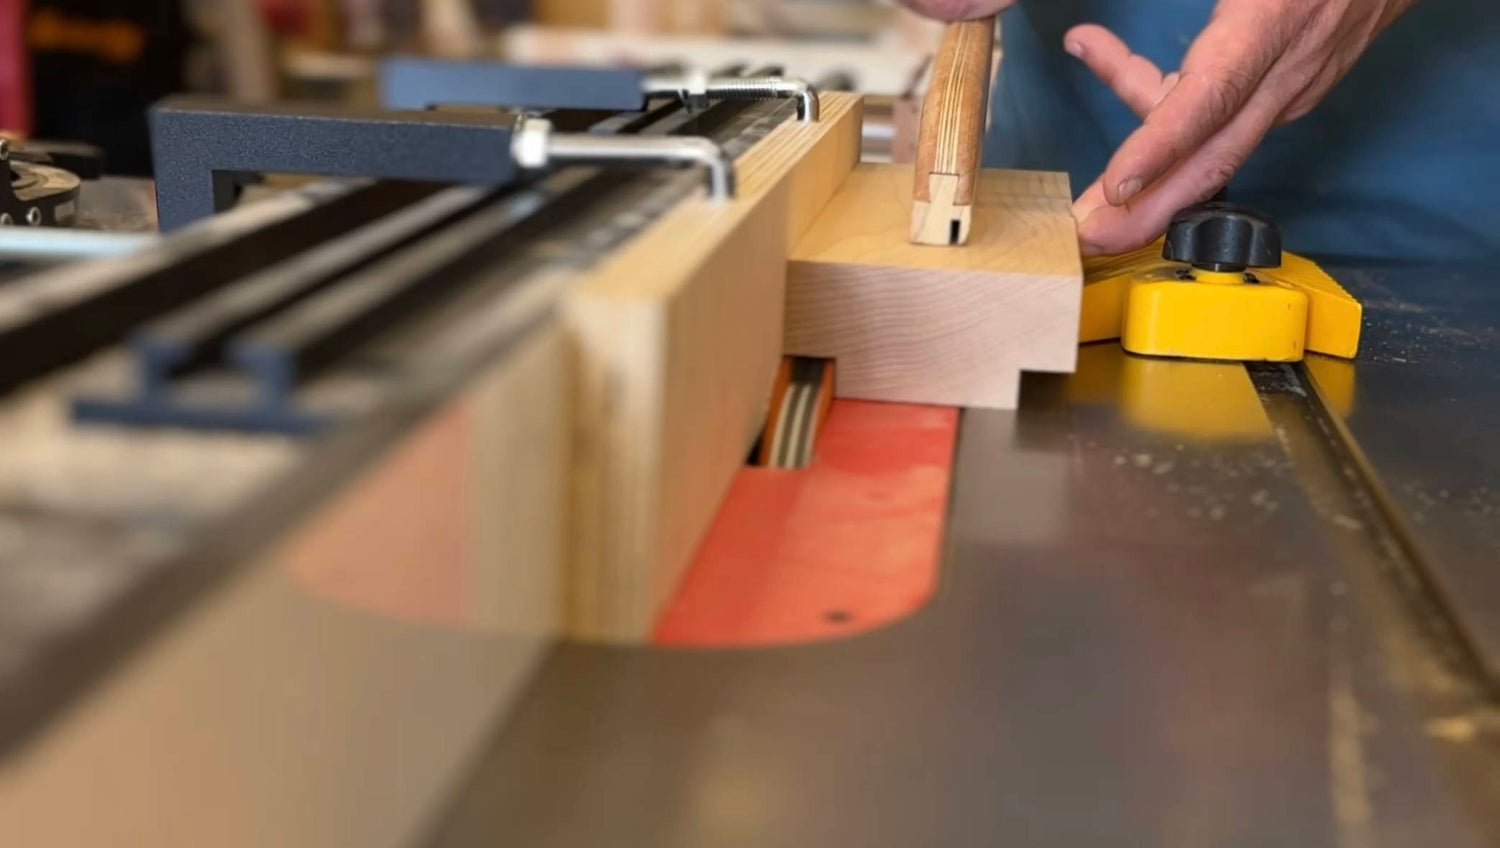
1. QUICK SACRIFICIAL FENCES & AUXILIARY FENCES
If you’re cutting rabbets or joinery with a dado blade, you need a sacrificial fence to protect your real fence and blade.
Here’s the quickest way to make one that’s easy to attach and remove.
- Rip a piece of plywood to the height of your table saw’s fence.
- Drill two ⅜” or 9 mm holes on one side of the plywood.
- Slide in the adjustable fence clamps and lock your auxiliary fence down.
The best part is you can then screw on a larger piece of plywood for operations where you need a taller fence — like resawing boards on the table saw.
The clamps should hold your sacrificial fence at 90° right off the bat. But you can always use some shims to dial it in if it’s off.
2. EASY CORNER CLAMPS FOR ASSEMBLY
When you’re assembling a box, it can be difficult to keep boards perfectly aligned at 90°.
Corner clamps make the process simple — and you can build your own with some scrap plywood and adjustable fence clamps.
- Attach two pieces of scrap plywood at 90°. Use super glue and screws to make sure the connection is solid, and test with a square to line them up.
- Drill two ⅜” holes in one of the block’s edges.
- Place the block in the corner of your box sides, slide it the adjustable fence clamps, then adjust and tighten the sides and clamps until they’re perfectly aligned.
You can follow the same process to make corner clamps that hold boards together at ANY ANGLE.
Just create a block with the correct angle and you’re good to go.
3. REMOVABLE PLANE STOPS
Workholding while hand planing a board face can be tricky. You need to hold the board steady while also having full access to the face.
Plane stops (which are just blocks you butt boards against) are the best solution.
But if you don’t want to drill a plane stop directly into your workbench, here’s what to do.
- Find a piece of scrap thinner than the board you’ll be hand planing.
- Drill two ⅜” or 9 mm holes in the side.
- Insert the adjustable fence clamps and secure the plane stop on the edge of your workbench.
Now you're free to hand plane to your heart's desire — and your workbench remains unscathed.
4. SIMPLE DRILL PRESS TABLES
A plywood board attached to your drill press’ cast iron table is a great way to reduce tearout and have a bigger, stabler surface.
But instead of having to take the time to build a fancy drill press table, here’s how to make a quick and dirty version.
- Grab an appropriately sized piece of plywood you know is flat.
- Drill two ⅜” or 9 mm holes in the back side of the board.
- Slide in the adjustable fence clamps and tighten them around the drill press’ cast iron table.
Drill or clamp on another board to work as a fence and you’ve got a fully functional drill press table.
THE ONLY CLAMPS THAT DON’T GET IN THE WAY
The uses and hacks for adjustable fence clamps are endless…
And right now, we have 2-packs of Adjustable Fence Clamps available for 20% OFF.
Check them out in the KM Tools store — and add an extra level of convenience to your woodworking.
What other ways could you use adjustable fence clamps in your shop? Let us know in the comments below!
Follow us on Instagram @katzmosestools, on TikTok @katzmoseswoodworking, and check out my YouTube channel for more great woodworking content...
And as always, STAY SAFE IN THE SHOP!


