How do you get a group of woodworkers to brawl? Ask them the best way to sharpen a chisel.
In the world of woodworking, few topics are as contentious as tool sharpening.
There’s so many methods out there — and so many people who claim their method is the right one…
If you’re new to sharpening, it can be intimidating.
But here’s the thing: The way you sharpen does not matter.
I recently did a bunch of tests with my friend Suman from Woodcraft by Suman, and test after test pointed to the same conclusion…
Whatever the tool — whether a chisel, plane iron, drawknife, or hatchet — there’s only a couple key things that actually make a difference in final sharpness.
(And none of them have to do with the type of stones you use).
Today, I’m going to explain what actually matters when sharpening woodworking tools — and what doesn’t.
The key to a razor sharp edge is actually dead simple… as you’ll see below.
We also just started carrying the 3M Lapping Microfinishing Film from the Scary Sharp System in our store!
If you’re looking for the most affordable entrance into the world of sharpening, check it out!
WHAT DOES SHARP EVEN MEAN?
To understand sharpening, you have to first understand this:
A sharp edge is nothing more than two intersecting angles.
Think about a chisel blade where you have a flat edge and a beveled edge. The point where these two angles come together is the cutting edge.
The more perfectly these angles intersect, the sharper the edge will be.
But reality puts a limit on things.
The absolute sharpest edge can’t actually exist because those two angles could always get infinitely closer and closer without ever touching.
That means there’s a limit to how sharp you can get a tool.
And even if you manage to get it sharper than any other tool in existence, that edge will dull to a more typical level of sharpness as soon as it’s used on wood.
Of course, this begs the question. What’s “sharp enough” for woodworking?
If a blade can shave hairs off your arm or slice through paper like scissors, you’re good to go.
That sucker will cut through end grain no problem.
To achieve this level of sharpness, you get the two sides of the tool blade to intersect at the cutting edge.
And the best way to know that the two sides of a blade are intersecting is by feeling for a burr.
A BURR ABOVE ALL ELSE
The MOST IMPORTANT thing in sharpening is creating a burr.
A burr is a small hook of steel produced at a blade’s edge when the blade is ground on an abrasive material.
It’s your indicator that the two angles of the cutting edge are intersecting — and as long as you create one, your tool will be sharp.
Say you're sharpening the beveled edge of a plane iron.
Run the tip of your finger or fingernail along the back of the iron over the cutting edge. You should feel a small hook right at the edge. That’s the burr.
Once you can feel a burr along the entire edge opposite the side you’re sharpening (the back in this case), you’re ready to move on.
If the burr doesn’t extend along the entire edge, keep going until it does.
Once you feel a burr along the entire edge, lap the back until it’s gone. Now you can repeat the process on higher grit stones to refine the edge or just go straight to the strop.
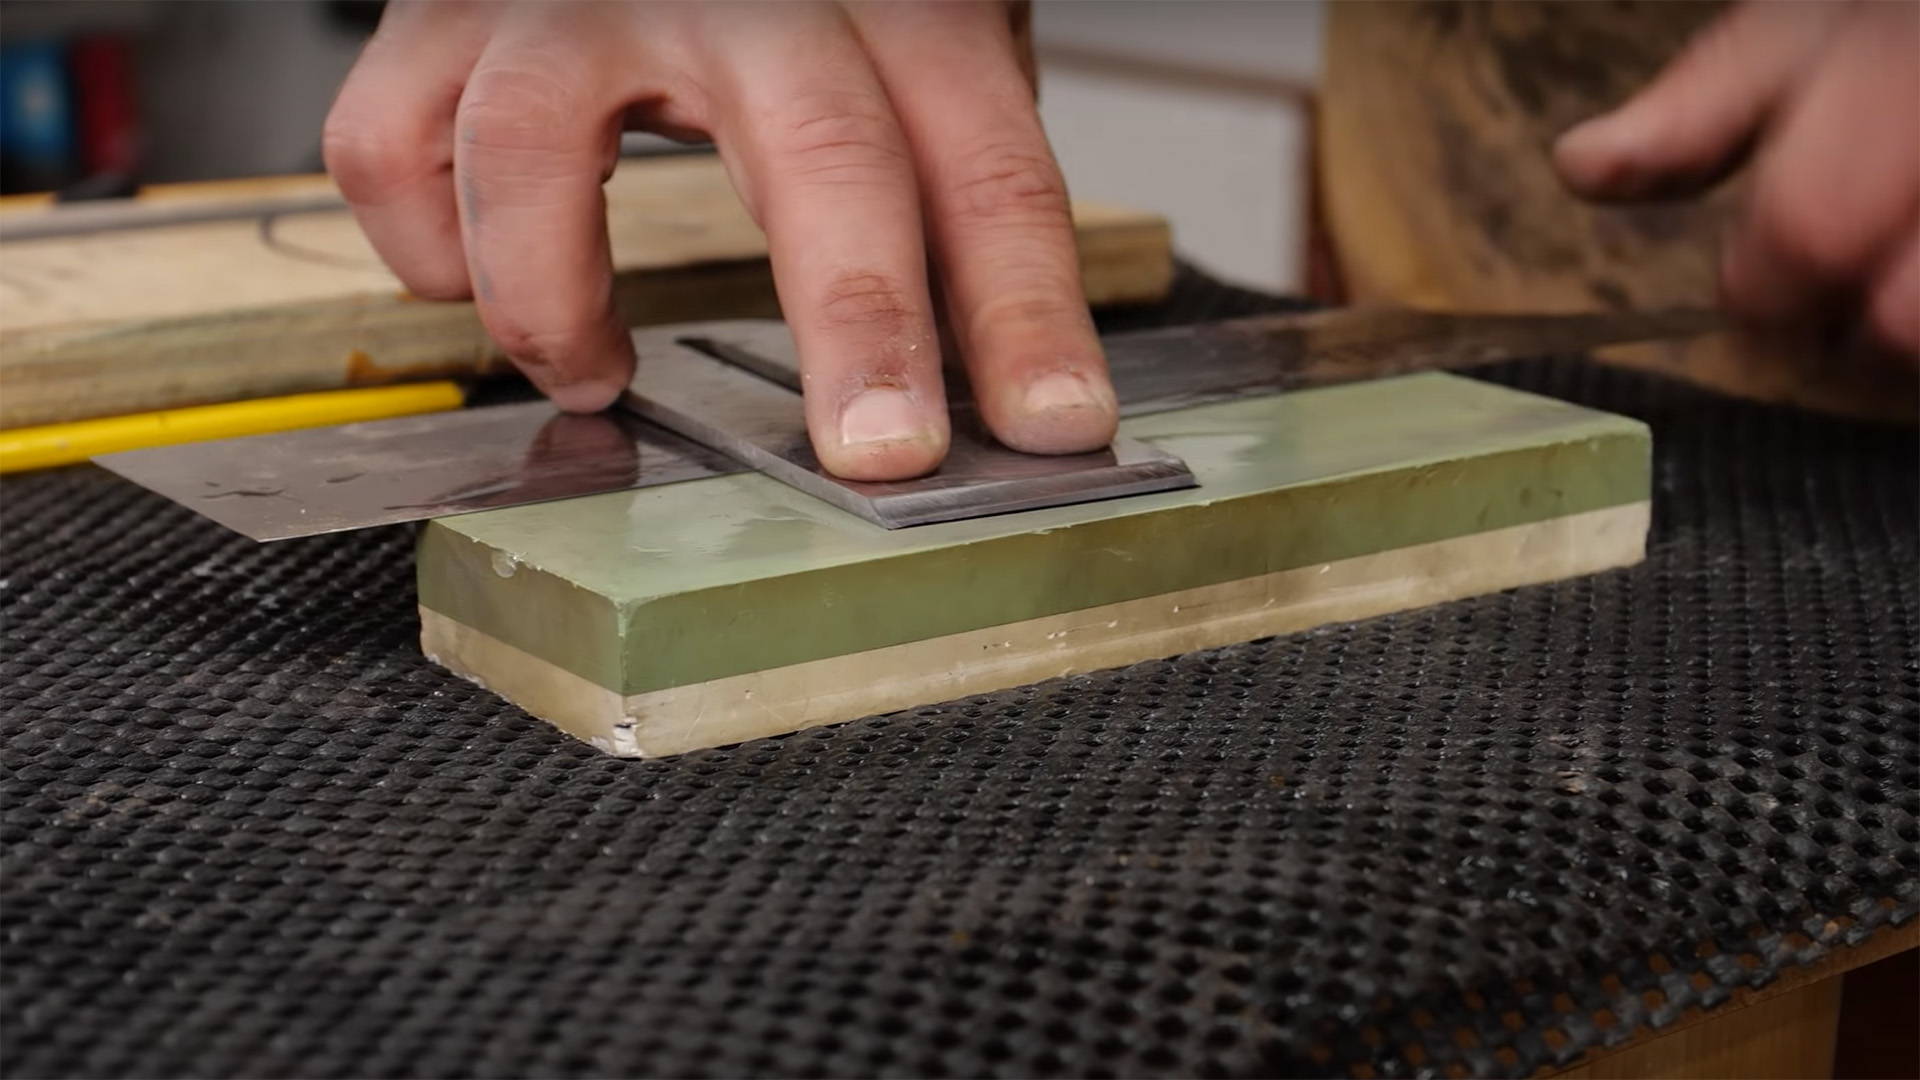
The method you use to create a burr doesn’t really matter. Waterstones, diamond stones, sandpaper, scary sharp, slow speed grinders — used correctly, they’ll all create a burr.
At this point, you’ve got a relatively sharp edge. But you’re not done.
Coarse grinds will still leave remnants of a burr and a ragged cutting edge.
The result is a decently sharp edge, but not one that will easily shave hair or slice through paper.
For that, you’ll need to refine the edge. And the best way to do it is to strop.
REFINING THE EDGE: DON’T STOP ‘TIL YOUR STROP
Once you created a burr and mostly removed it, it’s time to refine the edge.
And for refining sharp edges, stropping is key.
The point of stropping is to remove any last remnants of the burr and create a more uniform edge. This not only makes the cutting edge sharper, but also more durable.
There are lots of ways to strop.
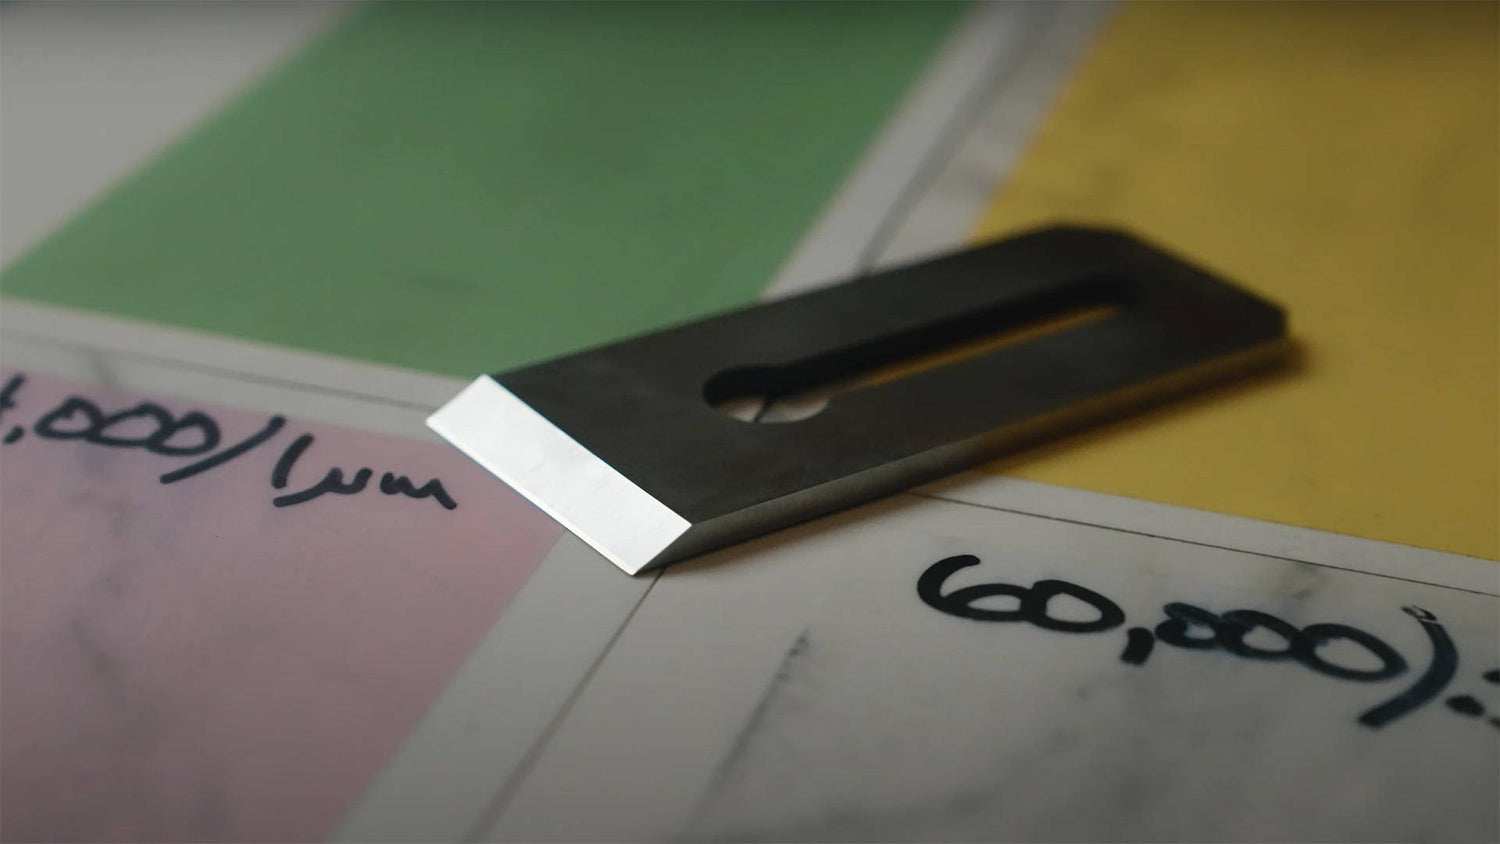
From our tests, hard leather strops were the most effective. But 60k grit lapping paper from the scary sharp system also worked super well.
(We tested stropping on MDF — and it was a total failure. But maybe it works for some people).
Stropping was so effective in our tests, it made honing on ultra high grit stones seem kind of ridiculous.
Whether straight off a 1200 grit diamond stone or a 30k grit ceramic stone, the strop quickly took both to the same level of sharpness.
That’s pretty crazy considering that 30k grit ceramic stone cost over $300 — and you can get a strop for under $10 (or free if you have a piece of leather lying around).
Point being, stropping is key to creating a truly sharp edge.
THE TAKEAWAY
Here’s what I learned from our sharpening tests:
Your sharpening setup does NOT have to be complicated to be super effective.
All that matters is that you create a burr, remove it, then refine that edge with some version of a strop.
The method you choose might depend on cost, maintenance, or simple preference.
But as long as you pay attention to what matters, every method will lead to the same result — and is just as valid as any other.
See? Sharpening is simple!
Want more details on the sharpening process? Here’s info on how to sharpen a chisel, how to sharpen a hand plane blade, and how to sharpen a card scraper.
What’s your preferred sharpening method and why? Let us know in the comments below!
Follow us on Instagram @katzmosestools, on TikTok @katzmoseswoodworking, and check out my YouTube channel for more great woodworking content...
And as always, STAY SAFE IN THE SHOP!


2 comments
Vera
thanks for the explanation! Can you explain a bit more in detail how you go about stropping? Pressure applied, angle, whether to use an abrasive product on the leather…
thanks for the explanation! Can you explain a bit more in detail how you go about stropping? Pressure applied, angle, whether to use an abrasive product on the leather…
Alan Puncher
I use a Tormek T4 for most of my main sharpening as I find it to be very accurate when using the fittings supplied with the unit, but I do have other methods of sharpening or for fine tuning the edge of a blade. I initially used oil stones of various values before trying water stones, diamond and glass stones, but the oil and water stones tended to create too much mess. I also use the Tormek leather wheel to strop the blades, but I am now looking for some leather to create my own stropping board to go with the flat stones when I am just fine tuning a new edge. Thank you for all the tips that you provide for working in the wood environment, they are much appreciated by somebody who has started woodworking later on in life have been a member of the armed forces for 36 years.
I use a Tormek T4 for most of my main sharpening as I find it to be very accurate when using the fittings supplied with the unit, but I do have other methods of sharpening or for fine tuning the edge of a blade. I initially used oil stones of various values before trying water stones, diamond and glass stones, but the oil and water stones tended to create too much mess. I also use the Tormek leather wheel to strop the blades, but I am now looking for some leather to create my own stropping board to go with the flat stones when I am just fine tuning a new edge. Thank you for all the tips that you provide for working in the wood environment, they are much appreciated by somebody who has started woodworking later on in life have been a member of the armed forces for 36 years.