Hand cut dovetails are a joinery style every woodworker should try at least once.
They teach you the intricacies of joinery layout and hand tool technique… which is a major lifesaver when there’s no safe way to make a particular cut on your power tools.
But traditional through dovetails are just the beginning.
Once you understand the fundamentals, there’s an endless array of variations you can use to make some absolutely mind-boggling designs.
Today, I’m highlighting 12 of the coolest dovetail joint styles I’ve cut — and I hope it inspires you to try them yourself (or at least see what’s possible).
While some of these might seem a little extra, they can really help you hone your abilities. Even if you’ve never cut a set of dovetails before.
New to dovetailing? Check out our specially priced Dovetail Bundles to get all the tools you need.
TABLE OF CONTENTS
- Traditional Through Dovetails
- Proud Dovetails
- Half Blind Dovetails
- Houndstooth Dovetails
- Japanese Sunrise Dovetails
- Inlaid Through Dovetails
- 3D Dovetails
- Inlaid Half Blind Dovetails V1
- Inlaid Half Blind Dovetails V2
- Triple Inlaid Dovetails
- Mitered Dovetail Corner
- Splined and Inlaid Mitered Dovetail Corner
TRADITIONAL THROUGH DOVETAILS
If you’ve never cut dovetails before, this is the place to start.
Through dovetail joints are one of the strongest joinery styles out there. The wedge shape of the tails means the joint can only be pulled apart one way.
That’s why they’re so often used for drawer fronts or tool box bottoms.
And while these dovetails make look “simple” compared to the other joints on this list, they still offer a ton of customizability.
The number of tails, thickness of pins, distribution across the edge of a board — you can manipulate these factors to cut a unique set of dovetails every time you do it.
PROUD DOVETAILS
This simple variation on traditional through dovetails is one of my favorites.
It gives boxes and furniture a more geometric and even rustic look — especially when you chamfer the proud joinery.
The tricky part of this joint is chamfering the edges without getting tearout. I recommend doing it with a really sharp chisel, and chamfering the long grain edges a little deeper first.
That way when you chamfer the end grain edges, you won’t blow out the long grain corner.
HALF BLIND DOVETAILS
Half blind dovetails are a fundamental, really useful, and great looking joinery style.
They’re used wherever you don’t want end grain visible on the front of a joint — like on drawer fronts where you’re after uninterrupted grain.
But then when said drawer is opened, you can see the joinery and the hard work that went into it.
Half blind dovetails aren’t as difficult as they look. If you can cut through dovetails, you can certainly cut these.
The difference is instead of going all the way through, the tails are embedded in the edge of the tails board.
HOUNDSTOOTH DOVETAILS
This decorative joint is a real showstopper.
You can do them in a through or half blind fashion, and they’re often used in workbenches to add some flare.
Houndstooth dovetails are super strong — even though they look delicate.
And although I had lots of people freak out over wood movement when they saw these, it’s nothing to worry about.
JAPANESE SUNRISE DOVETAILS
This version of Japanese sunrise dovetails was popularized on YouTube by Theo Cook (you can check out his channel here).
I won’t lie. This was a VERY challenging joint to cut by hand. But it provides incredible practice for developing good hand sawing skills.
Cutting Japanese sunrise dovetails uses a lot of the same techniques as regular dovetails. But sawing the compound angles provides a whole other level of technique.
If you want to push your abilities, definitely give this joint a try.
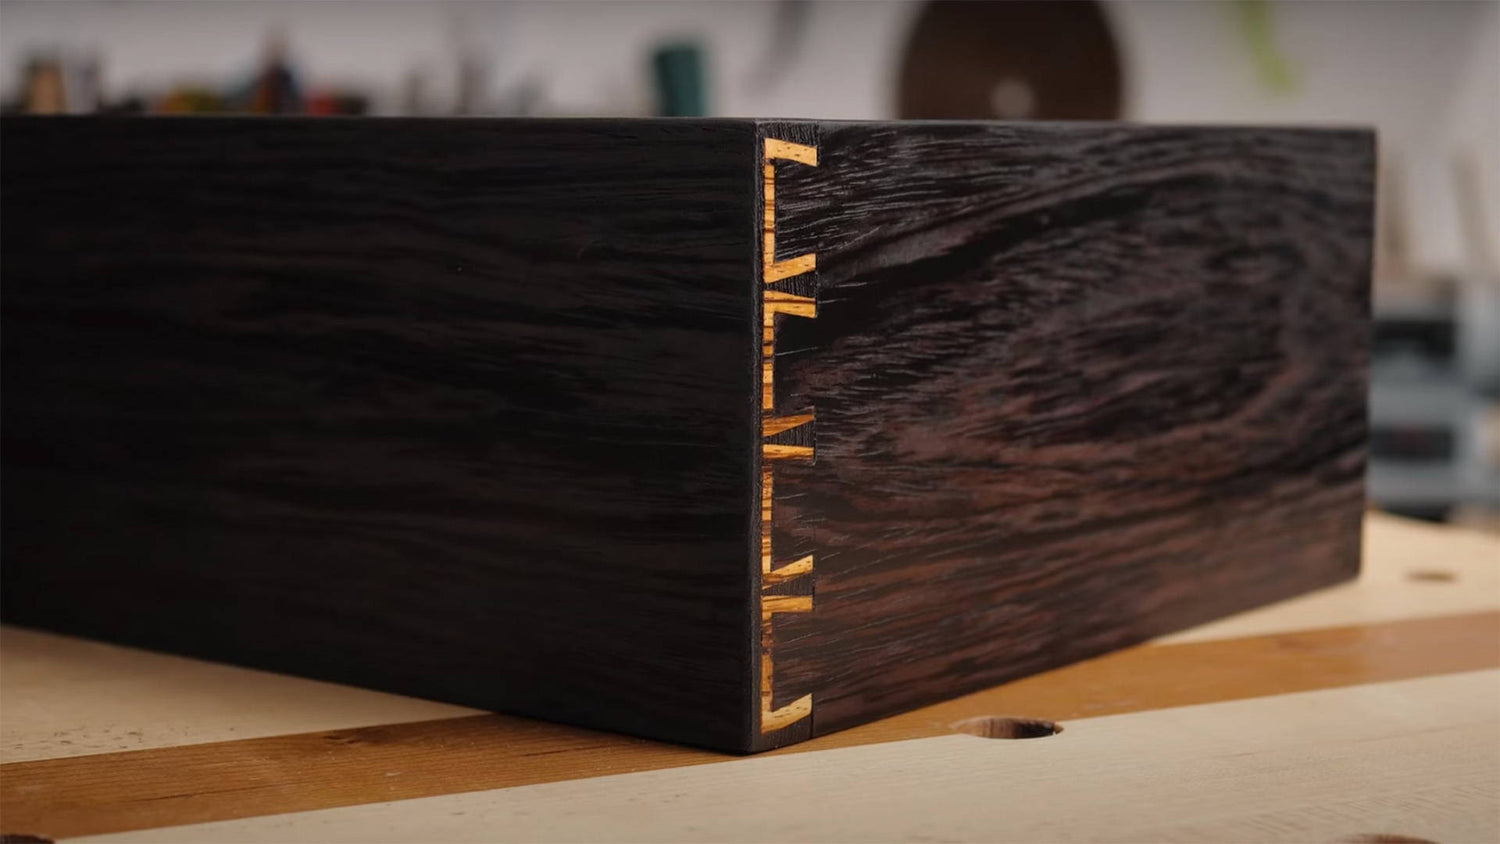
INLAID THROUGH DOVETAILS
Inlaid dovetails take you down a rabbit hole of interesting designs. I LOVE these joints.
This style where the inlay zig zags around the pins and tails is actually pretty simple. You essentially just cut dovetails twice — with the second set slightly offset.
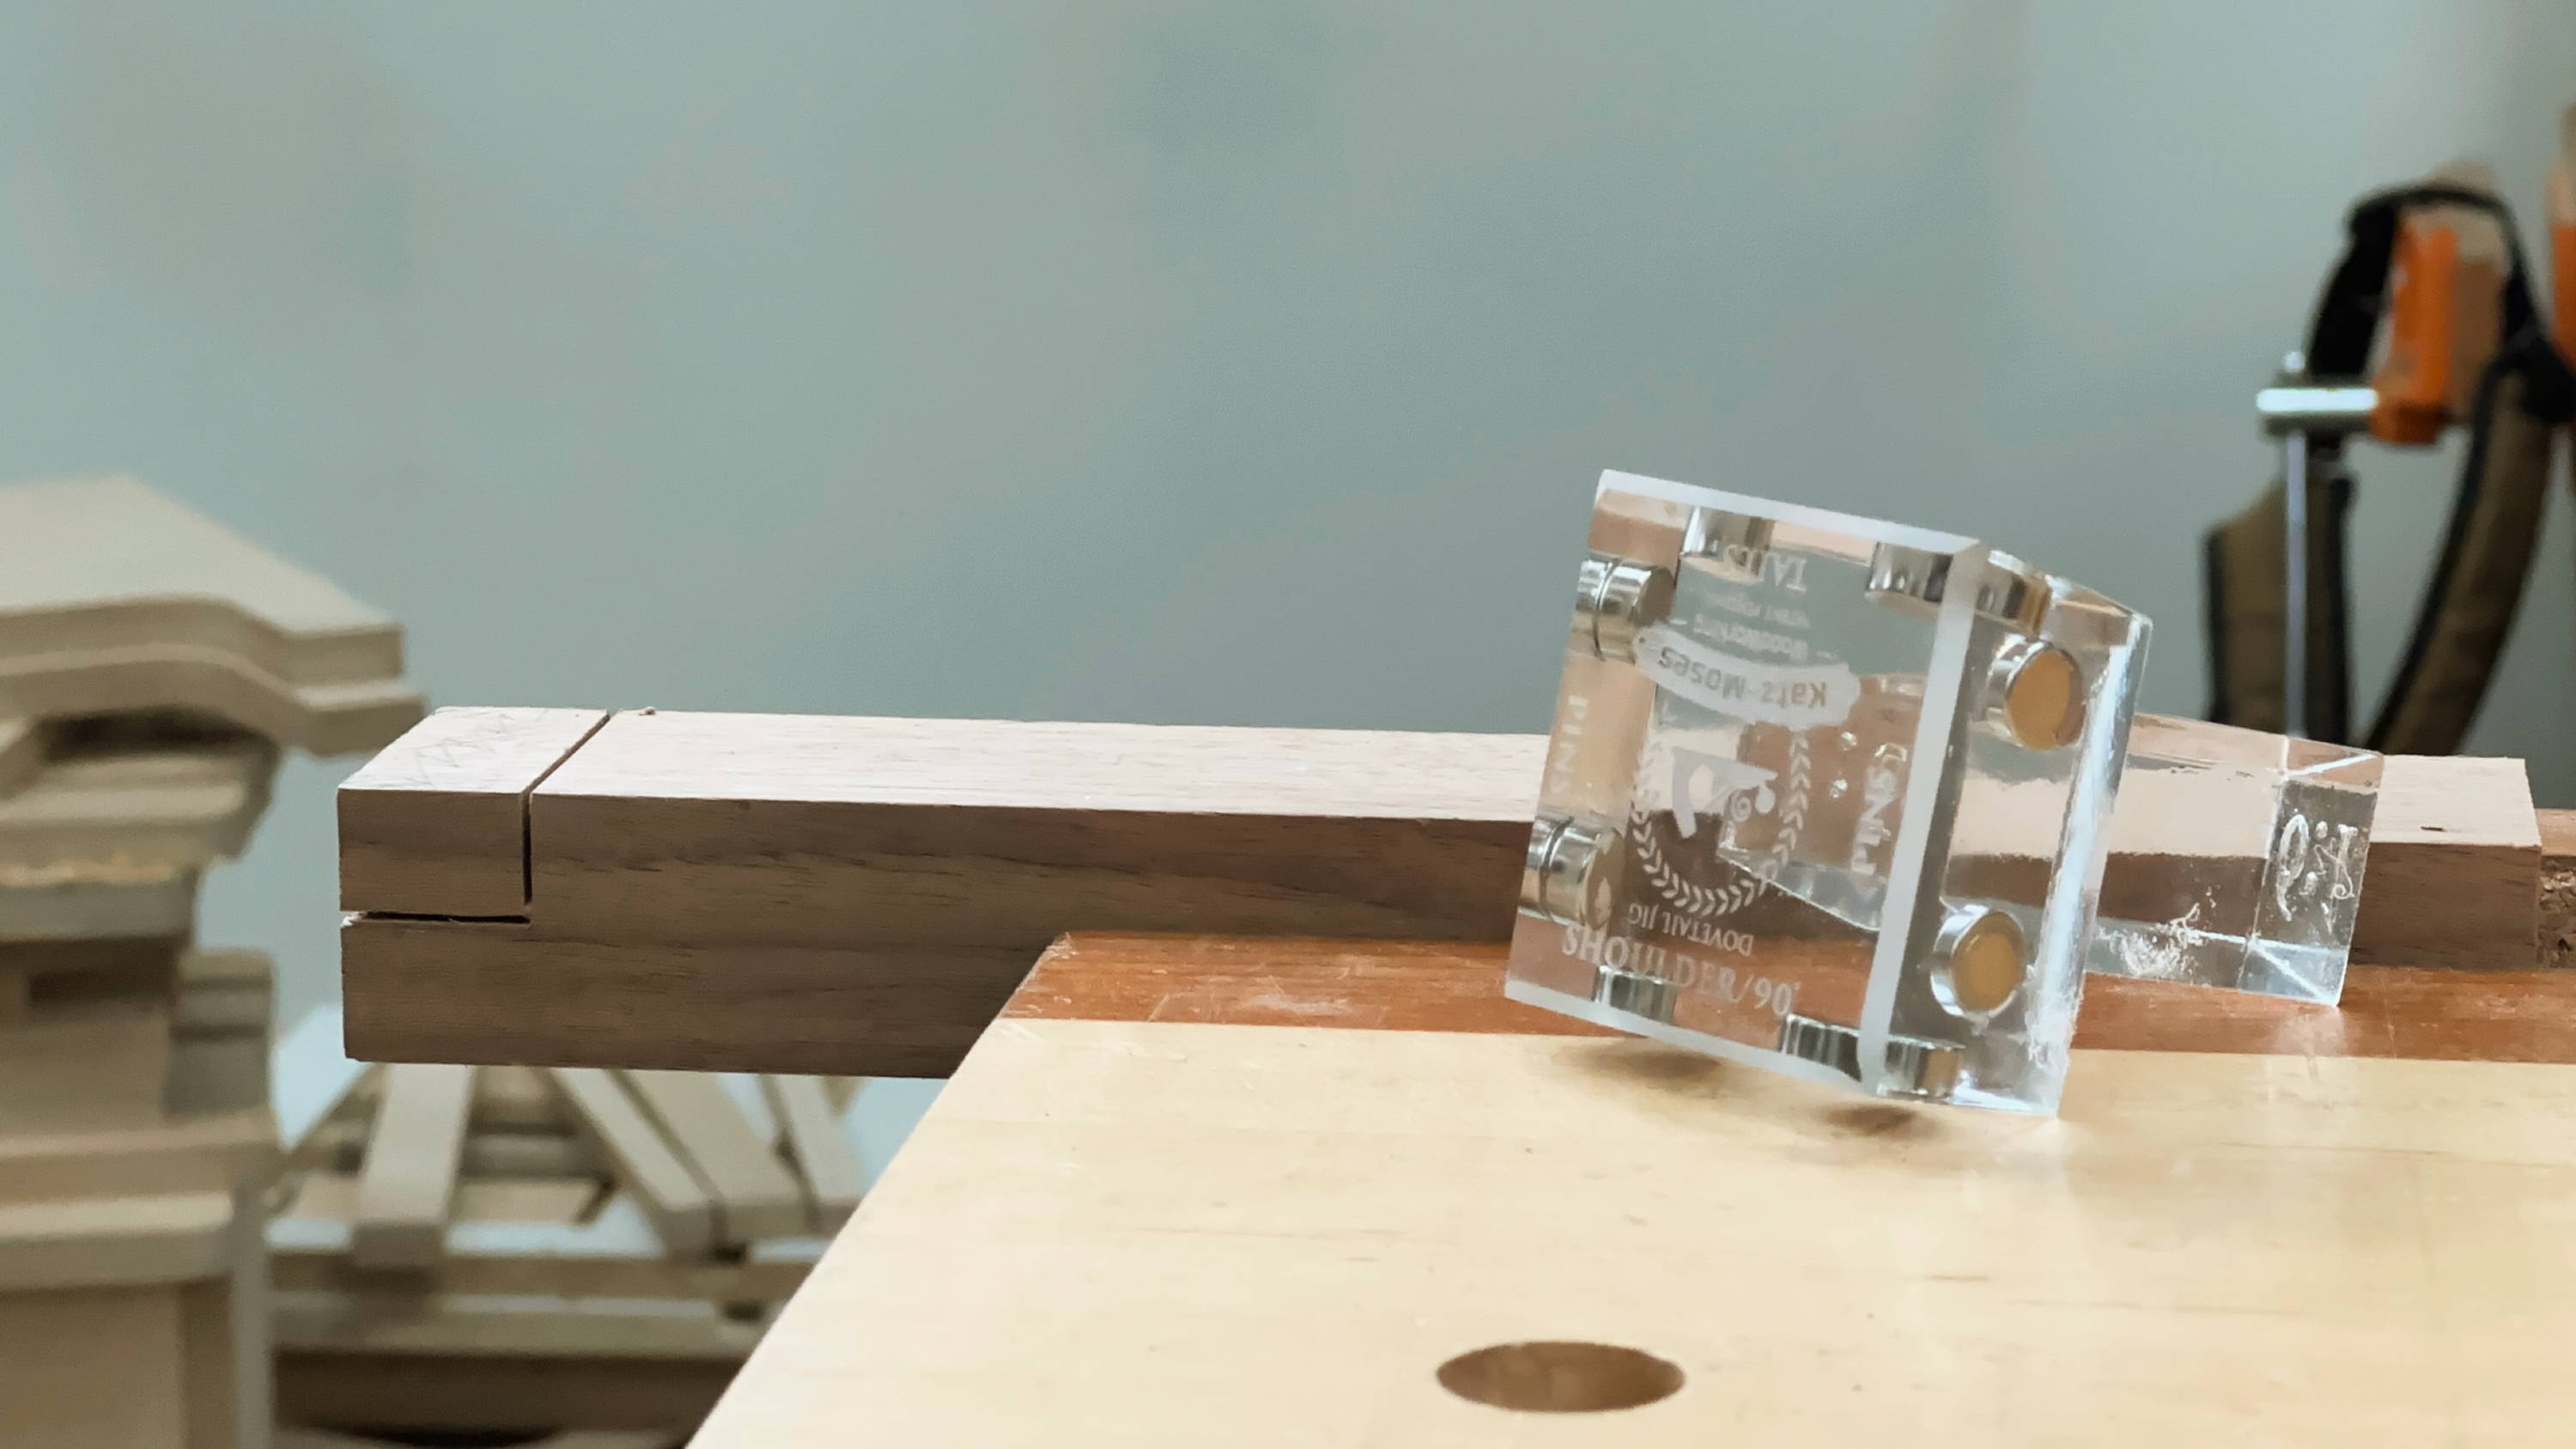
The key to making them look even is cutting at consistent angles. I highly recommend using a dovetail jig to ensure you saw at the same ratio every time with any style of inlaid dovetails.
I got the idea for these rainbow inlay dovetails from Ursus Woodshop (check out his channel here).
To highlight the rainbow veneers, I made the inlay thicker than I normally would. But this is a great chance to experiment with contrasting wood species.
3D DOVETAILS
This is another version of inlaid through dovetails that creates a sort of 3D visual effect.
Instead of zig zagging around the pins and tails, the inlay here also covers the end grain of the tails.
This joint starts with cutting two sets of tails that fit together — then trimming off the inlay and cutting a regular set of dovetails.
INLAID HALF BLIND DOVETAILS (V1)
This style of inlaid half blind dovetails creates a disconnected inlay that wraps around the outside of the tails.
It’s very geometric in look — and definitely will have people asking how you did it.
Turns out, it’s as simple as cutting half blind dovetails twice. Just offset the second set by the thickness of the first rabbet (it’ll make sense in the video), and voila.
As always, use contrasting wood species to make the inlay pop.
INLAID HALF BLIND DOVETAILS (V2)
As opposed to the inlaid half blind dovetails above, this version has a continuous inlay that zig zags between the pins and tails.
The process is almost the same as version 1, except you cut a rabbet in the pins board to preserve some inlay between each tail.
If it’s not clear by now, rabbets are at the center of inlaid dovetails.
TRIPLE INLAID DOVETAILS
These are some Inception level dovetails — with an inlay within an inlay within an inlay.
Are they necessary? Certainly not. But we’re the type of woodworkers that climb mountains because they’re there.
Triple inlaid dovetails are just a series of alternating rabbets and a lot of repetitive steps. If you want to hone your dovetail skills, this joint will do it.
The real trick with these is equal spacing and cutting at the exact same angle every time. Again, this is where a dovetail jig shines.
Three inlays is the furthest I’ve gone… but I challenge you to shed all common decency and take it a step further (if you dare).
MITERED DOVETAIL CORNER
I first saw this joint in a jewelry box class at the William Ng School of Woodworking and I absolutely loved it.
It’s a purely decorative joint — and isn’t actually a true dovetail.
The end joint is just a simple glued miter. So while it can certainly work for small decorative boxes, it isn’t strong enough for builds that’ll be heavily used.
(Trust me, I got chewed up in the YouTube comments for this one).
The dovetail design is achieved by cutting two sets of tails that fit together, trimming it down, then just cutting a regular miter.
Here’s some tips for getting better fitting miter joints.
SPLINED AND INLAID MITERED DOVETAIL CORNER
To rectify the criticisms I got for the original mitered dovetail corner, I made this spline-reinforced version — and added some inlay for extra flare.
This was a really fun one where I got to use some wild wood combinations, including ebony and purple heart.
More importantly, the added strength from the hidden spline addressed the concerns of my naysayers (may they forever push my woodworking skills).
A DELUGE OF DOVETAILS
Dovetails are an incredibly functional joinery style — but sometimes, functionality is only the beginning.
Hopefully seeing all these styles and variations inspires you to give them a try and add more visual interest to your builds.
They won’t come out perfect at first… But just know that the key is to practice, experiment, and develop your skills over time (and use a dovetail jig!).
Want to learn more? Here’s 11 Tips for Cutting Your First Dovetails.
And check out our Dovetail Bundles to get all the tools you need for dovetailing at a special low price.
What table saw accessories do you consider essential? Let us know in the comments below!
Follow us on Instagram @katzmosestools, on TikTok @katzmoseswoodworking, and check out my YouTube channel for more great woodworking content...
And as always, STAY SAFE IN THE SHOP!