


What’s the most satisfying part of woodworking?
For me, it’s when I take my time on a piece of joinery — and then it slides together like the pieces of a puzzle.
Oooh baby.
But joinery requires precision. And it can be difficult (i.e. frustrating) to get the results you’re after.
To help you out, I’m giving you my 8 favorite joinery tricks I’ve picked up over the years.
These techniques won’t make you a pro right off the bat…
But they can at least give you a head start in cutting joints that come together like long lost lovers.
Looking for more techniques to improve your woodworking accuracy? Read this.
1. LET YOUR TOOLS FIND CENTER
If you want a mortise and tenon perfectly centered on a board — why not let your tools do it for you?
Humans aren’t machines. If you try to center something just by measuring, there’s plenty of opportunity for errors.
But your tools are machines. And they’ll find center every time — as long as you work from both sides of your board.
The simplest example is a marking gauge.
To find the middle of a board, lock the blade to what looks like center. Then scribe a line with the fence on one side of the board, and a second line with the fence on the other.
The space inbetween is the exact center. Adjust the blade to get as close as you need.
Now let's take it a step further by actually cutting from both sides.
Say you’re cutting the slot of a bridle joint with a tenoning jig on the table saw.
Set the fence so you’ll cut one side of the slot (make sure the blade kerf falls on the waste side). Then flip the board around without adjusting the fence and make another pass.
Once you clear the waste in the middle, you have a slot that’s dead center on your board — all without any measuring.
(If you’re cutting angled bridles, you’ll need a second fence that leans the opposite way).
Centered mortises? Use a router with an edge guide or a router plane.
Set up the edge guide on your handheld router so the bit is visually close to center. Then make a pass with the fence riding along one side, and a second with it referencing the other.
The mortise will come out dead center, whether your setup was off by an inch or a hair.
With a router plane, flip the workpiece on its side so the mortise is facing sideways. Lower the blade to trim the lower mortise wall and chop in as far as the blade will go.
Do the same from both sides. Then use the sections you cut as a reference for your chisels to clear the rest of the waste.
You can also perfectly center your tenons by cutting from both sides.
Just be aware that any adjustment you make to the fence or cutting depth will be doubled — so keep adjustments small when dialing a tenon in to fit.
Use this principle with almost any tool.
Your band saw, router table, drill press — the key is working from both sides of the workpiece without adjusting any of your set up.
2. START WITH NEGATIVE SPACE
Life is short and the world is cruel.
Oh, wait. That’s not the negative space I’m talking about. I’ll save that for my therapist.
By negative space, I mean the recesses you cut to be filled by other pieces — usually tenons.
If you’re doing a bridle joint, start with the slot. For mortise and tenon joints, start with the mortise.
The reason is it’s a lot easier to size a tenon to fit these recesses than the other way around.
You just need to shave a little material off the cheeks to trim down a tenon.
But trimming down a mortise or bridle joint involves cutting inside walls — which are a lot harder to access and keep flat.
You could do it the other way around, and a lot of people do. But I find this order of operations to be the most forgiving.
3. DIAL IT IN WITH HAND TOOLS
I love my power tools. My table saw is an absolute workhorse for me when it comes to cutting joinery.
But for dialing things to absolute precision, I turn to my hand tools.
I’ll clear the bulk of the waste with power tools, but stay just a hair shy of my line.
Then I’ll come in with a router plane, rabbeting plane, or chisel and take off the last bit of material.
Hand tools cut slower — and when you’re dialing things in, slow is good.
Say you’re cutting a lap joint where you want the tops of the two boards flush.
Use a table saw to cut out most of the waste. Then use a router plane to shave away thin layers of material from both pieces.
(The advantage of router planes over rabbeting planes is you know your cuts will be coplanar to the reference face).
Test the fit, and repeat until you’re happy.
4. USE CHISEL GUIDES
There’s no way around it — joinery and chisels go together like a lonely night at home and exorbitant amounts of ice cream (or whisky…).
But chiseling at an exact angle isn’t easy. That’s where chisel guides, or guide blocks, come in.
A chisel guide is just a block of wood with two faces cut to the angle you’re after. It’s used as a reference for steadying and guiding your chisels.
For example, if you’re clearing a notch for a 90° leg, use a 90° block to guide your chisel for the final paring cuts.
But say you’re doing splayed legs and the notch needs an 80° wall.
Mill a piece of lumber square. Set the bevel of your table saw blade to 80°, and rip off one side. Now clamp this board to your workpiece so the edge perfectly lines up with your layout lines.
Once you’ve cleared the bulk of the material, hold the back of the chisel steady on the guide block and take off slices until the face is flat.
You can even use the Katz-Moses Magnetic Dovetail Jig as a guide block.
It’s especially useful for paring down the sides of your pins, since the magnets hold your chisel steady and the face is already at the perfect angle.
5. CHOOSE REALITY OVER RULERS
It sounds ironic. But the less you measure, the more accurate you’ll be.
Choosing reality means referencing your actual boards — and not relying on measurements of them.
Say you’re cutting a half lap.
Instead of trying to transfer the width of one board to another, use a square to steady the board in the right position and trace the other edge with a marking knife.
Just make sure the flat part of your marking knife blade is flat against the edge you’re tracing.
Now let’s take this a step further.
MY FAVORITE HALF LAP TRICK
This trick is the absolute best way to get perfect fitting half laps with no measuring at all (you can also adapt it for bridle joints).
All you need is a fence, stop block, and a “kerf strip” that matches the kerf of your tool’s blade.
Here’s how it works:
1. Choose where you want one edge of the half lap to be on your workpiece. Line it up with your table saw blade, making sure you’ll cut on the waste side.
2. Place the kerf strip between the end of your workpiece and a stop block. Lock the stop block down so the kerf strip is wedged between the two. Not too tight — just snug.
3. Make your first cut. Now remove the kerf strip from between your workpiece and stop block.
4. Place the second workpiece between the first one and the stop block. Make sure it’s oriented the right way. Push the first workpiece up against it so it’s snug. Make a second pass.
5. Clear the waste between the two kerf cuts. The space left will be the exact width of your second workpiece.
The kerf strip is critical here. If you don’t use it, the recess you cut would be wider than the second workpiece — by the exact kerf of the blade.
You can adapt this technique to other power tools, like a miter saw, band saw, or router table. What matters is that the kerf strip be as close to the exact thickness of the blade as possible.
HOW TO MAKE A KERF STRIP
A kerf strip can be anything that matches the kerf of your blade. Feeler gauges or gauge blocks are great. Even the right sized drill bit can work.
You can also make your own with a strip of wood.
Start by making a test cut in a piece of scrap. The thickness of the kerf left behind is what you’ll match the kerf strip to.
Dial in a thin piece of scrap to fit the kerf. If it’s too small, add strips of blue tape until it’s snug.
Another option is to use business cards. Slide them between the kerf until they match its thickness. Then use the same amount of cards to wedge between your first workpiece and stop block.
6. PLAN TO BE PROUD
A lot of joints have exposed end grain, and you often want it to flush with the rest of your piece.
Think through tenons, dovetails, bridle joints, and the like.
But getting that end grain perfectly flush right off the bat means you need to be exact.
An easier method is planning to make the exposed end grain slightly proud — so it extends beyond the long grain faces.
Then once it’s assembled, you can flush trim the end grain.
It’s an extra step, but doesn’t require you to be so accurate. And it always gives great results.
Do your flush trimming with a flush trim saw, low angle block plane or jack plane, or flush trim bits on a router.
If you use a plane, make sure to cut from the outside in towards the piece. That way, you don’t risk tearing out the end grain.
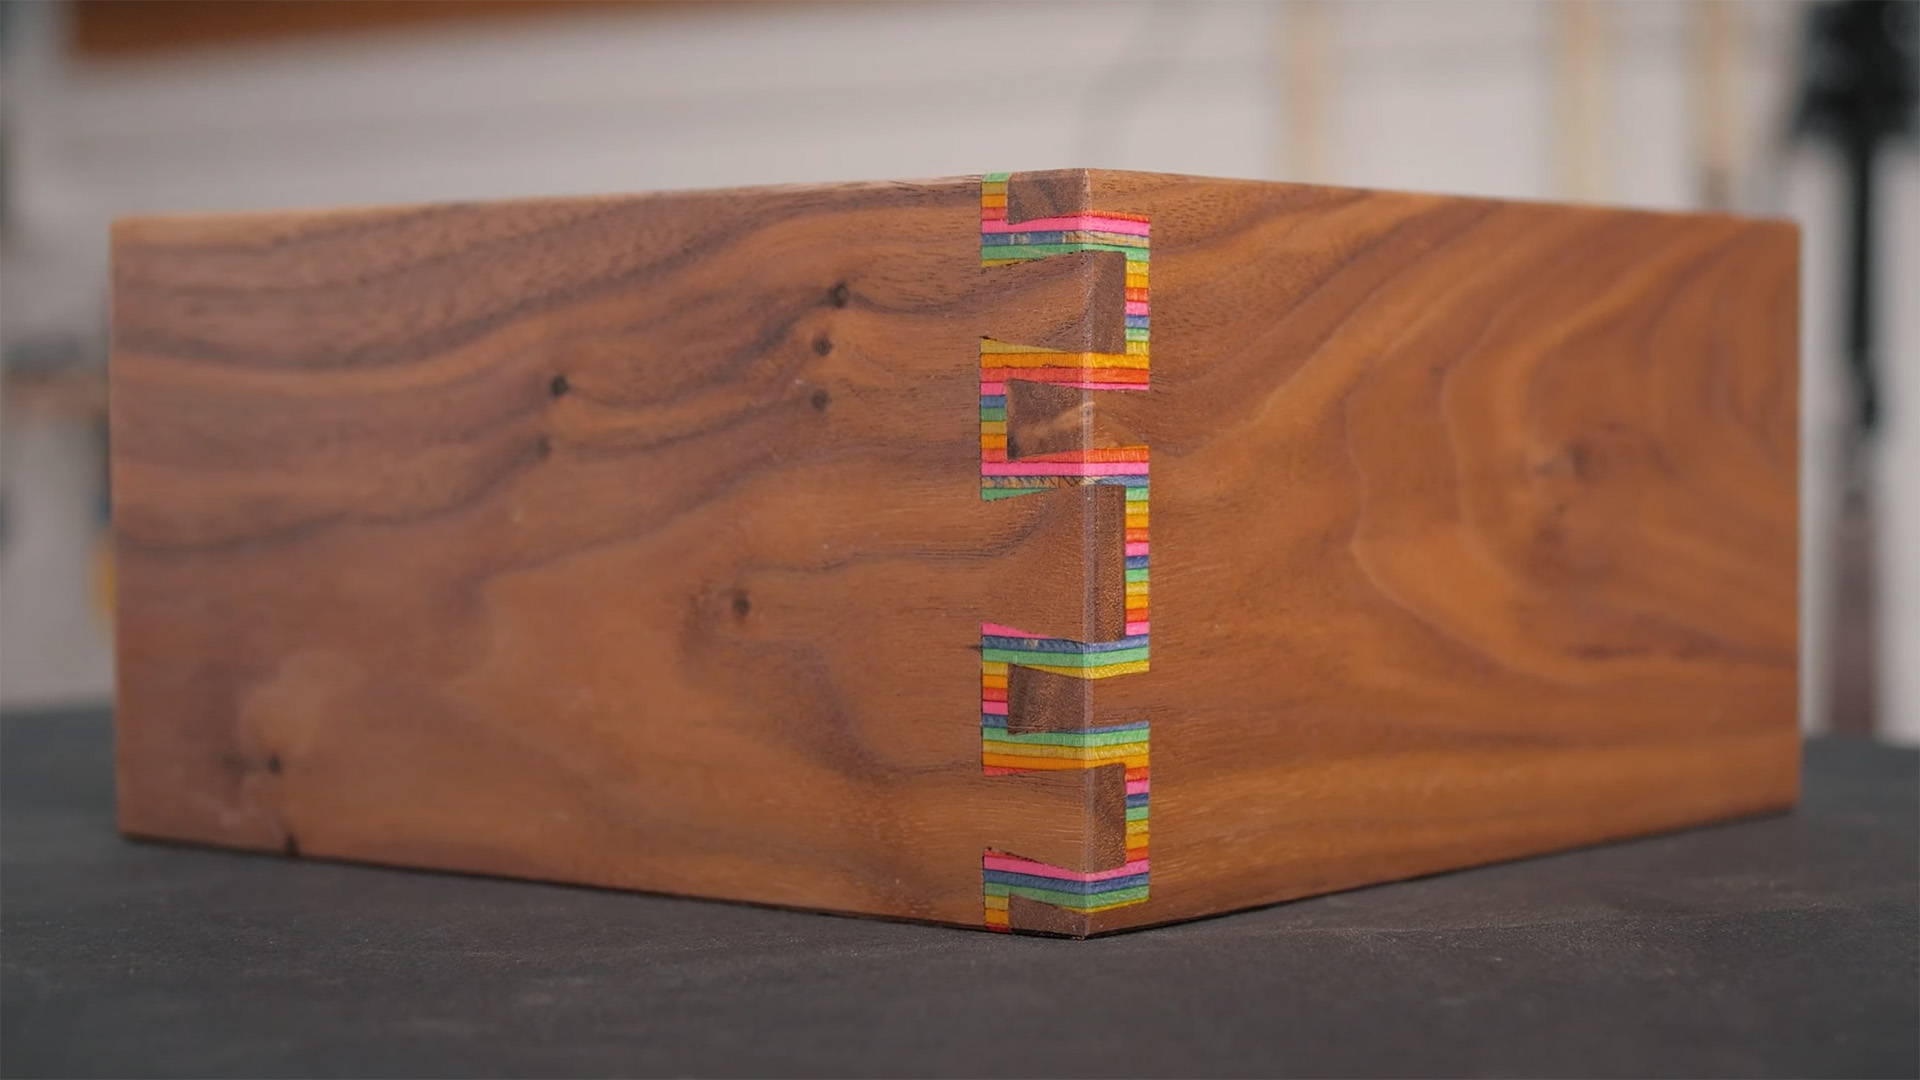
7. CHAMFER INSIDE EDGES
To help your joinery come together, chamfer the edges no one will ever see.
It ensures nothing gets snagged up as you put the joint together — especially on joints with multiple points of contact, like dovetails.
I’ll use a super sharp chisel to trim off thin strips of material on these inside edges. Just be careful to not cut into any show faces.
8. A LITTLE LOOSE IS OK
A common mistake people fall into is making their joinery too tight.
Here’s the thing: Glue will cause the wood to swell slightly.
So even if your joint feels a little wobbly, the glue will tighten it right up. And yes, it’ll still be super strong.
If your joint is too tight, ALL the glue will all squeeze out and you won’t have as tight of a bond. Or worse, you won’t be able to get things assembled when the stakes are high.
So what is the right fit?
You should be able to get your joints together with mostly just the pressure of your hands. At most, it should take some light taps with a mallet.
If you need to absolutely wail on it with a hammer to get your boards together — it’s too tight.
Grab your hand tools and shave things down a bit so they come together more easily.
GET SNUG
Cutting joinery has always been my favorite part of woodworking.
It’s a challenge that puts your skills to the test — and when it comes together, there’s few feelings as satisfying.
No one became a joinery master in a day. But the tips above will help you get closer to those super precise fits you’re after.
Just remember to take your time, go easy on yourself, and enjoy the process.
Got any joinery tricks up your sleeve? Share them in the comments below!
Follow us on Instagram @katzmosestools, on TikTok @katzmoseswoodworking, and check out my YouTube channel for more great woodworking content...
And as always, STAY SAFE IN THE SHOP!
7 comments
Rob Haney
Quick tip for miter joints: cut your angles at 44-44.5 degrees instead of 45. That way, when assembled, any minor gap will be on the inside and your outside edges will be crisp without having to burnish them closed.
Quick tip for miter joints: cut your angles at 44-44.5 degrees instead of 45. That way, when assembled, any minor gap will be on the inside and your outside edges will be crisp without having to burnish them closed.
Annie
How do you use the magnetic tool with creating dovetails on angled corners (Pyramid-ish shape box) ?
How do you use the magnetic tool with creating dovetails on angled corners (Pyramid-ish shape box) ?
Irwin Langewisch
Thank you for a new perspective on joinery. I have always been Leary on dovetails , and box joints. I believe your blog will be a great help. Again thank you John
Thank you for a new perspective on joinery. I have always been Leary on dovetails , and box joints. I believe your blog will be a great help. Again thank you John
GW
A great assemblage of tips here. I just wish your blogs were printable, these nuggets could prove useful if your shop didn’t have computer access. If there is a print widget, it’s craftily hidden from my view. Not being a thief or a content swiper I guess the logic in that escapes me. You do allow for a person to share it through innerweb media sites, just not keep a copy for yourself.
Ok, gripes over, keep sharing. I’ll just have to open it up online, read and try to remember what I read. Some day when you get old and cranky you’ll see what I mean.
Bob
Jody at Inspire Woodcraft has a short video about a very easy method to make perfect kerf strips or kerf width splines. The video is at https://www.youtube.com/watch?v=aoxlrOKWTRk Thanks Jonathon for making these videos with tips and techniques.
Jody at Inspire Woodcraft has a short video about a very easy method to make perfect kerf strips or kerf width splines. The video is at https://www.youtube.com/watch?v=aoxlrOKWTRk Thanks Jonathon for making these videos with tips and techniques.
Bruce Furie
There are many outstanding master woodworker/teachers available to educate us amateurs. YouTube, books, blogs, publications, etc. Katz-Moses’ blog is among them and should not be missed. How about publishing a compendium of them as a pdf and distributing them on the web?
There are many outstanding master woodworker/teachers available to educate us amateurs. YouTube, books, blogs, publications, etc. Katz-Moses’ blog is among them and should not be missed. How about publishing a compendium of them as a pdf and distributing them on the web?
Patrick Daniels
Some great advice here, I’ve often seen friends hammering joints together with a mallet, I’ve explained your thoughts with them, often to no avail.it’s a learning process you’ve done a great job explaining, I’ll forward this on to them, thanks again!!
Some great advice here, I’ve often seen friends hammering joints together with a mallet, I’ve explained your thoughts with them, often to no avail.it’s a learning process you’ve done a great job explaining, I’ll forward this on to them, thanks again!!