


Some people have a finish fetish. I am not one of those people.
When finishing a woodworking project, my goal is to get beautiful and durable results as quickly as I can.
And that’s why lacquer is my #1 choice for finishing furniture.
The process is so easy it almost feels like cheating. But the results are superior protection, a gorgeous and professional look, and less than an hour of actual working time.
I’m going to explain my entire process for applying lacquer finishes — using both rattle cans and HVLP — as well as problems you might run into.
If you want to spend more time building, less time finishing, and get furniture that looks great and lasts a lifetime…
Then scroll that screen, my friend.
PROS AND CONS OF LACQUER FINISHES
PROS OF LACQUER FINISHES
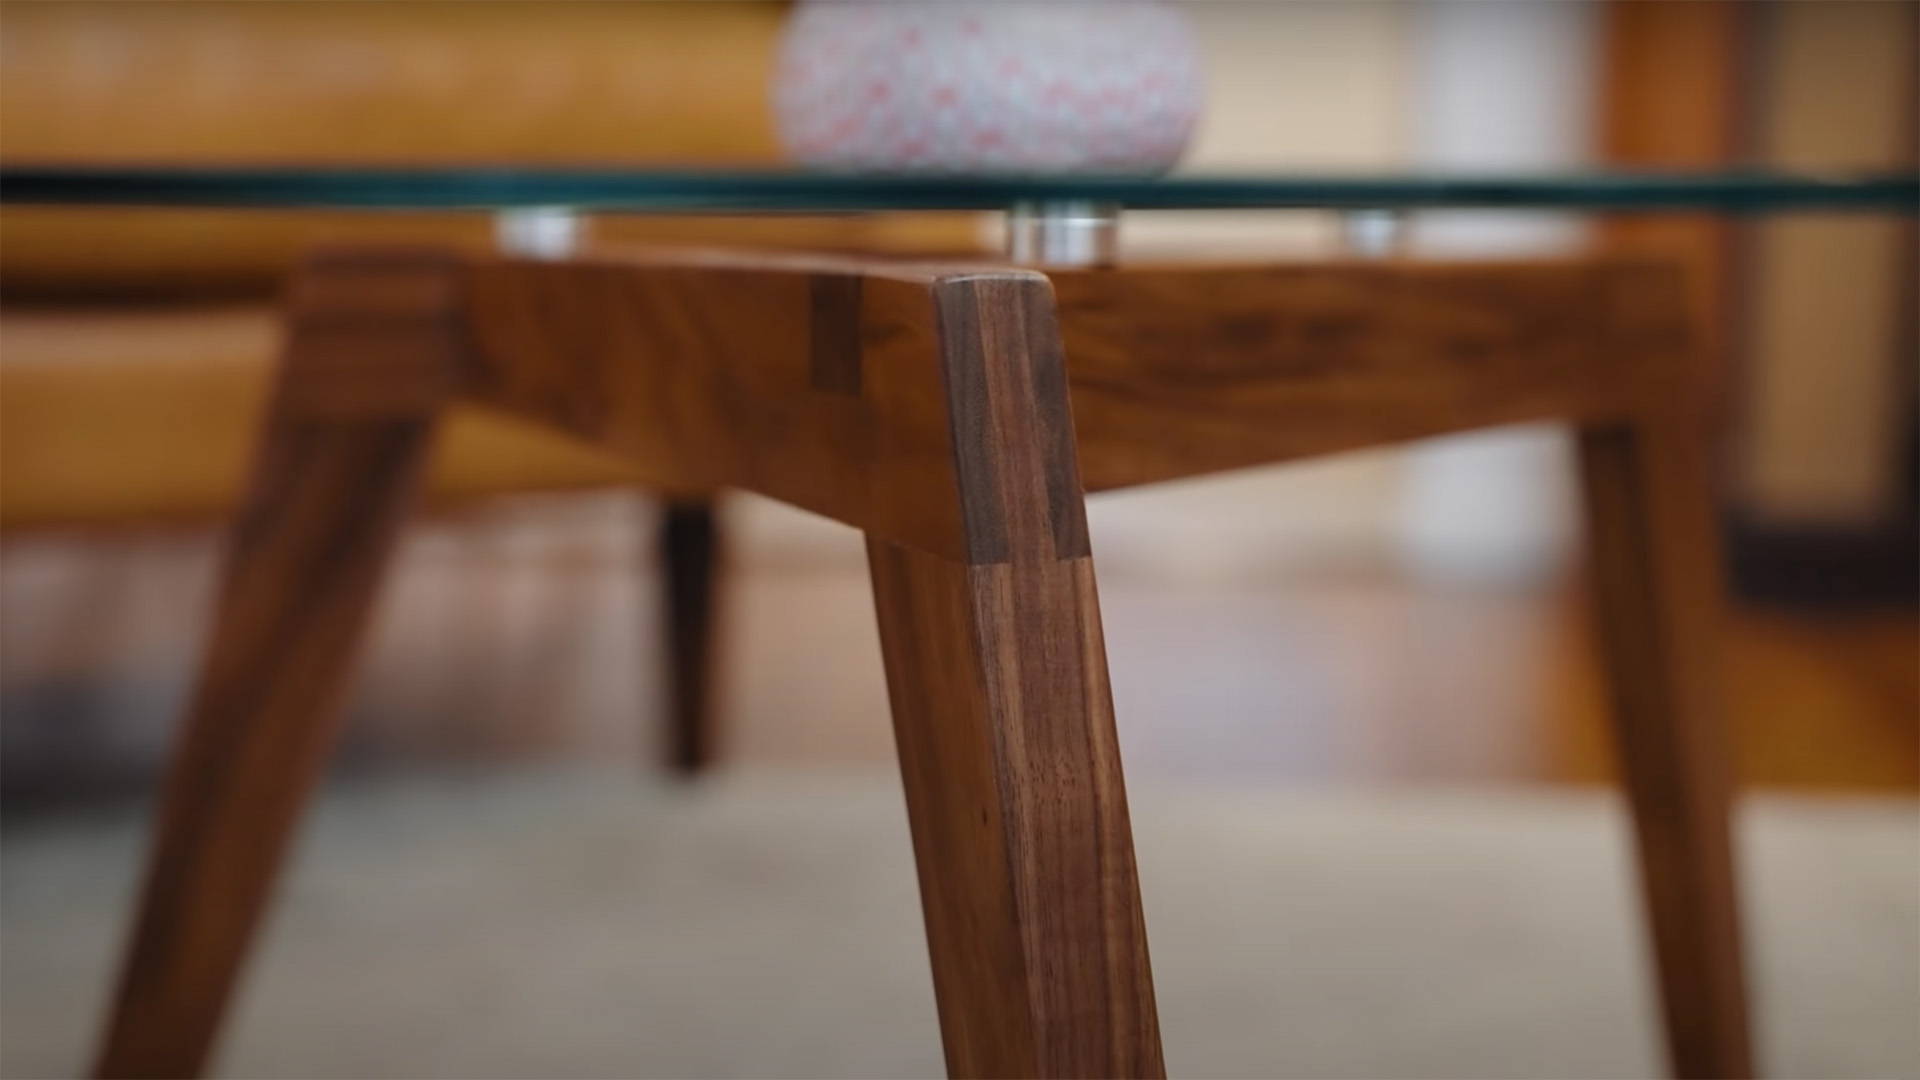
- Looks and feels beautiful: Satin lacquer creates a matte finish almost like oil, but offers a ton more protection. And when done correctly, it feels super smooth to the touch.
- Durable: Three layers of lacquer create a super durable shield for your woodworking projects. It may not be enough for outdoor builds, but definitely for household furniture.
- Dries fast: Coats of spray lacquer can dry in as little as 3-5 minutes — making it easy to put multiple coats on a piece of furniture in under an hour.
- Requires less sanding: You don’t need to sand between coats with lacquer (like you do with polyurethane) — and you don’t even need to sand your project that high before finishing. I usually only go up to 150 grit, and the end result still feels ultra smooth.
- Easy to fix: Lacquer is self-wetting — meaning each layer rewets and bonds to the layer below. That makes it super easy to clean up if you have any pooling, drips, or debris.
CONS OF LACQUER FINISHES
-
24 hour cure time: Since lacquer is self-wetting, it needs to fully cure before you assemble separate parts.
If you finish a drawer and cabinet, don’t install the drawer until the next day. Otherwise, the lacquer on the two pieces can bond and will rip when you try to separate them.
-
Need a respirator: Lacquer fumes contain VOCs (volatile organic compounds) which you definitely don’t want to breathe. Wear a respirator mask or particulate-grade dust mask, and use in a well ventilated area or outside.
Also, make sure it’s fully cured before bringing it inside so you don’t fumigate your home.
-
Doesn’t brush well: Lacquer can be tricky to apply with a brush and get super even results. But this isn’t a big deal since I always spray my lacquer finishes anyway.
WHAT GLOSS LEVEL LACQUER SHOULD YOU GET?
Glossy finishes are the favorite of beginner woodworkers — but they tend to make your projects look like plastic.
Semi-gloss is a little better, but still not my favorite.
I always prefer to use satin lacquer. It gives your furniture a subtle sheen like an oil finish — but still provides a ton of protection.
I’ve found that the glossier the finish, the more it highlights imperfections. And as they gain more experience, most woodworkers realize you really want to emulate that matte oil look.
But hey. If you like furniture so shiny you can study your sweet mug in its reflection, don’t let me stop you.
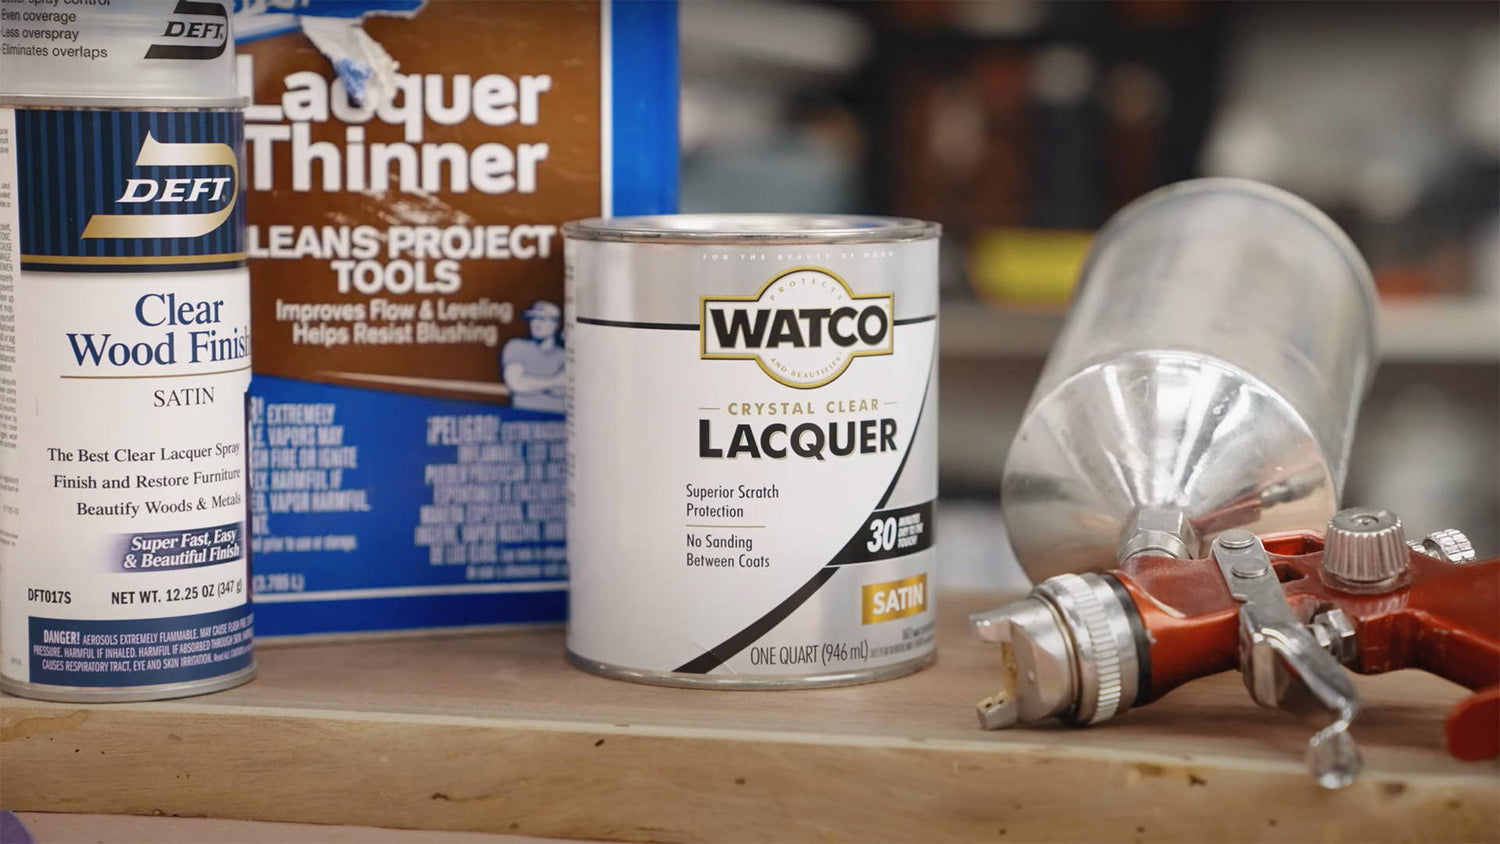
RATTLE CANS VS HVLP LACQUER APPLICATION
Both rattle cans and HVLP guns (high volume, low pressure) can give you a superb looking finish.
The cans tend to have a more concentrated fan, spraying more material in a smaller area — so you need to move a little faster.
They also require no setup, which is super nice. It’s just shake, point, and spray (stop it…).
That said, HVLP guns are super easy once you get to know them. They give you more control over everything, including spray volume, fan size, and the ratio of lacquer to thinner.
Even though it’s more of an investment upfront, HVLP will save you money down the road. A quart of lacquer goes a lot further than a spray can, and the cost difference isn’t even that big.
Here’s a video to help you get started with HVLP.
If you go with cans, get the ones with the split spray nozzles. They let you adjust the fan direction and require less pressure to hold down. Plus they don’t spatter like regular nozzles.
These are the spray lacquer cans I use.
In the end, the choice between cans and HVLP is up to you. Both work super well.
HOW TO SPRAY A LACQUER FINISH
Before getting into the details, here are the basics of spraying lacquer finishes:
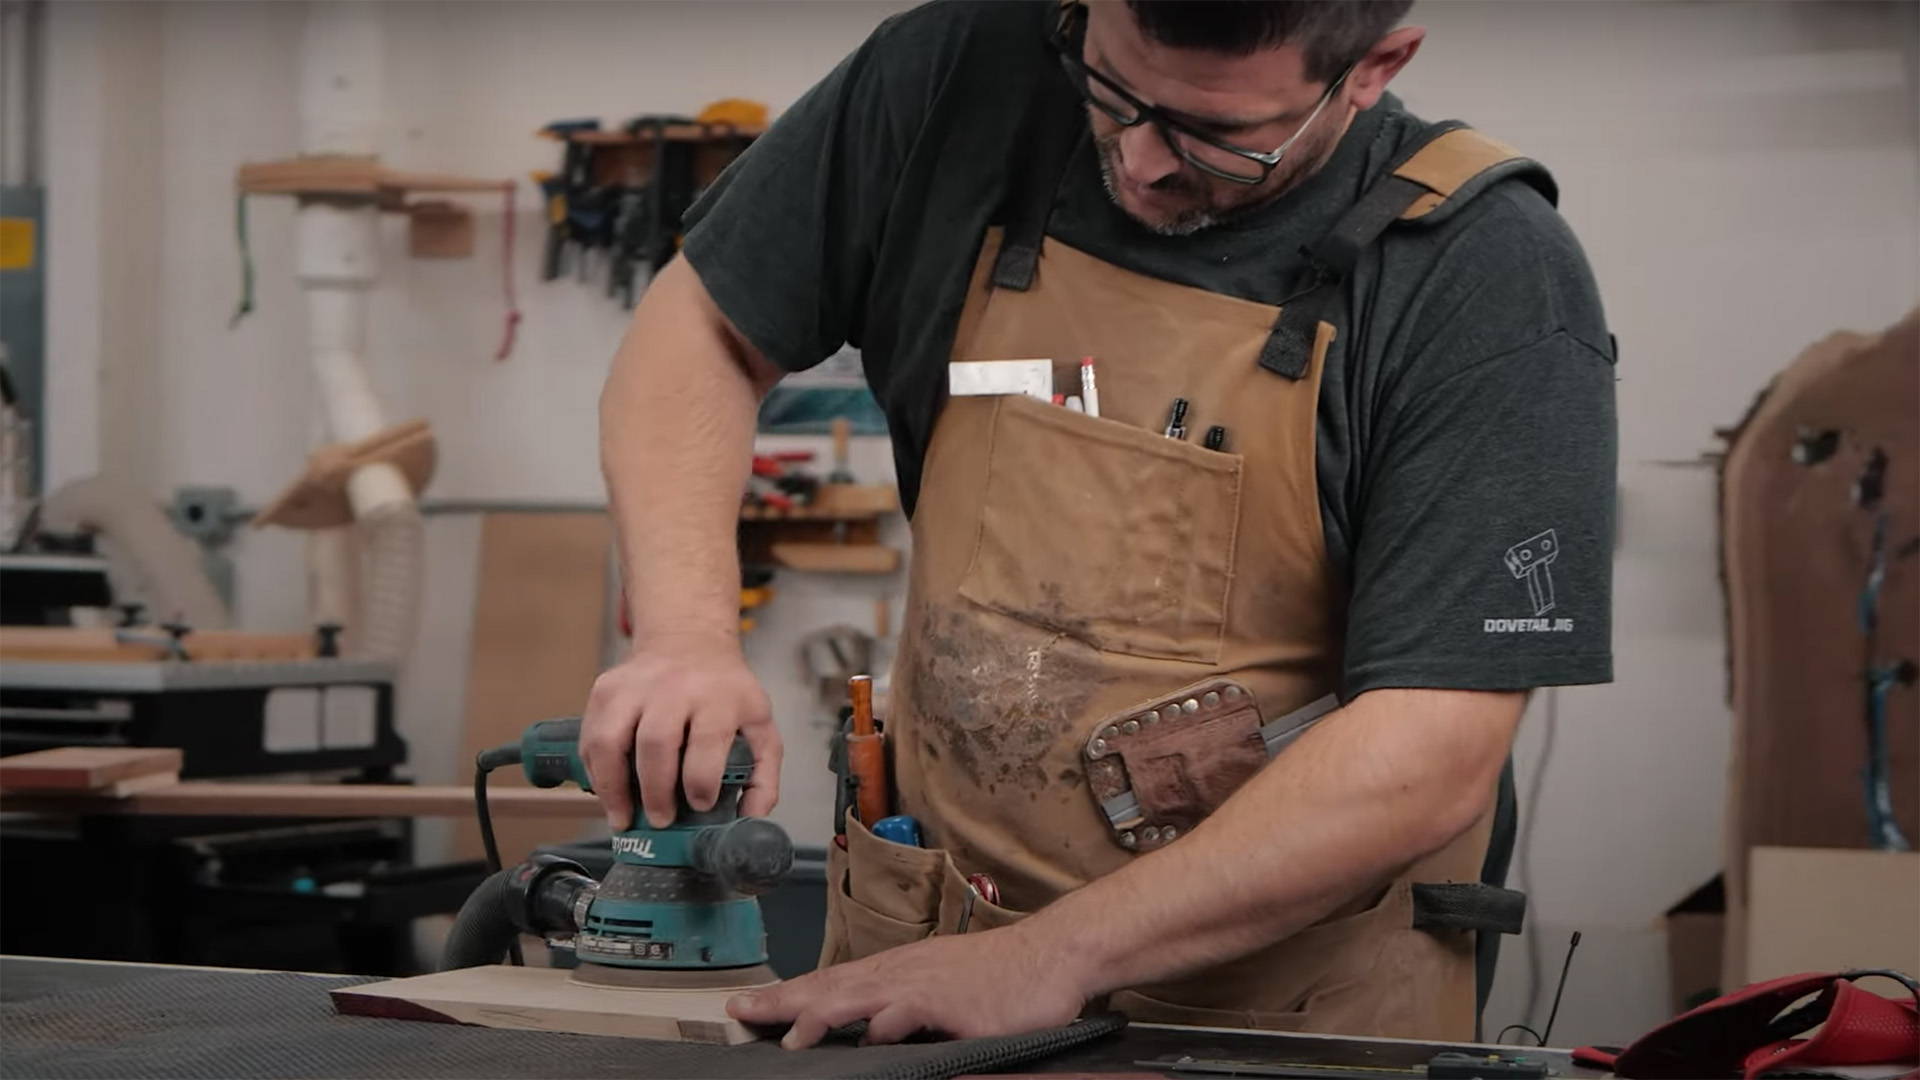
- Sand up to 150 grit or higher
- Apply three coats to all sides (double up on end grain and knots)
- Lightly sand with high grit sandpaper
- Apply a light final coat to all sides
Now let's dive in.
1. SET UP YOUR FINISHING STATION
First off, make sure you have good ventilation.
I like to spray lacquer outside on a couple sawhorses. But even still, always wear a mask rated for the job.
If you need to finish in your shop, it doesn’t mean you need a full on spray booth. Most of the spray will dry before it even hits the ground. But just to be safe, you can throw some tarps over your big tools.
Make sure to use fresh stickers (thin strips of wood that prop up boards) to support your workpiece.
If there’s any lacquer on the stickers from a previous finish job, it’ll rewet and stick to your project even if it’s fully cured.
In terms of sanding your workpiece, I usually only go up to 150 grit. You can go higher if you like, but the lacquer will create a super smooth finish regardless.
2. KNOW YOUR SPRAY TECHNIQUE
Here’s a few things to keep in mind when spraying lacquer. These are true for both rattle cans and HVLP:
- Keep nozzle 6-8 inches away from the surface as you spray
- Overlap sprays by half to cover larger areas
- Keep nozzle parallel to surface being finished: If the nozzle’s angled, material won’t be applied evenly since one side of the fan has to go further to reach material
- Move at a steady pace to ensure even application
- Start spray before beginning of workpiece and stop after the end: This makes sure you don’t have uneven amounts of material at the ends
I recommend doing some practice sprays on a piece of cardboard or scrap wood.
It’s also a chance to dial in the setting if you’re doing HVLP.
3. APPLY 3 COATS OF LACQUER
Three coats of finish builds up a super durable protective shield for your furniture.
They don’t need to look perfect or feel perfect. The finishing coat will take care of that.
Start by spraying finish on end grain, knots, and edges.
End grain and knots absorb a lot more finish, and you’ll end up doubling up on them when you flip your workpiece.
Follow up by spraying the top of your workpiece. Remember to overlap by half.
Once you’ve done the top and sides, let it dry for 3-5 minutes.
Repeat this process two more times for a total of three coats.
Let it dry until the surface doesn’t feel tacky (make sure to wear gloves — and don’t worry about messing up the finish). A half hour is usually enough.
Flip the workpiece over and repeat the entire process.
In the end, you’ll have three coats on the faces and a total of 6 coats on the end grain and edges.
4. TROUBLESHOOTING: POOLS, PRINTS, AND DEBRIS
One of the best parts of lacquer is how forgiving it is.
Say you spray too much in one area and it pools up.
Wipe it away with your gloved fingers and it’ll dry in seconds.
Don’t worry about the marks left behind by your fingers. The final sanding and layer of finish will take care of all the inconsistencies.
If a piece of dust or existential bug ends up stuck in your finish, just use your finger to get it out.
Again, the final layer will bond to the others below and smooth out any fingerprints — or bug chalk outlines.
5. SAND BEFORE THE FINAL COAT
After 30 minutes to an hour, your workpiece should be dry enough to sand. Check it with your fingers to make sure it isn’t tacky to the touch.
Grab some high grit sandpaper in the 320-400 grit range and a sanding block.
The sanding block doesn’t need to be rock hard, but you do want it flat and firm (stop it).
(Here’s an ergonomic sanding block designed for quick attachment of 5 inch hook and loop sanding discs).
Your goal is to flatten any miniscule high spots. Give all the surfaces light sanding until you see an even cloudiness.
Periodically check your sandpaper to see if it’s gumming up. Use a blade to scrape off any gummed up bits. Just be warned it sounds about as nice on fingernails on a chalkboard.
DON’T BLOW OFF THE DUST!
Since lacquer is self-wetting, lacquer dust in the wood grain will become part of the protective layer and give your piece an even smoother texture. Almost like a grain filler.
Simply wipe away the excess dust with a clean rag. You just want to make sure no big chunks get left behind.
6. APPLY THE FINAL COAT
Your final coat is going to be a lot lighter than the ones before it.
It’s best to think of it as just misting the surface with finish.
Here’s a few ways to make sure you apply a lighter coat:
- Hold the nozzle further back than before (around 12-14 inches)
- Adjust the settings of your sprayer to reduce volume
- If doing HVLP, dilute your finish with a bit more lacquer thinner
First coat the surface with the grain, then follow up by misting it across the grain.
After 30 minutes to an hour, repeat for the other side and you're done.
7. WAIT 24 HOURS BEFORE ASSEMBLY OR USE
Again, don’t assemble parts that were finished separately right away.
Give them a full day to rest, then you can put everything together and bring your piece to its new home.
Even though it’s dry to the touch, the finish still needs to cure.
Besides, lacquer smells super strong during this curing time. Unless you're trying to give the cat an out of body experience, wait the full day before bringing your finished furniture inside.
FINISHING DOESN’T GET EASIER THAN THIS
Quick. Durable. Gorgeous.
It almost feels too easy. But lacquer really is one of the best finishing options out there.
It's my go-to for all interior furniture — and once you get the hang of it, I'm sure it’ll be one of yours to.
Looking for a sanding block that holds paper steady and doesn't hurt your hand? Here's the one I use and that we carry in our store.
Any lacquer questions or tips for your fellow woodworkers? Let us know in the comments below!
Follow us on Instagram @katzmosestools, on TikTok @katzmoseswoodworking, and check out my YouTube channel for more great woodworking content...
And as always, STAY SAFE IN THE SHOP!
12 comments
molly
hi – i loved this post and tried this for some birch shelving that i purchased at a local big box hardware store. when i came to the final coat and did the light spray, my shelves felt gritty and i had to give another sand to achieve a smooth finish – did i do something wrong? i am just using these shelves in my kitchen to hold dishes, glasses and a few decorative items, so i think the finish should hold up to the use. appreciate your response (even though your post is 2022, and my comment is 2026 :-) ).
hi – i loved this post and tried this for some birch shelving that i purchased at a local big box hardware store. when i came to the final coat and did the light spray, my shelves felt gritty and i had to give another sand to achieve a smooth finish – did i do something wrong? i am just using these shelves in my kitchen to hold dishes, glasses and a few decorative items, so i think the finish should hold up to the use. appreciate your response (even though your post is 2022, and my comment is 2026 :-) ).
Mr D
I sprayed lacquer on a small project of mine. I was outside and the temperature was 90+. I thought I sprayed very even coats but the surface felt rough when dry. Is 90+ too hot? Does the lacquer dry too fast and not have time to settle out? Could the lacquer be raising the grain? The project is Hickory but I usualy work with Cherry.
I sprayed lacquer on a small project of mine. I was outside and the temperature was 90+. I thought I sprayed very even coats but the surface felt rough when dry. Is 90+ too hot? Does the lacquer dry too fast and not have time to settle out? Could the lacquer be raising the grain? The project is Hickory but I usualy work with Cherry.
Bruce Blandy
Hello, I am a big fan of your videos, blogs, and tools. They have all been so helpful, providing great safety, efficiency, and woodworking tips…so thank you!
Embarrassingly, I have quite a number completed projects, ready for finishing, however, finishing is one of my least favorite elements of Woodworking. I have watched your video and read your blog focusing on "HOW TO SPRAY LACQUER FINISHES. A FAST, EASY, AND PRO-LOOKING WOOD FINISH”.
I started on one of my smaller projects, a jewelry box, putting down 3 coats , inside and out, using Deft, Clear Lacquer Finish in the rattle can. I found the technique of spraying into the jewelry case interior’s cubbies challenging. Any tips here? The next step was the final coat and, after doing the necessary sanding prep work, I was ready to put on my final coat, but I needed a new can. I got out a can purchased a couple of years ago, sprayed a test pattern on some cardboard and got a huge amount of splatter that I could not correct. So I was out to buy some more.
I contacted my supplier and was shocked to find out that shockingly, and unfortunately, Deft, Clear Lacquer Finish, in the rattle can is no longer manufactured. So my question to you is…What is your go-to rattle can lacquer spray now? My supplier recommended Mohawk, but I have read that blushing, regardless of humidity could be a problem. I have also read that the interval between coats would be vastly different than Deft. Comments on other brands have quite few negative comments about the nozzle with spraying and fatigue problems. Any recommendations and tips?Additionally, I have another question. You have made it abundantly clear that you prefer a Satin Finish on your projects, for the most part I do too, yet I have seen a majority of Jewelry Boxes, like the ones I have made with with veneers and marquetry on the lids, with gloss finishes and they look pretty good. What do you think? Your help and advice would be greatly appreciated.
Don
You missed the most important part – safety. Often preached – seldom practiced!!
Lacquer is both dangerous to breath and highly flammable!!
The mask you are using during your presentation works great for bank robbers and muggers but not even close to protect from VOC’s and other nasty vapors.
One MUST wear a cartridge mask with a cartridge designed specifically to filer VOC.
The “work outside or in a well ventilated shop” is also a non starter. Having painted outside without a mask I know full well that my nose was full of green paint after the project was complete.
Stupid to take chances when 100% prevention is a few $$ away!!
Similarly, light up a cigarette just after you spray and you may find your eyelashes singed. Or your shop burned.
Safety on all fronts is warranted!!
Anonymous
I watched the video on using the HVLP gun and found it very helpful. However the information on air pressure and thinner amounts are different than stated in this video. Just curious why. Air pressure @ 10psi vs. 20psi and the thinner volume on this video was 10 to 25% where in the other video you recommended 50% thinner. Perhaps it doesn’t matter that much but it did get me wondering.
I watched the video on using the HVLP gun and found it very helpful. However the information on air pressure and thinner amounts are different than stated in this video. Just curious why. Air pressure @ 10psi vs. 20psi and the thinner volume on this video was 10 to 25% where in the other video you recommended 50% thinner. Perhaps it doesn’t matter that much but it did get me wondering.
Doug
Can lacquer be used on an epoxy river table?
Can lacquer be used on an epoxy river table?
Roger
Will one of the smaller Porter Cable pancake-type compressors be strong enough to push the HVLP?
Will one of the smaller Porter Cable pancake-type compressors be strong enough to push the HVLP?
Frank Neher
I’ve used a lot of Deft brand semi-gloss with a brush and I have found it so easy to work with. I steel wool between coats and no complaints other than smell. I recently started working with poly and I love that it is easier to clean up but found it to be a little challenging to work with.
I’ve used a lot of Deft brand semi-gloss with a brush and I have found it so easy to work with. I steel wool between coats and no complaints other than smell. I recently started working with poly and I love that it is easier to clean up but found it to be a little challenging to work with.
Harry
I like lacquer also though in my experience if someone puts a beer bottle on a flat surface (like a coffee table) it leaves a ring that’s very hard to get out. Others may not have this problem. Lacquer can also be great at repairing a dent ording. Drip the finish into the dented area, after it dries use a razor blade (like a scraper) to get it down the level of the surrounding finish. You may need to do this several times to build it up but it can be done and looks great.
I like lacquer also though in my experience if someone puts a beer bottle on a flat surface (like a coffee table) it leaves a ring that’s very hard to get out. Others may not have this problem. Lacquer can also be great at repairing a dent ording. Drip the finish into the dented area, after it dries use a razor blade (like a scraper) to get it down the level of the surrounding finish. You may need to do this several times to build it up but it can be done and looks great.
Anonymous
Good points on lacquer. However Lacquer has specific humidity and temperature ranges. I did a table top in november in northeast when really cold and was dealing with blushing for next 6 months. There are blushing retardants but not so easy for less experienced woodworkers using canned lacquer. Ended up sanding off everything and switched to wipe on polyurethane. That turned out perfect when i did it last month. Im not going back to lacquer any time soon.
Good points on lacquer. However Lacquer has specific humidity and temperature ranges. I did a table top in november in northeast when really cold and was dealing with blushing for next 6 months. There are blushing retardants but not so easy for less experienced woodworkers using canned lacquer. Ended up sanding off everything and switched to wipe on polyurethane. That turned out perfect when i did it last month. Im not going back to lacquer any time soon.
Stephan
JKM,
Great emails, website, YouTube Channel, and store. I’m self-taught and have learned a lot from your media presence. I’m a shellac & wax , to lacquer, and now conversion varnish convert. I converted to HVLP spray finishing for all the reasons you mentioned and on occasion use Monocoat Rubio for black walnut. A friend of mine works in the industry and recommended conversion varnish because it contains higher solids, doesn’t contain nitrocellulose which will yellows over time ( solid in lacquer and polyurethane), and is a harder and more durable flnish. Conversion varnish sets as fast as lacquer and is fully cured in 30 days. Mixing is super easy to mix at a 10:1 ration and you quickly learn how much to make to minimize waste. I buy it by the gallon which is 25% cheaper than 5 quarts of lacquer.
Thanks,
Stephan
Anonymous
Where’s the link for the HVLP gun?
Where’s the link for the HVLP gun?