


Woodworkers spend so much time trying to get things square — the idea of cutting something round can leave you baffled.
It might be a circular coffee table top, or the gaping hole in a cornhole board, or the top of a waste bin for storing the hopes and dreams of your youth.
Whatever it is, your usual bag of woodworking tricks won’t cut it.
But don’t worry. Cutting perfect circles and oversized holes is actually simple. And most importantly, you can do it with the tools you already have.
I’m going to give you four ways to cut circles and holes with different tools.
Some create better results than others — but you can choose the method that best suits you.
HOW TO CUT OVERSIZED HOLES WITH A ROUTER
Need a precisely sized hole bigger than your forstner bits or hole saws? Here’s your solution.
You’ll need:
- A handheld router, router table, or both
- Rabbeting bits of different sizes, or a rabbeting bit set
- A flush trim bit
- Your biggest forstner bit or hole saw
Start by drilling a hole with the biggest forstner bit or hole saw you have. If you’re after an exact diameter, take note of the bit’s size.
You’ll now alternate between the rabbeting bit and flush trim bit until you get to your final diameter.
Rabbeting bit sets with interchangeable bearings are super handy. They let you set the cutting depth to exact intervals so you can work your way to almost any diameter.
For example, let’s say you need a circle with a 3 ⅝” diameter.
Start with your biggest forstner bit (2 ½” in our example) centered where you want your hole.
TIP: CENTERING HOLES
The best tool to make sure your holes are exactly where you want them? A center punch.
Center punches create a divet that guides the spur of your bits so they don’t shift when you start drilling.
Check out these brass automatic center punches with adjustable pressure.
Now calculate how much more material you need to remove to reach your final diameter. In our example, it’s 1 ⅛” (3 ⅝” – 2 ½” = 1 ⅛”).
Time to pull out your rabbeting bit.
If you’re using a bit with a ½” shank, you can get away with taking ½” of material at a time. If it’s a ¼” shank, I don’t recommend taking more than a ¼” with each pass.
Set the cutting depth so the bearing has enough contact with the holes edge, but will still cut a significant amount. Splitting the difference is often the best.
Once that’s cut, switch over to your flush trim bit. Set the cutting depth so the bearing rides on the edge you cut with the rabbeting bit.
Now flush trim around the entire edge.
I like to put my rabbeting bit in a handheld router and the flush trim bit in my router table. If that’s not an option for you, you’ll just have to switch back and forth between bits.
SAFETY TIP: ROUTE THE RIGHT WAY
Cutting direction is super important for using routers safely. But cutting the inside of a hole can make it confusing.
Just remember this:
- If you’re using a handheld router, move the router bit clockwise around the circle
- If you’re using a router table, move the workpiece so the bit goes counterclockwise around the circle
Read this for more tips about router use and safety.
Switch between cutting a rabbet and flush trimming until you reach your final diameter.
In our example, I would make a first pass with the rabbeting bit cutting ½” inch, flush trim, make a second rabbeting pass, flush trim, then make a rabbeting pass taking the final ¼” of material.
Finish with a final flush trim and you’ve got a perfectly symmetrical circle of an exact, measurable size.
HOW TO CUT CIRCLES AND HOLES WITH A ROUTER JIG
This next method is my favorite for three reasons:
- It allows you to cut any sized hole or circular piece of wood
- It’s quick, safe, and easy to set up
- It’s fully customizable to any diameter
The simplest version of this jig is just a scrap piece of wood.
Cut a birdsmouth notch or hole at one end for your router bit to pass through, and screw the router base to the board.
Then screw the other end into the center of where you want your circle. This is your pivot point.
JIG TIP: SETTING THE DIAMETER
Here’s how to set up your jig for exact diameters.
- CIRCLE RADIUS: The distance from the screw to the closest edge of the router bit
- HOLE RADIUS: The distance from the screw to the outside edge of the router bit
In case you slept through 8th grade geometry, the radius is half the diameter.
You can also make a version of this jig that doesn’t require drilling a hole in your workpiece.
Use double stick tape to attach a piece of scrap to the center of your circle, then drill the pivot screw into this scrap piece.
Make sure to add another piece of scrap of the same thickness at the other end of the jig to support the router.
This “no screw” method of circle cutting is one of the capabilities of the 3x3 Custom Universal 6-in-1 Trim Router Jig — which we’re starting a second run for as we speak.
Sign up here to be notified when it’s available!
Now, there’s a few things to keep in mind when using this jig.
- When it comes time to cut your circle free, make sure the piece you’re cutting is attached to your workbench in some way. Either clamps or double stick tape work.
If it isn’t, you could run into sketchy situations when it comes loose. -
Don’t try to cut too much material at once. As a general rule, don’t cut deeper in a single pass than your bit’s diameter (¼” deep for ¼” shanks, ½” deep for ½” shanks).
Cut the circle free with multiple passes, and make sure everything is secured to your workbench. - I always recommend using spiral bits over straight bits. Whether you use an upcut, downcut, or compression depends on which side’s your showface and how thick the material your cutting is. Read more about spiral bits here.
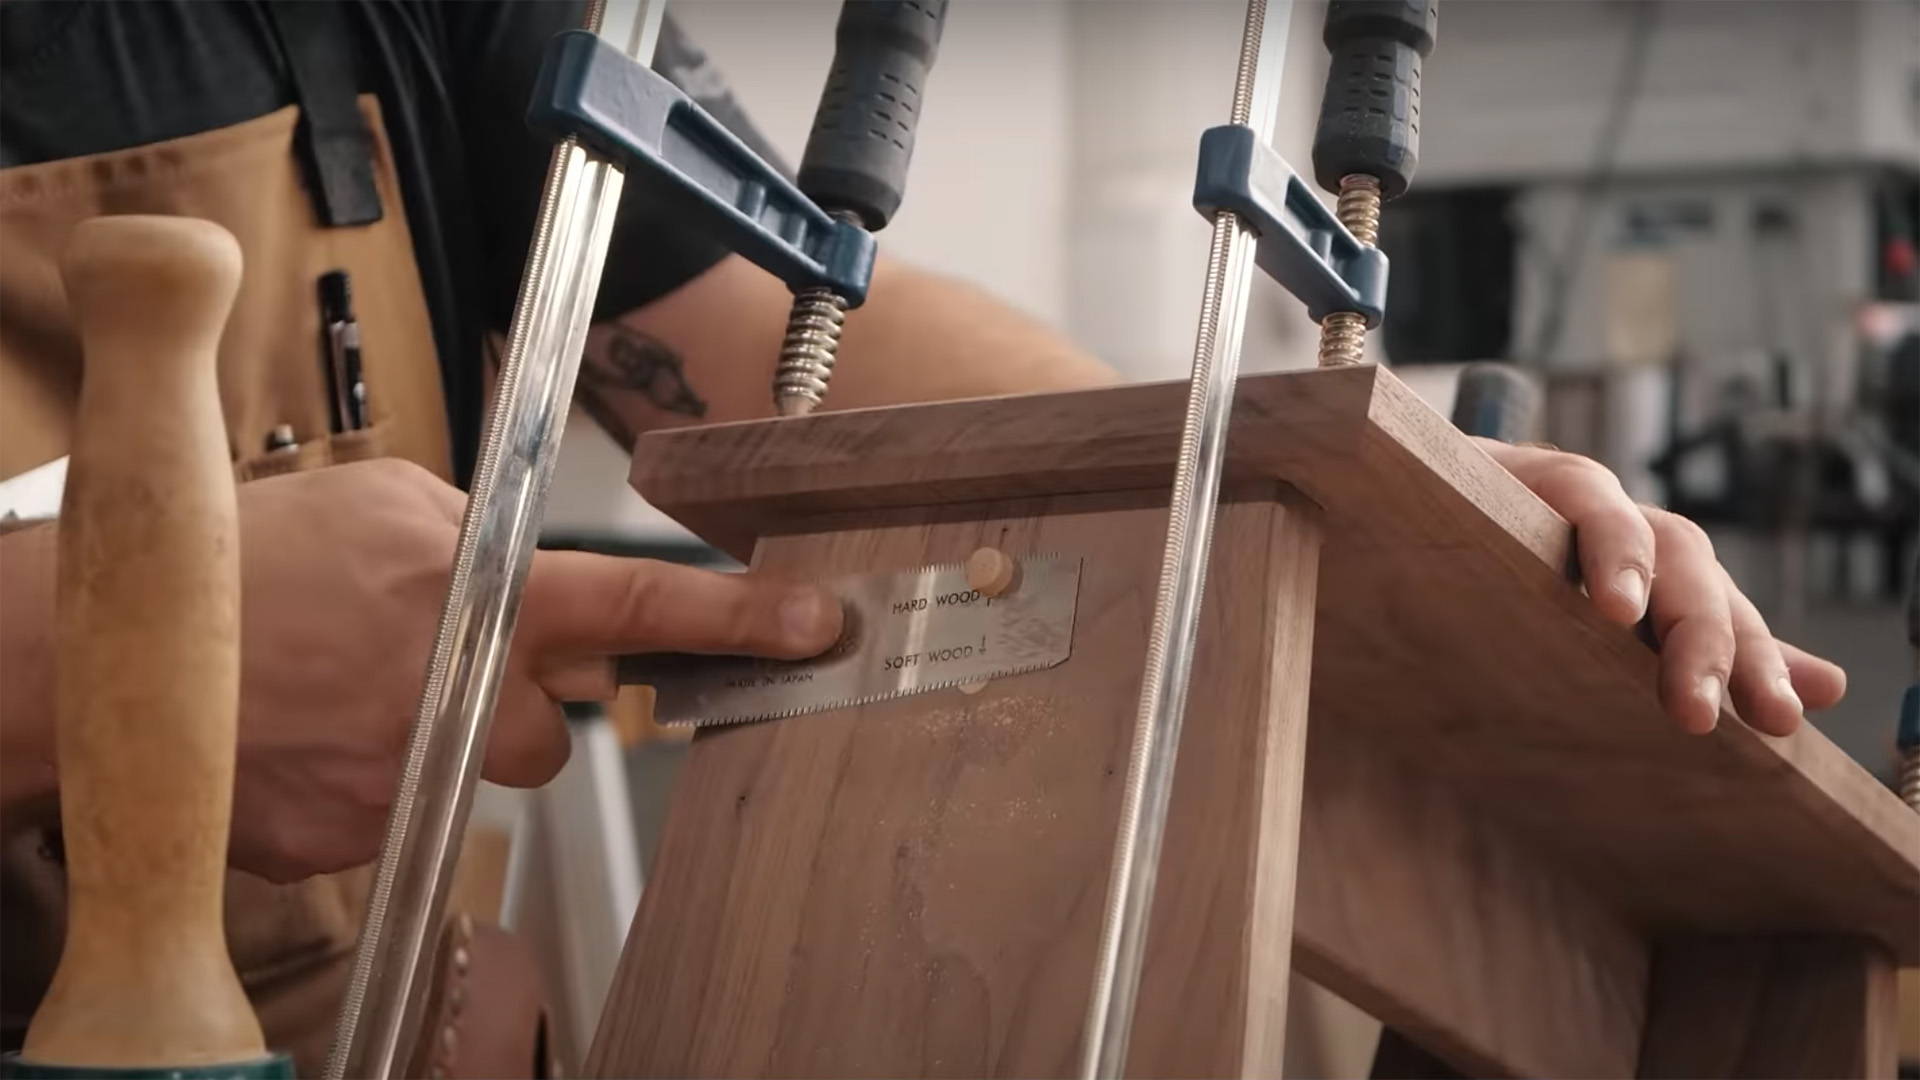
TIP: CIRCLE CUTTING THICK PIECES
Does your router bit not reach all the way through your workpiece? No worries.
Cut as deep as you can, then take the piece over to the bandsaw. Cut as close to your line as possible.
When it’s free, finish up with a flush trim bit to make the edge uniform all the way around.
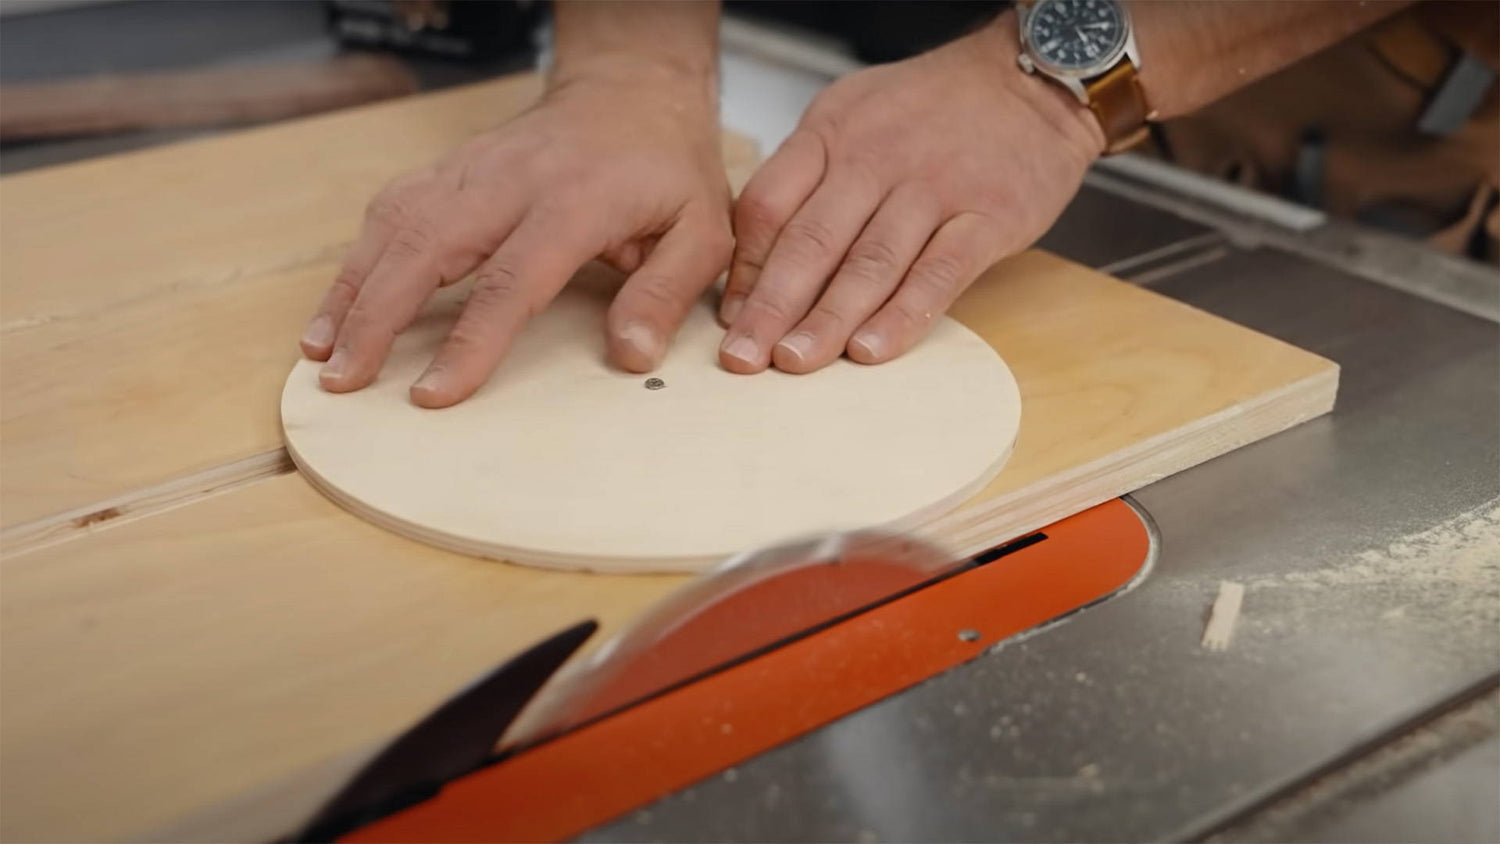
HOW TO CUT A CIRCLE WITH A TABLE SAW
It sounds counterintuitive, but table saws are great for cutting circles.
Just know — this is a more advanced table saw technique. Only use it if you fully understand the dangers of table saw kickbacks and how to avoid them.
You’ll need a simple sled with a runner. Something like an old ripping jig with a zero clearance edge works great.
I also recommend using either a ripping, general purpose, or combination blade (get your saw blades here).
Screw your workpiece into the sled so the distance from the screw to the zero clearance edge is equal to the radius you’re after.
SAFETY NOTE
Make sure to only rotate the board clockwise between cuts.
This ensures the screw doesn’t get loosened — which could lead to a flying circle of death.
Now make a series of straight cuts, rotating the piece clockwise between each pass.
Do this until the board roughly resembles a circle. DO NOT start rotating the board before trimming it down. This will cause a guaranteed kickback.
Take as many straight passes as possible so there’s a minimal amount of material to move.
Then (and only then) you can start rotating the board into the spinning blade. Be very careful with your hands, and keep them clear of the blade. Push paddles are probably a good idea.
The end result is a perfect, clean circle.
If the screw hole in the middle is a non-starter for you, just use this piece as a template to flush trim your actual workpiece to.
HOW TO CUT A CIRCLE WITH A BANDSAW
Cutting a circle on the bandsaw is similar to the process on a table saw.
Start by creating an auxiliary base.
Run a piece of scrap wood through the blade and stop halfway through. Then clamp it to your bandsaws table. You could also have this auxiliary base attached to a runner in the miter slot.
Roughly cut your circle on the bandsaw, staying away from your line.
Now screw your workpiece into the auxiliary base. Make sure the screw is in line with the front of the bandsaw blade.
Turn on the bandsaw and rotate your workpiece until you’ve cut all the way around.
The results are a lot rougher than the other methods listed above, but it’s easy to clean up the edge with a bit of sanding.
BONUS METHOD: JIGSAW CIRCLES
You can make a jig for your jigsaw similar to the router jig mentioned above.
It won’t create as clean of circles as the router, but works great in a pinch.
NOT SO SCARY CIRCLES
Moral of the story? In woodworking, there’s always more than one way to achieve the results you’re after.
Of all the circle and hole cutting methods above, the router jig technique is my favorite (especially with the 3X3 Custom Universal 6-in-1 Trim Router Jig).
But use whatever method works best for you. And most importantly, stay safe while doing it.
Got any other creative ways to cut circles and oversized holes? Let us know in the comments below!
Follow us on Instagram @katzmosestools, on TikTok @katzmoseswoodworking, and check out my YouTube channel for more great woodworking content...
And as always, STAY SAFE IN THE SHOP!
3 comments
Jay
Which method would you use for 2.75 inch hole. Or would you just find a forstner for that?
Which method would you use for 2.75 inch hole. Or would you just find a forstner for that?
Ferd Berfel
Thanks once again. always helpful and learn something each video. You also offer some great products. All the best.
Thanks once again. always helpful and learn something each video. You also offer some great products. All the best.
Anonymous
Love your videos. Well thought out and you commentary is spot on! The one way you left out for the desperate ones is a jig saw, and for the puritanical a coping saw :-)
Love your videos. Well thought out and you commentary is spot on! The one way you left out for the desperate ones is a jig saw, and for the puritanical a coping saw :-)