


For how massive and scary they look, jointers are surprisingly simple tools.
They only have a few moving parts to fiddle with…
And operation is as straightforward as can be.
But new woodworkers can easily be intimidated by jointers. And it’s not unfounded (I almost lost my thumb to mine — more on that later).
This guide aims to solve that by explaining jointer basics — including what they’re for, how they work, and how to use them properly.
If you’re a beginner woodworker, this post will give you the groundwork to feel confident approaching a jointer for the first time.
WHAT IS A JOINTER USED FOR?
Jointers are primarily used for flattening one face of a board, then cutting one edge 90° to that flat face.
This is the first stage of the milling process, where you make lumber flat, straight, square, and parallel.
It’s important to note that jointers do NOT make opposite faces and edges parallel to each other.
That’s the job of a planer.
But since planers need boards to be flat on one side — and table saws need one edge to be straight and 90° — we start on the jointer.
Even though jointers are mostly used for milling, they can also be used for cutting chamfers, rabbets, and even tapers (more on that in a future post).
HOW DOES A JOINTER WORK?
Even though they’re pretty massive tools, there’s only 4 parts of a jointer you’re normally concerned with:
- Infeed table (right bed of jointer)
- Cutterhead (rotating cylinder that holds the blades)
- Outfeed table (left bed of jointer)
- Fence (vertical reference face)
These four components work together to make boards flat and edges square.
The infeed table is set slightly lower than the cutterhead — while the cutterhead and outfeed table are set at nearly the same height
(Safety note: The outfeed table should never be higher than the cutterhead. Otherwise, boards will stop when they hit the edge).
As a board passes from the infeed table over the cutterhead, it gets chopped away so the newly cut section sits flat on the outfeed table.
When it comes to squaring edges, the jointer fence holds boards at 90° to the cutterhead while the same process occurs.
Check out this video for some epic slo-mo footage of how jointers work.
HOW TO STAY SAFE WITH A JOINTER
Like I said before, I almost donated my thumb to my jointer — so I know firsthand safety is no joke.
The first thing to do is make sure your jointer is properly set up, with the infeed table, cutterhead, and outfeed table at appropriate heights relative to each other.
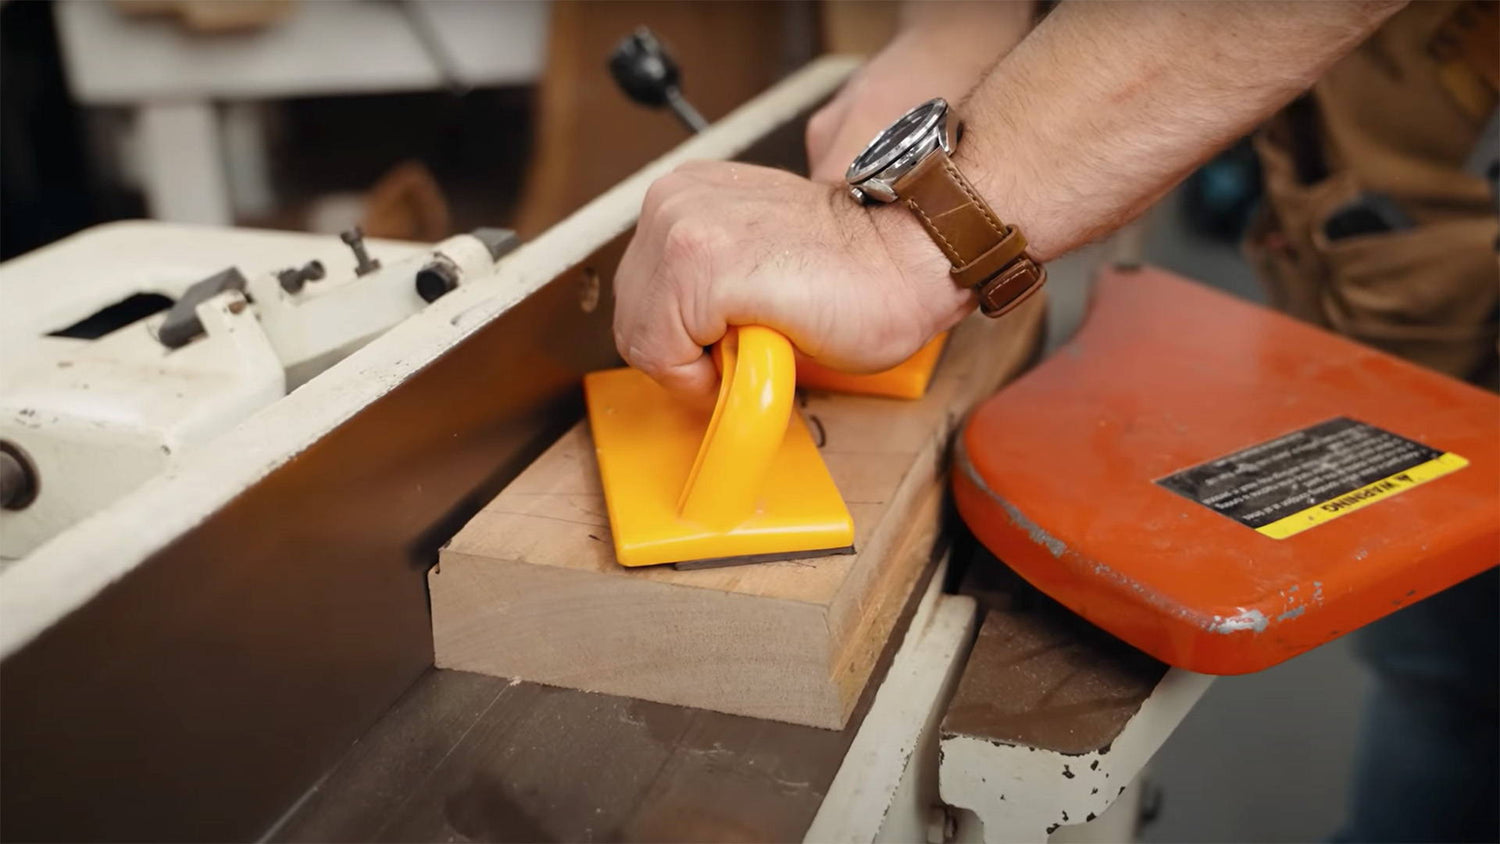
Also make sure to use push paddles — one in each hand — when flattening boards.
For edge jointing, I like to use one push paddle to push the board against the fence, and hook my hand over the top of the fence while pushing the board down.
This is a topic that requires more detail than I can give it here, so be sure to read this blog on 8 tips for using jointers safely.
BASICS OF HOW TO USE A JOINTER
99% of the time, jointers are used to flatten board faces and cut edges square (90°) to those faces — so that’s what we’ll cover below.
1. CHECK YOUR JOINTER SET UP
Making sure your jointer is properly set up is the first step to good results and safety.
Most of these checks don’t need to be done often. You can mostly set it and forget it.
But it’s good to check periodically, especially if things are acting up.
Here’s what to make sure of:
- Infeed and outfeed table are coplanar
- Cutterhead and outfeed table are at the same height (here's how to know)
- Cutting depth isn’t set too deep (1/32" to 1/16" is good)
- Fence is square
I explain how to make these adjustments in this video.
2. MARK A BOARD FACE TO FLATTEN
Decide which face of the board you’re going to flatten.
If the board is cupped, I like to start with the cupped side down since it’s more stable.
Once you decide on a face, scribble all over it with pencil. Don’t be shy.
The pencil lines will be your indicator for when the face is flat (pencil gone = flat).
You also should take a look at grain direction and decide which way is best to feed the board through the cutterhead.
Set yourself up to feed the board so the cutterhead cuts with the grain, not against it. You can even draw a pencil arrow on the edge so you don’t forget which way to feed.
3. FEED THE BOARD THROUGH
Start with the board flat on the infeed table, and with a push paddle in each hand, push it through the cutterhead.
You want to put pressure down into the table and forward into the cutterhead.
As the board starts to engage with the blades, you’ll feel some resistance. Just keep plenty of pressure straight down and forward.
Depending on the length of the board, you may have to pass your hands back and forth over each other. I recommend this over walking the board through.
It’s better to keep your feet planted and as stable as possible (within reason).
Once enough of the board is past the cutterhead to put a push paddle on, put all the pressure on the outfeed table side.
Since the cutterhead is set to match the outfeed table height, it’s important to put and keep pressure on this side ASAP. Otherwise, you can end up cutting a bow into the board.
Continue pushing the board all the way through until the blade guard closes and covers the cutterhead.
Flip the board over to check out the pencil line. You’ll probably see patches of pencil lines still visible.
Repeat the process until all the pencil lines are gone. When they are, you know your board is flat!
Make sure to label the flat face so you don’t forget which it is (the traditional symbol is a little curly hairpin looking design).
A NOTE ON TWISTED BOARDS
Boards with twist are a little tricker — but still totally manageable.
Find out which two opposite corners of the board it rocks on. These are the high points.
As you push the board through the cutterhead, transition the pressure from one high corner to the other.
Once enough of the twist is eliminated, you can continue as normal.
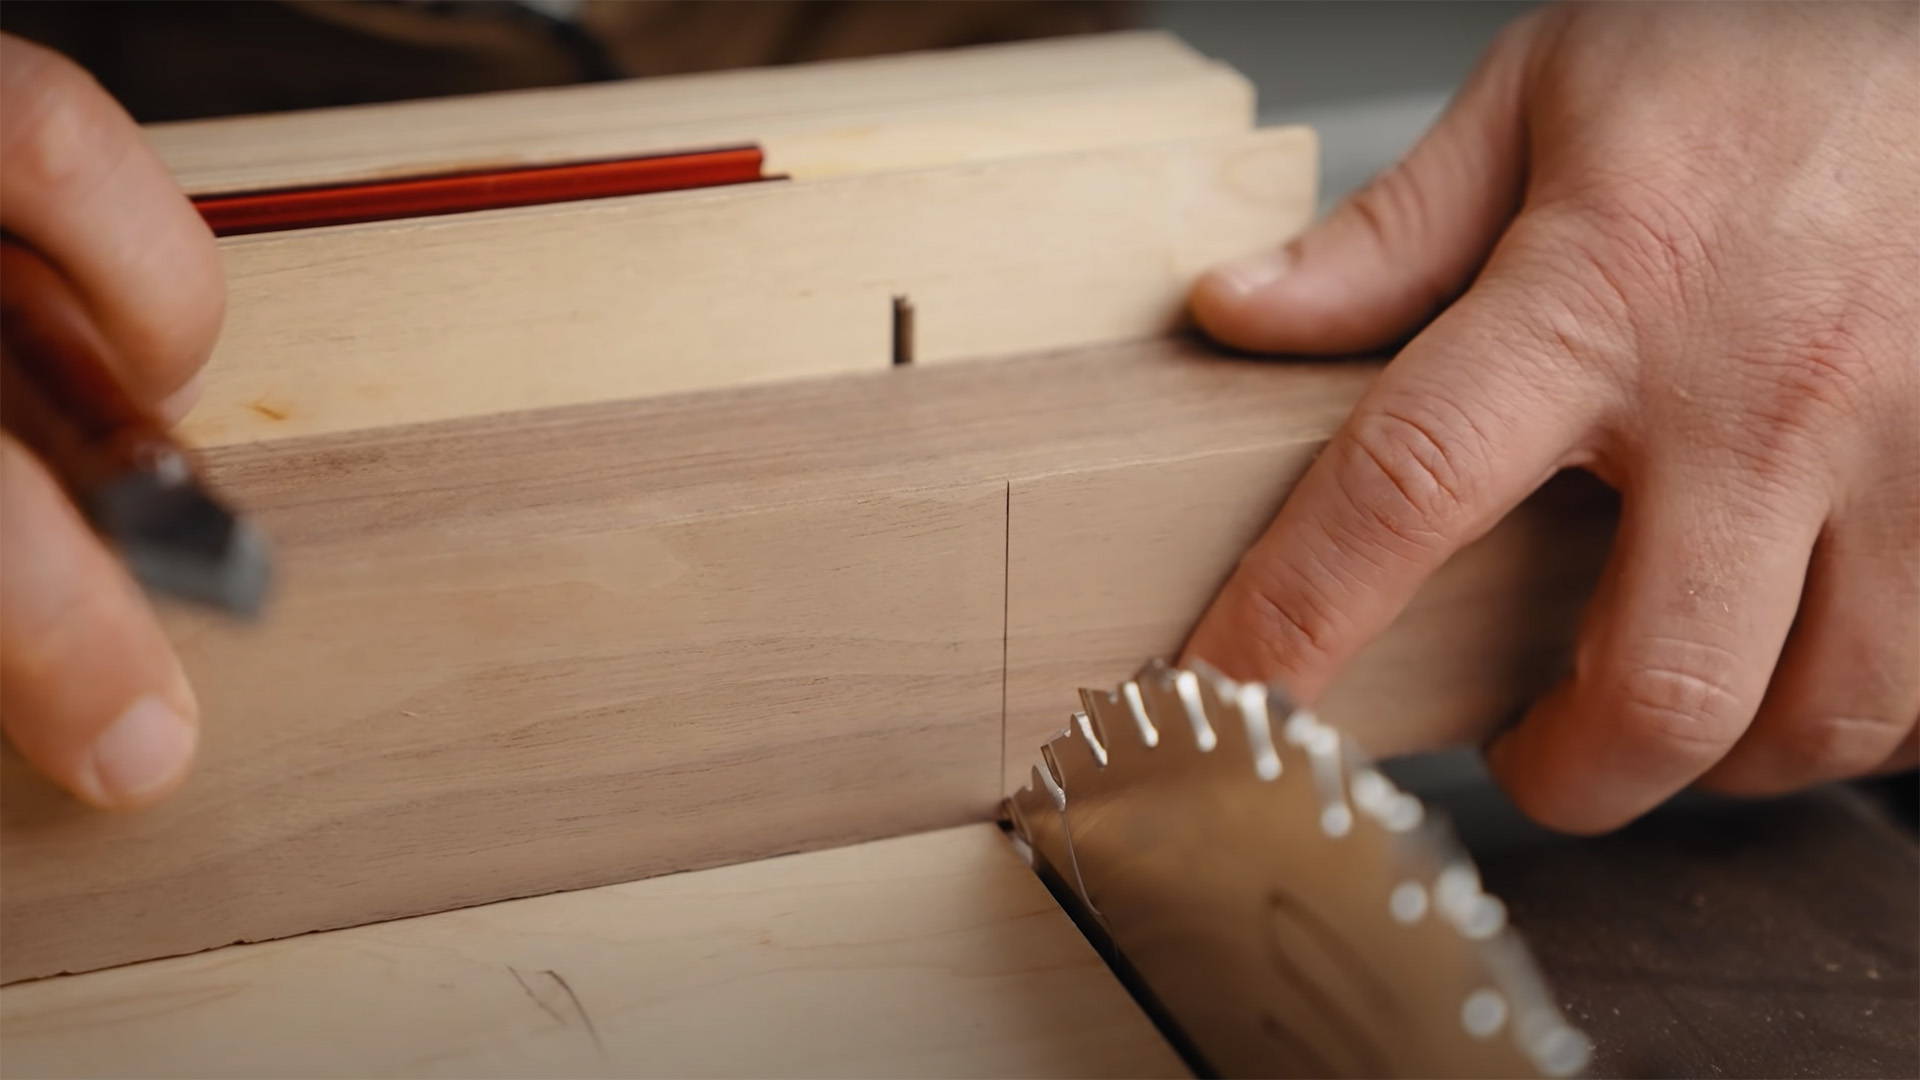
4. SQUARE AN EDGE
Now that you’ve got one face of your board flat, you’re ready to joint one of the edges.
Double check your fence is at 90° to the outfeed table.
Grain direction can guide you as to which edge to joint. Since the face you flattened has to be against the fence, look at which edge will be more conducive to a clean cut.
Scribble the edge you select with pencil to know when it’s flat later on.
This time you’re going to put 3 directions of pressure on the board:
- Down into the jointer tables
- Sideways into the fence
- Forward towards the end of the outfeed table
Again, remember to put all the pressure on the outfeed table ASAP.
I like to have a push paddle in one hand keeping the board flat against the fence.
I let the fingers of my other hand ride over the top of the fence while pushing the board down. That way if my hand slips for whatever reason, it can catch the fence before hitting the blades.
Repeat this process until all the pencil lines are gone, and check with a square to make sure it’s 90° to the flat face.
Label the edge for reference. The traditional marking is a “V” pointing towards the flattened face.
SIMPLE POINTERS FOR YOUR JOINTER
Yes, jointers can be intimidating if you’re new to woodworking. But once you understand the basics, you see how simple they really are.
The important thing is to always stay safe and be aware of your surroundings…
And with this groundwork, you’ll have no problem getting good results.
Don’t own a jointer yet? Here’s how to joint boards without one.
Need an accurate way to set your jointer fence to 90°? This Digital Angle Gauge is my go-to tool for the job!
Have other jointer related questions? Ask away in the comments below!
Follow us on Instagram @katzmosestools, on TikTok @katzmoseswoodworking, and check out my YouTube channel for more great woodworking content...
And as always, STAY SAFE IN THE SHOP!
3 comments
Anonymous
I always wondered if you could completely square up a board with a jointer (if it was thick enough). In theory if a face and edge are properly jointed to 90, could the edge be used as a flat surface for the 2nd face? There’s probably a reason why not and I understand a combo with a planet is probably better. It it’s always niggled me.
I always wondered if you could completely square up a board with a jointer (if it was thick enough). In theory if a face and edge are properly jointed to 90, could the edge be used as a flat surface for the 2nd face? There’s probably a reason why not and I understand a combo with a planet is probably better. It it’s always niggled me.
Chris
Yes Tessie. Lots of good videos about the process on YouTube. JKM even has a short about it. It’s a little dangerous though. But so is a jointer, yolo. One note they all require a planer.
JKM Short: https://youtu.be/oxov0b-z64Y
Video that I used to learn the process: https://youtu.be/OyVrabLVuBc
Yes Tessie. Lots of good videos about the process on YouTube. JKM even has a short about it. It’s a little dangerous though. But so is a jointer, yolo. One note they all require a planer.
JKM Short: https://youtu.be/oxov0b-z64Y
Video that I used to learn the process: https://youtu.be/OyVrabLVuBc
Tessie
Can you flatten the face of a board that is wider than your planer?
Can you flatten the face of a board that is wider than your planer?