Miter joints are simple. But that doesn’t mean they’re easy to get right.
Think about it.
A mitered box has eight edges cut at 45°. Even if the bevel of your table saw blade is only slightly off, that error will get compounded and lead to gaps.
Then of course there’s the issue of cutting boards to the right length. Lining up layout lines is a lot harder with a tilted blade.
And what about grain wrapping? How can you get continuous grain all the way around a box?
Fear not, my friend. For today, I’m giving you my Top 7 Tips for Making Better Miter Joints and Seamless Mitered Boxes.
I’m not promising perfection (who even wants that?) — but with these tips, you can definitely get a step closer to seamless miters…
Whether it’s for boxes, cabinets, or a coffin for your ego.
Note: I’m focusing here on box miters, not frame miters. That said, most of these tips apply for both.
1. DO GRAIN WRAPS RIGHT
Grain wrapping — where the wood grain runs continuously all the way around a box — is a mark of an experienced woodworker.
And because they don’t show any end grain, miter joints really lend themselves to uninterrupted grain wraps.
The effect makes a box look totally seamless, and almost like it was simply folded into shape.
But to make a truly continuous grain wrap, you can’t just cut a board into four sides and reassemble them in the same order.
That’ll only give you a grain wrap on three corners — but the fourth corner (where the two ends of the original board meet) will have mismatched grain.
The secret to wrapping grain around an entire box is simple:
Resawing.
By resawing a board, you get two boards with nearly identical grain.
And that means you get the look of continuous grain even when boards are end to end.
Not sure how to resaw? Here’s 4 Ways to Resaw a Board with (or without) a Bandsaw.
Once you’ve resawn your board, you’ll need to be very careful with laying out the pieces — and make sure to label them.
I like to lay out both boards in a line, then roughly mark and label each piece with a pencil. Label the front, side, back, and second side — as well as show faces and mating edges.
Before cutting the miters, cut each piece to length with the table saw blade at 90°. Use the thinnest blade you have to lose as little grain as possible.
Once the pieces are cut to length, set the bevel of the blade to 45°. Use a crosscut sled and stop block to sneak up on the cut and miter the edge without changing the length.
Make sure your show faces are facing the right way as you cut the miters!
Then just assemble and glue the pieces in the correct order.
You now have a box with perfect grain wrap all the way around.
2. GO JUST SHY OF 45°
I got this tip from my friends Shaun Boyd and Chris Salomone over at Foureyes Furniture, and it’s a great way to hedge your bets on miters.
Like I mentioned before, all the angled cuts in a mitered box have a way of compounding errors.
And often, that leads to a gap on the outside of one or more of your corners.
Now, these gaps on the outside of the joint aren’t irredeemable — but they are very annoying.
This tip counteracts the likelihood of outside gaps by forcing the error to go the other way…
Meaning that any gaps will be on the insides of the box corners where no one will ever see them.
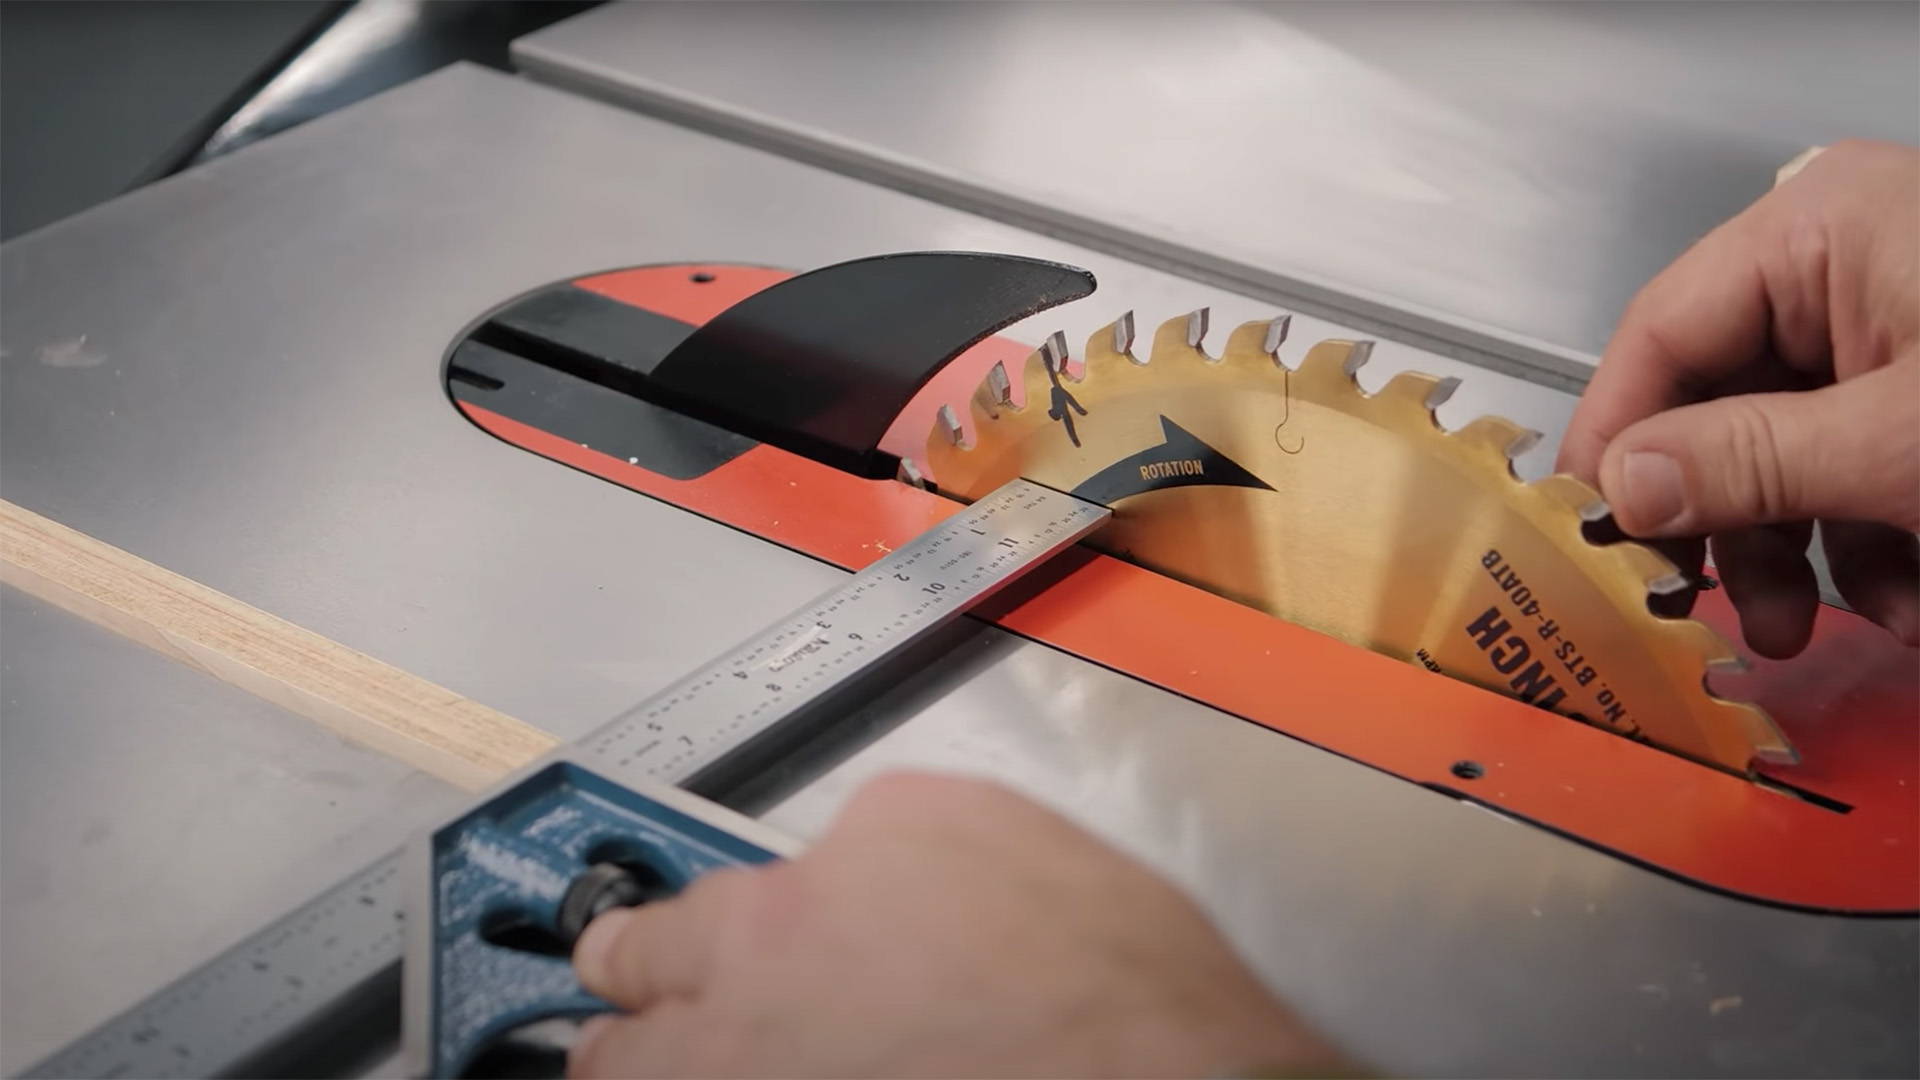
And the way this error is controlled is by setting the bevel of your table saw blade just shy of 45°.
The key here is just shy. As in 44.99999°.
You don’t want to overdo it — but this slight adjustment helps prevent those annoying outside gaps.
The easiest tool for this is a digital angle finder, but you can also use a combo square and adjust the bevel until you see the slightest gap of light toward the bottom of the blade.
3. CUT A GUIDE KERF IN A SPOILSBOARD
Lining up a layout line with an angled table saw blade isn’t easy.
The zero clearance edge on a table saw sled won’t work — and doing it by eye quickly gets confusing.
That’s why I like to add a sacrificial auxiliary fence/spoilsboard to my table saw sled each time I cut a new set of miters (you can do the same for a miter gauge).
Just find a flat piece of plywood or MDF and cut its width to roughly the height of your sled’s fence.
Then clap or screw it to the fence, making sure the end extends past the beveled table saw blade.
Make a test pass through the blade. Now you’ve got a fresh kerf in the auxiliary fence that shows exactly where the blade will cut.
Use this kerf as the “zero clearance” reference to line up with your layout lines. It makes cutting miters at accurate lengths super simple.
4. USE TAPE FOR ASSEMBLY
Gluing up and assembling mitered boxes poses a problem — traditional clamps just don’t work that well.
The 45° mating edges just want to slide out of position (especially with glue) and there’s nothing to help the joint “click” into place.
Luckily, there’s an easy solution — at least for smaller boxes. And it’s as simple as a roll of painter’s tape.
Line up the box sides in order on a flat surface, and push them up against a straight edge so their tops are aligned. I like to use the fence on my table saw.
Take a strip of blue painter’s tape or masking tape and place it so it overlaps the edges of two pieces.
Make sure the pieces don’t shift and that the tape is laid down totally flat.
Repeat this process for the other two joints. Then put a fourth piece of tape on one of the outside ends so it hangs off halfway.
Flip the whole arrangement over. Be careful the tape doesn’t come off.
Add a bit of glue in the v-shaped valley between each board. No need to overdo it. Spread out a thin even amount over each edge.
Take a deep breath, then fold the box together.
Bring the last two edges together, making sure they’re flush, and use the hanging strip of tape to fasten them in place.
You’ll feel tension on the tape as you fold. That’s a good thing.
The slight elasticity of the tape puts clamping pressure at each corner of the box — plenty to create a good joint.
If you want to be sure, add a few clamps for extra pressure. Check to make sure everything is square (check each corner) then let out a sigh of relief.
Band clamps (not band camp — put away the clarinet) are also super useful for assembling mitered boxes.
5. BURNISH EDGES TO HIDE SMALL GAPS
Your box is assembled, the glue has dried — but when you remove the strip of tape at one of the corners, you notice a small gap.
First of all, don’t stress. Getting totally gap free miters is no small feat.
And anyway, there’s an easy fix.
Grab a smooth, rounded piece of steel. A screwdriver, burnishing rod, even the neck of a chisel works.
Then using light pressure, burnish the corner on both sides around the gap.
Take your time to slowly compress the wood at the very edge of each corner.
With a careful hand and a bit of patience, you can completely close up small gaps between your miters.
6. USE SAWDUST AND GLUE FOR BIG GAPS
When gaps are too big to burnish, you’ll need to actually fill them with something.
Obviously, wood filler that accepts finish is the best option.
But if you don’t have any, wood glue and sawdust work great as well.
Smear some glue in the gaps. Do your best to actually get it inside — it can have a tendency to only clump at the top.
Now take fine sawdust of the same species as your box and push it into the glue. The more the better. Really jam it in there if you can (ahem).
If you need some sawdust, sand an offcut from your project.
Once the glue dries and you’ve sanded everything down, the gap will be pretty well hidden.
Just be aware that once you add finish, this self-made filler will probably be darker in color than the rest of the wood.
But in a pinch, it works great.
7. ADD SPLINES FOR EXTRA STRENGTH
As great as miter joints look, they’re not the strongest.
They rely on gluing close-to-end grain edges which absorb glue like crazy and don’t create the best bond.
It’s not really an issue for small decorative boxes.
But if you do want to add extra strength — or a bit of flair — splines are the way to go.
There’s all kinds of splines to strengthen miters.
Some are completely hidden inside the joint, while others use contrasting wood to make a point of standing out.
Here’s a few of my favorite ways to make miter splines — as well as a jig that makes the process easy.
For really big boards, like say for a waterfall table, you’d probably even want to use a domino jointer or dowels to add durability to the joint.
MAKE YOUR MITERS MIGHTIER
Miters are the quintessential joint for assembling boxes, and a joint every woodworker should learn.
Getting them to look seamless is no small task…
But with the tips above, you’ll be well equipped to do the absolute best job you can.
Want to expand your joinery repertoire? Here’s the Top 5 Joinery Styles I recommend for beginner woodworkers.
What tips do you have for making mitered boxes? Let us know in the comments below!
Follow us on Instagram @katzmosestools, on TikTok @katzmoseswoodworking, and check out my YouTube channel for more great woodworking content...
And as always, STAY SAFE IN THE SHOP!


8 comments
Robert Bamford
“ GO JUST SHY OF 45°”. If I’ve got it right, the angle gauge reads 44.9 (or so). Which means the angle at the point is also 44.9 (alternate interior angles). The angle of the cut measured from the table is 135.1 (or so). Then if I’m cutting the miters on a miter saw (who would do that?), the angle would be a little over 45 degrees.
“ GO JUST SHY OF 45°”. If I’ve got it right, the angle gauge reads 44.9 (or so). Which means the angle at the point is also 44.9 (alternate interior angles). The angle of the cut measured from the table is 135.1 (or so). Then if I’m cutting the miters on a miter saw (who would do that?), the angle would be a little over 45 degrees.
Glenn
How do you respond/ think of people like ENcutis (who I love btw) saying the glue saw dust method is wrong. See his recent videos…
How do you respond/ think of people like ENcutis (who I love btw) saying the glue saw dust method is wrong. See his recent videos…
kenneth Bownes
I like your suggestion about cutting the angle very slightly below 45 deg (44.9999 in the tecx). But your (and every) digital protractor has only one decimal place, so the best we can do is 44.9 deg. Indeed their specs are accurate to only 0.2 deg. Wixey:-
Resolution: 0.1 degrees
Accuracy: +/- 0.2 degrees
Repeatability : +/- 0.1 degrees
Paul Bolton
I make lots of boxes and these tips are really useful. Here’s one I use to ensure accuracy. I cut opposing sides of the box together. To do this I tape the two pieces together along their length so they won’t move sideways then cut the mitres as if they were one piece of timber. Works great!
I make lots of boxes and these tips are really useful. Here’s one I use to ensure accuracy. I cut opposing sides of the box together. To do this I tape the two pieces together along their length so they won’t move sideways then cut the mitres as if they were one piece of timber. Works great!
Andrea D. La Vigne
Another tip for gluing mitered corners is to use corner clamps. They are a bit fiddly, but help hold the pieces together at 90 degrees until the glue dries and/or you can drive nails (if you are going to do that as well). Thanks for a great article. Definitely saving this one!
Another tip for gluing mitered corners is to use corner clamps. They are a bit fiddly, but help hold the pieces together at 90 degrees until the glue dries and/or you can drive nails (if you are going to do that as well). Thanks for a great article. Definitely saving this one!
Ron Brennan
Great video and clear instructions.
Great video and clear instructions.
Walter
I like to measure the diagonals of the box to ensure squareness. If the diagonals are the same the box will be square. Use a bar clamp diagonally to pull the long side in if necessary.
I like to measure the diagonals of the box to ensure squareness. If the diagonals are the same the box will be square. Use a bar clamp diagonally to pull the long side in if necessary.
Marshall Murrell
On a square or rectangular box, you only need to check opposing corners for square. If the two opposing corners are square, the other two must be square also. Just geometry.
On a square or rectangular box, you only need to check opposing corners for square. If the two opposing corners are square, the other two must be square also. Just geometry.