Router bits come in all shapes and sizes — but it’s hard to know which ones you actually need.
Most people start off by buying a big set with a ton of different bits. And this can be a good way to learn which ones are most useful to you.
But overtime, it’s worth investing in high quality versions of your most used router bits.
In this blog post, I tell you what to look for in router bits — and which bits I couldn’t go without.
These are the first bits I’d invest in if I were to start from scratch. So hopefully it helps guide you through the infinite amount of options.
Also, we’ve just launched the 2nd release of the 3x3 Custom 6-in-1 Universal Trim Router Jig.
These babies sold out in a single day on our first release. So if you want to get your hands on one, order it on presale now! (Ships in 6-10 weeks).
ROUTER BIT SHANK SIZES
The shank is the smooth shaft you insert into the collet of your router. And it’s important that the shank and collet match.
Router bits come in two standard shank sizes: ¼” and ½”.
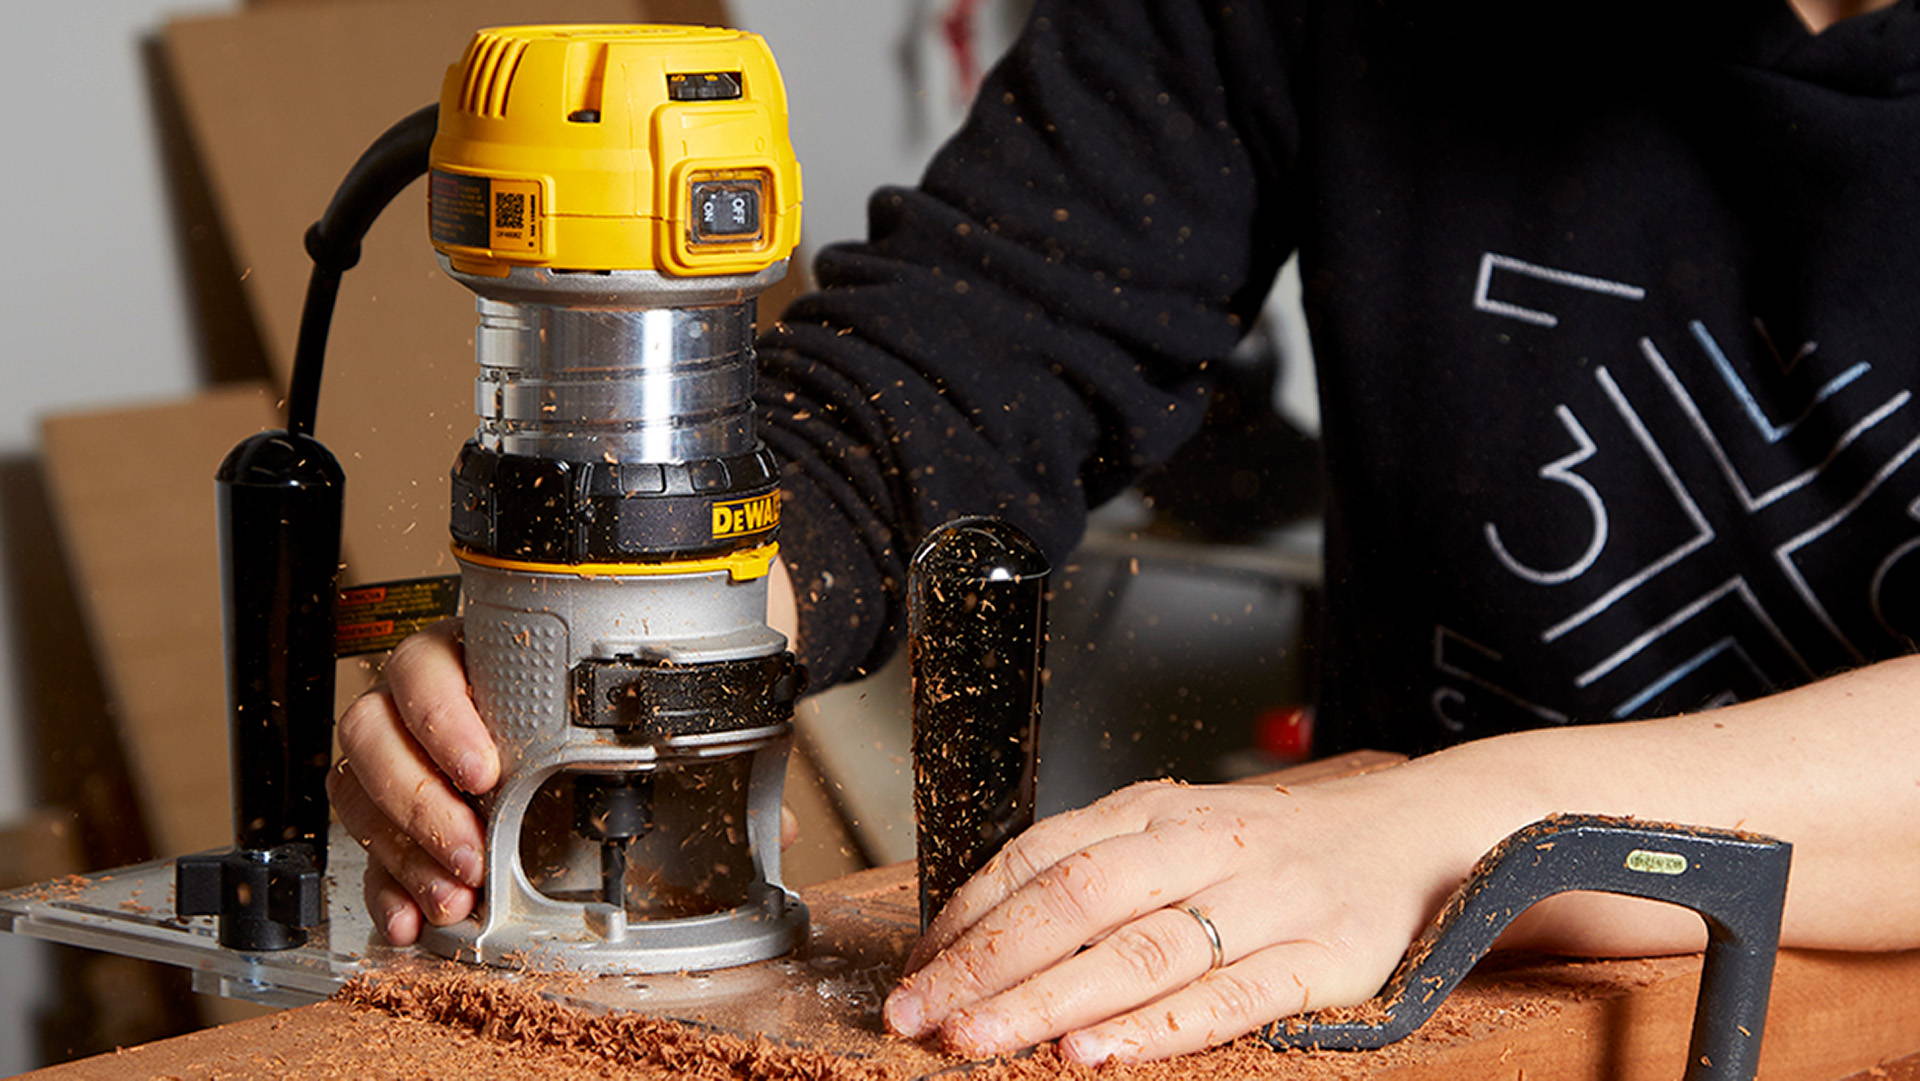
Trim routers (a.k.a. Compact or palm routers) usually take ¼” shanks. These smaller routers are less powerful, hovering around 1 hp. But they’re great for small detailed work.
Full-sized routers (2+ hp) typically are used with ½” shanks, but often come with a ¼” collet as well.
For heavy routing work where I’m removing a lot of material, I always choose ½” shank bits. The thicker diameter makes them less likely to flex under heavy forces.
But ¼” shank bits in a trim router are excellent for light or detailed work. Things like light chamfers and roundovers, butterfly keys and inlays, and even detailed sign making.
I actually have a compact router I leave an ⅛” roundover bit in at all times.
Obviously not everyone has this luxury (I’ve got over 10 trim routers in my shop for testing the jig we launched with Tamar). But it lets me quickly break edges with zero set up time.
SPIRAL BITS VS STRAIGHT BITS
I have an entire blog post dedicated to the difference between straight and spiral bits (read it here).
But the gist is that spiral bits are way better.
Instead of straight blades, spiral bits have fluted cutting edges that wrap around the bit.
This creates a cleaner shearing cut, keeps the cut cooler, and puts less pressure on the bit and router.
At this point, I never use straight bits.
GENERAL TYPES OF ROUTER BITS
There’s a zillion types of bits. But most of them fit into one of these categories.
STRAIGHT GROOVE CUTTING BITS
Groove cutting bits might be some of the most common router bits.
They’re used for cutting grooves, dados, and rabbets — but can also be used for clearing waste for inlays and even flush trimming.
Again, I’d always go for spiral bits over straight blade versions.
FLUSH TRIM AND PATTERN BITS
Flush trim bits and pattern bits look a lot like straight groove cutting bits, except they have a bearing.
The bearing rides along a reference edge, letting you cut another piece of wood perfectly flush to that reference. If you do template routing, you’ll use a flush trim or pattern bit.
On flush trim bits, the bearing is on the tip of the bit. On pattern bits, the bearing is by the shank.
There are also double-bearing flush trim bits that have removable top and bottom bearings.
These are the best of both worlds, and allow you to flush trim extra thick pieces of wood. Otherwise, you’d need to switch between a flush trim and pattern bit.
EDGE PROFILING BITS
Edge profile bits are used to add some sort of detail or design to the edge of a board.
They have a bearing at the tip like flush trim bits that makes it easy to cut at an equal depth along an entire edge.
There’s a literal endless variety of profile bits. But I almost only use chamfer and roundover bits.
Rabbeting bits are a little trickier to classify. They work like edge profiling bits, but they’re more functional than decorative. They’re used to cut (you guessed it) rabbets along the edge of a board.
We carry rabbeting bit sets with interchangeable bearings so you can cut rabbets of different sizes all with one bit.
SPECIALTY BITS
Specialty router bits are used for very specific tasks.
They include things like slab flattening bits, dovetail bits, bullnose bits, rounded groove bits, and so on.
For these types of bits, it’s best to only buy them as you need them. Otherwise, you’ll have a whole collection of odd bits you never use.
MY MOST USED ROUTER BITS
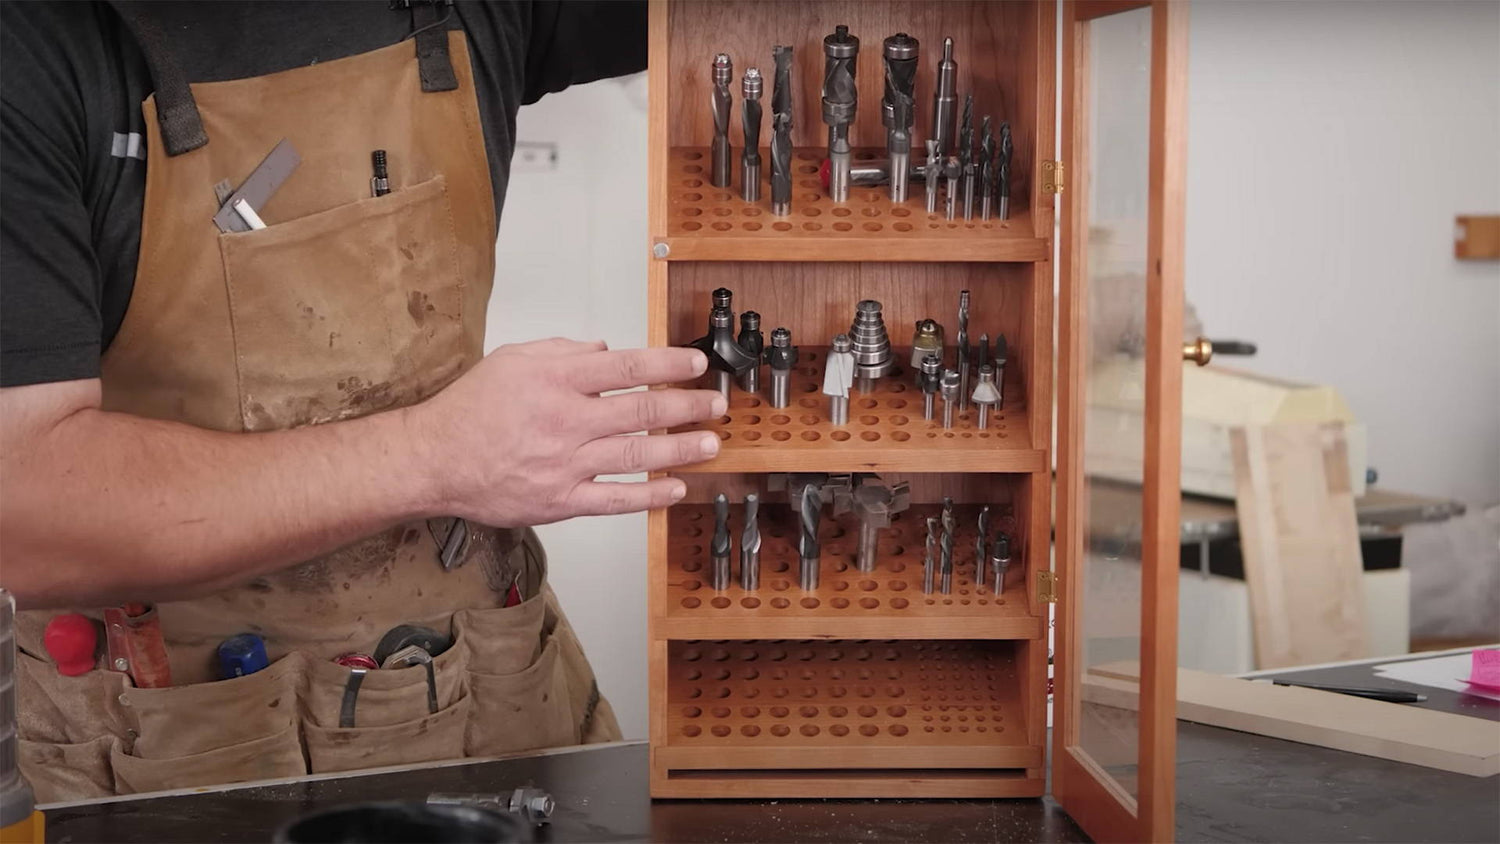
Below are my tried and true router bits. We carry some version of all of these in our store.
DOUBLE-BEARING FLUSH TRIM BIT
Double-bearing flush trim bits are amazing to have if you do a lot of template routing.
By being able to switch between the top and bottom bearing, you’re able to deal with tricky grain direction and extra thick boards — all with one bit.
For example, say you need to flush trim a 2” thick board.
If the cutting length on your regular flush trim bit is 1”, you’d have to start with a bottom bearing pattern bit — then switch to the flush trim.
But with a double bearing bit, you simply use the bottom bearing for the first pass, then the top bearing to follow up.
They also help avoid the need for climb cuts when dealing with tricky grain direction, since you can just flip a piece over and use the other bit.
The best double-bearing flush trim bits have a compression flute design that gives you a clean, tearout-free cut on both sides of a workpiece.
I’ve been using this ultimate flush trim bit from BitsBits for years and I love it (15% discount with code JKATZMOSES15).
We’ve also recently started carrying a super affordable CMT double-bearing compression flush trim bit in our store.
For smaller flush trim work with a compact router, I reach for a ¼” spiral compression flush trim bit.
COMPRESSION, DOWNCUT, AND UPCUT SPIRAL BITS
Next in line is my collection of groove-cutting spiral bits.
The difference between compression, downcut, and upcut spiral bits has to do with the flute design — or how the cutting edges wrap around the bit.
You can read more about the difference here. But the gist is this:
- Downcut bits push wood chips into the cut away from the router, and cut a clean edge on the tool-side of a board
- Upcut bits pull wood chips out of the cut towards the router, and cut a clean edge on the opposite side from the tool
- Compression bits have upcut flutes on the tip and downcut flutes towards the shank, and cut clean edges on both sides of a board
If you can only choose one, I’d go with a compression bit for the versatility. Just know that the upcut portion of the bit has to be deeper than the surface of the wood for it to work as intended.
A downcut spiral bit is what I mostly use on the CNC. Since the cutting motion is away from the tool, it helps keep everything flat on the table.
If you need to plunge, however, an upcut bit is the best. And it lets you clear a ton of material quickly. If you need to clear a bulk of waste for a butterfly key or mortise, upcut bits are the best.
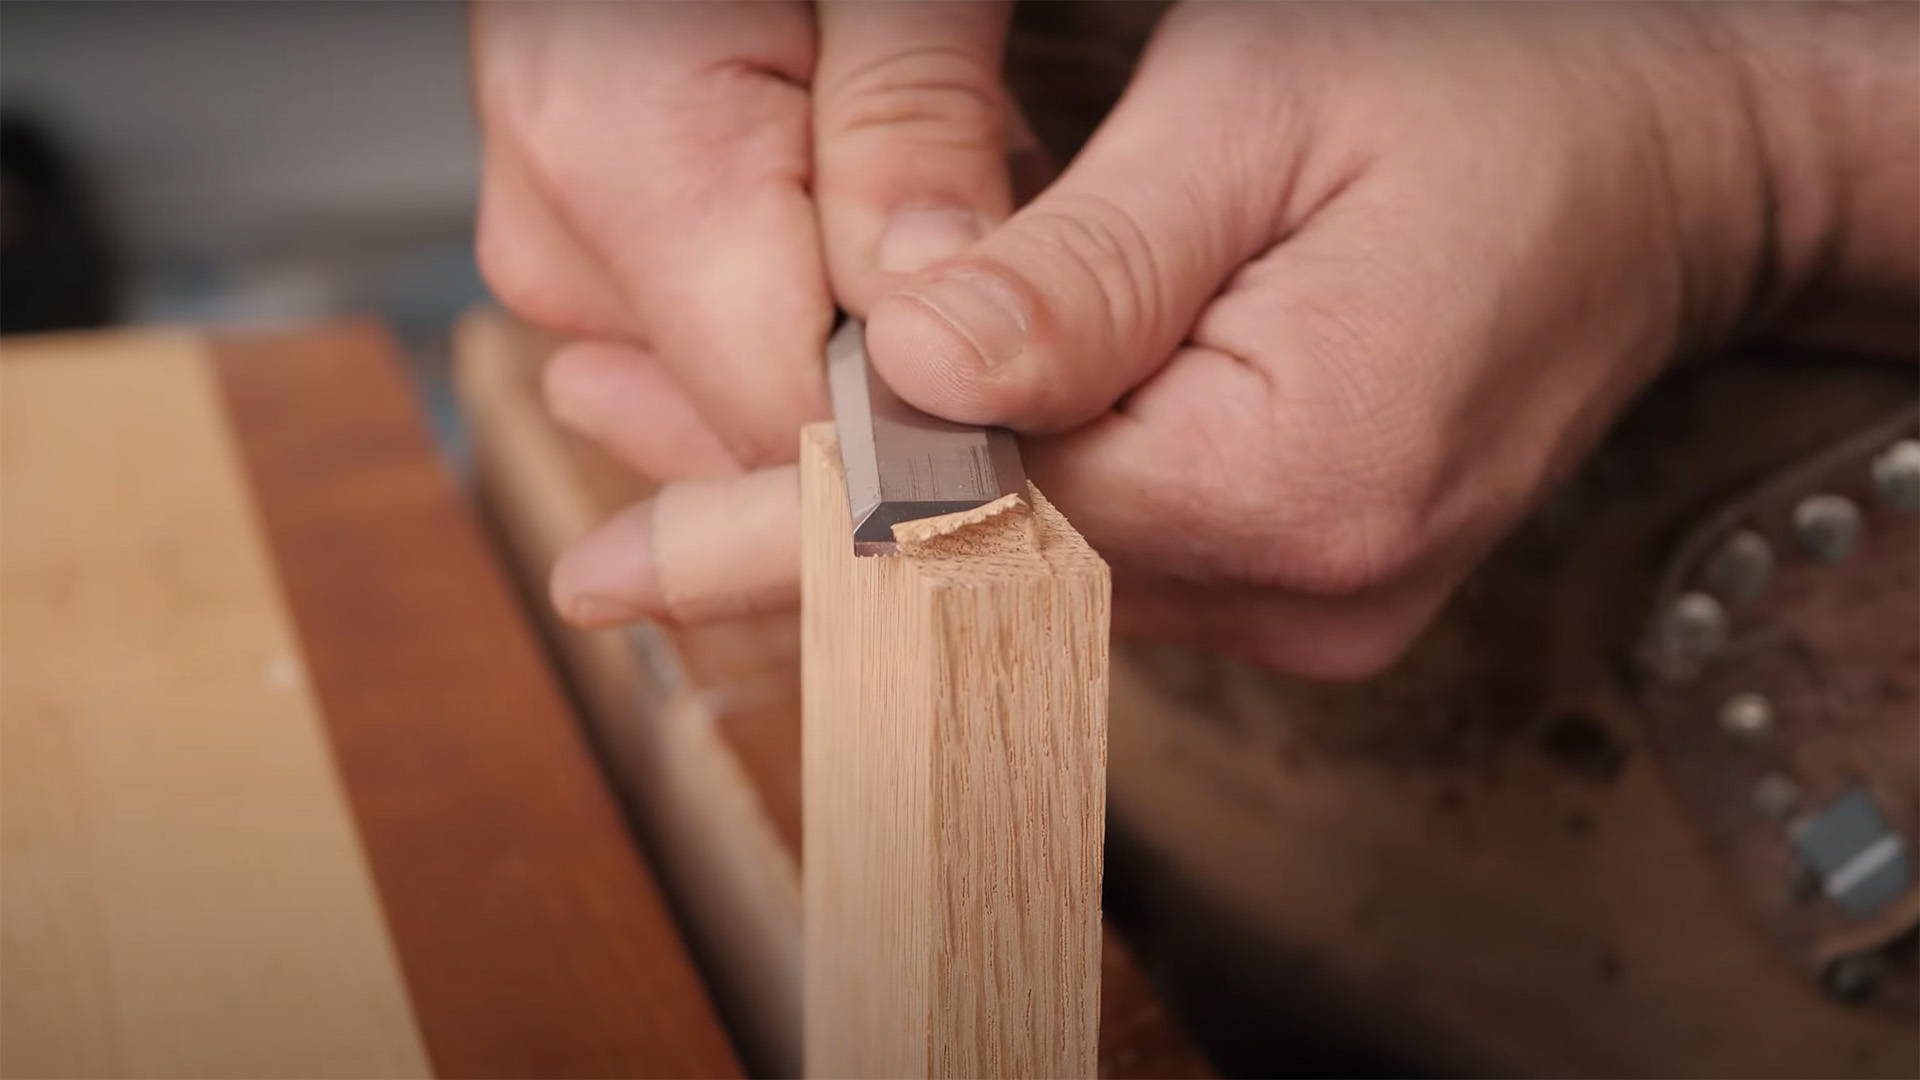
Just be sure to clean the final edges with a chisel since upcut bits can cause tearout on the shank side.
⅛” ROUNDOVER BITS
Roundover bits are great for breaking edges and adding a more organic look to a board.
But the one I use the most is an ⅛” radius roundover.
The profile it cuts is really subtle, but works perfectly to get rid of sharp edges on a board without changing the look too much.
I have a trim router where I keep an ⅛” roundover bit installed at all times. Whenever I need to break an edge, I just grab it and go.
Bigger roundovers are great for more apparent design choices — and also for making your own dowels.
The first one I’d get is an ⅛” roundover. From there, I’d get a set with ¼”, ⅜”, and ½” radii. That’ll cover most of your roundover needs (here’s a roundover bit set we carry).
45° CHAMFER BIT
Chamfers are an easy detail that can add a lot to a piece.
And what’s great about 45° chamfer bits is you can cut chamfers and bevels of various sizes with a single bit. All you need to do is adjust the depth of cut.
If you plan on making a really big chamfer, I recommend first making smaller passes before going to your final depth.
This will put less strain on the bit and router, and give you cleaner results.
SLAB & SPOILSBOARD FLATTENING BIT
After a downcut spiral bit, a slab and spoilsboard flattening bit is my most used bit on the CNC.
If you need to take off a ton of material over a large area, these beastly bits are a must.
I mostly use one on the CNC. But they’re also great in full-sized handheld routers for slab flattening jigs.
We recently started carrying a slab flattening bit from CMT that has 4-sided cutterheads that can be rotated to a fresh edge when they get dull.
They’re a super cost-effective option over solid or brazed carbide versions.
This isn’t a bit everyone will need. But if you work with a lot of large live-edge slabs, it’s a must have.
A BIT OF BIT ADVICE
Hopefully, this helps guide you as you build up a respectable router bit collection.
Just remember to take light passes, always feed the right way, and clean your dirty bits! (Did I say something?)
What are your most used router bits? Let us know in the comments below!
Follow us on Instagram @katzmosestools, on TikTok @katzmoseswoodworking, and check out my YouTube channel for more great woodworking content...
And as always, STAY SAFE IN THE SHOP!


7 comments
KaS
My suggestion to new people is to buy a combination pack from a big box store or Amazon. You get 10 bits at a cheap price. When you wear one out, buy a premium replacement. I like Whiteside a lot. You might also buy a 1/4 inch upcut spiral to compare to the typical fluted straight bit design in the combo packs.
My suggestion to new people is to buy a combination pack from a big box store or Amazon. You get 10 bits at a cheap price. When you wear one out, buy a premium replacement. I like Whiteside a lot. You might also buy a 1/4 inch upcut spiral to compare to the typical fluted straight bit design in the combo packs.
Teknik Logistik
What are the must-have router bits to invest in when starting from scratch, and how do you choose high-quality ones from the countless options available?
Regard Teknik Logistik
What are the must-have router bits to invest in when starting from scratch, and how do you choose high-quality ones from the countless options available?
Regard Teknik Logistik
DOUGLAS B CHIRICO
Looks like I have to make some deck rail as my style is not available anymore. They are basically 2″ × 4″s with 1 1/4" square spindle holes 6" on center. So I will be making a lot of plunge cuts (or pre drill opening cuts) then pattern cutting the depth of the 2″ × 4″ (1 1/2"). Recommended bit?
Looks like I have to make some deck rail as my style is not available anymore. They are basically 2″ × 4″s with 1 1/4" square spindle holes 6" on center. So I will be making a lot of plunge cuts (or pre drill opening cuts) then pattern cutting the depth of the 2″ × 4″ (1 1/2"). Recommended bit?
Anonymous
You are a good teacher and business man. . .I have purchased several of your products over the last year and so far I haven’t been disappointed with the quality or price. Your teaching style is clear and understandable and other than your choice of music (I like Jazz) 🤷♂️), your’s is my favorite woodworking channel on YouTube. I intend to be a more regular customer of your excellent products in the future.
You are a good teacher and business man. . .I have purchased several of your products over the last year and so far I haven’t been disappointed with the quality or price. Your teaching style is clear and understandable and other than your choice of music (I like Jazz) 🤷♂️), your’s is my favorite woodworking channel on YouTube. I intend to be a more regular customer of your excellent products in the future.
Brian Paasch
Have not enjoyed router work so far. I’ve got an old (circa 1990) craftsman router that is a constant fight to get a nice job. Late last month I broke down and bought the pieces to build out a Kreg table using their lift and Dewalt’s bare motor. Right now I’m still building it, parts are all over my living room. One of the first things I need to do is break the razor sharp edge off some 1/8" acrylic sheets. I was planning to use a 1/16 round over but you indicate your preference is 1/8 round over for breaking an edge. Thoughts?
Have not enjoyed router work so far. I’ve got an old (circa 1990) craftsman router that is a constant fight to get a nice job. Late last month I broke down and bought the pieces to build out a Kreg table using their lift and Dewalt’s bare motor. Right now I’m still building it, parts are all over my living room. One of the first things I need to do is break the razor sharp edge off some 1/8" acrylic sheets. I was planning to use a 1/16 round over but you indicate your preference is 1/8 round over for breaking an edge. Thoughts?
David F
Thanks as always for this super-helpful info Jonathan! I need to buy a flush-trim/pattern bit for a project and am debating between the “affordable” CMT and the BitsBits compression bits. How different is the performance between the two? I’m sure the BB bit is better, but 3x or 4x better?
Also, noticed that your coupon code on bitsbits.com only takes a 10% discount (but Malecki’s coupon gives a full 15%). Figured you’d want to know.
Keep up the great work!
David
Patrick Daniels
Just as you do, one trim router is chucked with a 1/8” round over bit, and to blow your mind completely, another with a classic Ogee, which gets used more than any of the multiple bits I own. Building McMansions for well over 30 years you’ be surprised at how useful an Ogee is, most of the garages have multiple wall openers, multiple hook racks over built in mud and laundry rooms, you get the picture! Upcut spirals are constantly used for mortises, when multiple passes are usually required , but safety concerns and damage to work concerns are often eliminated when using. As an old school guy, long before the pre-everything…days, life for we old wood-butchers has changed dramatically for the better. Keep up the excellent service for today’s newbies, your teaching skills are outstanding!!
Just as you do, one trim router is chucked with a 1/8” round over bit, and to blow your mind completely, another with a classic Ogee, which gets used more than any of the multiple bits I own. Building McMansions for well over 30 years you’ be surprised at how useful an Ogee is, most of the garages have multiple wall openers, multiple hook racks over built in mud and laundry rooms, you get the picture! Upcut spirals are constantly used for mortises, when multiple passes are usually required , but safety concerns and damage to work concerns are often eliminated when using. As an old school guy, long before the pre-everything…days, life for we old wood-butchers has changed dramatically for the better. Keep up the excellent service for today’s newbies, your teaching skills are outstanding!!