Does grain direction really matter? If you’ve ever cut against the grain, you know the answer.
Grain direction refers to how the wood fibers of a board lay on top of one another.
Cut with the grain and you end up with glassy smooth surfaces.
Cut against it — and it looks like your board was chewed up by a feral cat.
Knowing how to read wood grain gives you better results on the jointer, planer, router, and of course hand planes.
The problem is grain direction is finicky. And the only way to be certain of it is to make a test cut to see if there’s tearout.
However, there are a few tricks for reading grain direction before you touch a blade to a board — and I’m sharing 3 of them with you today.
1. LOOK AT THE ADJACENT EDGE
My most-used technique is to look at the side adjacent to the side of the board I’m about to cut.
For example, if you’re going to run a board through the planer to flatten a face, I look at one of the edges.
What you’re looking for is a general “slope” in the grain lines — as in a direction they mostly lean.
Your goal is to cut the face in the same direction as these grain lines lean.
The common metaphor is petting a cat. Always pet a cat in the direction the fur lies. Go the opposite way, and things get messy (with the potential for stitches).
The same is true with boards. Make sure your tool’s blade is “petting” the board the same way the grain lies.
Otherwise, the blade can get under those fibers and rip them out in chunks.
2. CONSIDER THE CATHEDRALS
More than likely, the majority of lumber you use is flat-sawn. And you can tell by the grain pattern.
Flat-sawn boards will have a rainbow / smiley face grain pattern on the end grain, and on the faces you’ll see “cathedrals” — a series of bell-curve looking lines.
These grain patterns can be your guide for cutting direction on the board’s faces.
First, determine if the face was towards the inside or outside of the tree. This is easy to do by looking at the end grain.
- If the end grain looks like a rainbow, the top face was towards the outside of the tree
- If the end grain looks like a smiley face, the top face was towards the inside of the tree
Once you’ve determined that, look at the direction the cathedrals point — almost like little arrows.
For inside faces, go with the arrows — and for outside faces, go against the arrows.
So in the picture above, for example, you'd cut in the same direction the cathedrals point.
Because of the way trees grow, this technique will usually have you cutting with the grain (though it’s not fool-proof).
Credit to Joshua Klein and his book Worked for this tip. Absolutely worth a read.
3. TRUST YOUR TOUCH
My final method for reading grain direction is to use your sense of touch.
And you’d be surprised at how well this can actually work.
Simply drag your fingers across the face of a board from one end grain edge to the other. Then do the same in the opposite direction.
You should be able to feel that one direction feels noticeably smoother — while the other feels rougher.
Whichever way feels smoother is the direction you want your tool blades to cut the board.
Again, not a flawless system. But it’s efficient — and can even help you find patches where the grain direction shifts.
Want to learn more about grain direction? Read this.
What’s your go-to technique for reading wood grain? Let us know in the comments below!
Follow us on Instagram @katzmosestools, on TikTok @katzmoseswoodworking, and check out my YouTube channel for more great woodworking content...
And as always, STAY SAFE IN THE SHOP!


6 comments
Edwards
Thanks for the tips very helpful
Thanks for the tips very helpful
Rodney M.
Re: reading grain direction article.
Many thanks for this informative article it was good to read.
My tip for finding grain direction is to use a stocking/hose that women wear (or used to). Worn out ones that have been laundered are better. If the fibres catch one way and not the other there’s your answer! (like the petting a cat method) Also good for straining finishes and paints eliminating pesky solids or lumps prior to spraying. Extremely cheap too! :-))
Jeff
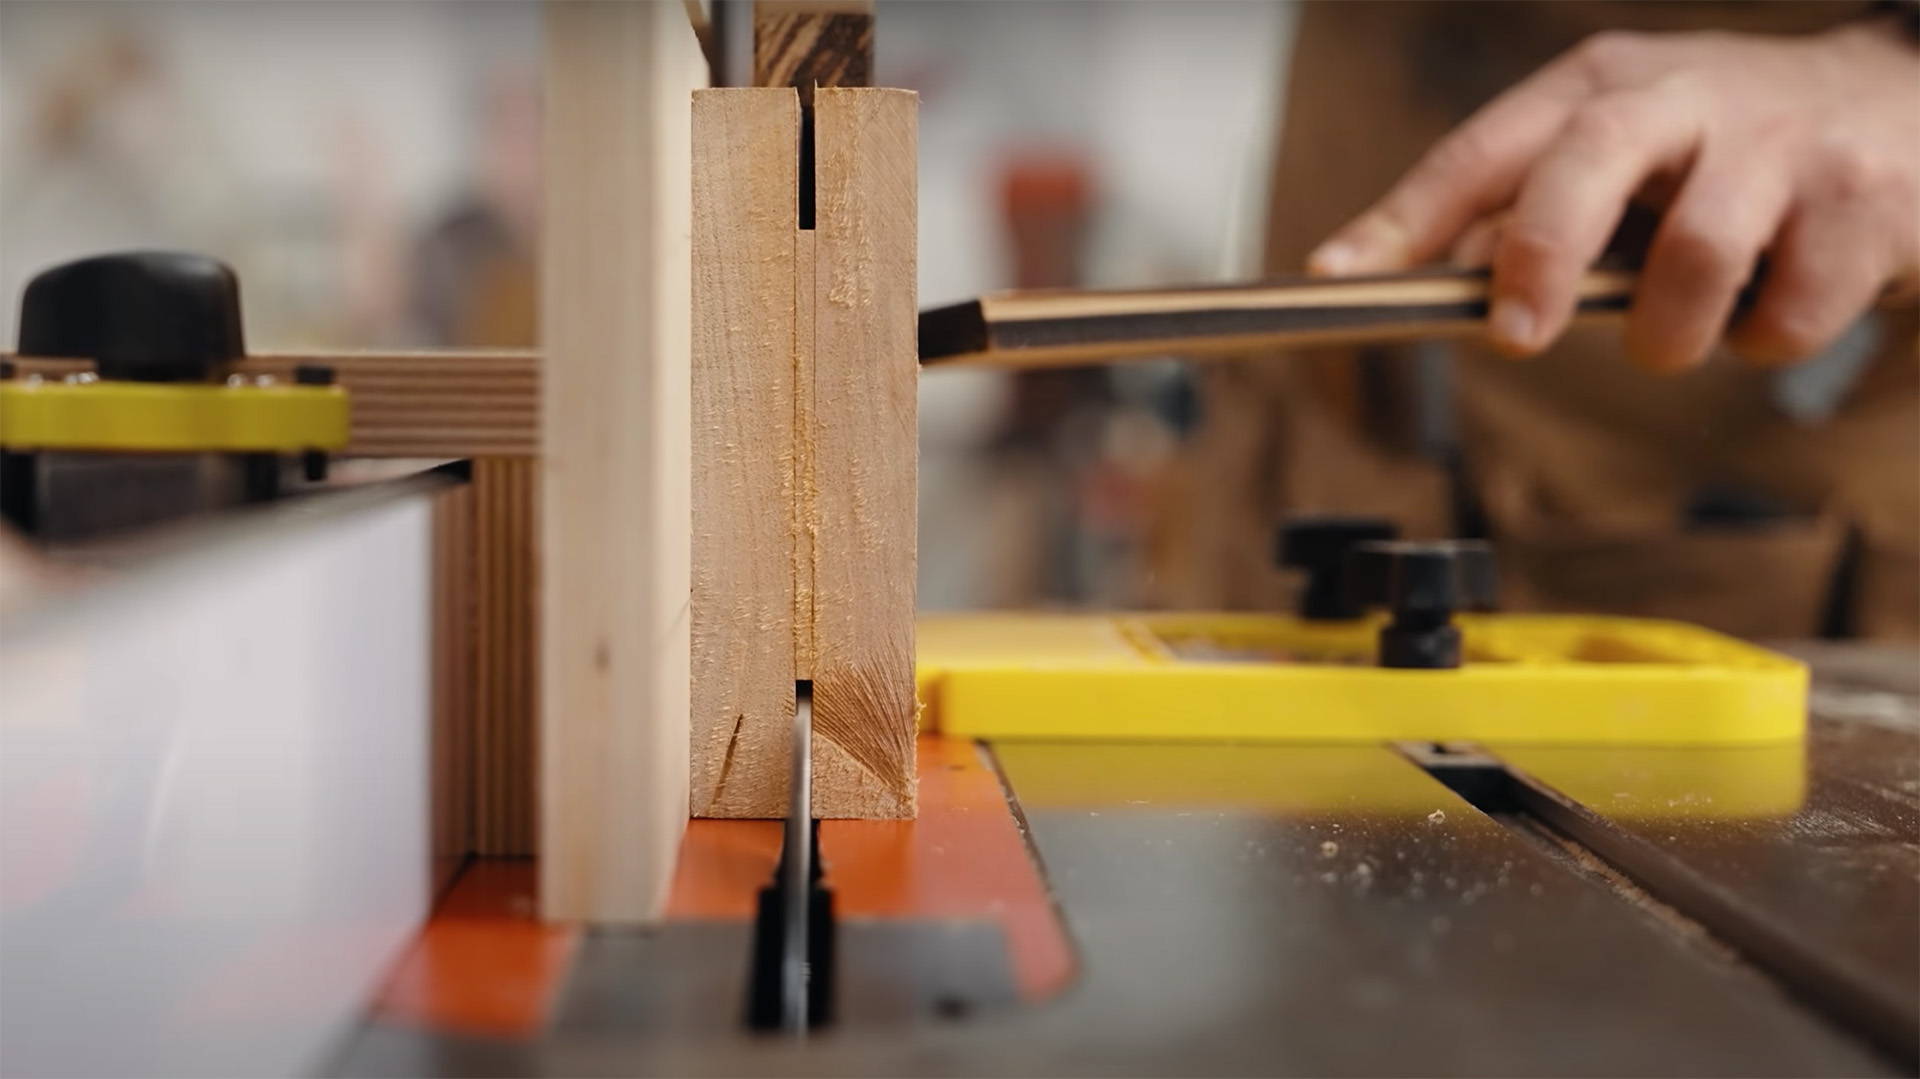
@Moshe: The jig in that pic increases the height of the fence so the workpiece has more stable registration, for both safety and accuracy.
@Moshe: The jig in that pic increases the height of the fence so the workpiece has more stable registration, for both safety and accuracy.
Justin
Good article, thanks. Would like to have had an explanation of how to run the boards through various machines like table saw, planer, jointer, etc., based on grain direction, as the blade(s) is(are) spinning one way, and you’re pushing wood another. Hope that makes sense.
Good article, thanks. Would like to have had an explanation of how to run the boards through various machines like table saw, planer, jointer, etc., based on grain direction, as the blade(s) is(are) spinning one way, and you’re pushing wood another. Hope that makes sense.
TerryT
Thank you for sharing your expertise. It is always appreciated.
When checking for grain direct, I have found that brushing the surface with a cloth makes feeling the grain direction very easy. The direction of least resistance means the grain is up is that direction. Most any cloth will work, but a microfiber cloth works best. Some care should be taken that the grain is not elevated due to it getting caught in the fabric.
Moshe Kwart
Article about marking the center w/o measuring: In the above photo it appears that you are sort of fileting the board on the table saw from the top and bottom edges (rather than resawing on a bandsaw). I also do that.
Why are using what appears to be a jig or sacrificial fence rather than just moving the saw’s fence up and pushing the board through.