


Need to find the center of a board? This no-measure method is as easy as it gets.
It works best when you need to find the center point on a board’s long grain or end grain edge.
But it can work on faces as well, as long as your board is less than around 6” wide.
This is my favorite center-finding technique when I need to resaw a board on the table saw…
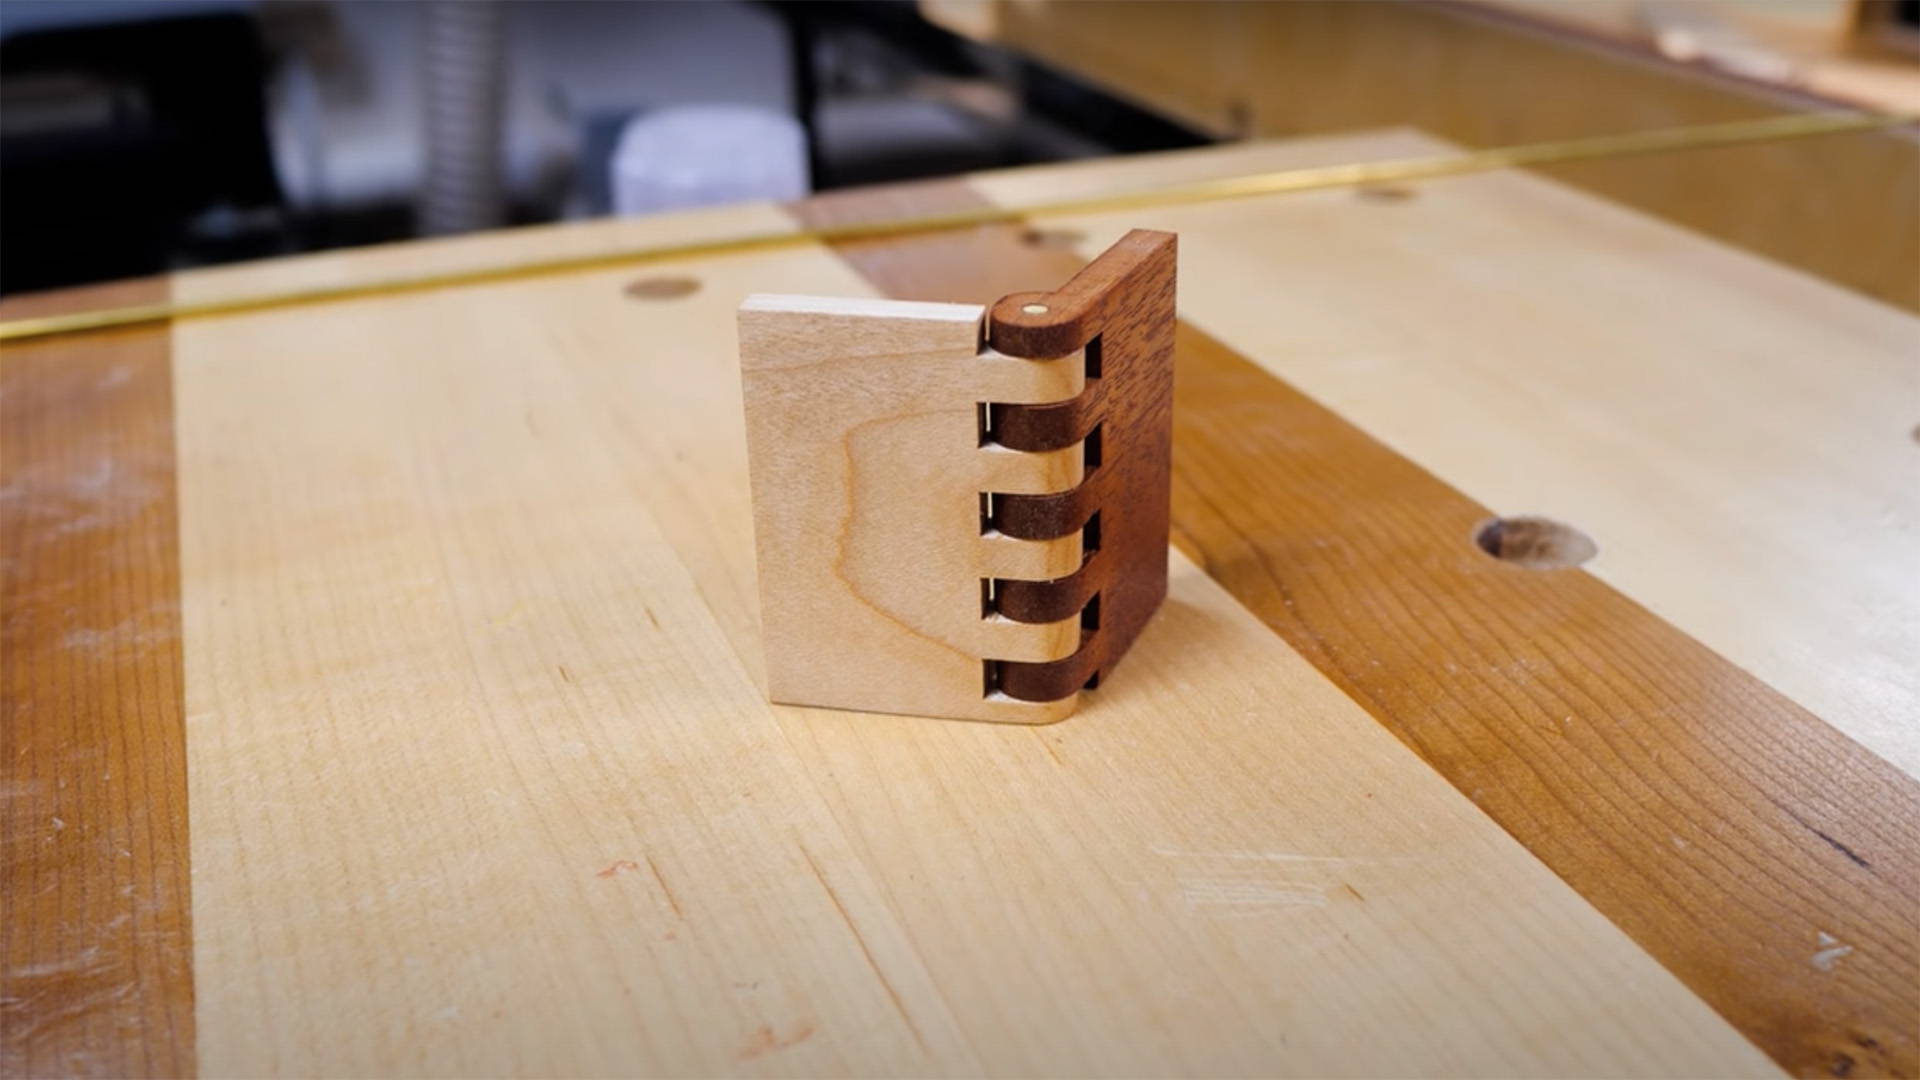
Or want to quickly layout mortises and other joinery.
And best of all, it can often give you more accurate results than measuring.
All you need is a marking gauge and a trusty set of eyeballs.
Here’s how it works.
1. EYEBALL CENTER
Start by setting up your marking gauge so the cutter is roughly centered on the board.
Press the fence against the edge of the board, position the cutter, and lock it down.
No need for the calipers. Just use your eyeballs here.
2. MARK A LIGHT LINE
With the fence firmly against the board’s edge, mark a light line (or a deep line if you're feeling wild).
It doesn’t need to be deep. A scratch will do.
You can even just compress the blade into the wood slightly to make a mark.
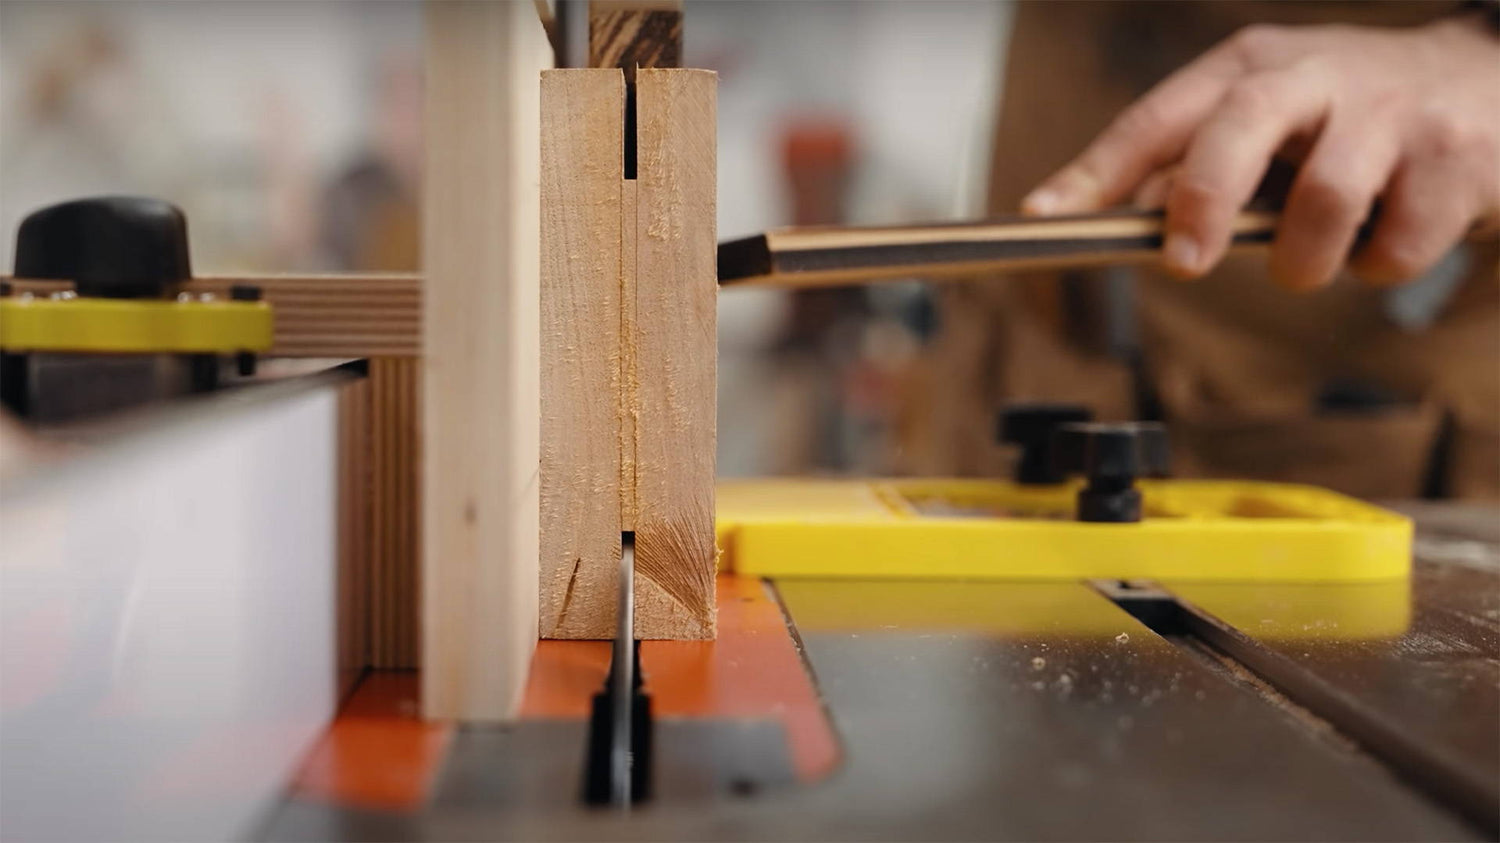
3. MARK A LINE FROM THE OTHER SIDE
Now repeat the step above — but with the marking gauge fence referencing the opposite edge of the board.
If the marking gauge cutter drops perfectly into the first line you scribed, pat yourself on the back. You nailed center first try.
But more than likely, you’ll have two parallel lines. And center is right between them.
4. ADJUST AND REASSESS AS NEEDED
When to call it quits depends on what you’ll be doing next.
If you're resawing a board on the table saw, for example, two parallel lines with a gap between are actually more helpful than a single center line.
That’s because that gap lets you account for the kerf of the blade.
But for joinery where you need a precise center line, I like to repeat this process until the blade sits in the same position from both sides of the board.
When it’s all set up, scribe the final center line and you’re ready to keep working.
Want to know other techniques for finding the center of a board? Read this.
What’s your favorite no-measure method for marking center? Let us know in the comments below!
Follow us on Instagram @katzmosestools, on TikTok @katzmoseswoodworking, and check out my YouTube channel for more great woodworking content...
And as always, STAY SAFE IN THE SHOP!

8 comments
Hansang Bae
The diagonal ruler trick works to a degree. But the marking knife is much much thinner than the rulers mark. So it’s just not accurate enough. You can’t use the left or the right edge of the mark, so you’re left guessing where the center of mark on the ruller is. Good for most cases, but not when you’re trying to get a perfect friction fit.
The diagonal ruler trick works to a degree. But the marking knife is much much thinner than the rulers mark. So it’s just not accurate enough. You can’t use the left or the right edge of the mark, so you’re left guessing where the center of mark on the ruller is. Good for most cases, but not when you’re trying to get a perfect friction fit.
Erica
even easier, take a ruler and hold it on the diagonal with even numbers on the edges and look at the middle number, ex: 2" on one edge and 10" on the other edge held diagonally and the middle number would be 6", works with any size board
even easier, take a ruler and hold it on the diagonal with even numbers on the edges and look at the middle number, ex: 2" on one edge and 10" on the other edge held diagonally and the middle number would be 6", works with any size board
Ian
Or – take a speed square, place it across the board, then holding the pointy end on the edge, rotate it until the length of the diagonal it makes is an easy number to divide by 2 (3, 4, or whatever) and then mark off the intervals you want. If you don’t have a speed square a ruler will do the trick.
Or – take a speed square, place it across the board, then holding the pointy end on the edge, rotate it until the length of the diagonal it makes is an easy number to divide by 2 (3, 4, or whatever) and then mark off the intervals you want. If you don’t have a speed square a ruler will do the trick.
Dr Kirby D Slifer
Love it. Simple. Works like a charm. Looking so forward to more tips!
Love it. Simple. Works like a charm. Looking so forward to more tips!
John McBratney
rds
John
From Down Under
rds
John
From Down Under
Bob Boenau
Well isn’t that just fine! I’ve been doing this for years with a combination square, but never really stopped to think about it. I figured it worked better for me and well I must be getting old and lazy and liked my personal no measure approach whenever possible.
NICE TO KNOW NOW (FINALLY), THAT I AM NOT ALONE.
It does work quite well as a no fuss, just get on with it approach. Glad that you put this out there to the world. There are countless more tricks like these to make it all more fun and intuitive. Cheers, from a Maine boatbuilder.
Ernest Boulanger
Looking forward to the next product
Launch
Thanks
Looking forward to the next product
Launch
Thanks
Redds Combs
That was so easy. Thank you
That was so easy. Thank you