


Learning to resaw lumber can take your woodworking to the next level — and save you money along the way.
It’s the secret to perfect grain wrapping and bookmatched boards, and helps keep expensive wood out of the dust collector.
But what exactly does it mean to resaw lumber?
Think of it like a rip cut, but instead of cutting a board through its width, you cut through its thickness.
The result is two thinner boards of the same width.
Resawing is a skill every woodworker should be familiar with, and I'm going to walk you through the whole process — whether you have a band saw or not.
WHY RESAW LUMBER?
LESS WASTED WOOD
Say you want to make a box with ¾ inch thick sides — but are working with a 2 inch thick board.
Getting to your final dimensions with a planer would be like throwing an entire 4/4 board into a wood chipper.
But by resawing, you get two usable boards with minimal waste.
This is especially valuable with exotic woods.
No one wants to plane off an inch of cocobolo. Might as well douse your wallet with kerosene and light a match.
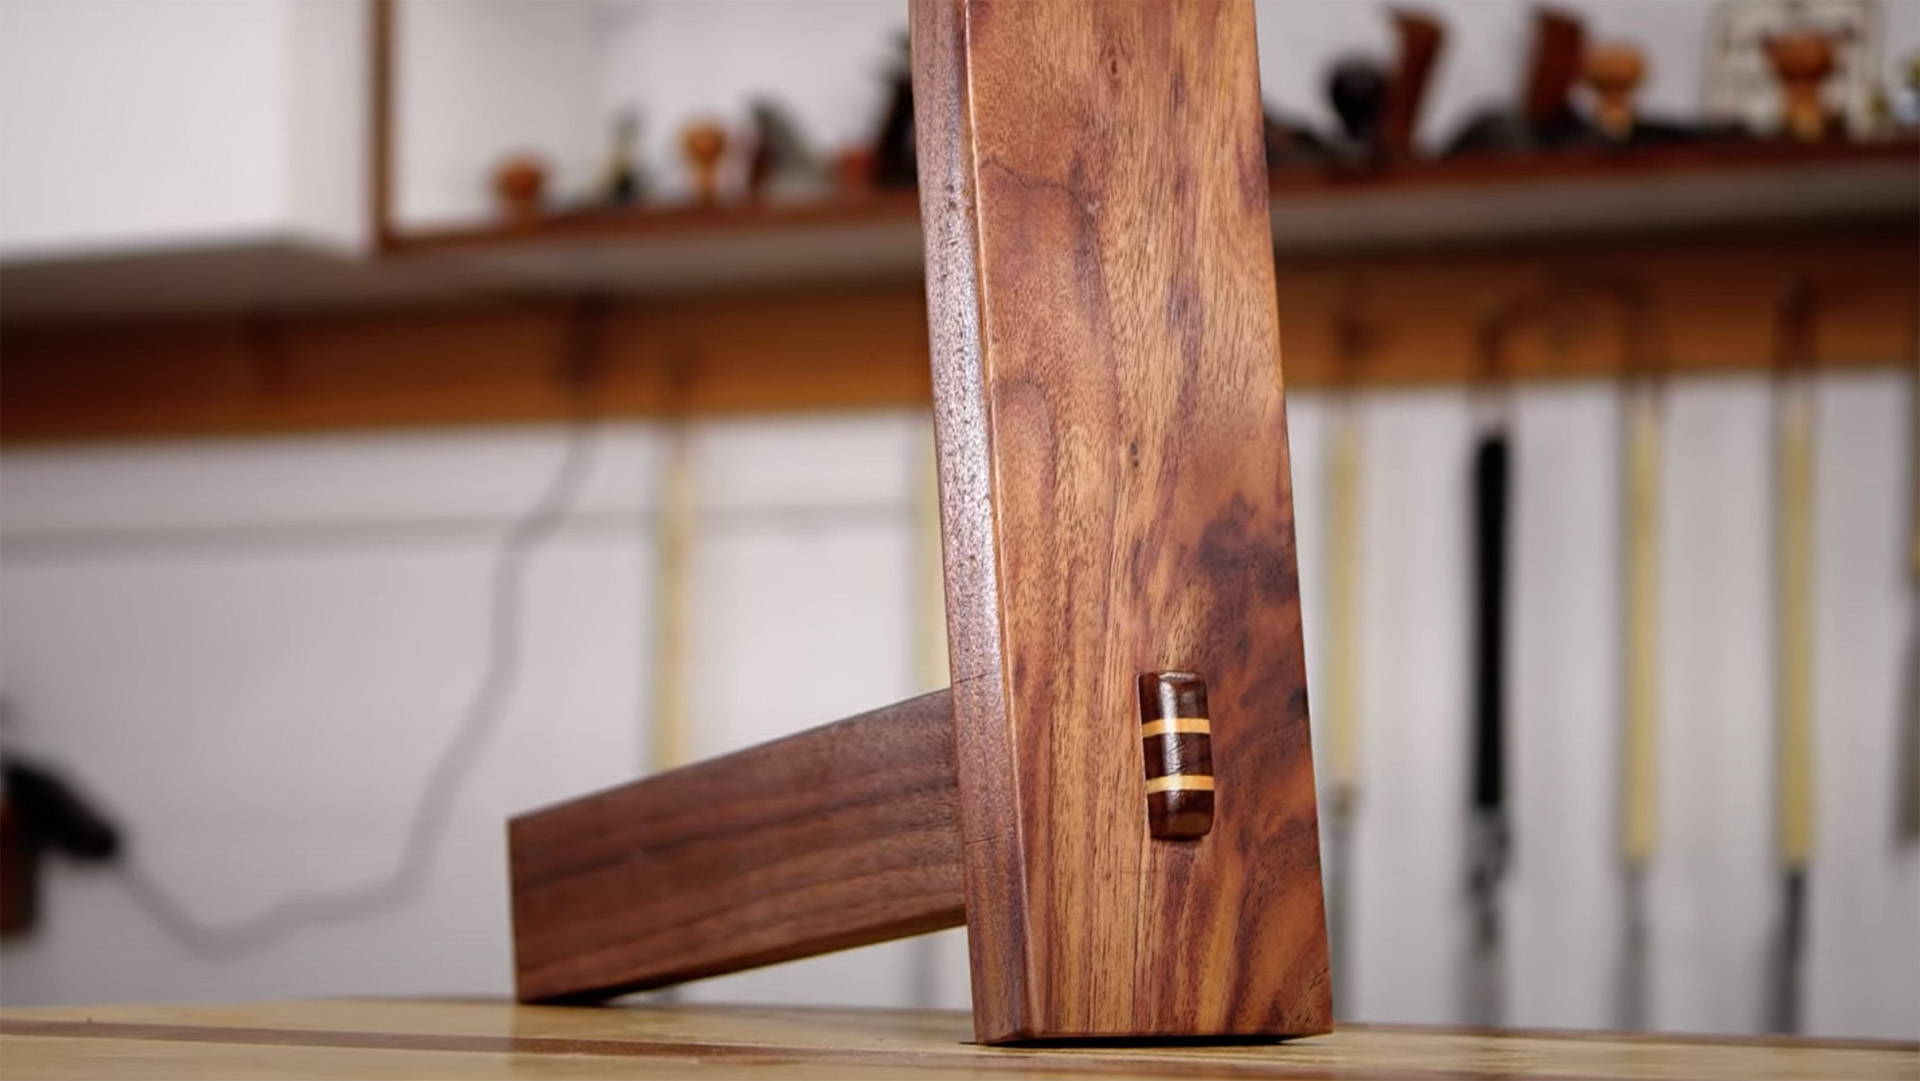
GRAIN MATCHING
Nothing elevates the look of a project like grain matching.
In this video, I used resawn boards to make a jewelry box with continuous grain wrap all the way around. It creates a totally seamless appearance.
Resawing is also the key to bookmatched boards that mirror each other's grain — which looks amazing for panels, table tops, lids, and more.
GRAIN MATCHING TIP:
If you plan to play with grain wraps or bookmatches, make sure the board you’re using is milled square before resawing.
This gives you the chance to bookmatch the resawn boards on all four sides, and ensures you’ll lose as little of that grain match as possible.
CUSTOM VENEERS
You can also resaw thin slices off a board to make your own veneers.
It’s great for box and drawer bottoms, where you use plywood to mitigate wood movement.
Glue your custom veneers over the plywood and it’ll perfectly match the rest of your project.
A NOTE ON EXPECTATIONS:
It doesn’t matter how talented you are or how top-shelf your machinery is — you’re pretty much always going to have to remill resawn boards.
Any of the methods below will leave surfaces that need to be cleaned up with a planer or hand plane.
And because the moist inner bits of a board get exposed, resawn boards will likely cup.
All this to say, don’t feel bad if your resawn boards don’t come out perfectly.
(If they do, let me know — because you're some kind of miracle worker.)
HOW TO RESAW LUMBER ON A BAND SAW
Band saws are the most popular tool for resawing, and for good reason.
The thin blade kerf takes away minimal material, and the tall cutting area lets you resaw wide boards in a single pass.
Obviously, the size and power of your band saw determines its resaw capacity. An 18 inch 3 hp band saw will be able to do a lot more than a 14 inch ¾ hp model.
But if your band saw’s capable of the job, these are the steps to follow.
1. BLADE SELECTION AND SET UP
Resawing involves cutting through a ton of material — so you need the right blade for the job.
In general, a wider blade with fewer teeth and bigger gullets is the call.
The extra width helps keep the cut straight, and the big gullets clear out buckets of sawdust so you can cut faster.
If you have a powerful band saw, I’d go with a ¾ - 1 inch blade with 3 to 4 teeth per inch (TPI). For band saws under 1 hp, use a ½ inch blade.
Once you’ve got your blade, you need to make sure your band saw is tuned and ready to go.
There’s a lot that goes into this, but it’s simple once you understand the process.
Here’s a great video all about tuning up your band saw for optimal performance.
2. SET UP YOUR CUT
There’s two ways to resaw a board on a band saw: Freehand, or with a fence.
If your board is really thick and stable on its edges, you can probably resaw it freehand with good results.
But if you’re after accuracy, using a resaw fence is the move.
Set up your fence so the blade is centered on your board.
Band saw blades have a lot of tooth set (the angle the teeth bend away from the blade). Split the difference between two teeth to center your cut.
Once your fence is in place, set up your featherboard — just make sure it isn’t past the blade.
3. PUSH THE BOARD THROUGH
With the featherboard supporting the bottom of your board, use a push stick with a heel to keep the top half of the board against the fence and push it through the blade.
Take it slow and steady, and let the band saw do the work.
Pushing too hard can bend or twist the blade and ruin your straight cut.
4. ANTICIPATE THE EXIT
As you approach the end of your cut, lighten up the pressure on your push stick.
There'll be a sudden release of momentum as the board fully passes through. And if you’re pushing too hard, you might push the back of the board deeper into the blade.
I’ll sometimes reach around with my other hand and pull the board through for the last little bite.
Run your resawn boards through the planer to get rid of any blade marks, and you're ready to move on to the next step of your project.
But what if your band saw isn’t big or powerful enough for the job — or you don't have a band saw at all?
Read on, my friend.
HOW TO RESAW LUMBER ON A TABLE SAW
Resawing on the table saw is simple — but you need to be careful.
Kickback is a real risk. Make sure your workpiece is well supported against the fence, use a featherboard, and have two good push sticks handy.
Also, your board needs to be milled flat, straight, and square before this operation.
Here’s how to do it.
1. INSTALL A RIPPING BLADE
You’re going to remove a ton of material — so a good ripping blade is critical to avoid burning wood and overworking your saw.
The deep gullets carry sawdust out of the cut, letting you cut faster and keeping the blade from overheating (good for your blade, good for the wood).
You can read more about table saw blades here, and check out the full kerf and thin kerf CMT ripping blades we carry in our store.
2. SET UP YOUR CUT
First, find the center line of your board.
It doesn’t need to be perfect — just close enough.
TIP: FIND CENTER WITHOUT MEASURING
Set up a wheel marking gauge so the blade is close to what looks like the center of the end grain edge.
With the fence resting against one face, score a line down the edge. Then do the same from the opposite face without adjusting the marking gauge.
The space between these two lines is the middle of your board — and where you should line up your table saw blade.
Next, set up your fence in the right position.
If the board is more than twice the height of your fence, set up an auxiliary fence to help support the top.
A tenoning jig works great if you have one.
Lastly, set up a featherboard to keep the bottom of the board steady against the fence. Set it close to the blade without overlapping so as to avoid kickback.
3. CUT, ROTATE, CUT, ROTATE
Use two push sticks for these cuts — one holding the top of the board against the fence, and one pushing the board down and forward.
Make sure the push stick on top has a good heel to support your board as it goes through the blade.
Unless the board you’re resawing is under an inch wide, don’t cut through it in one pass.
Instead, set the blade height to cut ½ to 1 inch (depending on the power of your saw) and make a cut.
Rotate the board and make a pass through the opposite edge. Make sure the same face of the board is always against the fence.
Raise the blade another ½ to 1 inch, and again make cuts on both sides.
Continue cutting one side, flipping the board, cutting the other side, then raising the blade.
As you get close to the middle of the board, DO NOT cut all the way through (because kickback).
Leave a thin strip of material in the middle (bigger than the photo below — that's cutting it close). Then either snap the boards apart, or finish separating them with a hand saw.
Once your two resawn boards are separated, clean up the faces with a hand plane or planer.
TIP: START RESAWING ON THE TABLE SAW
If you have a lower-powered band saw, or plan to resaw by hand, starting on the table saw is a huge help.
It gives you a straight kerf to use as a guide for completing the cut, and gets a lot of material out of the way.
It’s easier on your band saw — and your arms.
HOW TO RESAW LUMBER WITH A HAND SAW
When I was at the William Ng woodworking school, an instructor showed me a technique Japanese carpenters use for resawing boards by hand.
It works by separating the board into triangular quadrants, so you can always see your line.
If you try sawing through an entire board in one go, the chances of going off your line are pretty high. And you’ll be standing in a puddle of your own sweat.
This triangle strategy is way more accurate, and a whole lot easier (still a workout, though).
Use a pencil to draw overlapping triangles from each corner of the board. You can just visualize them, but the lines help you know when you're done.
Now grab the right saw for the job. The ripping side of my Ryoba Japanese pull saw is my go-to.
Start cutting on your line from a corner, working your way towards the middle of the board. Rotate the board and do the same for all four corners.
Don’t worry if your kerfs don’t perfectly line up. Just get as close as you can.
Once all the corners are cut, use the kerfs as a guide for sawing through the middle.
Use the reflection of the board in your saw to see if the cut is square. You can read more about how to use Japanese hand saws here.
Again, your resawn boards won’t be perfect. But you might be surprised at how well this method works
HOW TO RESAW LOGS AND ODD SHAPES
Who doesn’t have a small log lying around the shop they plan to use for a project “one day?”
But without a flat reference edge, there’s no way to get an accurate cut with your band saw. Luckily, there’s an easy solution.
Ben Paik of Woby Design came up to my shop a while back. He brought this 50 pound hunk of skateboards he glued together. And we needed to mill it (here’s the video).
Keeping that thing straight while pushing it through my band saw would have been impossible — so we build a simple right angle jig.
It’s just a couple pieces of plywood attached at 90°, and it rides in the band saw table’s miter slot.
Put a couple of screws through the back to hold your log in position, then make a pass. Flip the log with the flat face down, put in screws again to keep it steady, and make another pass.
Now with two flat faces, you can resaw it into boards and mill it like any other piece of lumber.
A WORD ON WOOD MOVEMENT
Resawn board will almost always cup towards the newly exposed face.
When all that moisture in the middle gets released, the board can’t help but move — especially with thinner boards.
Sometimes, there’s nothing to be done but remill.
But you can help mitigate the cupping. Try one of these methods and see if they work for you.
ANTI-CUPPING TRICK 1
Use a wet rag to wipe down the outsides of the resawn boards — meaning the original outside faces of the board before resawing.
Clamp them together with the freshly sawn sides facing each other, and leave overnight.
ANTI-CUPPING TRICK 2
Wipe the original outside faces of the boards with a wet rag, then set them cupped-side down on a flat surface. You might want to set them on cauls to avoid mildew.
Put something heavy on top of them and let them sit overnight.
Again, neither of these tricks are guaranteed to work — but they can help.
Sometimes the magic works. Sometimes it doesn’t.
RE-CAME, RE-SAW, RE-CONQUERED
Knowing how to resaw lumber opens up a whole new level of woodworking for you to explore.
From grain matching, to conserving material, to making your own veneers, it’s a valuable skill every woodshop junkie should learn.
Just remember — leave perfection to your planer, and happy resawing!
Got any of your own resawing tips? Leave them in the comments below!
Follow us on Instagram @katzmosestools and check out my YouTube channel for more great woodworking content...
And as always, STAY SAFE IN THE SHOP!
3 comments
Terry Treman
K-M, You are a remarkable woodworker and fine person. These techniques you shared are awesome. I have the basic power tools, some on the cheaper side, so many techniques I see on other channels are beyond me. I don’t have a joiner or a planner. You give thought to those of us who, for whatever reason, do not have all the power tools needed for powered cutting, milling, and finishing. We have to have other methods to get things done, kind of like our grandfather’s may have. I am greatly appreciative for this gift.
K-M, You are a remarkable woodworker and fine person. These techniques you shared are awesome. I have the basic power tools, some on the cheaper side, so many techniques I see on other channels are beyond me. I don’t have a joiner or a planner. You give thought to those of us who, for whatever reason, do not have all the power tools needed for powered cutting, milling, and finishing. We have to have other methods to get things done, kind of like our grandfather’s may have. I am greatly appreciative for this gift.
Anonymous
Excellent article, Jonathan. Thank you. A lot of us have a bandsaw that will get you there, but it only has a small fence. In a pinch, an accurately placed and securely clamped aluminium or steel angle can act as a taller fence if required. If you’re lucky enough to have a supplier nearby, they’ll sell you a small length, or even an offcut if you’re lucky. (I was luckier. Mine came from dad’s garage!)
Excellent article, Jonathan. Thank you. A lot of us have a bandsaw that will get you there, but it only has a small fence. In a pinch, an accurately placed and securely clamped aluminium or steel angle can act as a taller fence if required. If you’re lucky enough to have a supplier nearby, they’ll sell you a small length, or even an offcut if you’re lucky. (I was luckier. Mine came from dad’s garage!)
Larry Curran
This is a great article on resawing. Much helpful information. I will keep this around for future reference when I do my resawing. Just starting to do much resawing so lots to learn. This article is a big help.
This is a great article on resawing. Much helpful information. I will keep this around for future reference when I do my resawing. Just starting to do much resawing so lots to learn. This article is a big help.