


To make furniture that fits together like Legos, you need to know the ins and outs of milling lumber.
The milling process is how you make boards flat, straight, and square — and it’s the crucial first step to any woodworking project.
If you don’t do it right, your measurements won’t be accurate, your joinery won’t quite fit, and boards that were once straight will turn into hockey sticks over time.
It’s a pretty straightforward process. But there are a few things to know to get it right — not just for making boards square, but for keeping them that way.
This is a guide to how almost every professional woodworker mills lumber, using a jointer, planer, and table saw.
Yes, you can do your milling entirely with hand tools. But it requires quite a bit of skill, a lot more time, and bucketfuls of elbow grease.
If you’re ok with using modern machinery, this is the process to follow.
So throw on your safety goggles and ear protection (this will get loud) and let’s get to it.
A FEW TIPS FOR EXCELLENT RESULTS
Here’s a few points to keep in mind before, during, and after milling.
CONSIDER GRAIN DIRECTION
To get clean, tearout-free edges and faces on your boards, you need to pay attention to grain direction.
Feeding a board through a jointer or planer against the grain can chip off pieces of wood instead of cleanly severing the fibers.
Think of it like petting a cat. Pet it in the direction the fur lies, and it stays flat. But pet against the fur, and that cat will look like it’s coming out of a three day catnip bender.
Run boards through your jointer and planer so the cutterheads “pet” the grain down.
Keep in mind the cutterhead on a jointer is below a board, while on a planer it’s above. On either, the part of the cutterhead that cuts spins the opposite direction the board is moving.
To identify grain direction, look at the grain lines on the side perpendicular to the side you’re about to cut.
If the grain lines are angled, feed that board so the cutterheads lay the grain down.
If the grain lines go straight along that entire edge, you can probably get away with feeding the board either direction.
LET BOARDS ACCLIMATE
Wood is constantly absorbing and releasing moisture from its surrounding environment — which causes it to expand and contract (a.k.a. wood movement).
That means boards can start to warp when moved from one location to another.
The lesson?
When you buy lumber, let it acclimate to your shop for a couple days.
I know it’s tempting to get home, mill up your new boards, and start building a project right away. But you’ll pay the price when those perfectly straight table legs suddenly aren’t straight.
Milling also exposes the inner, more moisture-laden parts of a board. And as that newly exposed moisture is released… yup — the board will warp.
So even after boards are acclimated to your shop, you should do a “rough” milling one day, then a final milling a day or two later.
This gives boards adequate time to shift so they’ll stay square for your project.
USE A PENCIL
Pencil lines are an excellent gauge of when boards are flat.
Before running a board through your jointer or planer, scribble pencil lines over the side you’re cutting.
As you make multiple passes (which you should always do), any remaining pencil lines will show the low/high spots that haven’t yet been cut.
Once all the pencil lines are gone, you’ll know a board is flat and you're ready to move on to the next step.
I also recommend labeling the faces and edges you’ve already milled. It’s easy to get confused — especially if you’re milling multiple boards at once.
UNDERSTAND YOUR TOOLS
You need to know how to properly set up and use your tools. Not just for good results, but for safety too.
If the outfeed table on your jointer is too low or high, you won’t get a flat face — even if you follow proper technique.
And if you try to take too much material at once with a planer, you can damage a board, or even your machine.
I’ll cover the most important points below, but here’s a few resources for you to get a solid understanding of the tools involved in the milling process:
Don’t have a jointer? Here’s how to joint a board without a jointer.
WHAT’S THE DIFFERENCE BETWEEN A JOINTER AND A PLANER?
I get this question all the time.
Jointers flatten one face of a board and make edges square to that flat face.
What they can’t do is make two faces or edges parallel to each other.
That’s where planers come in. Planers cut one face of a board parallel to the other — but that doesn’t mean the board will be flat.
The rollers on planers put down so much pressure, they can temporarily flatten warped boards. But as soon as that board comes out, it’ll spring back to its original shape.
There are ways to flatten a board with a planer (like this) — so if you can only get one, go with a planer.
But used together, a jointer and planer will save you a ton of time milling.
HOW TO MILL LUMBER: STEP-BY-STEP GUIDE
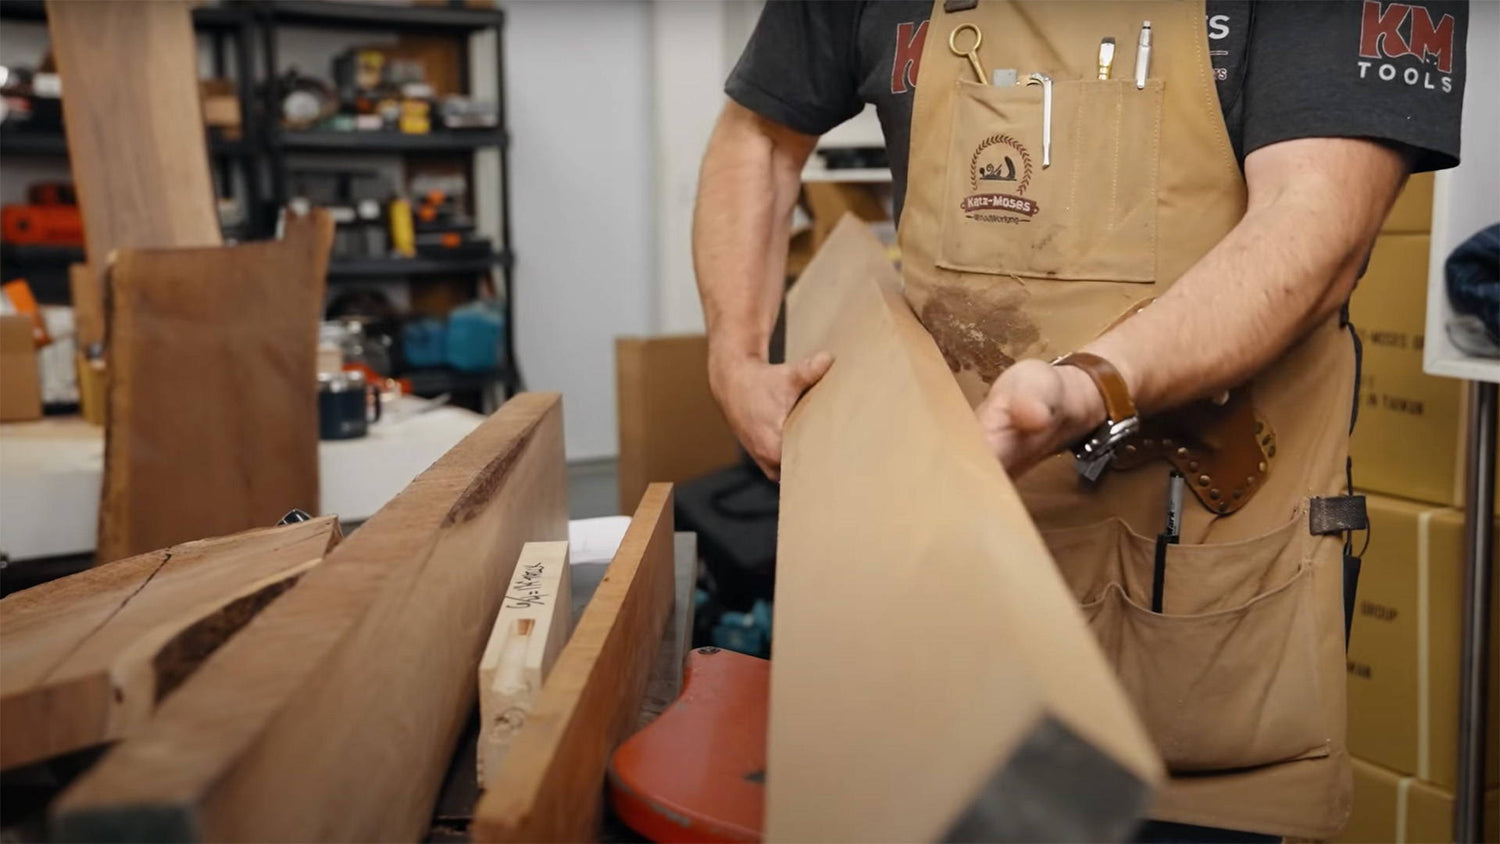
STEP 1: CHOOSING AND ACCLIMATING LUMBER
Before anything else, you need to pick up some lumber.
But if you want to make table legs that are 1 ½ inches thick, don’t buy a 1 ½ inch board.
Account for losing ¼ inch to ½ inch of material to milling — so buy boards at least ¼ inch thicker than the final dimensions you're after.
Obviously, this depends on how flat a board is. But remember: Even a super flat board can warp when you bring it to your shop.
Also, most lumber is actually thinner than the labeled thickness.
For example, 4/4 (four quarter) lumber is theoretically 1 inch thick. But it’s really around ¾ inch thick.
You should generally assume:
- 4/4 = ¾ inch thick
- 5/4 = 1 inch thick
- 6/4 = 1 ¼ inch thick
- 7/4 = 1 ½ inch thick
- 8/4 = 1 ¾ inch thick
This of course depends on where you buy lumber, so take a measuring tape to be sure.
Then there’s rough vs pre-milled lumber.
The varying degrees you’ll usually find are:
- Rough lumber: Squarish boards straight off the mill. These haven’t been surfaced on any side, and are the cheapest option.
- S1S (surfaced on one side): Boards that have one face planed.
- S2S: Boards that have one flat face and a square, jointed edge
- S3S: Boards that have two surfaced faces and one square edge.
- S4S: Fully milled boards with all faces and edges planed and jointed. The most expensive option by a longshot.
If you own all the machinery needed for milling, I’d go with rough lumber.
The problem with pre-milled lumber is you’re almost always going to have to mill it anyway.
Since the moisture levels between the lumber yard and your shop are probably different, the boards will likely warp when you bring them home.
And what’s the point of spending all that extra money when you’ll have to mill it anyway?
The last tip here is to let boards acclimate to your shop.
As mentioned above, changes in location can change the shape of boards. Let them sit a few days before milling to save you from trouble later on.
STEP 2: FLATTENING ONE FACE
Once your board is acclimated, it’s time to run it through the jointer and flatten one face. Remember to pay attention to grain direction.
As you feed the board over the cutterhead, put all the pressure on the outfeed table as soon as possible. This will keep you from cutting a curve into the board.
Don’t take off more than ⅛ inch in a single pass. You can learn more about jointer technique in this video.
If you marked the face with a pencil, make multiple passes until all the lines are gone.
For smaller boards, you can also use the “suction trick” to test flatness.
No, don’t start sucking on the board. Set the face you just flattened on the outfeed table. If you feel slight suction as you lift it, you know it’s dead flat.
Mark this flattened face as “Side 1,” and you’re ready for the next step.
TIP: CUT UP LONG BOARDS
The longer a board is, the more material you’ll have to remove to get it flat — especially if there are any cups or twists.
Cutting a long board into smaller pieces reduces the severity of any irregularities…
Meaning you can get boards flat without wasting as much material.
If it works for your project, cut long boards to their rough lengths with a chop saw or circular saw first, and keep some money out of the dust collector.
STEP 3: JOINT ONE EDGE
Now you’ll use the jointer to cut one edge square to Side 1.
First, make sure your jointer fence is square to the outfeed table.
When you push the board over the cutterhead, keep it flat against the fence while putting pressure on the outfeed side.
Make sure the face you flattened is the side against the fence (the photo above was just a demonstration — Side 1 should face the other way).
Again, use pencil lines to gauge when the edge is flat. When all the pencil’s gone, mark it “Side 2.”
Use your most trusted square to check that Side 1 and Side 2 are at 90° to each other.
If they are, turn off the jointer and move on to the planer.
STEP 4: PLANE BOTH FACES PARALLEL
You’ll now run the board through your planer with Side 1 (the flattened face) facing down.
Mark pencil lines all over the top face and start running that sucker through.
Take off around 1/16 inch of material at a time and make multiple passes until the pencil lines are gone.
Once they are, flip the board over so Side 1 is facing up and take another pass.
As you keep making passes, alternate which side is facing up to help keep things even.
If this is Day 1 of milling, don’t go to your final thickness yet.
Leave an extra ⅛ inch of material for milling to your final dimensions the next day (remember, wood movement).
TIP: HOW TO DEAL WITH SNIPE
Snipe is when the cutterheads cut deeper into a section of a board — and it's the curse of lunchbox planers.
When only one roller is making contact with a board, the uneven pressure can tilt it up into the cutterhead. That’s why snipe usually occurs at the ends of boards.
First off, don't take off too much material at once. But here’s a couple other ways to deal with snipe:
- Cut boards longer than you need them, then trim off the ends. It’s wasteful, but reliable.
- Butt an offcut of the same thickness against the front and back of your board as you feed it through. It works like a “bodyguard,” absorbing the snipe.
- As long as it’s not too extreme, use sandpaper, a card scraper, or a hand plane to blend snipe into the rest of the board.
STEP 5: CUT THE SECOND EDGE PARALLEL
Now we move on to the table saw.
With the jointed edge (Side 2) against the table saw fence, cut the board to its rough width. Leave a bit of material for final milling the next day.
As long as your table saw is properly tuned, this creates a clean edge that’s square to the rest of the board.
For rough dimensioning, a combination or general purpose blade works great.
But if you’re milling a bunch of lumber, or want ultra-clean edges, a dedicated ripping blade is the way to go.
Read more about table saw blades here. And be sure to follow all the steps for avoiding kickback.
Your board is now milled flat, straight, and square.
But that’s not necessarily the end of the process.
STEP 6: STORAGE AND FINAL MILLING
Rough milling exposes moisture within a board — and that can cause a board to warp overnight.
That’s why you should come back the next day for a final milling to get your board to its final working dimensions.
You can also save yourself from wood movement by properly storing milled boards.
Make sure they’re lying on flat surfaces, and use either weight or clamps to keep them flat.
If you’re stacking boards, “sticker” them by laying equally thick strips of wood between each board. This lets air circulate around them so moisture can escape evenly.
Also keep in mind that the thinner a board, the more susceptible it is to wood movement. Clamps might be the move here.
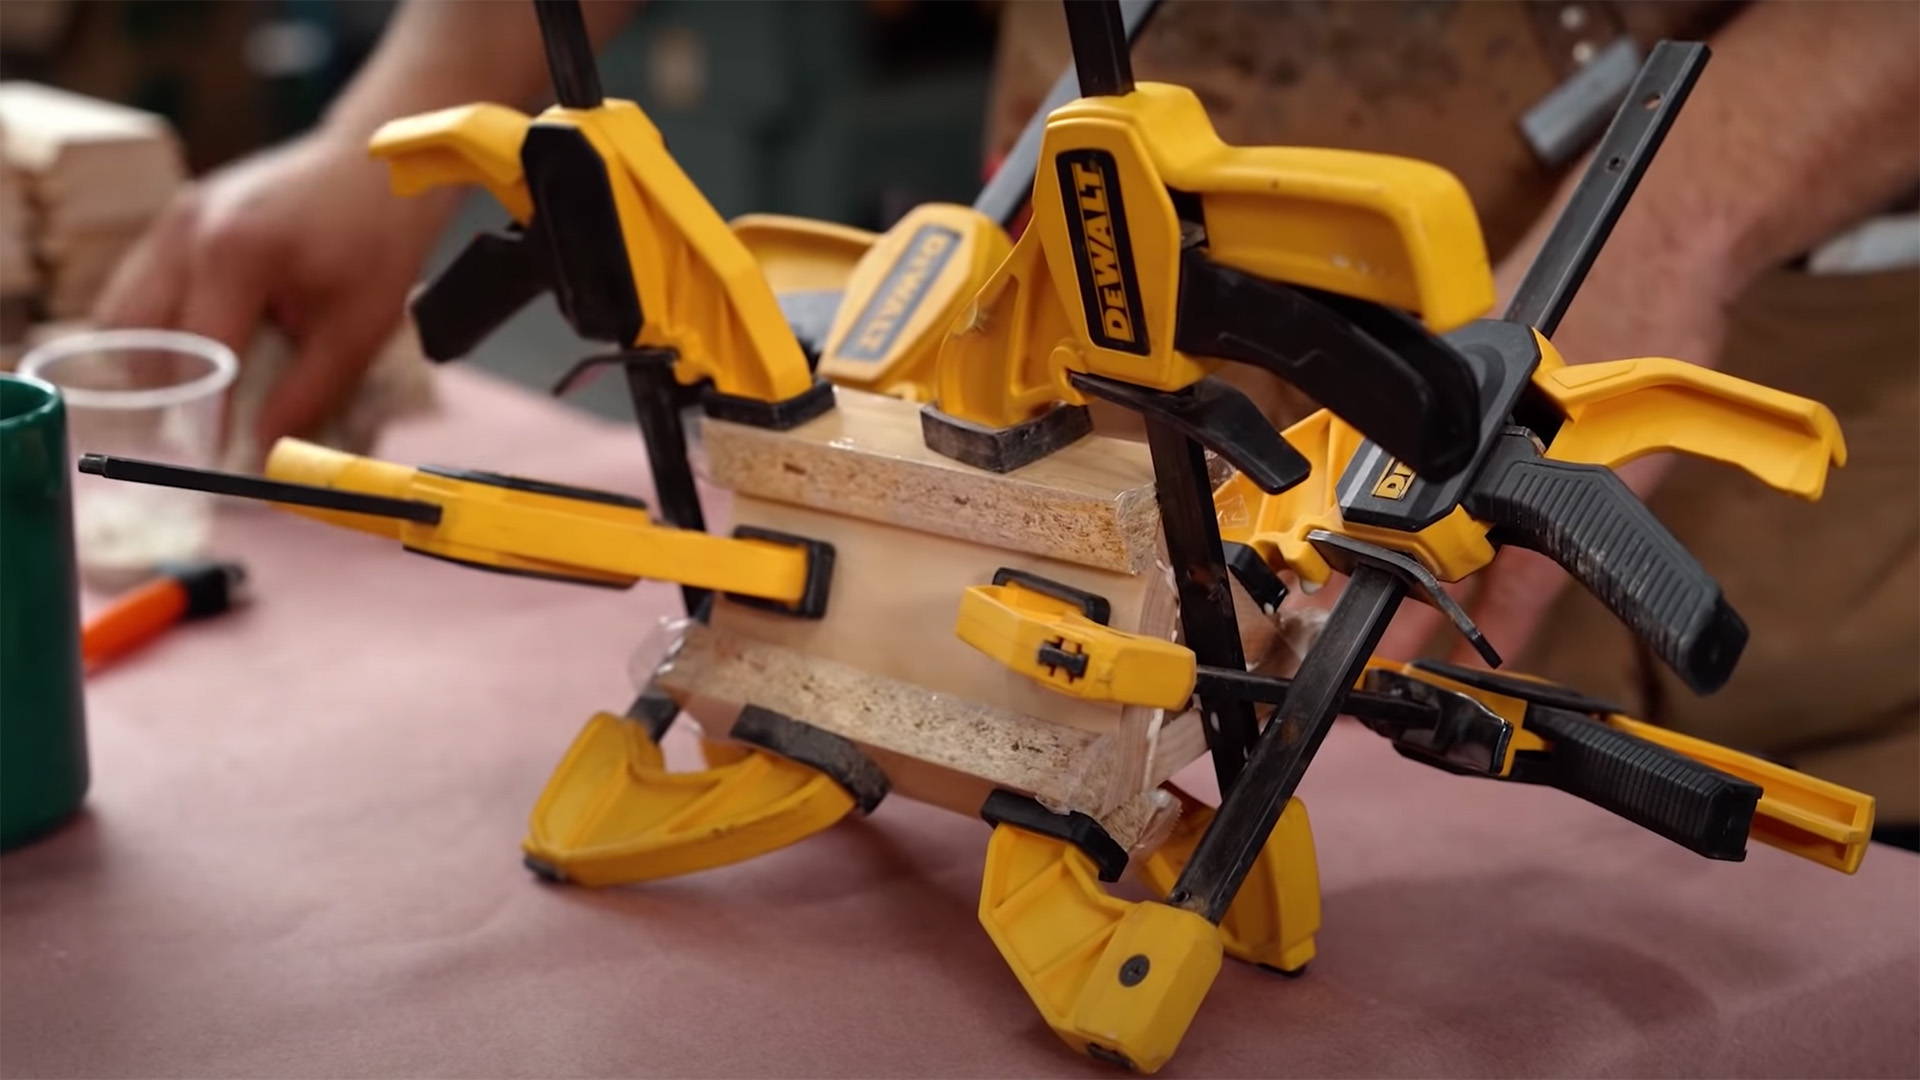
Resawing — where a board is cut into two equally wide boards — is a special case.
With all the moisture trapped in the middle, the two sides are guaranteed to cup towards each other.
You’ll more than likely have to re-mill resawn boards. But you can clamp them together overnight with the newly cut faces facing out. This should help mitigate the cupping.
TIP: FLATTEN CUPPED BOARDS
This doesn’t work every time, but has helped me on a few occasions.
Place a board cupside-down on a flat surface. Wipe down the non-cupped side with a wet rag, then set something heavy on it and leave it overnight.
The extra moisture on the non-cupped side plus the added weight can get that board to sit flat again.
If it doesn’t work, run the board over your jointer cupped-side down and complete the rest of the milling process.
MAKE YOURSELF A MILLING MASTER
As the first step of almost any woodworking project, milling can make or break your build.
But overtime, you’ll have no problem quickly getting boards straight, flat, and square…
So you can move on to the fun parts — and know your builds will stand the test of time.
Got any of your own milling tips? Leave them in the comments below!
Follow us on Instagram @katzmosestools and check out my YouTube channel for more great woodworking content...
And as always, STAY SAFE IN THE SHOP!

9 comments
Ms G. Goggans
I have fresh milled pine 2×12×20, I am using them for floor joist. Do you recommend treating them with a preservative treatment? And if so, what kind?
Thank you.
I have fresh milled pine 2×12×20, I am using them for floor joist. Do you recommend treating them with a preservative treatment? And if so, what kind?
Thank you.
Roscoe Stallings
Keep the helpful hints coming for those young people.
Keep the helpful hints coming for those young people.
Dave Yeager
A technique for reducing snipe, that has worked well for me in the past, is while ‘catching’ the board on the outfeed side, attempt to counteract the increasing load on the table as the board emerges from the planer, and gradually pull up on the board. It is especially helpful if you can apply a small upward force so that when the back end of the board passes the first roller the upward force on the end of the board keeps it in contact with the table. I have never seen this hint, but I’m sure this isn’t the first time someone has tried this. I find it quite effective… at least with my Dewalt 735 planer.
A technique for reducing snipe, that has worked well for me in the past, is while ‘catching’ the board on the outfeed side, attempt to counteract the increasing load on the table as the board emerges from the planer, and gradually pull up on the board. It is especially helpful if you can apply a small upward force so that when the back end of the board passes the first roller the upward force on the end of the board keeps it in contact with the table. I have never seen this hint, but I’m sure this isn’t the first time someone has tried this. I find it quite effective… at least with my Dewalt 735 planer.
Sam Andrews
Thanks for telling us that the edges of our lumber would have no tear out if we mill it according to the direction of its grain. My uncle relies on many timber-based materials to make the frames for his bedroom windows. I hope he checks out this detail before making a deal with the right supplier eventually. https://mfcestimating.com/multifamily-lumber-takeoffs/
Thanks for telling us that the edges of our lumber would have no tear out if we mill it according to the direction of its grain. My uncle relies on many timber-based materials to make the frames for his bedroom windows. I hope he checks out this detail before making a deal with the right supplier eventually. https://mfcestimating.com/multifamily-lumber-takeoffs/
Elina Brooks
I found your tip quite useful when you told us to acclimate the lumber to our shop for a couple of days first after buying it to avoid making the wood warp after moving it from one location to another. I enjoy wood crafting, so I was thinking of challenging myself by making my furniture once I get the wood I need to use as the material for it. I’ll keep this in mind while I look for a nearby lumber yard that I can go to for my material supply soon. http://adamslumber.com
I found your tip quite useful when you told us to acclimate the lumber to our shop for a couple of days first after buying it to avoid making the wood warp after moving it from one location to another. I enjoy wood crafting, so I was thinking of challenging myself by making my furniture once I get the wood I need to use as the material for it. I’ll keep this in mind while I look for a nearby lumber yard that I can go to for my material supply soon. http://adamslumber.com
Andre Saint louis
Love your videos and your 8&1 dovetail guide. I noticed on your milling video a discrepancy of how you illustrated how the planer mimics the opposite face of the cutter head. Unless I am misinterpreting what you are saying. Your illustration shows it in a mirror fashion not a parallel. I love your content and don’t mean to be a troll. Just noticed it and thought it would be helpful to others. Keep up the killer content.
Love your videos and your 8&1 dovetail guide. I noticed on your milling video a discrepancy of how you illustrated how the planer mimics the opposite face of the cutter head. Unless I am misinterpreting what you are saying. Your illustration shows it in a mirror fashion not a parallel. I love your content and don’t mean to be a troll. Just noticed it and thought it would be helpful to others. Keep up the killer content.
John N.
Always good to hear recaps, bc I’ve always planed both sides before pulling out the jointer, and think I’ll try it this way now!
My biggest challenge is having a small shop, since I don’t have the room for a tablesaw or bandsaw. What are the most reliable ways to get that 4th side without one?
Always good to hear recaps, bc I’ve always planed both sides before pulling out the jointer, and think I’ll try it this way now!
My biggest challenge is having a small shop, since I don’t have the room for a tablesaw or bandsaw. What are the most reliable ways to get that 4th side without one?
Jason
Twisted boards can be the toughest to get flat on a jointer because they tend to shift as you pass them over the cutter head. To combat this, I first use a hand plane to knock down the high corners. It takes just a minute and makes the flattening process much easier. I also use my tablesaw as a flat reference surface for boards longer than my jointer bed.
Twisted boards can be the toughest to get flat on a jointer because they tend to shift as you pass them over the cutter head. To combat this, I first use a hand plane to knock down the high corners. It takes just a minute and makes the flattening process much easier. I also use my tablesaw as a flat reference surface for boards longer than my jointer bed.
Rodney May
Jointing a board after milling only one face leaves no option for grain direction when milling the edge. If you plane the opposite face parallel first, you can reference either face on the fence to allow for grain direction.
Jointing a board after milling only one face leaves no option for grain direction when milling the edge. If you plane the opposite face parallel first, you can reference either face on the fence to allow for grain direction.