


Like a David Bowie-Freddie Mercury duet, clamps are all about pressure (with Vanilla Ice as the Harbor Freight knock off).
They’re like an extra set of hands around the woodshop. From workholding, to glue ups, to temporary attachments — clamps do it all.
But they’re also a very misunderstood tool (and there’s a good to fair chance you actually can have enough).
Used the wrong way, clamps lead to misaligned joints, cupped panels, and glue ups so stressful you feel like you’re trying to resuscitate a flat-lining patient.
That’s why I’m giving you my Top 7 Clamping Tips — covering the different styles, what they’re used for, and how to get the best results.
A lot of this post is about panel glue ups, which are often the hardest to get right. But keep these tips in mind anytime you’re using clamps.
1. CHOOSE THE RIGHT CLAMP FOR THE JOB
There’s an endless amount of clamp styles, ranging from the essential to the gimmicky.
And while the point of any clamp is to exert pressure, certain types are best suited to certain jobs.
Here’s some of the most common and what to use them for. These first two categories are the essentials, while the rest are nice-to-have.
F-CLAMPS AND SQUEEZE CLAMPS
These clamps look similar, but exert pressure in different ways.
F-clamps use a twistable threaded knob to apply pressure, while squeeze clamps use a ratcheting mechanism.
They’re capable of similar pressure capacities — but squeeze clamps have the advantage of being easier to use with one hand.
These are the most multi-functional clamps you can buy. On a day to day basis, they’re what I reach for the most.
Workholding, dry assemblies, stop blocks, glue ups — F-clamps and squeeze clamps work for almost everything.
The problem is they have a tendency to pull boards out of alignment.
To avoid this, hold the top jaw so it’s flat in its final position, then slide up the bottom jaw and tighten.
You can absolutely use these types of clamps for panel glue ups — but you’ll need to be wary of cupping.
And that takes us to…
PIPE CLAMPS AND PARALLEL CLAMPS
These clamp styles are really similar and basically have the same use case.
On parallel clamps, the jaws slide on a rectangular metal bar. On pipe clamps, they slide on…well, take a guess.
Both are specialized for panel glue ups, where you’re gluing the edges of two or more boards together.
The downfall of many panel glue ups is the outside edges getting pulled up by the clamps, resulting in a cupped panel.
By providing a level surface to lay boards on, pipe and parallel clamps make it easy to keep panels flat — and let you put clamps above and below your glue up (more on this later).
Parallel clamps are more expensive, but have more surface area on the jaws and provide perfectly parallel clamping pressure.
And a great thing about pipe clamps is you can use couplings to make extra long clamps for really wide panels.
OTHER TYPES OF CLAMPS
Spring clamps can be great for small project glue ups and temporarily holding things together.
They’re not usually integral to building a project, but handy to have around the shop.
Handscrew clamps can be helpful for angled pieces, since they don’t have to be parallel.
I use them a ton for holding small pieces on the drill press and router table so my fingers don’t get too close to the spinning sharp bits.
Band clamps work great for mitered frames, small boxes, and even cabinet carcasses.
They make it easy to put pressure on corners, which can be tricky with other clamps (but I’ll give a couple other solutions to this below).
For shop jigs and sleds, hold-down clamps are amazing for keeping boards steady.
On the table saw multi-sled I built, it can be tricky to keep boards from shifting while cutting acute angles — but hold-down clamps do the job.
C-clamps used to be ubiquitous in woodshops — but I don’t use them much. They’re capable of a TON of pressure (and also absolutely crushing your workpiece).
2. USE THE RIGHT NUMBER OF CLAMPS AT THE RIGHT SPACING
Fun fact: Clamps exert pressure at 45° angles from their contact points.
When I first started woodworking, I assumed clamps put pressure in a straight line. The result? I’d add as many clamps as I could to a single glue up.
But really, clamps give you a spread of pressure. Think of it like right triangles of force expanding out from both jaws of your clamp.
This has some counterintuitive implications.
The wider the boards you’re gluing together, the fewer clamps you need.
And the narrower the boards are, the more clamps you need.
For example, let’s say you’re gluing up a panel with two 8 inch wide boards.
Do a little pythagorean magic and you’ll realize your clamp is exerting pressure across 16 inches of the joint.
That means that if your panel is 5 feet long, you really only need to use four clamps.
But if your boards are 4 inches wide, that’s only 8 inches of spread. Meaning on a 5 foot long panel, you’d need to use eight clamps.
Don’t worry — I’m not telling you to pull out your 8th grade geometry notebook every time you use clamps.
But just visualize the 45° spread of pressure each clamp applies, and set them up so those triangles overlap.
Do that, and you’ll be putting pressure along the entire glue line with just a few clamps.
Of course, there’s nothing wrong with adding more. Better safe than sorry.
But you WILL have problems if you tighten said clamps too much — which takes us to our next tip…
3. DON’T OVER-TIGHTEN YOUR CLAMPS
One of the biggest panel glue up mistakes new woodworkers make is tightening clamps to maximum pressure.
This is muy malo for two reasons.
One, it can lead to a cupped panel — which means you’ll have to spend a foul-mouthed afternoon flattening it again.
Two, over-tightening clamps squeezes almost all the glue out of your joint. And that won’t give you a strong glue line.
Tighten them so they’re snug, but not so much that you need He-Man to tighten them any more.
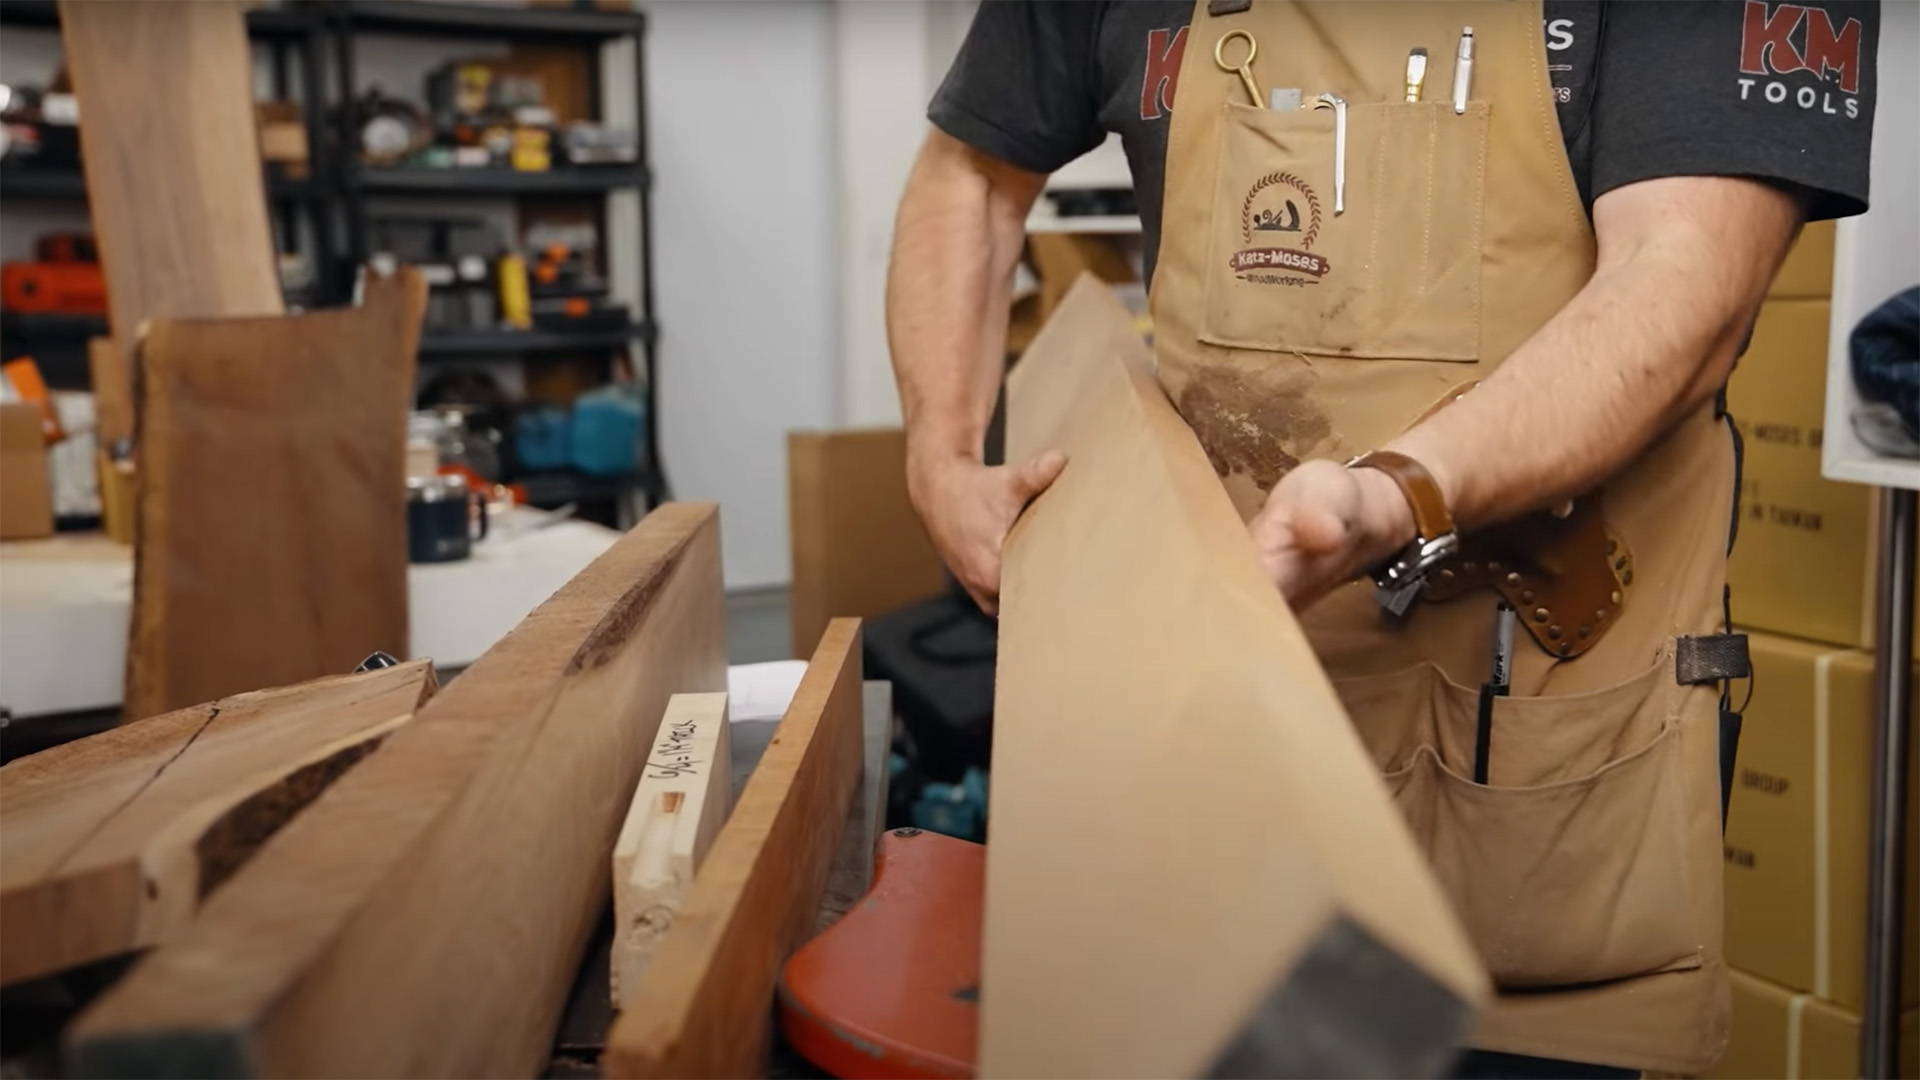
Also, make sure your boards are properly milled. Well-jointed edges will create a super strong joint without a lot of clamp pressure.
Of course, boards aren’t always perfectly jointed. You might have to ultra-tighten the clamps to make edges meet.
C’est la vie. Just think about using a few cauls to sandwich the boards and keep them from getting cupped.
And also be sure to…
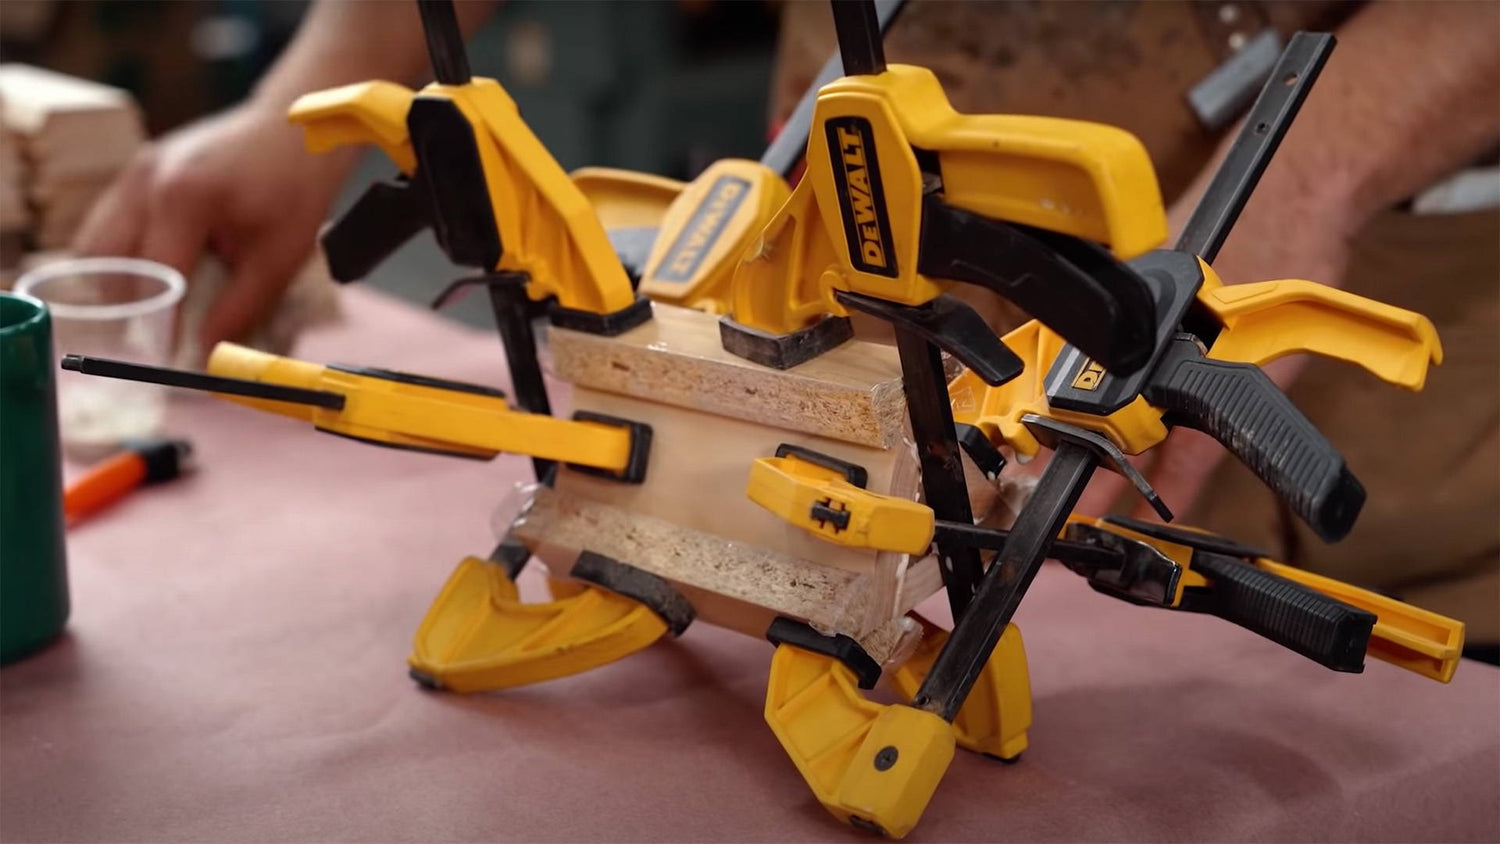
4. CLAMP ABOVE AND BELOW YOUR BOARDS
If you put all your clamps on one side of a panel glue up, there’s a good chance it’ll cup in that direction.
Put clamps on both sides of your board so the vertical pressures are offset.
This is easiest to do with pipe clamps or parallel clamps — which is why they’re awesome for panel glue ups.
But the same principle applies for other types of clamps as well. The goal is to create even pressure in every direction so your pieces come together flat and straight.
5. USE CAULS
Remember how I mentioned narrower boards require more clamps?
This gets taken to the extreme if you’re gluing on thin strips of edge banding or veneer.
But don’t go buy another 40 clamps. Just use some cauls instead.
Cauls are flat boards that go between your workpiece and clamps. They distribute pressure across a bigger area so you can cover more distance with fewer clamps.
Make your own cauls by gluing two pieces of plywood together. The thicker they are, the more evenly they’ll apply pressure along their length.
Cauls make it easy to glue edge banding and veneers flat — and can also be used to sandwich panels and keep them from cupping or shifting out of alignment.
Just note: If you use wooden cauls, cover them with a couple strips of painters tape or wax paper so they don’t become a permanent part of your project.
6. CARE FOR YOUR CLAMPS
Clamps can last forever — as long as you take care of them.
And for clamp care, paste wax is the savior.
Periodically rub down the bars or pipes of your clamps with paste wax to keep the jaws sliding smoothly and protect them from rust or errant glue.
It can also be worth putting a strip of painter’s tape over your pipe and parallel clamps to keep them safe from glue squeeze out.
(This is especially true for pipe clamps, since the glue can react with the metal and leave stains on wood. I’ve only had this problem with the black pipes, FYI).
Storage is another thing to keep in mind. Not just for care, but for the sake of shop organization.
I put together a clamp rack that uses french cleats and is totally modular. It’s super useful for storing a mother-load of clamps — and can be adjusted as needed. Free plans available here.
7. CREATE YOUR OWN CLAMPS AND CLAMPING ACCESSORIES
There’s a ton of nifty looking clamps out there you absolutely don’t need.
Corner clamps are a great example.
I’m sure you’ve seen the cheesy YouTube ad of a woodworker struggling to assemble boards until — lo and behold — he uses Company X’s corner clamp.
The problem is a lot of these clamps have only ONE use case (and are often pretty shoddy).
You can easily use scraps to make a jig that does the exact same thing — with the clamps you already have.
(If you are in the market for corner clamps, however, we sell some CNC-cut alignment blocks from the one and only Chris Burton of A Glimpse Inside. And they can be used with the clamps you already have).
Need to glue up some mitered frames? Try a ratchet strap — or even a piece of rope.
There’s a great story where Sam Maloof was working at a woodshop in El Salvador. It came time for a glue up, but alas, there were no clamps.
Maloof was sort of baffled at what to do — until one of the local woodworkers pulled out a rope, looped it around the assembly, and used a stick to twist and tighten it like a tourniquet.
And just like that, nice and even clamping pressure.
Sometimes the solution isn’t buying a new tool. It’s just channeling your inner woodworking-MacGyver and using the tools already at hand.
Heck, you can even make your own clamps.
In this video, I built wooden cam clamps that work great for small glue ups (there’s also templates and free plans available in our store).
And in this video, I made a panel clamping jig that’s incredibly useful — especially for end grain cutting boards that are just one glue up after another.
A BIT OF CLAMP BUYING ADVICE
If you go all in on a full spread of clamps from a leading brand, expect to drop some serious moolah.
And don’t get me wrong. They work extremely well.
But if there’s one tool worth scouring the nether-web for, it’s definitely clamps.
Buying second-hand clamps can literally save you hundreds of dollars, especially on pipe or parallel clamps.
And even though they take a lot of flack from the woodworking community — cheaper clamps à la Harbor Freight work perfectly fine for most jobs.
Bottom line: If it holds pressure, go for it.
WORK WELL UNDER PRESSURE
From glue ups to quick shop solutions, clamps are an invaluable tool for any woodworker.
And if you follow the tips above, you’ll have no problem making them work for you — even when the pressure’s on.
What other uses have you found for clamps? Let us know in the comments below!
Be sure to follow us on Instagram @katzmosestools and check out my YouTube channel for more great woodworking content...
And as always, STAY SAFE IN THE SHOP!
9 comments
John McBratney
I’ll try your tip on edge jointing. I can’t afford a jointer and historicaly I use a long spirit level, a 2B pencil squiggle mark on one edge and rub it on the edge to be flattened. Then a careful cut with a sharp plane, and do it again, and again, takes an age but works. Recently I made a fence for my router table, it has a AUG motor and Incra lifter. The fence has its incoming side cut parallel (of course) to the outgoing side but about .75 mm thinner. Thus when I push an edge against it it acts like a jointer, as long as I am careful to keep the work hard against the outgoing fence . Cheap jointer!!
I’ll try your tip on edge jointing. I can’t afford a jointer and historicaly I use a long spirit level, a 2B pencil squiggle mark on one edge and rub it on the edge to be flattened. Then a careful cut with a sharp plane, and do it again, and again, takes an age but works. Recently I made a fence for my router table, it has a AUG motor and Incra lifter. The fence has its incoming side cut parallel (of course) to the outgoing side but about .75 mm thinner. Thus when I push an edge against it it acts like a jointer, as long as I am careful to keep the work hard against the outgoing fence . Cheap jointer!!
Dianne Taylor
What kind of clamp would I use to glue a 15 inch round bowl made out of concrete. It’s an ugly face that blew off a tree and broke into 3 pieces. I got two pieces together but now I need to put the 2 big pieces together. Obviously being a bowl shaped, 2 pieces of a curved shallow bowl, I wondered if you could suggest the best clamp to use
Thank you
Dianne
Corbin Schneider
Great article on clamps and clamping. I will say a better solution than painters tape or wax paper on cauls for glue-ups is using clear packing tape on your cauls. The glue never sticks, you can leave it on your cauls and re-use it over and over, and it is thin and see-through.
Thanks for all of your great tips and advice, I always learn something valuable!
Donald Kern
Excellent advice as usual. The old woodworker’s adage, “You can never have enough clamps” you completely dispell. The one thing I might add is that dry fitting and a “glue up rehearsal” can greatly take the pressure off—especially in a complicated glue up—when you are working against the glue setup time. It also let’s you know when what you thought was going to be fine actually isn’t. And you devise the Plan B without the time pressure of the glue setting up.
Excellent advice as usual. The old woodworker’s adage, “You can never have enough clamps” you completely dispell. The one thing I might add is that dry fitting and a “glue up rehearsal” can greatly take the pressure off—especially in a complicated glue up—when you are working against the glue setup time. It also let’s you know when what you thought was going to be fine actually isn’t. And you devise the Plan B without the time pressure of the glue setting up.
Chris J. Brown
You sir are a wood working god amongst mere saw dust mortals. Seriously though, as someone brand new to this sport, your videos and blogs are extremely valuable. May they multiply in number and never cease.
You sir are a wood working god amongst mere saw dust mortals. Seriously though, as someone brand new to this sport, your videos and blogs are extremely valuable. May they multiply in number and never cease.
Rasmus
Thanks for the tip with the 45 degrees to each side!!!
Thanks for the tip with the 45 degrees to each side!!!
Harry Davis
Always enjoy your material, Jonathan. You help many of us immensely with your knowledge of woodworking. It is very much appreciated. I can always count on your tips not only being spot on but quite sensible as well. Keep them coming my wood dust making friend.
Always enjoy your material, Jonathan. You help many of us immensely with your knowledge of woodworking. It is very much appreciated. I can always count on your tips not only being spot on but quite sensible as well. Keep them coming my wood dust making friend.
Anonymous
Thanks for the help with clamps I found out what I was doing wrong
Thanks for the help with clamps I found out what I was doing wrong
Mr Seminole77
Another good blog. Thanks for the content!
Another good blog. Thanks for the content!