When it comes down to it, every woodworking tool is a version of a chisel.
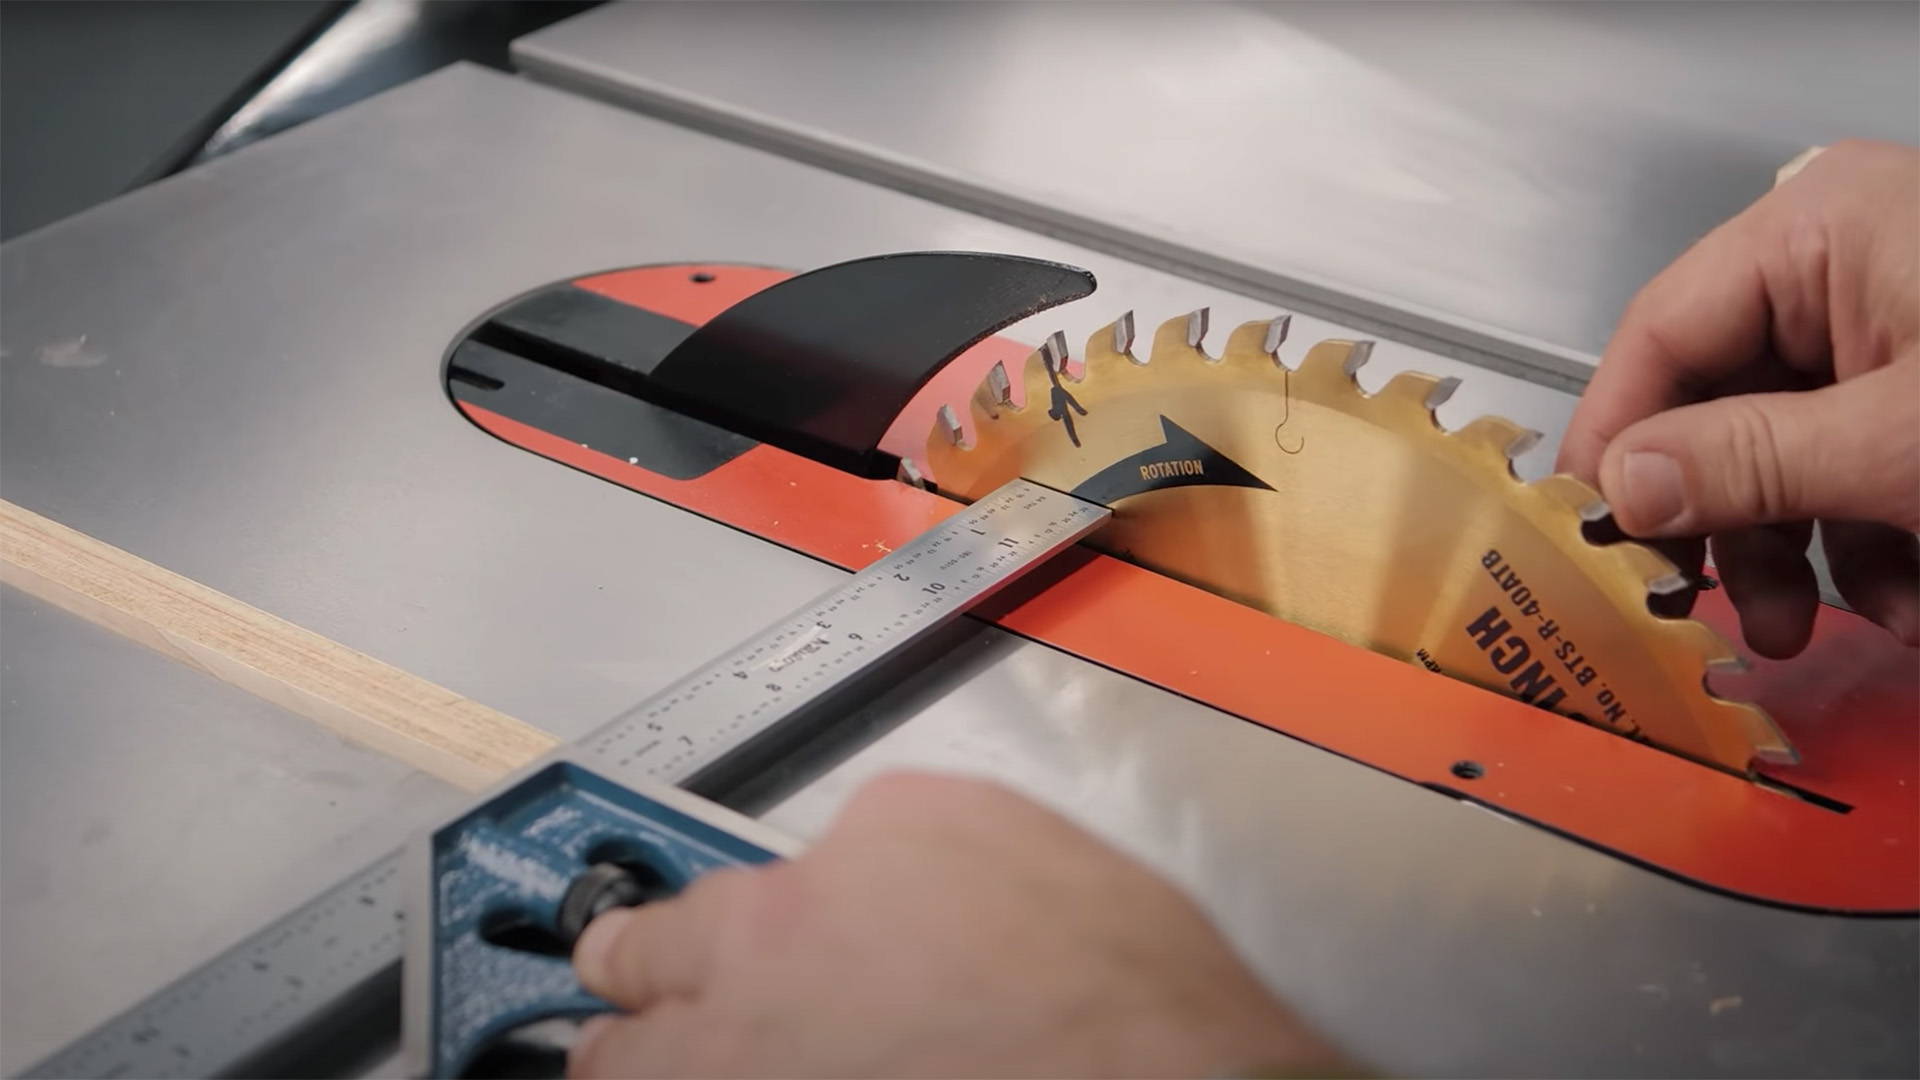
Table saws are a bunch of tiny, spinning chisels. Hand planes are wide bevel down chisels. Sandpaper is a zillion hopelessly blunt chisels…
Ok. Maybe not every tool.
But chisels really are the quintessential woodworking instrument. There’s no bells and whistles — just a sharp edge and a handle.
The simplicity is what makes them so versatile, and useful for everything from rough work to finishing details.
But knowing how to make clean and accurate cuts with a chisel isn’t as intuitive as you might think.
The good news is any level of woodworker can get great results by understanding a few basic principles.
So whether you’re a total beginner or an intermediate-level maker, use this guide to help you get better results in the shop starting today.
NOTE:
This blog is all about beveled edge bench chisels. They’re what I use, and the most common on this side of the globe — but most of these principles can be applied to any chisel.
1. STAY SHARP
When it comes to chisels, nothing matters like sharpness.
Sharp chisels not only make cleaner and easier cuts — they’re also a lot safer.
It’s the same idea as kitchen knives.
Dull edges can slip. And when a blade slips, you better hope your hand isn’t there to catch it.
So how do you know if your chisels are sharp enough?
With the paper test.
(Please, please resist the urge to slice off arm hairs with a chisel. You can end up with a scar — and won’t even have a cool story to go along with it).
THE PAPER SHARPNESS TEST
Use this test to know if your chisels are ready to cut or need a bit of honing.
Hold a piece of paper sideways with the edge facing up. Push the blade of the chisel into the paper’s edge and take off a slice.
A sharp chisel will slice through paper with little force and no torn edges. It should look like it was cut with a pair of scissors.
If the paper’s getting torn instead of sliced, you need to hone that chisel edge.
But you don’t necessarily have to whip out your full sharpening set…
QUICK SHARPENING HACKS
If your chisels have never been sharpened (yes, even new chisels need to be), you’ll have to go through the whole process with either lapping paper, waterstones, or diamond stones.
Here’s a great video on the cheapest sharpening method, and here’s a honing guide to make the process easier and more accurate.
But honestly, I sharpen like this once every few months.
Are my chisels dull? Heck no.
I do the paper test every day before using them to see if they need a touch up.
And if they do, here’s what I do.
METHOD 1: STROP
Stropping is usually the last step of sharpening — but if you do it often enough, it can be the only step.
Secure a strop to your workbench and add a small amount of honing compound.
Set the chisel so the bevel is flat on the strop, lock your wrists, and drag it back over the leather with decent pressure 20-30 times.
Do the same with the flat side of the chisel, about 10-15 times.
Make sure you don't put too much pressure and that your wrists are locked so you don’t round over the secondary bevel.
That’s all it takes. If you’re looking, we carry Wood by Wright custom strops and honing compound in our store.
METHOD 2: BUFFER WHEEL
This one uses the buffer wheel on a bench grinder and takes seconds.
Put a tiny bit of polishing compound on the buffer wheel, then lightly pass the secondary bevel over it 3 times.
Give the back a quick pass, and you’re done.
Just be careful — grinders can round over edges quickly
If your secondary bevel’s too far gone, you’ll have to do a full resharpening.
But if you do the paper test every day before using your chisels and hone them as necessary — you can keep those edges sharp for ages.
TIP: BEATER CHISELS
Another way to avoid constant sharpening is to have a “beater chisel.”
This is simply a chisel you use for rough work and clearing out lots of waste — so it doesn’t matter as much if it gets dull.
When it’s time for precision, use your good chisel’s sharp edge to make ultra-clean final cuts.
2. USE PROPER WORKHOLDING
Almost every woodworker I know (including yours truly) has a scar on their non-dominant hand from a chisel that slipped while they held a workpiece.
DON’T BE LIKE EVERY WOODWORKER I KNOW (except Tamar Hannah — be like Tamar).
General rule of thumb: Don’t put the soft squishy bits in front of the sharp pointy bits.
There’s almost no situation where holding a workpiece in your hand while chiseling is a good idea. You need a good way to hold your workpiece so both hands are free.
Here’s how to build a moxon vise mini-workbench that’s incredible for workholding (it’s what I use in all my videos).
You also want to be aware of your positioning.
With most joinery, you only need to cut 90° in one direction.
Set up your workpiece so you’re looking straight down your line — and can see the angle your chisel is at.
TIP: CHISELING AT 90°
Eyeballing a 90° cut is a skill of its own. Instead, use a square block of wood as a simple guide.
Set your chisel in your marking knife line. Then slide up the guide block so the back of the chisel is flat against it.
As long as the bottom of the guide block is flat on the workpiece, you’re at 90°.
Hold the chisel in position with your thumb and give it a few light taps for a nice square cut.
Want to take your guide block to the next level?
Embed some neodymium magnets in the side to hold your chisel true (here’s some more ways to use magnets in the shop).
3. USE A MARKING KNIFE
I always preach about using a marking knife or marking gauge over a pencil for better accuracy.
And that couldn’t be more true than when it comes to chisels.
By laying out your lines with a marking knife, you create a physical reference for your chisel.
The blade will literally “click” into it, guaranteeing your cuts will be exactly where you want them.
Also, marking knife lines can save you from tearout or split wood.
By severing the wood fibers, they work as “barriers” to chipping and tearout. It’s not perfect — but definitely a big help.
However, you don’t want to start cutting right in your knife line.
And that takes us to our next chisel principle…
4. HALVE THE WASTE
You almost never want to start chopping right in your knife line.
The more material you're trying to chop out, the more pressure is put on the bevel. And that means your chisel can get pushed back into your knife line. Major bummer.
Instead, chop out half the waste at a time until you can’t take half anymore.
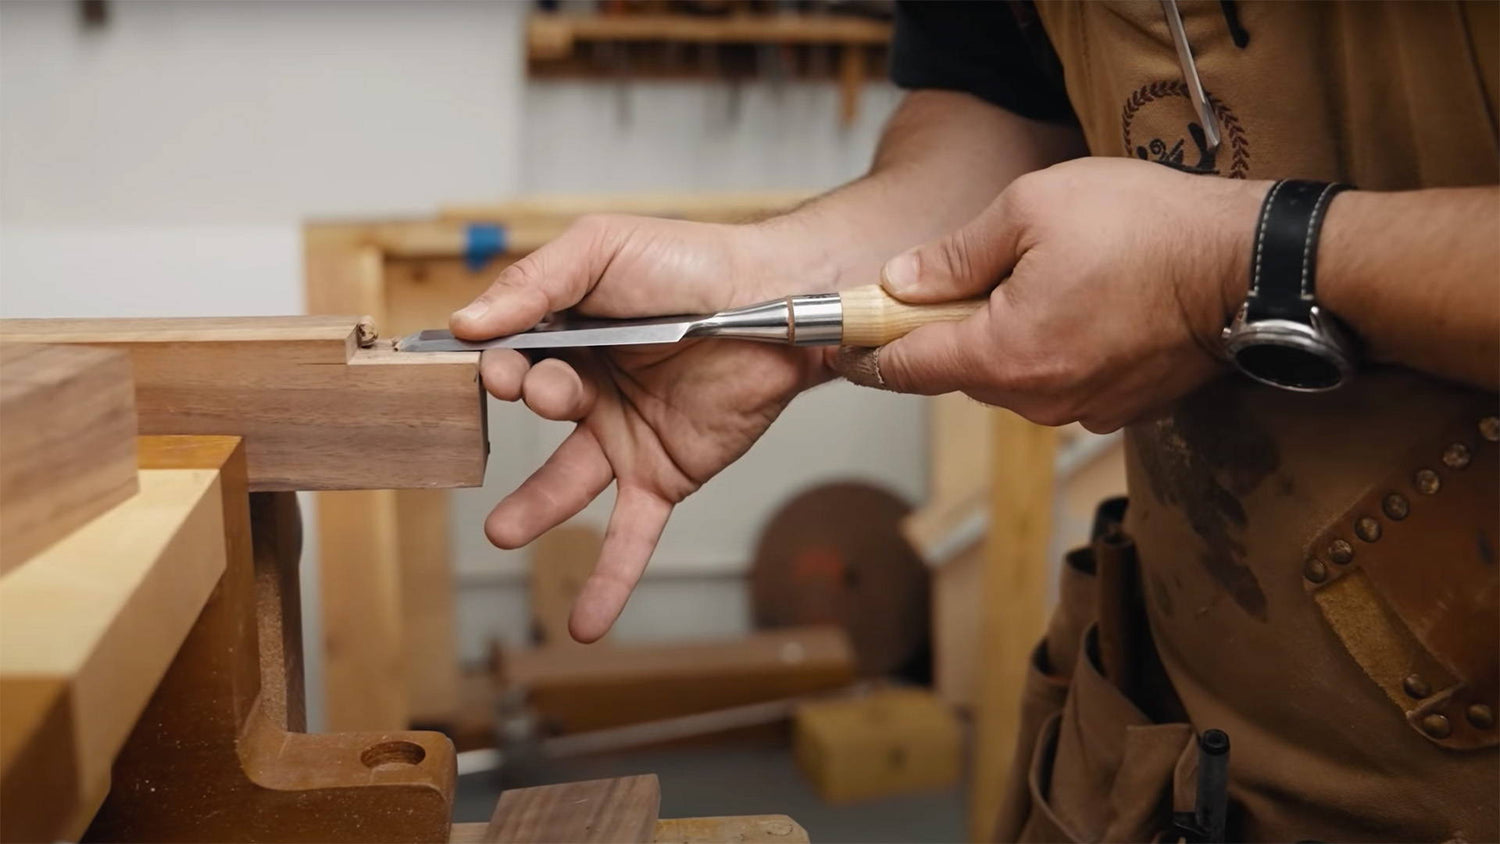
Set one corner of the chisel in the halfway point (it doesn’t need to be exact) and swivel the opposite corner into position. Then take a chop.
By the time you place the chisel directly in the knife line, you should only have to take off a thin shaving.
It guarantees the chisel won’t bruise your line, and your edges will stay where you want them.
TIP: CHISEL SIZES
It takes more pressure for bigger chisels to get pushed back than smaller chisels, but smaller chisels cut through material more easily.
Use this to your advantage by clearing out the bulk of waste with a smaller chisel.
When it’s time to cut to your line, use the biggest chisel possible that’s smaller than the full line (more on this later).
5. WORK FROM BOTH SIDES OF YOUR WORKPIECE
If you’re cutting a through mortise, don’t chop all the way through the workpiece from one side.
You’ll blow out the edge on the opposite side and get major tearout.
Instead, cut from both sides of the workpiece so all your edges stay clean. I usually start on my showface so I know it’s safe.
The same is true if you're paring down the bottom of a lap joint.
Cut halfway through the joint from both sides, and you’ll save yourself from chipped edges.
How can you make sure you don’t blow past the halfway point? Check out Principle Number 6 below.
TIP: UNDERCUTTING
Most chisel work involves cutting at 90° angles.
But for the insides of joints, it’s often helpful to slightly undercut.
Don’t overdo it. But a small undercut guarantees your joint will fit while still giving you a strong glue bond.
This is a great strategy for the insides of joinery that won’t be visible, and something I always do on half-blind dovetails.
6. CHOKE UP ON YOUR CHISEL
You’d think the best place to hold your chisel is the handle.
But for greater accuracy and control, hold your chisel closer to the cutting edge — almost like a pencil.
For one, it makes it easier to place the edge into position.
But it also lets your fingers act as a sort of brake or depth stop.
For mortises, use the pressure of your fingers to keep the chisel from going all the way through.
And for lap joints, place the tip halfway through the joint, then grab the chisel at the edge of the workpiece.
Your fingers will act as a depth stop that doesn't let it go past the halfway point.
7. SWIVEL INTO CORNERS
I mentioned before to use the biggest chisel you can that’s NOT as wide as your line.
That’s because chopping straight down into corners can bruise your edges.
When you take the final cut in your line, leave a bit of material at the corners.
Then lay the back of the chisel against that shoulder as a reference, and swivel it so only the corner of the chisel is slicing the leftover waste.
Take it slow and steady, and you’ll get nice tight corners with no bruising.
8. UNDERSTAND GRAIN DIRECTION
Think of a piece of wood like a bundle of straws (yeah, you’ve heard this before).
Stick a chisel flat into the end or side and it will slide between the straws, separating them.
But chop that chisel with the edge perpendicular to the bundle, and it will have to sever the straws to get through.
Wood fibers work in a similar way.
When you chisel in line with the grain — either from the end or side — the fibers will split apart.
This means easier chiseling, but big problems if you're not careful. The wood fibers can split with no regard for your knife line.
With paring cuts like these, use defined knife lines or saw cuts to act as stopping points for splitting fibers.
When you chop perpendicular to the grain (meaning you’re cutting end grain), it’s more work — but produces more controlled cuts as long as you don’t take off too much material.
Just be aware that end grain corners and edges are extra susceptible to tearout, so work from the outside in when dealing with them.
Here’s a great video all about avoiding tearout, and one about how to read wood grain.
Don’t overthink it if you’re new to woodworking — but it’s always good to keep grain direction in mind.
9. AVOID TEAROUT ON CHAFERS AND ROUNDOVERS
Chisels are great for cutting chamfers and roundovers — but you need to be careful with tearout.
Let’s say you want to roundover the end of a proud tenon.
If you come in from the side and go all the way through, you’ll blow out the corner.
Instead, make shearing cuts in the direction of the long grain, and work backwards around the corners.
Chamfers on long grain edges are just about making sure your chisel stays at the same cutting depth throughout.
Don’t go too deep in one pass, since wood fibers split easily along the long grain.
For a way to control depth, check out the next tip.
10. KNOW WHEN TO GO BEVEL DOWN
You might have never thought to use your chisel bevel down — but it can be super helpful in certain situations.
For one, it makes it easier to control cutting depth. If your chisel starts to go too deep, just put more pressure on the back.
It also allows you to access the middle of your workpiece. At a certain distance from the edge, the chisel handle gets in the way when the chisel’s flat.
Flip it around and you can access any part of a board.
And remember how I talked about pressure on the bevel pushing the chisel back? Use this to your advantage for clearing lots of waste.
Just orient the chisel so pressure on the bevel pushes out the chunks of material you’re trying to remove
You can even use a chisel bevel down to cut concave curves — though I’d just opt for the bandsaw myself.
GET CHISELED
You don’t need years of experience to get good results with chisels.
Even if you’re new to the game, following the above tips can instantly level up your skills.
That said, practice really is the only way to get better — so get in the shop and start chopping.
Got any chisel tips of your own? Let us know in the comments below!
Be sure to follow us on Instagram @katzmosestools and check out my YouTube channel for more great woodworking content...
And as always, STAY SAFE IN THE SHOP!


6 comments
Clayton Bolduc
Great present ion answered a lot of questions I had for a long time. Would it be possible to make a video as suggested ? You always do a great job with your hints. Thank you.
Great present ion answered a lot of questions I had for a long time. Would it be possible to make a video as suggested ? You always do a great job with your hints. Thank you.
Chris J. Brown
I agree with John about a video. It sure makes sense when reading about why to use a technique, but visualising it is another matter altogether. Great stuff!
I agree with John about a video. It sure makes sense when reading about why to use a technique, but visualising it is another matter altogether. Great stuff!
Jamie
Great stuff.
The plastered finger in the sharp chisel paper test raises a question or two?
Prepare for ensuing banter……
Great stuff.
The plastered finger in the sharp chisel paper test raises a question or two?
Prepare for ensuing banter……
Anonymous
Is it possible to have a You Tube video on the 10 techniques? It’s a little hard to visualize all the different techniques.
Thank you for the great content! It helps a lot for beginner and intermediate woodworkers.
John
Is it possible to have a You Tube video on the 10 techniques? It’s a little hard to visualize all the different techniques.
Thank you for the great content! It helps a lot for beginner and intermediate woodworkers.
John