


Knowing how to find the center of a board is a critical skill in woodworking.
You might be inserting dowels, cutting a half lap, laying out joinery, or locating the position of a drawer pull. All of these start with finding center.
And while it can be a daunting task to beginners, it’s actually super simple.
The best part? There’s a ton of ways to find the center of a board with all sorts of tools… from the high tech to ridiculously basic (and no, you don't need to buy a centerfinder).
Today, I’m giving you 5 methods for finding the center of a board — whether it’s a board face, edge, large panel, or circle.
These are some of those sneaky woodworking tricks that help you speed through projects…
And impress your friends when you’re showing off tape measure tricks at parties (we all do that, right?).
METHOD 1: CALIPERS
For this method you need a pair of calipers, a calculator, and a marking gauge.
This works best for finding the center of narrow board faces or edges (obviously, your calipers need to fit around the board. Anything under 6” works for most calipers).
Start by using the calipers to measure the width of the board face or edge.
Divide that measurement by 2, then set your calipers to match the result. Lock it down tight.
Transfer that measurement to your marking gauge. Now you can scribe a line down the center of the board.
Here’s the best way to transfer caliper measurements to your marking gauge.
METHOD 2: SPEED SQUARE
Speed squares are a common carpenter’s tool. You likely already have one, but they’re dirt cheap if you don’t.
Combination squares with a 45° fence also work for this method.
Start by marking a 90° line across the board’s width (perpendicular to the grain).
Now line up the 45° side of the square with where that first line meets the board’s edge.
Mark a line with a sharp pencil, then repeat from the other side.
The point where the two 45° lines intersect is the center of the board.
Use this point to set up your marking gauge, or repeat the process at another point on the board and use a straight edge to mark a line bisecting them.
METHOD 3: MARK FROM BOTH SIDES
For this technique you only need a square or marking gauge — and a bit of patience.
I like this method for when I want a centered cut on the table saw. The two lines make it easier to center the blade’s kerf than a single point.
To illustrate, I’ll use the example of a marking gauge.
Set the marking gauge fence so the blade looks like it’s at the center of the board.
Now scribe a light line referencing one edge, then repeat for the opposite edge.
The space in between the two lines you marked will be the center.
Keep adjusting the marking gauge fence until the blade sits in the same point of the board when referencing both sides.
Like I said, you can follow the same principle with a square.
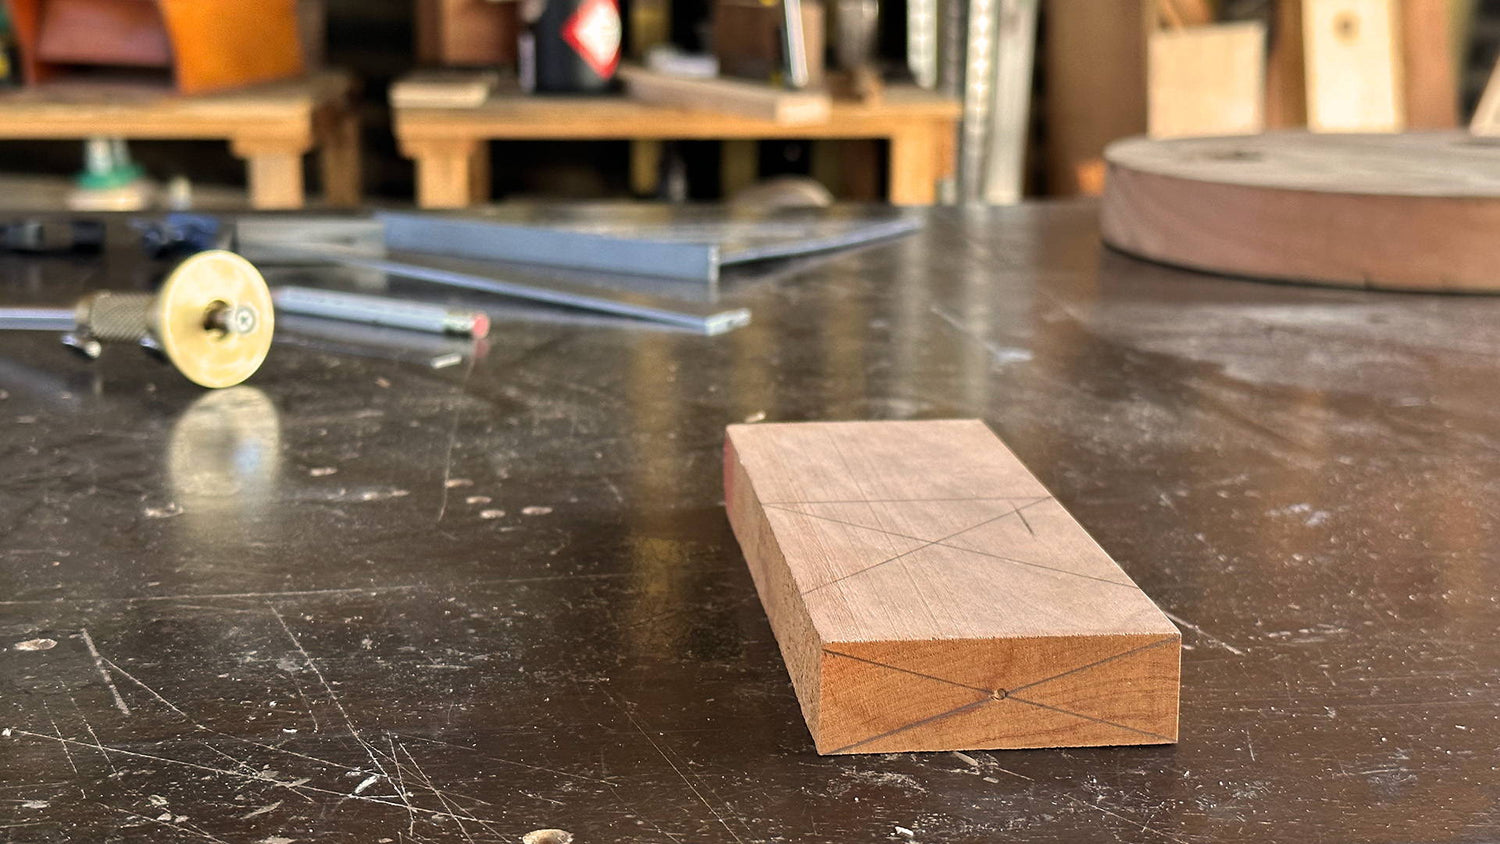
METHOD 4: CORNER TO CORNER
This method is great when you need to find the center of a panel or end grain edge.
If you want a drawer pull to be perfectly centered on the face, this is the method I’d use.
All you need is a straightedge and a pencil.
Set the straight edge so one side intersects with two opposite corners. Mark a line then repeat for the other two corners.
The point where these two lines intersect is the exact center of the board.
If you plan to drill a hole at this center point, I like to use a center punch to help align my drill bits.
It can also be helpful to use a marking knife to mark where the lines intersect. This creates a better reference for your center punch or drill bits.
METHOD 5: RULER OR TAPE MEASURE
This is probably my favorite on-the-fly method for finding the center of a board — whether on a board face or edge.
If you’re using a ruler, it needs to be longer than the board is wide.
Line up one corner of the ruler so it’s flush with one edge of the board. With a tape measure, simply set the hook on one edge.
Keeping this corner flush, pivot the ruler until the opposite corner of the same side hits an easily divisible number.
For example, say you have a board that’s 3 5/32” wide. Not super easy to divide in half on the fly (smart a$$es, see you in the comments).
Pivot your tape measure or ruler until the opposite edge is flush with the 4” mark.
Now just mark a point at 2” and you’ve found center.
If you need to mark a line down the middle, repeat this process at another point on a board. Then connect the two points with a long straight edge.
What’s great about this method is that a tape measure is long enough for any board you’re working with, and it can be used on board faces, edges, and panels.
BONUS METHOD: CENTER RULER
Center rulers have a unique layout that makes them perfect for finding the center of a board.
Instead of the graduations starting from one side and increasing to the other, the zero point of center rulers is in the middle.
The graduations increase from this center point in both directions.
So how does it work for finding the center of a board? Easy.
Simply lay it on top of the board so it's square to the edges.
Then adjust the position until both edges of the board are on the same measurement on the ruler.
Once the edges match, mark the zero point on the ruler. That's center!
HOW TO FIND THE CENTER OF A CIRCLE
Sometimes you need to find the center of a circular board, and none of the above methods will work.
No need to fret. Here’s a few simple methods to find the center of a circle.
(If you want to learn different ways to cut circles, read this).
COMBO SQUARE
Many combo square sets come with a center finder fence. It just looks like a 90° L shape.
Throw this on the blade so the whole tool looks like an arrow.
Then place the fence on the edge of the circle until it’s stable on two contact points. Mark a line.
Repeat the process from another point on the circle. It doesn’t matter where.
The point where these two lines intersect is the center of your circle.
How stupidly easy is that?
RULER
This is a super easy method that also works well with a carpenter’s square.
Set the ruler so one corner is flush with any point along the edge of the circle. Then pivot the ruler until another edge lines up with an easily divisible measurement. 5”, for example.
Once it’s set, mark a line across the edge of the ruler and a point at the center of the measurement (2 ½” in our example).
Repeat this process on another part of the circle.
Now use a carpenter's square (or even just a square piece of wood) to mark a 90° line starting from the center points you marked.
Where these two lines intersect is the center of the circle.
FIND YOUR CENTER (YOU DIRTY HIPPIE)
There are a ton of ingenious ways to find the center of a board — no matter what tools you have at your disposal.
Tricks like these can help you speed through projects and not get hung up trying to divide awkward numbers in your head…
And knowing multiple methods means you’ll be prepared for any situation.
Looking for other ways to improve the accuracy of your woodworking? Check out this blog!
What’s your go-to method for finding the center of a board? Let us know in the comments below!
Follow us on Instagram @katzmosestools, on TikTok @katzmoseswoodworking, and check out my YouTube channel for more great woodworking content...
And as always, STAY SAFE IN THE SHOP!

12 comments
Gabriel Sandita
Bună seara mă numesc SĂNDITĂ GABRIEL și vaș întreba dacă pot să o sabie lungă de lemn
Bună seara mă numesc SĂNDITĂ GABRIEL și vaș întreba dacă pot să o sabie lungă de lemn
Gabriel Sandita
Bună seara mă numesc SĂNDITĂ GABRIEL și vaș întreba dacă pot construii o sabie lungă de lemn
Bună seara mă numesc SĂNDITĂ GABRIEL și vaș întreba dacă pot construii o sabie lungă de lemn
Greg Bond
@ Frank Kalinski (again)
Obviously, I was referring to not knowing of the self-centering tapes…
And if you carry a 3’ machinist square in your apron, that must be some a beast of an apron! : )
@ Frank Kalinski (again)
Obviously, I was referring to not knowing of the self-centering tapes…
And if you carry a 3’ machinist square in your apron, that must be some a beast of an apron! : )
Greg Bond
@Frank Kalinski
Nice! I didn’t know these existed. I already have a crap-ton of measuring tapes (what woodworker doesn’t?), but I’ll keep an eye out for this one next time I’m in the market. Thanks muchly.
@Frank Kalinski
Nice! I didn’t know these existed. I already have a crap-ton of measuring tapes (what woodworker doesn’t?), but I’ll keep an eye out for this one next time I’m in the market. Thanks muchly.
Roger Phillips
32 not 42 obviously 😊🤣🤣
32 not 42 obviously 😊🤣🤣
Roger Phillips
An interesting side note is that the fractions way of measuring came about, particularly in Engineering and Woodwork, because of the ease of calculating half of a measurement. Apprentices with no schooling we’re taught to multiply the divisor ( bottom number) by the 2 so half of 11/32 is 11/64. Since the different sides of rulers were marked in groups of different fraction divisors, 8,16,42,64 and even 128 it was easy to find the appropriate area and measure from the full number to the new fraction. I use both system but metric and Imperial both have useful features.
An interesting side note is that the fractions way of measuring came about, particularly in Engineering and Woodwork, because of the ease of calculating half of a measurement. Apprentices with no schooling we’re taught to multiply the divisor ( bottom number) by the 2 so half of 11/32 is 11/64. Since the different sides of rulers were marked in groups of different fraction divisors, 8,16,42,64 and even 128 it was easy to find the appropriate area and measure from the full number to the new fraction. I use both system but metric and Imperial both have useful features.
Anonymous
@christian_bookter: Welcome home brother. Thank you for your service.
@christian_bookter: Welcome home brother. Thank you for your service.
Jo Tann
“For example, say you have a board that’s 3 5/32” wide. Not super easy to divide in half on the fly (smart a$$es, see you in the comments).”
It’s much easier in metric – 3cm ÷2 = 1.5cm😋
“For example, say you have a board that’s 3 5/32” wide. Not super easy to divide in half on the fly (smart a$$es, see you in the comments).”
It’s much easier in metric – 3cm ÷2 = 1.5cm😋
Dave Woodruff
Great resources to have. My simple go-to for this, and all measurements, has been to convert to metric. Finding the center is much easier when everything is measured in 10’s and thus easily divisible. I’ve converted everything in the shop to metric and it has been a godsend. Yes, it was difficult at first but making measurements, adjustments and cut calculations is easy as 2nd grade math!
Great resources to have. My simple go-to for this, and all measurements, has been to convert to metric. Finding the center is much easier when everything is measured in 10’s and thus easily divisible. I’ve converted everything in the shop to metric and it has been a godsend. Yes, it was difficult at first but making measurements, adjustments and cut calculations is easy as 2nd grade math!
Anonymous
Thanks for this. I am a Viet Nam veteran disabled from that dirty war. I enjoy your videos as well. I cannot donate much but I believe in this cause.
Thanks for this. I am a Viet Nam veteran disabled from that dirty war. I enjoy your videos as well. I cannot donate much but I believe in this cause.
Monty C
Am I missing something here, it all seems over complicated for such a simple task, I just measure across the piece and divide by 2 with either a steel rule or my engineering T-square.
Am I missing something here, it all seems over complicated for such a simple task, I just measure across the piece and divide by 2 with either a steel rule or my engineering T-square.
Frank Kalinski
Good knowledge to be used many times! I use my little 3’ adjustable machinist square – it fits neatly in vest pocket of my shop apron – marking from both sides quickly gives a center mark – not fussy at all.
I also have a Lufkin 25’ “self-centering tape measure as my carry-all-the-time tape – measure the width and half that distance appears directly below the larger number down to 1/16”. Absolutely the best time and waste saver!