


To make flat panels with no gaps, the edge joints on your boards need to be seamless.
Most people try to achieve this by triple-checking that their table saw blade or jointer fence are at exactly 90°.
But there’s an easier (and more reliable) way.
This genius trick gives you perfect edge joints every time — even if your tools aren’t perfectly set up…
So you can get boards that mate as flawlessly as star-crossed lovers.
I like to call it the Show Face Strategy.
THE SHOW FACE STRATEGY
The crux of this technique relies on the “show faces” of your boards — meaning the sides that’ll be most visible when your project is complete.
On a tabletop, that’s the top (unless you’ve had one too many during dinner).
By strategically orienting the show faces while jointing the edges, you achieve a flawless fit even if your table saw blade or jointer fence aren’t square.
Here’s how it works:
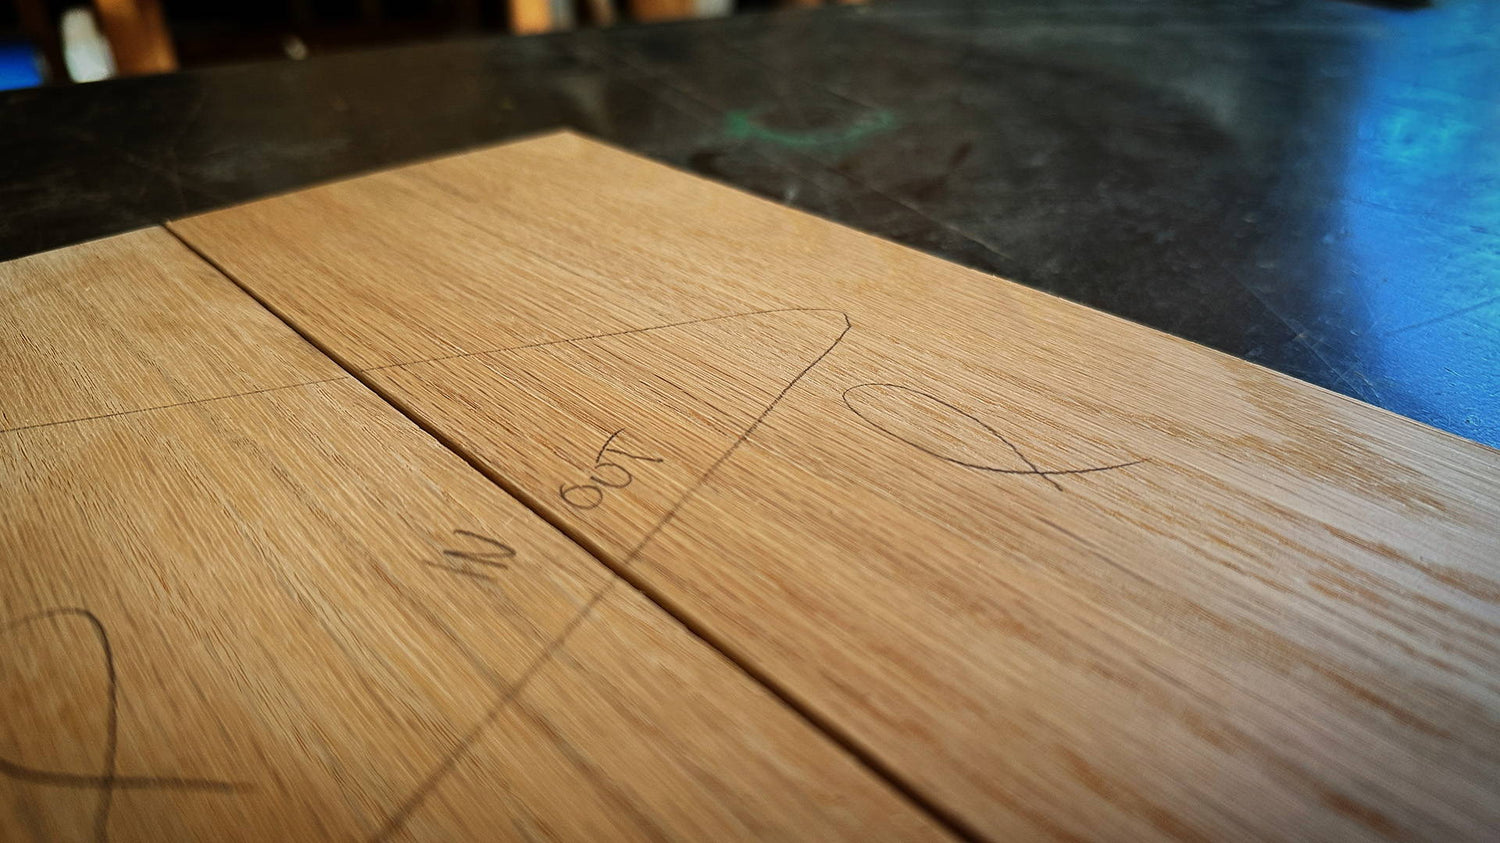
Lay out your boards side by side how you’ll glue them together for your tabletop (you can draw a big arrow point across them to line them up correctly later — like this >).
All the show faces should be facing up.
Now at each edge, label the mating boards either “IN” or “OUT” close to the edge. Add a little arrow to make it clear which edge needs to be cut.
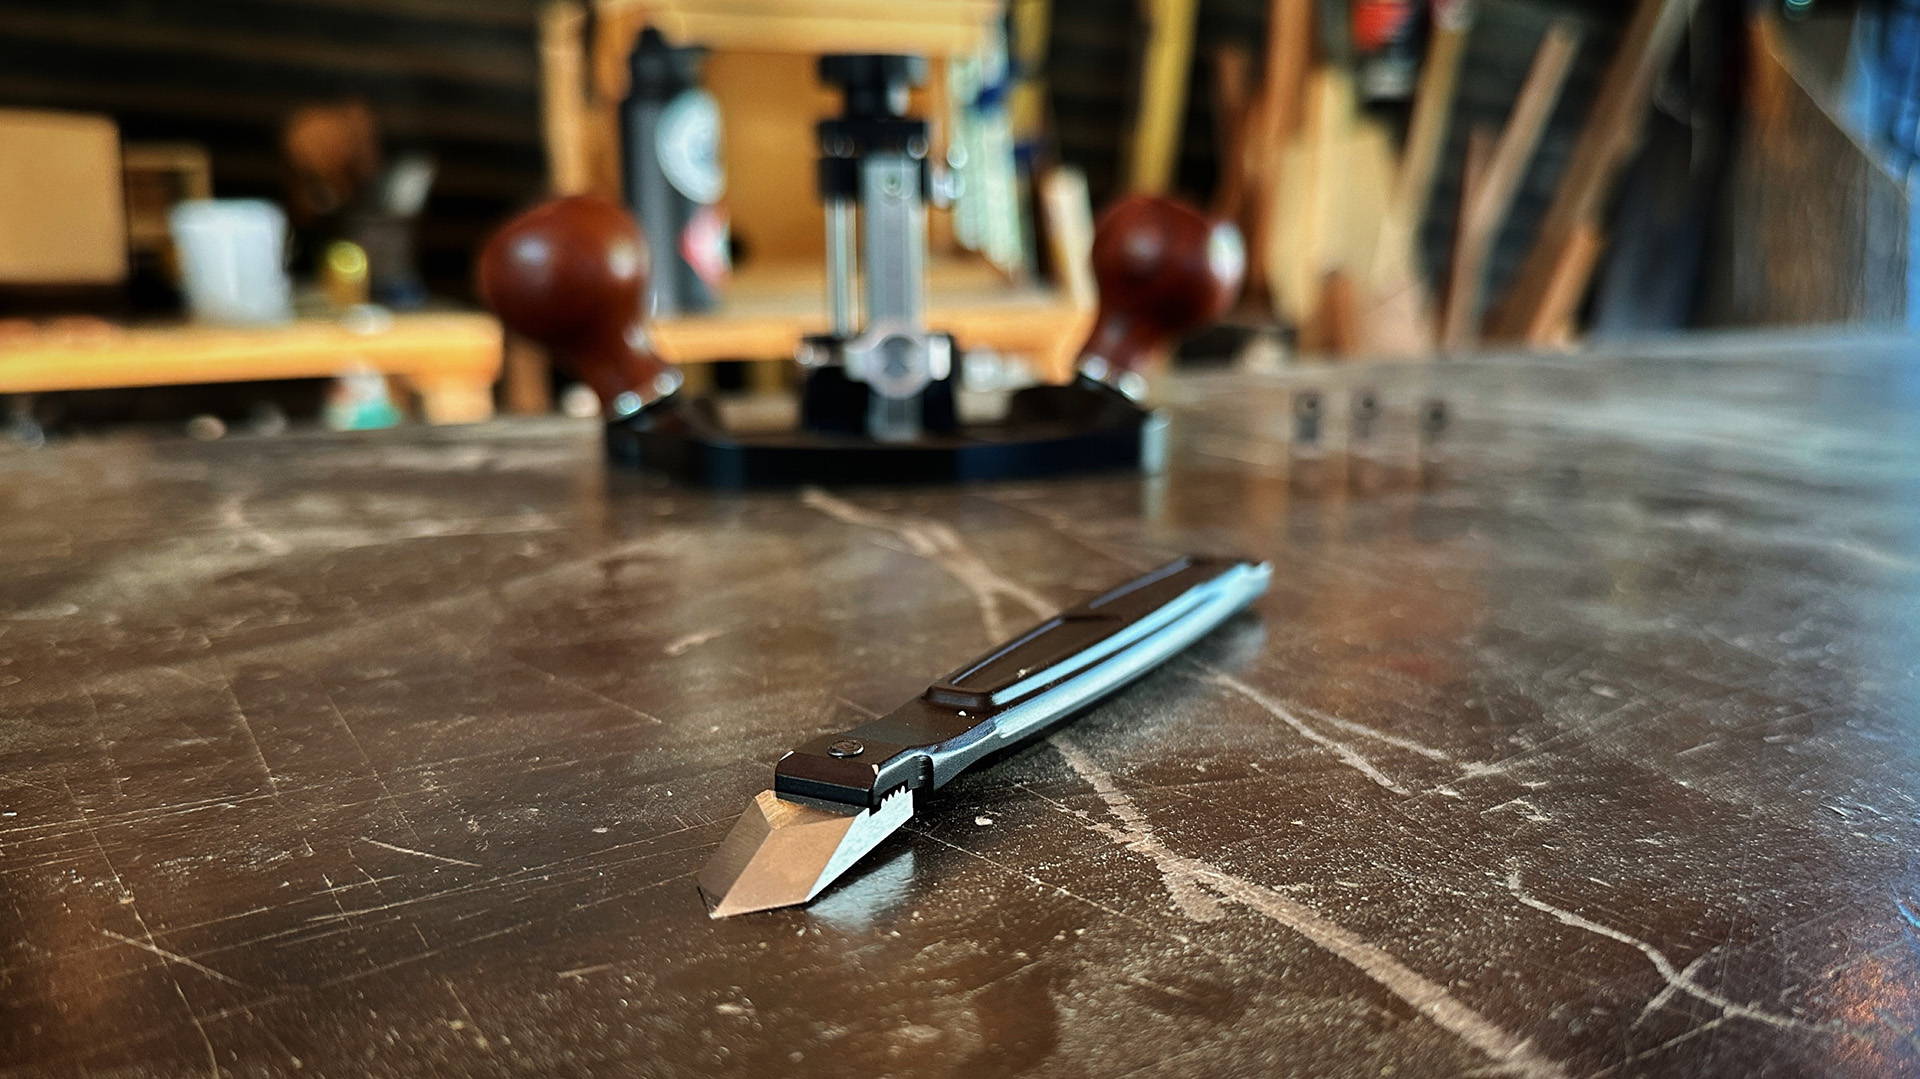
Now you can joint the edges on your table saw or jointer. But pay attention here:
For edges labeled IN, make the cut with the show face away from you — either against the jointer fence or down on your table saw.
For edges labeled OUT, make the cut with the show face towards you — so you can see it while you cut on either the jointer or table saw.
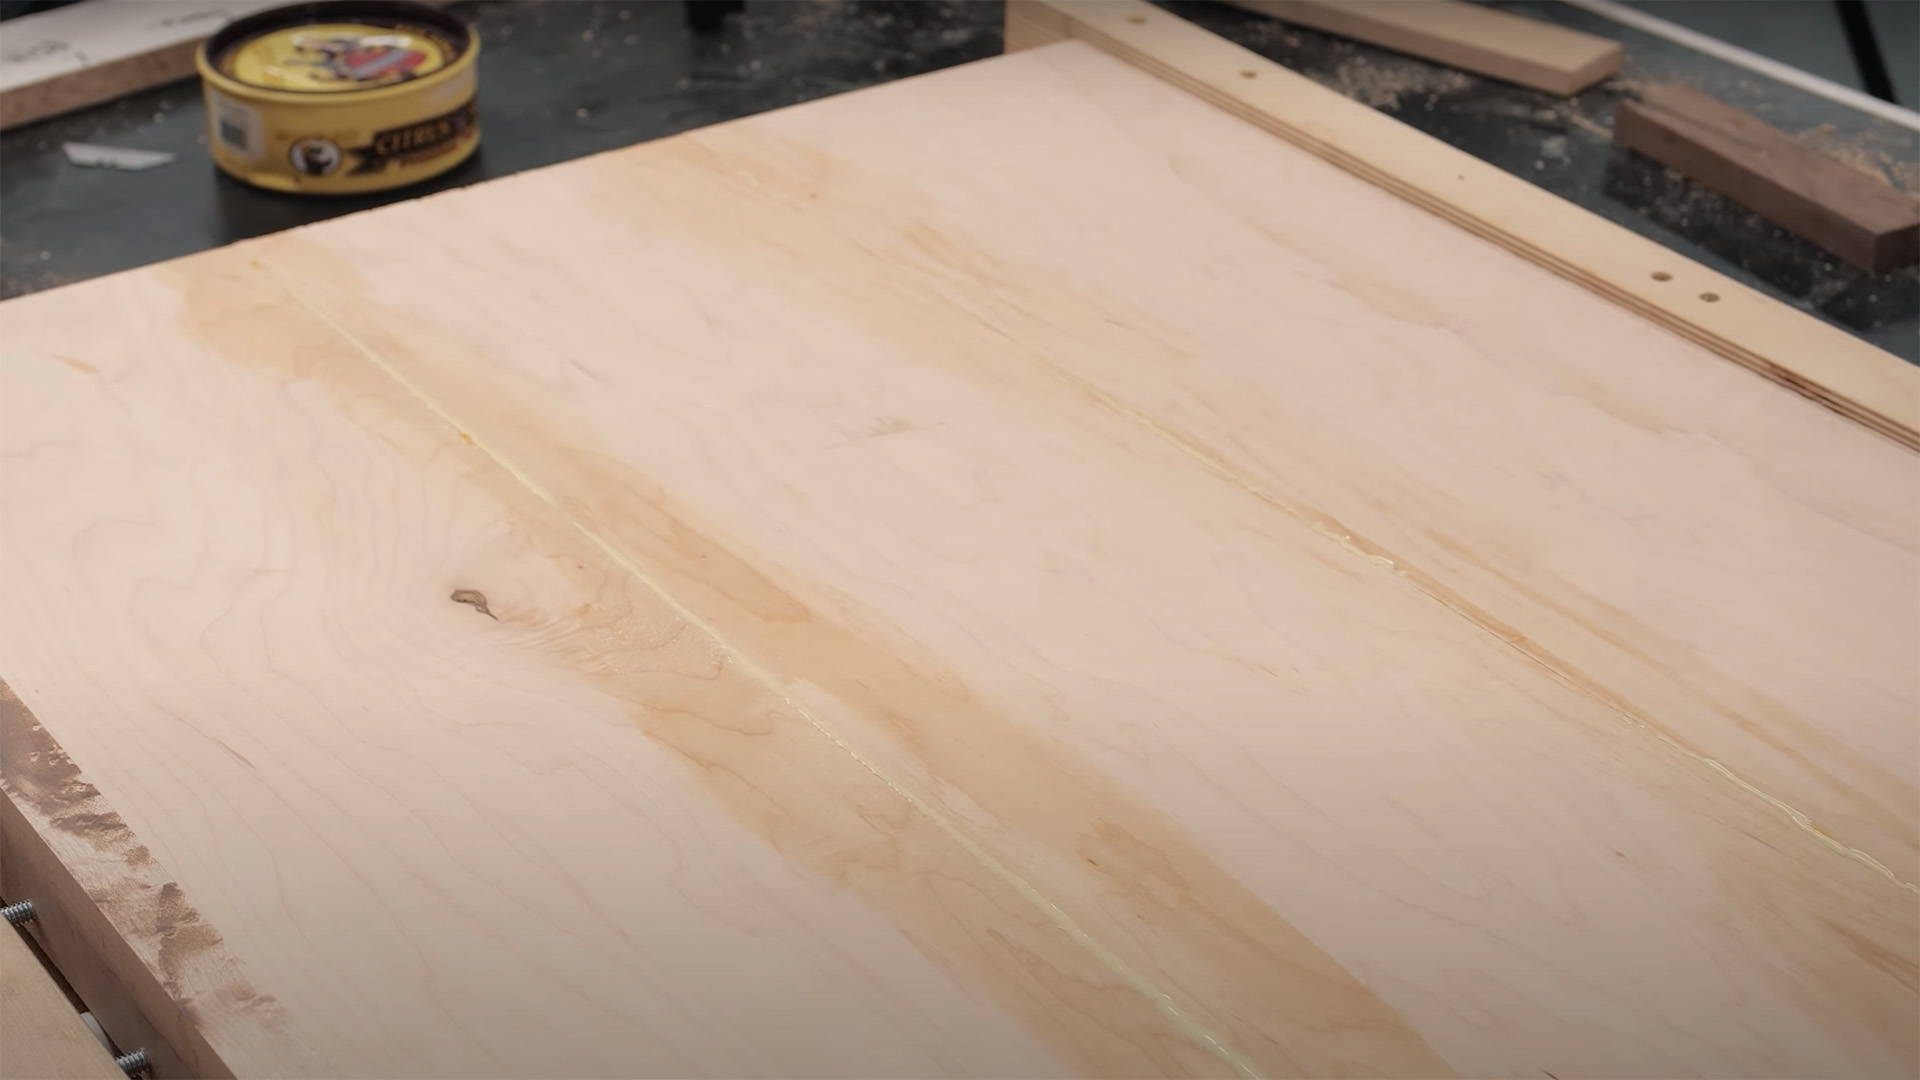
Complete this process for all the boards, then lay them flat side by side in the correct order.
When you push the boards together, their edges will come together snugly with no gaps.
What’s amazing about this trick is that it compensates for any misalignments in your machinery.
Even if your table saw blade or jointer fence are WAY off 90°, the complementary angles of the edges will add up to 90°.
Because, you know… geometry.
Not only do I recommend giving the Show Face Strategy a try — I suggest you use it in every project involving panel glue-ups.
Want to learn more tricks for flat panel glue-ups? Read this.
What other tricks do you use to get perfect edge joints? Let us know in the comments below!
Follow us on Instagram @katzmosestools, on TikTok @katzmoseswoodworking, and check out my YouTube channel for more great woodworking content...
And as always, STAY SAFE IN THE SHOP!
15 comments
Jim
Hmmm…. Particularly on a jointer, I’ve always been careful to note figure direction for tear out. I just use a #7 planer and a #4 to make a spring joint. I’ll have to try this as I’m gluing up some cherry today.
Hmmm…. Particularly on a jointer, I’ve always been careful to note figure direction for tear out. I just use a #7 planer and a #4 to make a spring joint. I’ll have to try this as I’m gluing up some cherry today.
Mark
Just to be clear…if using a table saw, the edge marked ‘in’ is cut face up and the edge marked ‘out’ is cut face down? Please post a video.
Just to be clear…if using a table saw, the edge marked ‘in’ is cut face up and the edge marked ‘out’ is cut face down? Please post a video.
CARL MCGILL
It would seem the same process would work just as well if the script was on the non-show side (as he says, this is just geometry). This would eliminates the need to remove the pencil scribbles on the face side.
It would seem the same process would work just as well if the script was on the non-show side (as he says, this is just geometry). This would eliminates the need to remove the pencil scribbles on the face side.
Aldo
Absolutely Brilliant. Thanks for sharing.
Absolutely Brilliant. Thanks for sharing.
Ron
I agree with Brian….a video is worth 10,000 words!:) Thank you for the great tips and products.
I agree with Brian….a video is worth 10,000 words!:) Thank you for the great tips and products.
MikeP
This works great if you don’t have any tricky grain while you are trying to joint a square edge. If you joint “uphill grain” and get some blowout, you’ll see it on your show face.
This works great if you don’t have any tricky grain while you are trying to joint a square edge. If you joint “uphill grain” and get some blowout, you’ll see it on your show face.
Greg
“Brilliant” Great tip. Thanks for that one! Cheers. G
“Brilliant” Great tip. Thanks for that one! Cheers. G
Walter Scott
It’s like a song we have over the pond. You put your squint one in and your not so squint one out, your next squint one in and your last not so squint one out, you do The Hokey Kokey and you turn around and that’s what it’s all about. NOW OOOOHH the Hokey Kokey (three) and that’s what it’s all about, Simple.
It’s like a song we have over the pond. You put your squint one in and your not so squint one out, your next squint one in and your last not so squint one out, you do The Hokey Kokey and you turn around and that’s what it’s all about. NOW OOOOHH the Hokey Kokey (three) and that’s what it’s all about, Simple.
Dana McDavid
Johnathon, I’ve been using this method, even on my cutting boards, ever since I first saw you demonstrate this. It’s super genius yet simple to pull off!!
Johnathon, I’ve been using this method, even on my cutting boards, ever since I first saw you demonstrate this. It’s super genius yet simple to pull off!!
Anonymous
This trick works with a track saw as well!
This trick works with a track saw as well!
Bill
Got a track saw? Butt the 2 edges to be glued up to each other and run the track saw down the joint. Assumes the joints to be “close”, just not perfect.
Got a track saw? Butt the 2 edges to be glued up to each other and run the track saw down the joint. Assumes the joints to be “close”, just not perfect.
Jeff
Brian, the ‘in’ should face ‘in’-to the jointer fence or ‘in’-to the tablesaw top, while the ‘out’ should face ‘out’ from the jointer fence or ‘out’ (up) from the tablesaw top. Does that help?
Brian, the ‘in’ should face ‘in’-to the jointer fence or ‘in’-to the tablesaw top, while the ‘out’ should face ‘out’ from the jointer fence or ‘out’ (up) from the tablesaw top. Does that help?
Mark
Brian – Substitute ‘left’ &‘right’ for ‘in’ & ‘out’; or ‘1’ & ‘2’; or ‘a’ & ‘b’; or ‘chocolate’ & ‘vanilla’. You are just distinguishing the mating edges.
Brian – Substitute ‘left’ &‘right’ for ‘in’ & ‘out’; or ‘1’ & ‘2’; or ‘a’ & ‘b’; or ‘chocolate’ & ‘vanilla’. You are just distinguishing the mating edges.
Tom Bauserman
@Brian Just alternate writing in/out on the edges. in out|in out|in out if you flip your board over for each out, in. Even if your blade is off by a degree. The cuts facing each other are 90 no matter what.
@Brian Just alternate writing in/out on the edges. in out|in out|in out if you flip your board over for each out, in. Even if your blade is off by a degree. The cuts facing each other are 90 no matter what.
Brian
Had trouble following this one. Didn’t understand what you meant by ‘in’ or ‘out’. Maybe a video would have helped here.
Had trouble following this one. Didn’t understand what you meant by ‘in’ or ‘out’. Maybe a video would have helped here.