


Router planes are one of the best tools for fine tuning joinery… but only if the blade’s sharp.
Because if your blade isn’t sharp, your cuts won’t be nearly as accurate and precise as they should be.
But a lot of people aren’t sure how to sharpen router plane blades. Their small size and awkward shape can throw you off if you’re used to chisels and plane irons.
Not to worry.
Today, I’m explaining the simple process for sharpening router plane blades — so you can get the ultra precise and clean cuts you’re after…
And put your joinery secret weapon to use.
TABLE OF CONTENTS
WHY A SHARP ROUTER PLANE BLADE MATTERS
The first time I used a router plane, I nearly hurled it against a wall.
The blade kept getting jammed up in wood fibers. I could barely push through cuts. And where I was looking for a smooth flat bottom I got nothing but chewed up tearout.
Then lo and behold, I had the brilliant idea to try sharpening the blade.
Suddenly my router plane was slicing fibers apart with no moral qualms. The cuts became easier, faster — and yes, I finally got the flat-bottomed channels I was after.
The sharper the blade, the more precise you can be. So make sure you get this process down.
HOW TO TELL IF A ROUTER PLANE BLADE NEEDS SHARPENING
As with chisels and hand planes, the paper test is my favorite way to test sharpness.
Run the blade through a piece of paper. If it leaves any tears instead of slicing through like a pair of scissors, it’s time to sharpen.
But there are other tell-tale signs of a dull blade:
- You’re struggling to push your router plane through cuts
- The blade gets jammed up and stuck under wood fibers
- You’re getting an excessive amount of tearout
Poor technique can also lead to the issues above (read this for a refresher on how to use a router plane successfully).
But if you’re doing everything else right, it’s probably the blade.
TOOLS FOR SHARPENING ROUTER PLANE BLADES
There’s more than one way to sharpen a router plane blade — but these are the tools most woodworkers use for the job.
-
SHARPENING STONES AND LUBRICANT: There are a lot of options here. Waterstones, diamond stones, ceramic stones. If you’re just getting started, “scary sharp” lapping sandpaper is a great entry-level option.
-
STROP AND HONING COMPOUND: To refine the final edge, you gotta hit the strop. It adds that next-level sharpness that makes a MASSIVE difference.
-
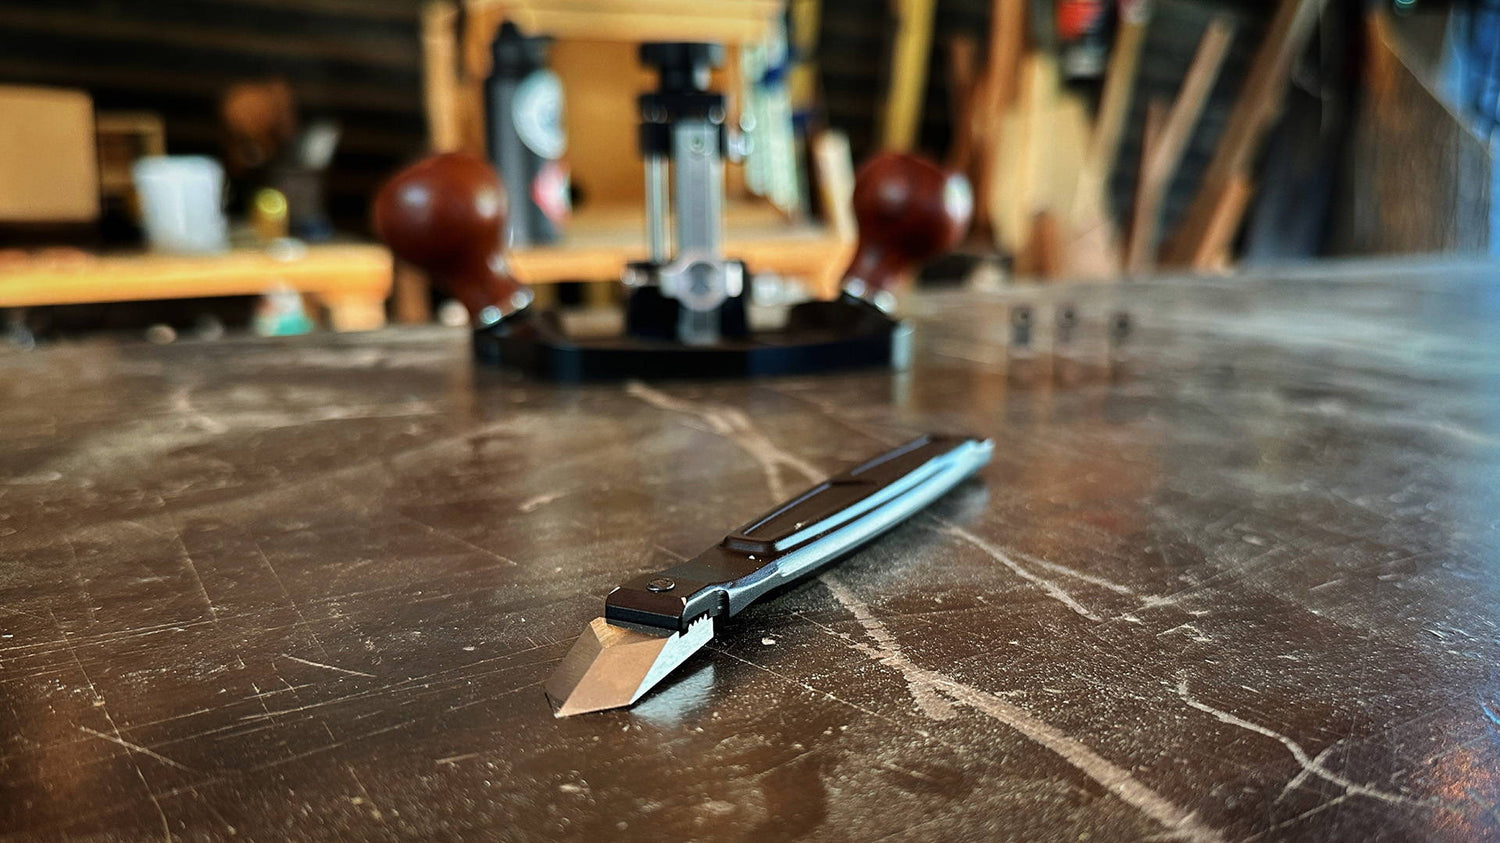
BLADE HOLDER: This simple extension holds your router plane blades so you can lock them into a honing guide for more accurate sharpening. (The KM-17 Pro blade holder also doubles as a marking knife).
- HONING GUIDE: With the blade holder, this jig holds your blade at an exact angle to ensure precise and repeatable sharpening. Not necessary, but a good idea if you’re new to sharpening. And this honing guide works for angled blades unlike many others.
STEP-BY-STEP PROCESS FOR SHARPENING ROUTER PLANE BLADES
There are multiple ways to sharpen router plane blades. But this is the process I use and rely on (when I’m not feeling lazy and just go straight to the slow-speed grinder).
It’s super similar to the process for sharpening chisels — and you’ll be the most successful if you first understand the principles of sharpening.
1. REMOVE THE BLADE
Different router planes have different mechanisms for holding the blade.
On some, the blade is fixed to a bar and can’t be removed. With these, freehand sharpening is your only option. You’ll also have to work at the edge of your bench to sharpen the top of the blade.
On other router planes (including the KM-17 Pro), the blade itself can be removed by loosening a screw. This makes it a lot easier to sharpen — especially if you have an included blade holder.
Now set up your sharpening stones and strops, and let’s get to the meat and potatoes.
2. LAP THE BOTTOM OF THE BLADE
Set the bottom of the blade flat on a medium grit stone that you’ve lubricated.
Keeping pressure on the cutting edge while still keeping it flat, slide the blade back and forth (only backwards with the scary sharp system so you don’t rip the paper).
It’s easier with a blade holder, so use one if you can.
Do this until you can feel a burr on the top side of the cutting edge. This is a little raised wire of steel you can feel with your fingertips or fingernails.
Once a burr has formed along the entire cutting edge, you’re ready for the next step.
3. SHARPEN THE BEVEL
Now you’ll focus your effort on the top, or beveled side, of the blade.
Set the blade holder in your honing guide so the bevel of the blade is flat on the stone. Then move it back just a hair so only the tip is touching the stone. Make sure it’s square and lock it down.
For angled router plane blades (sometimes called a “witch’s tooth”), you’ll need a honing guide that can hold blades at an angle like this one. Set it so one edge of the blade is flat on the stone, then repeat for the other side.
Start with a few backwards strokes, only putting light, centered pressure on the blade.
Then grind it back and forth on the stone until you can again feel a burr — this time on the bottom edge of the blade.
What if you’re sharpening freehand without a honing guide?
Again, set the blade bevel flat on the stone, then lift the back just a smidge. Lock your wrists in that position. Now with a smooth pendulum motion in your arms, move the edge back and forth over the stone.
The trick is keeping the angle consistent. But as long as you get a burr across the entire bottom cutting edge, you’re golden.
4. REPEAT ON HIGHER GRIT STONES
Now repeat this process on higher grit stones.
Lap the bottom until a burr forms on the beveled edge, flip the blade over, and hone the bevel until a new burr forms.
You can go to as high of a grit as you like — but 2-3 grits should get you a super polished edge.
The higher grit you go to, the more refined and sharp the edge will be… but don’t kill yourself over it. There’s definitely a point of “sharp enough.”
And besides, the final step is to strop — which is the secret to a razor sharp edge.
5. STROP
The final step of sharpening router plane blades is to remove the last remnants of the burr. And that’s where a strop shines.
Scribble a bit of honing compound over your strop (easy does it).
Then start by placing the bottom of the router plane blade flat on the strop. Drag it back with light (key word light) pressure around 25 times.
Then switch to the bevel side of the blade. Set it flat on the strop, lift the back ever so slightly like you did on the stones, and drag it back towards you 25 times. Again, light pressure is key.
Now go back to the flat bottom side and do another 10 strokes, then 10 strokes on the beveled side. Alternate between both edges for 5 strokes, 3 strokes, and a final stroke.
At this point, you should have a shimmering and finely honed edge. Test it on a piece of paper, and if it doesn't seem sharp enough, give it another go on the stones.
Sharpening takes a bit of practice at first, so don’t get frustrated. You’ll get it with time.
6. MAINTAIN THE BLADE
Clean any lubricant and steel slurry off the blade with a clean paper towel. Then give it a light once-over with some oil or paste wax to protect it from rust.
After a full-on sharpening session like this, you can keep the blade project-ready with consistent stropping.
I like to strop before every project, and even a couple times during a project if I’m using my router plane extensively.
You’ll periodically have to go back to the stones, but with consistent stropping and the paper test you can extend the time between each session.
Now go enjoy that razor sharp blade!
STAY SHARP MY FRIEND
A sharp blade makes a MASSIVE difference in the quality of cuts you’ll get with your router plane.
And as you can see in the steps above, it’s a fairly simple process. You’ll have it down in no time after a few attempts.
Need some tips on how to use your router plane effectively? Read this.
Got another method for sharpening router plane blades? Let us know in the comments below!
Follow us on Instagram @katzmosestools, on TikTok @katzmoseswoodworking, and check out my YouTube channel for more great woodworking content...
And as always, STAY SAFE IN THE SHOP!
2 comments
Joseph Jackson
Why don’t you put a micro-bevel on the router plane blade like you would a chisel?
Why don’t you put a micro-bevel on the router plane blade like you would a chisel?
DAVID SHEASLEY
THANK YOU FOR YOUR GUIDANCE!!!!
THANK YOU FOR YOUR GUIDANCE!!!!