


When it's time to inlay hinges, you're at the finish line of your project. Translation? The stakes are high.
What makes it tricker is that inlaying metal hardware requires exact cutting depths. You can’t sand or hand plane hinges flush after the fact.
Luckily, the plunge-base router trick I’m sharing here today is a game-changer.
It’s a shortcut for dialing in precise cutting depths — with no measuring — so you can easily achieve flawless hinge inlays.
Let’s plunge right in.
UNDERSTANDING THE PLUNGE-BASE DEPTH STOP
This trick takes advantage of the coolest feature on plunge-base routers — the depth-stop mechanism.
It’s made up of two basic components:
-
Depth Rod: The rod on the side that can be locked down at different positions. It's like a stiff-arm that stops your router bit from plunging any further.
- Rotating Turret: This rotating “spiral staircase” can be adjusted to let the depth rod move deeper.
When you're inlaying hardware like hinges, you want a fit as seamless as a key sliding into a lock.
And the depth rod and turret can do that precise work for you. Here’s how.
SETTING UP YOUR PLUNGE-BASE ROUTER FOR PERFECT INLAY DEPTHS
With this straightforward trick, achieving precise inlay depths is a breeze — with no need for measuring.
Here’s how it works.
1. CHOOSE THE RIGHT ROUTER BIT
For inlays, a downcut spiral bit is your go-to. Why? It's all about the finish.
This bit leaves the top edges of your cuts clean, smooth, and tearout-free (especially important if you’re using a mortise template).
2. ZERO-OUT THE ROUTER BIT
Set your router on a known flat surface and plunge that router bit all the way down until it touches the surface beneath.
This makes it flush with the bottom of the router base — “zeroing it out” for the next step.
Side not: If you're using a template, place it under the router base while you lower the bit to the flat surface below. That way it's accounted for in your cutting depth.
3. SET UP THE DEPTH ROD AND TURRET
This is where the magic happens.
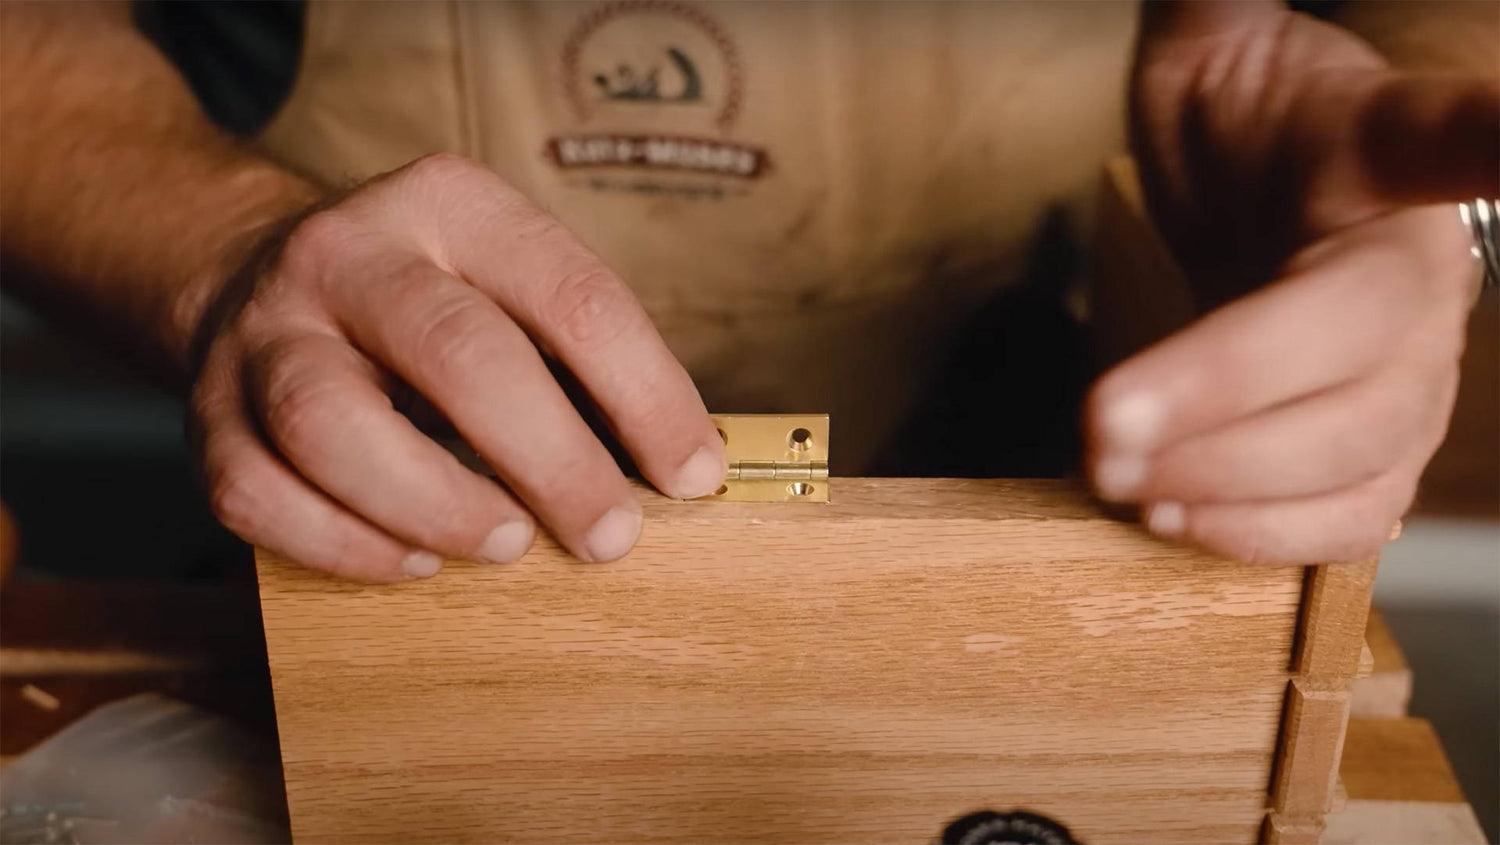
Set the rotating turret so the highest step is beneath the depth rod. Set one side of your hinge on top of the turret, then drop the depth rod until the hinge is sandwiched between. Now lock down the depth rod.
When you plunge the router, the cutting depth will exactly match the thickness of the hinge. Pretty sweet, right?
Here’s a few other tips for fine-tuning those hinge mortises.
OTHER TIPS FOR HINGE MORTISES
You've set the stage for perfect inlay depths. Now, let's dive into some additional tips for a perfect fit.
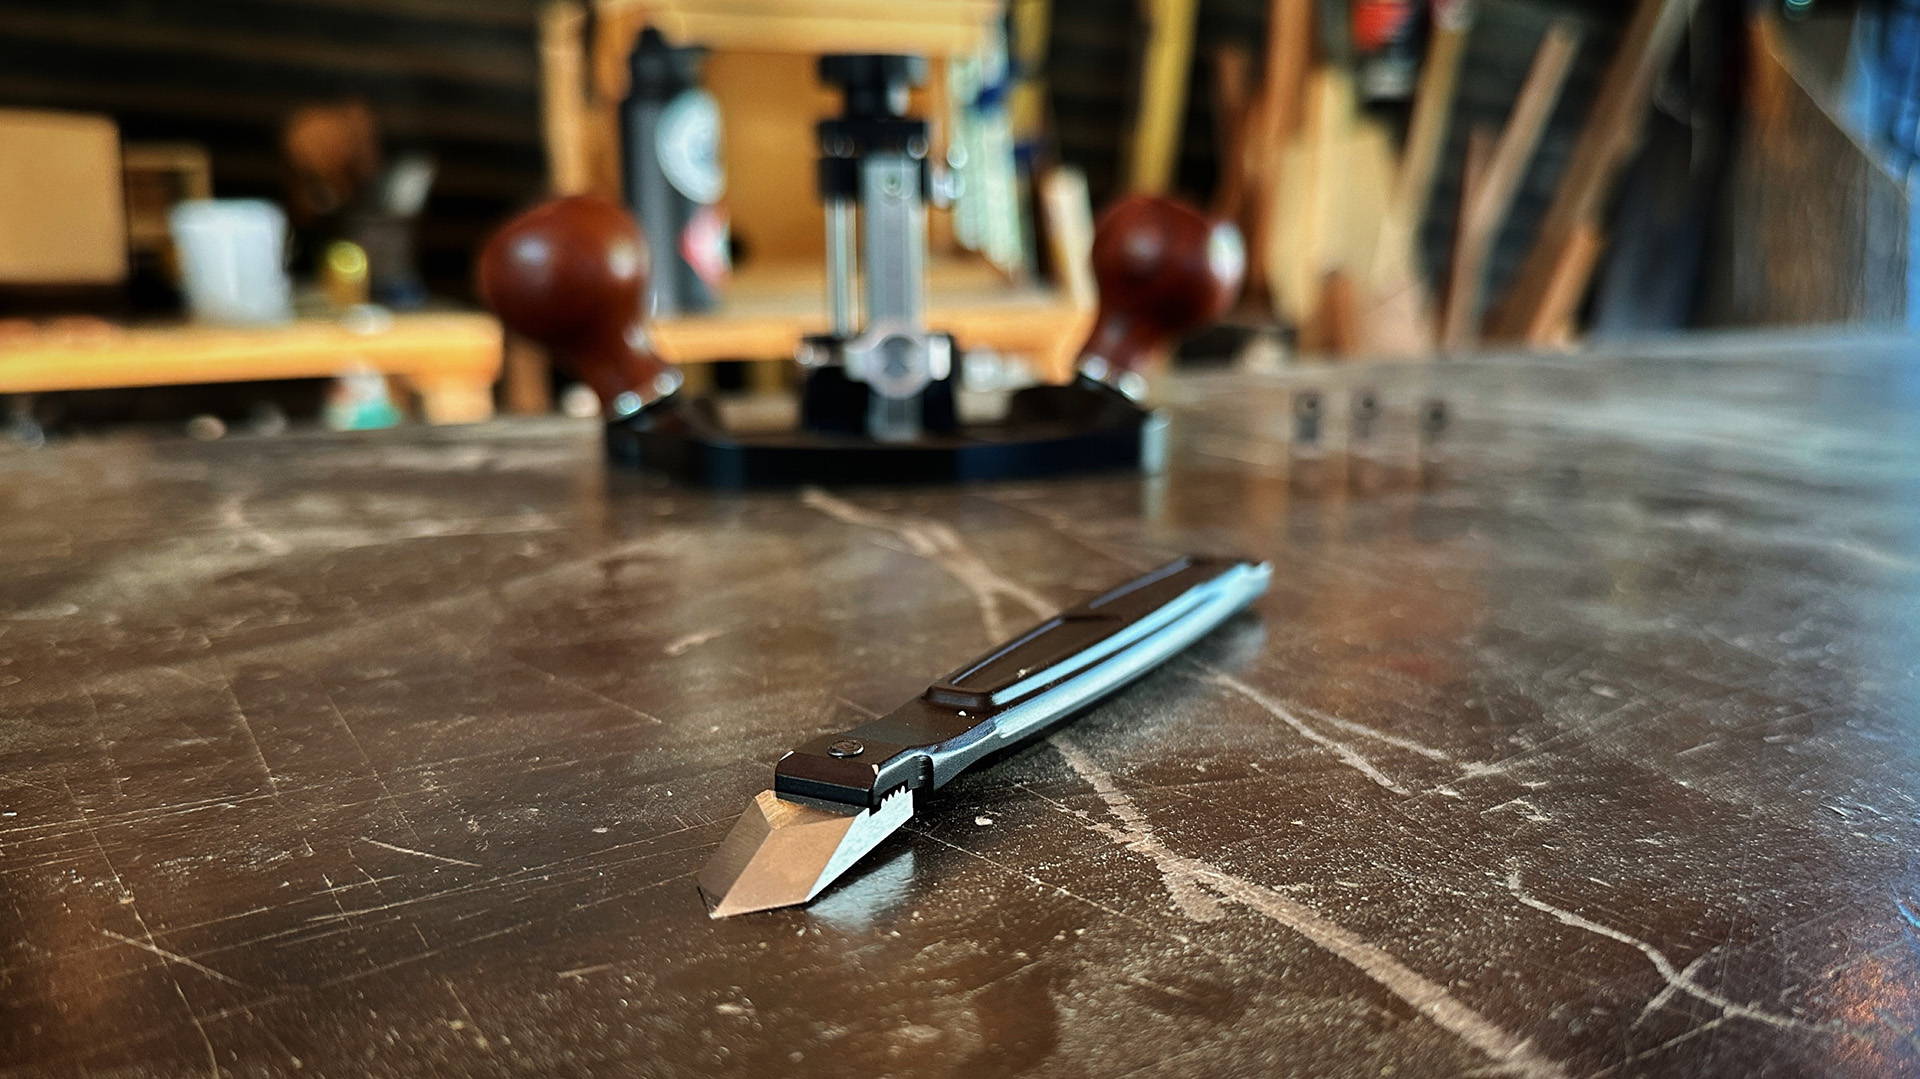
1. TRACE WITH A MARKING KNIFE
Use a marking knife to trace the outline of your hinge onto the wood.
This leaves no room for guesswork when finishing off the edges with a chisel — and helps prevent any tearout from going past the edges of your mortise.
2. FINISH THE WALLS WITH A CHISEL
After you’ve cleared the majority of the mortise with your router, finish off the rectangular edges with the widest chisel that works.
Slowing things down with hand tools at this stage prevents any mishaps — and lets you tip-toe into a perfect fit.
HANDLE YOUR HINGES
With this plunge-base trick, you've unlocked a game-changing technique for dialing in perfect hinge mortises.
Now take it to the shop and watch your projects reach a new level of precision.
Want more tips for your electric router? Read this.
What other tips do you have for perfect hinge mortises? Let us know in the comments below!
Follow us on Instagram @katzmosestools, on TikTok @katzmoseswoodworking, and check out my YouTube channel for more great woodworking content...
And as always, STAY SAFE IN THE SHOP!
6 comments
Brian
Great tip for perfect hinge mortises! I agree that a wider router base plate (like the 3×3 Custom one I use all the time!) helps a lot. One more tip in addition to using a template for the stops needed, is to make the work piece effectively wider by clamping or affixing an additional work piece as a sandwich to make a wider surface for the router to land on, thereby avoiding tilt. A clamped template with a wider surface also does the same effect. I like to make custom templates for each hinge.
Great tip for perfect hinge mortises! I agree that a wider router base plate (like the 3×3 Custom one I use all the time!) helps a lot. One more tip in addition to using a template for the stops needed, is to make the work piece effectively wider by clamping or affixing an additional work piece as a sandwich to make a wider surface for the router to land on, thereby avoiding tilt. A clamped template with a wider surface also does the same effect. I like to make custom templates for each hinge.
Steve Howard (WoodProbie)
Thanks Jonathan. This is how one new to the craft can create exceptional results.
I think there be one othber to end this help tip. Most often, the hinge rests in a mortise on the edge of the door, frame, etc. Most plunge routers are not tiny, single hand held, presenting a base plate surface to the edge that would prevent “tilt.” A router base plate jig comes in real handy and provides the router base with a “channel” the width of the edge on which the mortise will be routed. The router then becomes quite stable and is near impossible to tilt side to side (preventing any amount of unwanted mortise depth as the routher tilts one side opr the other). Hmmmm… I wonder if such a jig could be made into a product easily attached to a number of base plates found in the market with an adjustable channel width mechansim (which can be “Locked” into place). I wonder… :)
Jim Wiens
Thanks for the tips. Great as always. I generally save them for use as needed. As I get older, I can’t quite remember all the wisdom that you impart.
Thanks for the tips. Great as always. I generally save them for use as needed. As I get older, I can’t quite remember all the wisdom that you impart.
Randolph A Jones
Thanks for another well written and informative article. I maybe an old dog but there is always something to learn, or techniques review.
Thanks for another well written and informative article. I maybe an old dog but there is always something to learn, or techniques review.
Marshall Geller
Hi Jonathan,
Thank you for this great tip. I was reading the words and looking at the picture and was a bit confused until I realized the highest step on the turret is actually the one that is shortest in height!
Hi Jonathan,
Thank you for this great tip. I was reading the words and looking at the picture and was a bit confused until I realized the highest step on the turret is actually the one that is shortest in height!
Donald Kern
Great tip. Foolproof since the depth of the hinge itself creates the bit’s depth below the router base. The routed surface will always be a completely uniform depth as well, harder to achieve with only the hand chisel inlay process. Always interesting how many things are better when we don’t measure! Thanks again Jonathan!
Great tip. Foolproof since the depth of the hinge itself creates the bit’s depth below the router base. The routed surface will always be a completely uniform depth as well, harder to achieve with only the hand chisel inlay process. Always interesting how many things are better when we don’t measure! Thanks again Jonathan!