


Want an easier time assembling precise joinery like dovetails or mortise and tenon joints?
This technique not only helps mating pieces come together with less effort…
It also reduces the risk of bruising those nice crisp edges you’ve worked so hard to protect.
Best of all, it’s dead simple — and all you need is a chisel.
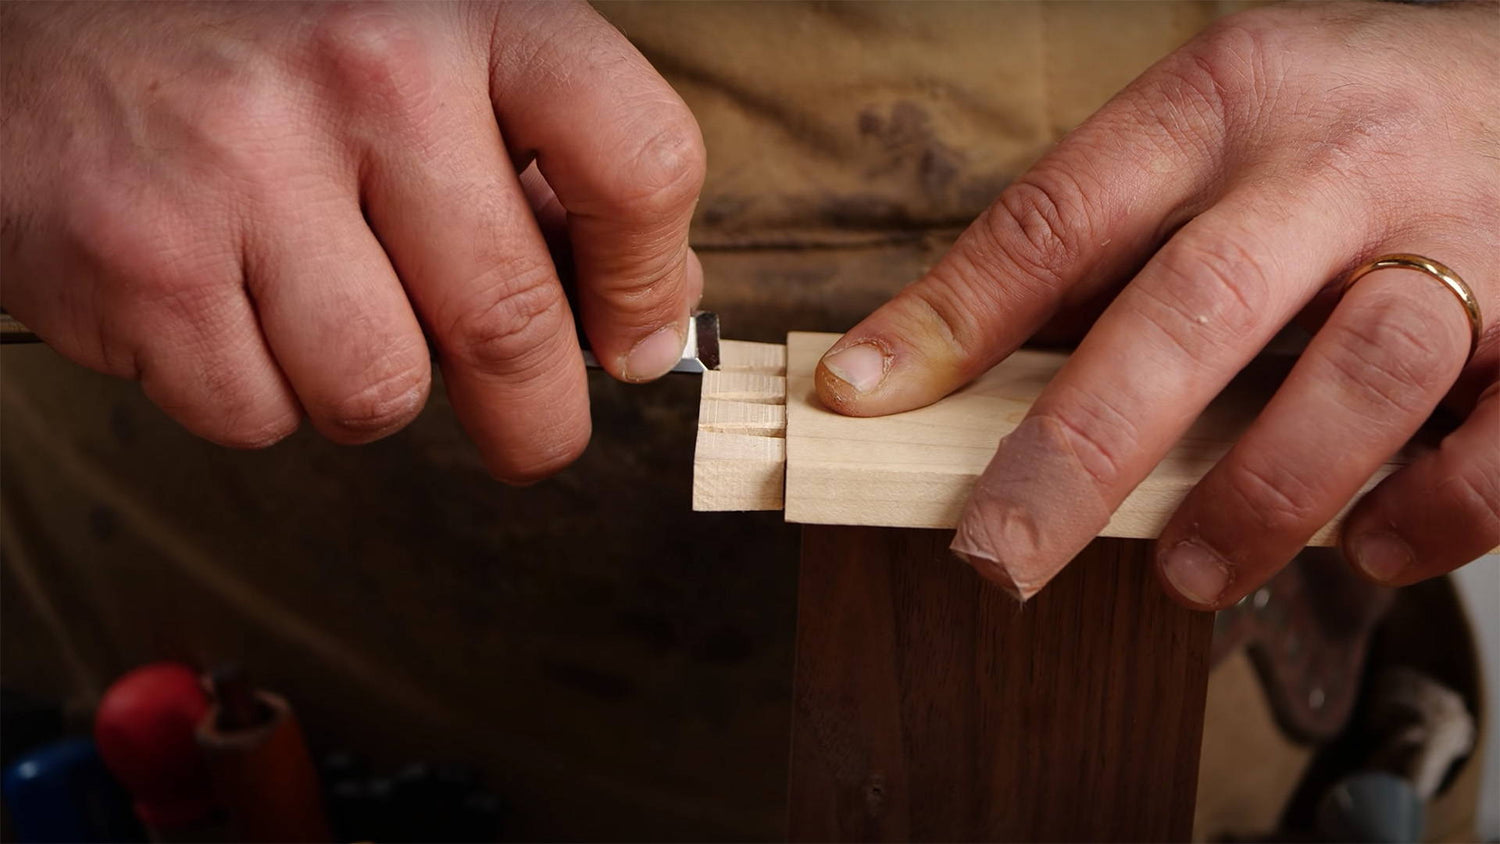
The trick is to put a very small chamfer on the inside edges of the joint.
And small means small.
All you’re doing is creating a bit of leeway for one mating piece to drop into the other as you begin to push them together.
But make sure you chamfer the inside edges — where they’ll be hidden once the joint is assembled.
On a mortise and tenon joint, I chamfer the edges of the tenon. On dovetails, I chamfer the inside edges of the pins and tails without touching the end grain edges that’ll show later on.
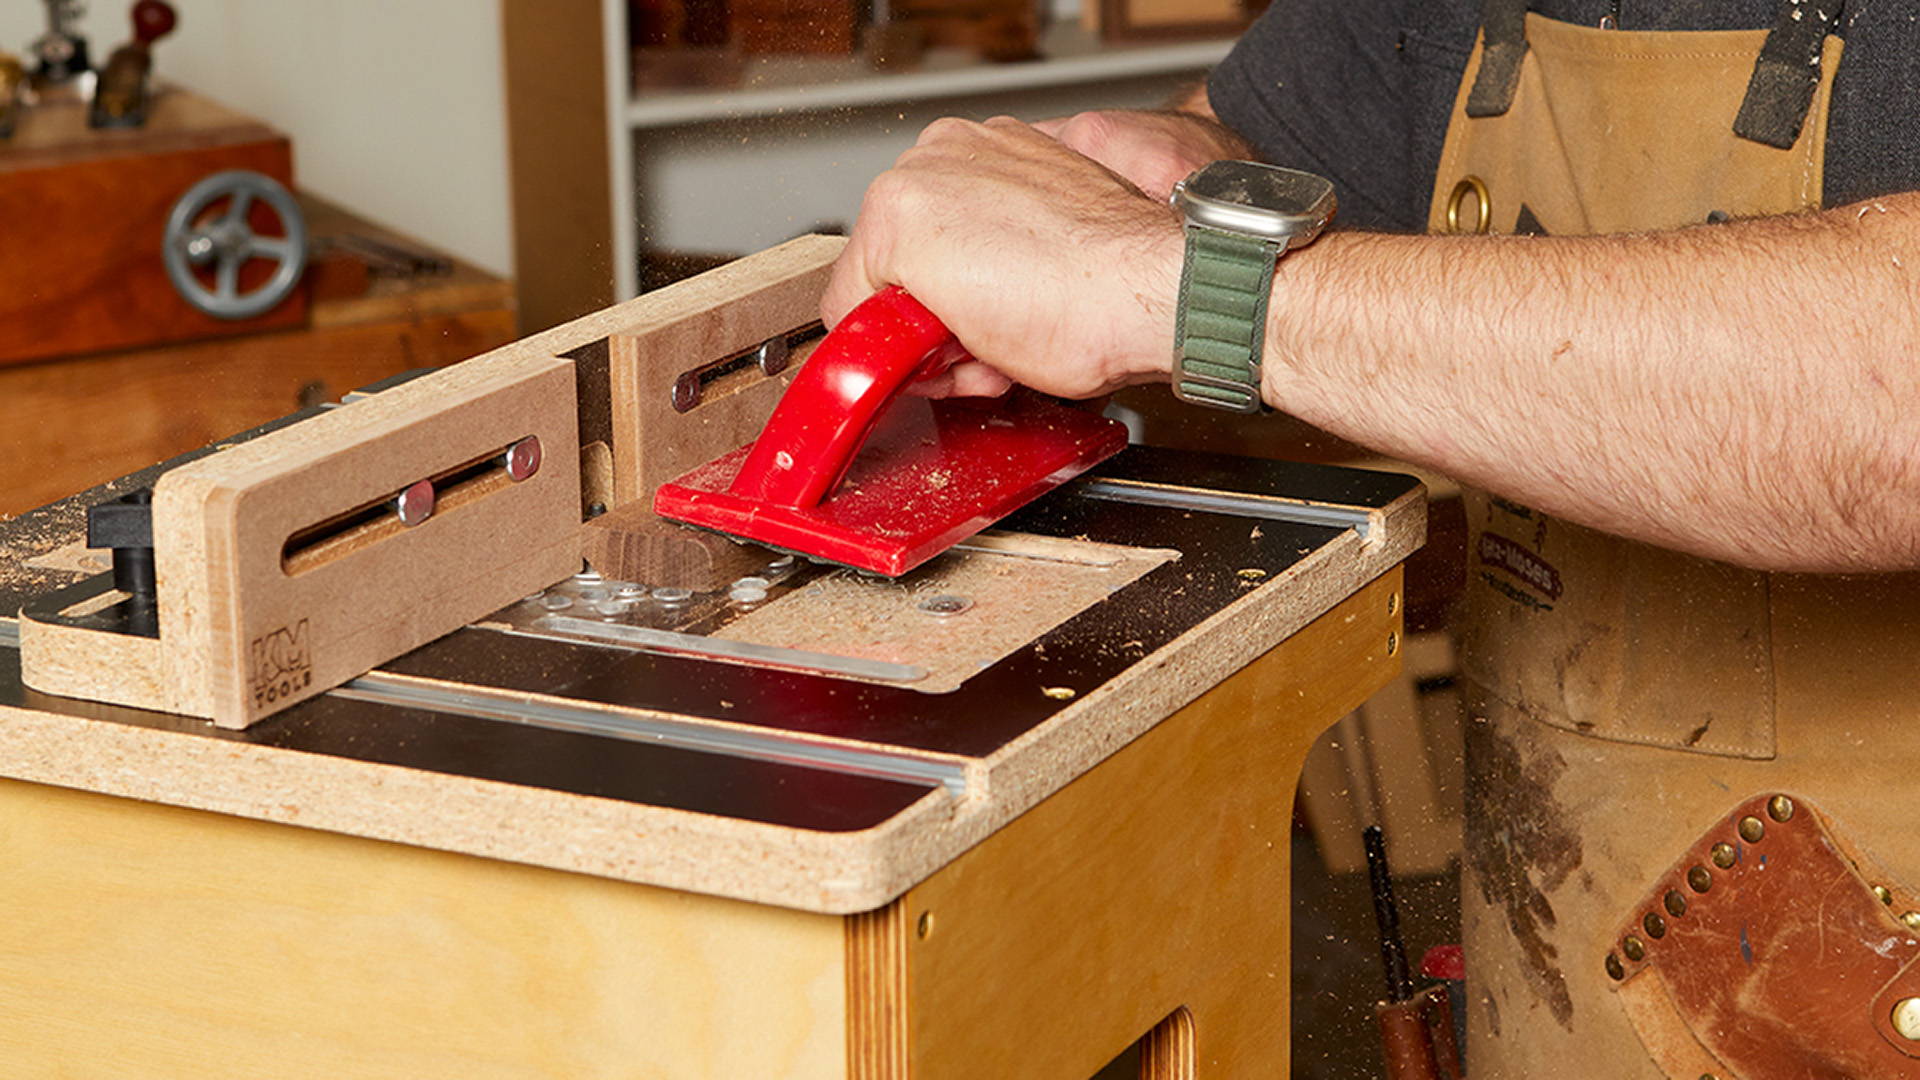
If you’re trying to cut precise dovetail joints, a Dovetail Alignment Board makes the job a WHOLE lot easier.
It creates accuracy and repeatability during one of the most important and trickiest steps of dovetails: transferring the tails to the pins board.
Board slip, or drop your marking knife? No problem.
With our CNC-cut Dovetail Alignment board, you can quickly get your boards into the exact same position again and again.
Got any of your own assembly techniques? Let us know in the comments below!
Follow us on Instagram @katzmosestools, on TikTok @katzmoseswoodworking, and check out my YouTube channel for more great woodworking content...
And as always, STAY SAFE IN THE SHOP!
2 comments
Tracy Novak Tracy Novak
I agree with Ken. When can you send out an updated video?
I agree with Ken. When can you send out an updated video?
kenneth stover
These comments are gathered from others as well as me. Regarding the box joint jig that I purchased from you—→ I bought the latest jig that has the bolt that adjusts the openings for finger joints and the center key joint system. My hope is to have you go sloooower in your video when changing boards and rotating them when making cuts in their proper sequence. The labeling letter and numbers look took similar in the video. It’s a bit confusing. Also, explain in a video that adjusting the bolt is to make the pin smaller or longer, because the hole/cut is as a result of the pin thickness…….the cut/opening is the same being dictated by the dado stack thickness. Please don’t take the above comments personally. You are a great teacher and woodworker and you are appreciated.
Best,
Ken