


Using a hand plane is one of woodworking’s greatest joys — or greatest frustrations if you’re just getting started.
When I was a beginner, I heard of people getting tissue fine shavings with their planes.
But mine would barely cut — or cause so much tearout I was forced to run the board back through an electric planer.
Shameless, I know.
I’ve come a long way since then (if I don’t mind saying so myself). And through practice, great teachers, and lots of trial and error, I’ve learned a thing or two about planes.
Today, I’m giving you my Top 11 Tips for Setting Up and Using a Hand Plane that are all but guaranteed to improve your skills.
From tool adjustment to body positioning, these tidbits of wisdom can help even the most novice woodworkers get excellent results with their hand planes…
And most importantly, have a blast doing it.
TABLE OF CONTENTS
- Sharpness Above All Else
- Position The Chip Breaker Correctly
- Use a Scrap to Test Lateral Adjustment
- Find the Cutting Depth with Test Cuts
- Go With the Grain
- Keep the Sole Waxed
- Plane with Your Whole Body
- Keep Pressure in the Right Place
- Watch for a Hump in the Middle
- Be Aware of Hand Plane Skew
- Use the Right Hand Plane for the Job
1. SHARPNESS ABOVE ALL ELSE
I realize sharpness seems like the only thing people mention when talking about hand planes. I get it already, you might say.
But the reason people stress it so much is that sharpness really is that important.
Without a properly honed blade, you’ll have to work way harder to cut. And when you do, it’ll either be not enough material or way too much.
Before use, make sure your plane iron is sharp enough to cleanly slice a sheet of printer paper or shave hairs off your arm (careful though).
Once at that level, you should be good for a while.
If you notice the sharpness degrading significantly, strop it a few times to get back that sharp edge.
Here’s some tips on how to sharpen a hand plane iron, and also the basic principles of sharpening you should understand.
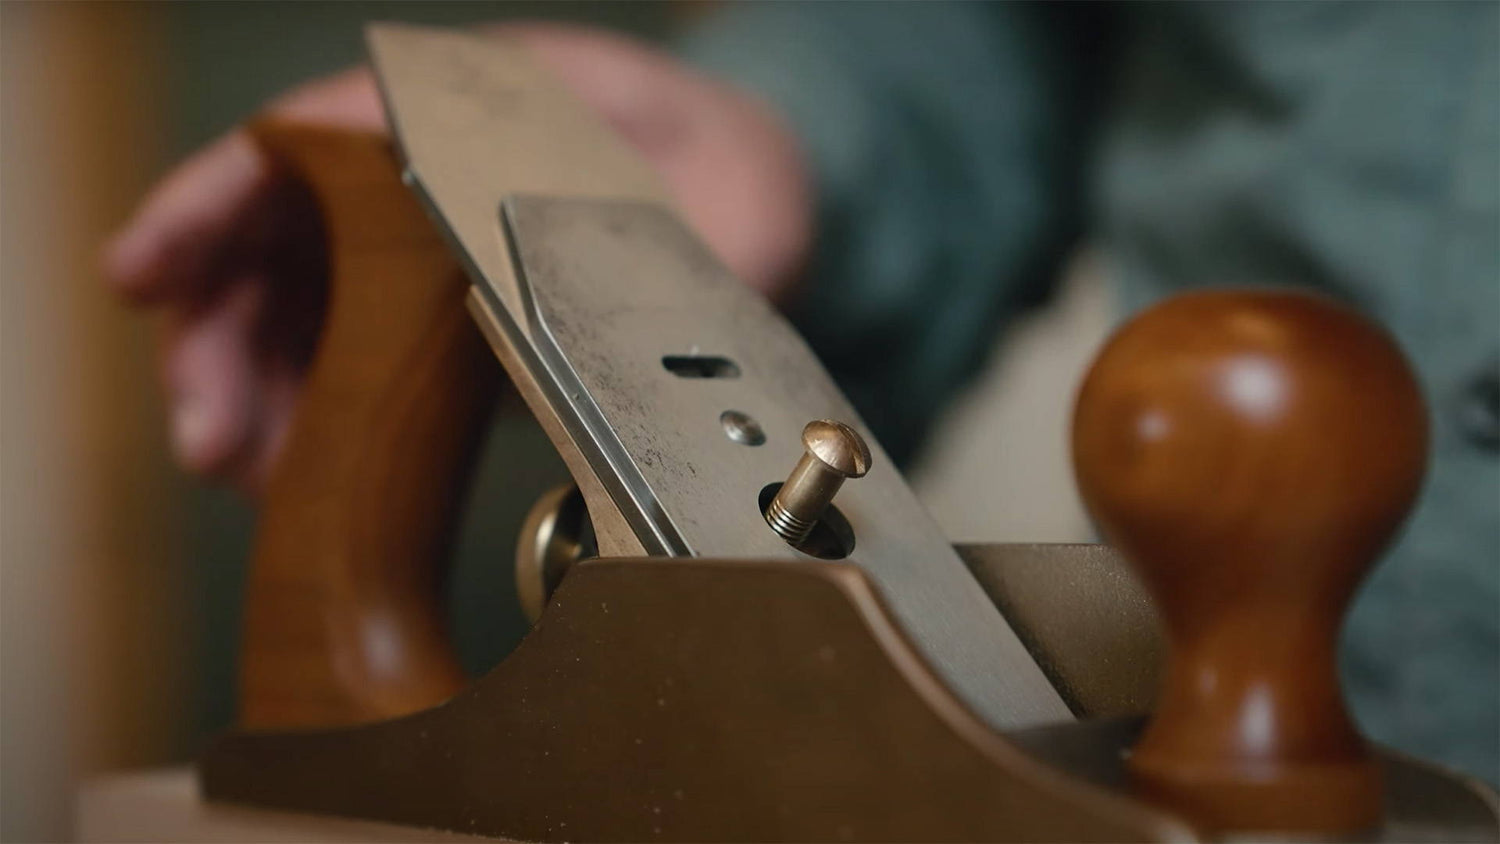
2. POSITION THE CHIP BREAKER CORRECTLY
The chip breaker (also called the cap iron) is the flat piece of metal attached to the top of the plane iron.
Its main purpose is to prevent wood fibers from splitting off too far ahead of the blade — thereby reducing tearout.
Ideally, set the edge of the chip breaker about 1/32” back from the edge of the plane iron.
But you don’t need a pair of calipers to test if your setup is right.
- If you’re getting shavings that come out crumpled like an accordion, move the chip breaker further back from the blade’s edge.
- If you’re getting lots of tearout (and know you’re doing everything else right), try moving the chip breaker forward towards the blade edge to see if that’s the problem
You can also adjust the chip breaker depending on the type of work you’re doing.
Roughly dimensioning a board and taking thick shavings? Push the chip breaker further back. Trying to create a smooth finish-ready surface? Get the chip breaker closer to the edge.
Low angle planes have an adjustable mouth instead of a chip breaker. The principle is essentially the same, but read this for more about adjustable mouths and low angle planes.
3. USE A SCRAP TO TEST LATERAL ADJUSTMENT
Once the chip breaker and iron are locked in place, it’s time to get the cutting edge square to the sole (bottom) of the plane — which is done with the plane’s lateral adjustment lever.
I’ve found the easiest and most accurate way to dial in the lateral adjust is with a small piece of scrap wood.
Advance the blade until the cutting edge just starts to extend past the bottom of the sole.
Run the corner of a piece of scrap wood past the blade at 3 points: once at both corners of the blade and once in the middle.
You’re looking to see (and feel) how deep of a cut occurs at each point.
If you put a camber on your plane iron (slight convex curve), you want to see no shavings at the ends and a thin shaving in the middle.
For a blade with no camber, you should get a shaving of equal thickness all the way across the cutting edge.
If one side is cutting deeper than the other, push the lateral adjust towards the side of the blade that’s cutting deeper (it’s a little counterintuitive at first, but becomes second nature in time).
Once the blade is cutting equally at both ends, you’re ready to set the cutting depth.
4. FIND CUTTING DEPTH WITH TEST CUTS
The best way to set the cutting depth of your hand plane is to continuously test and adjust.
Slowly push the hand plane along a relatively flat board while incrementally advancing the blade.
As soon as you feel the blade bite into the wood — even the slightest amount — stop.
Take a few test passes and if you’re not getting shavings, advance the iron a bit further.
Keep in mind that the blade adjustment knob is very sensitive. A little goes a long way, so only do a fraction of a turn at a time.
Once you get a bit of a shaving, take a few more test passes before advancing the blade.
Sometimes, the first small shavings are actually high spots.
If you take a few more passes, the plane can start taking bigger shavings — and you don’t have to advance the blade any further.
5. GO WITH THE GRAIN
Like sharpening, grain direction is a topic that comes up endlessly when discussing hand tools.
The reason is that if you go against the grain, you can absolutely decimate the surface of a board with tearout.
But by cutting with the grain, you can get glassy smooth surfaces 220 grit sandpaper could only dream of.
Wood grain is a topic in and of itself, so I recommend reading more about how to read grain direction and avoid tearout here.
But no matter how good you are at reading grain, the only truly reliable approach is to make a test cut.
If you get tearout, try planing the other way and see if it helps.
Highly figured wood might tearout no matter which way you plane, as will areas around knots where the grain is swirling every which way.
In that case, you’ll need to use a really high angle of attack or just move on to a card scraper.
Don’t be afraid to make localized cuts on tricky areas of a board.
6. KEEP THE SOLE WAXED
This is a super low-tech trick that makes a MASSIVE difference in performance.
The sole of your hand plane creates a surprising amount of friction as it slides over a board. You might notice it in physical resistance or even a squeaking sound.
The solution? Scribble a bit of candle wax down the sole.
Any candlestick or tea candle you have lying around will do.
Just do a few quick zig-zags from the toe to the heel.
It’s incredible how much the friction is reduced — and how much easier it is to take off shavings.
No candle wax? Paste wax works great too.
7. PLANE WITH YOUR WHOLE BODY
Beginners tend to use only their arms to push a hand plane through a cut.
Not only does this take a lot of unnecessary effort. It also leads to less control.
As with throwing a baseball, power and control are achieved with your entire body — not just your arms.
First, assume a power stance with your back foot in line with the back of the board and your front foot a good ways forward.
Keep your body next to the plane as you push it through, leaning into the cut. Pivot from your back foot to your front foot without extending your arms.
If the board is short enough, you should be able to push the plane across the entire board without having to extend your arms.
For longer boards, you’ll have to use your arms to push through the last bit of a cut.
It takes repetition to make it feel natural.
But once you get the hang of it, you’ll see how much less effort each stroke takes and how much easier it is to keep the plane on a straight course.
8. KEEP PRESSURE IN THE RIGHT PLACE
Your hand plane has two handles: a front knob and a back tote.
Depending on where in a cut you are, you want to apply different levels of downward pressure on the handles to keep the sole flat on a board.
- When you start a cut, only the front tip of the sole (the toe) is resting on the wood. At this point, you want to keep all the pressure on the toe.
- Throughout the middle of a board, both the toe and back of the sole (the heel) are supported by the board. Put equal pressure on both handles.
- As you exit a cut, the toe of the plane is unsupported and only the heel is on the board. Keep all your pressure on the tote until the blade has cleared the board edge (I sometimes even go as far as letting go of the front knob as I exit cuts).
This transition of pressure might feel mechanical or robotic at first.
But just think of trying to put downward pressure towards the middle of a board and it’ll start to click.
9. WATCH FOR A HUMP IN THE MIDDLE
This was one of the most frustrating things about hand planes to me when I first got started.
Even if you're careful about transitioning downward pressure during cuts, multiple passes will eventually lead to a board with a hump in the middle.
It’s true. And I have Rob Cosman on my side for this one.
Rob’s technique for this is to draw a few lines along the board's length with a pencil.
Take a few passes just in the middle of the board, using the disappearing pencil lines as a guide for cutting the same area each time.
Slowly make longer passes, working your way out from the middle, until you finally can take full length passes.
A straight edge will tell you if there’s still a hump in the middle and you need to repeat the process, or if you’re nice and flat along the length of the board.
10. BE AWARE OF HAND PLANE SKEW
Here’s a crazy fact: The angle at which you push a hand plane through a cut changes the effective cutting angle of the blade.
Let me explain.
Say you’re using a standard bench plane with a cutting angle of 45°.
If you push that plane across a board with the toe and heel in a perfect line with the line of movement, your angle of attack is 45°.
But say you skew the plane as you push it through, with the toe angled more to the left and the heel more to the right.
Your angle of attack will now be lower than 45° — and the more you skew the plane, the lower that angle gets.
Mind blown? Sure. But why does this matter?
Well, because different cutting angles are best suited to different types of cuts.
Low cutting angles are great for slicing through end grain more easily — but not so good for highly figured wood where they can cause more tearout.
So if you’re trying to smooth out an end grain cutting board, give that plane some skew!
But if you're smoothing curly maple, keep that sucker straight as an arrow.
11. USE THE RIGHT HAND PLANE FOR THE JOB
Not surprisingly, different types of hand planes are best suited to different uses.
Woodworkers who primarily use power tools can get by just fine with one or two (I’d say a block plane and a low angle jack).
But if you want to get into all hand tool woodworking, you’ll definitely want to invest in an arsenal of hand planes.
Here’s some of the more common hand plane types:
- Scrub Planes / Foreplanes: These are your rough work hand planes meant for heavy stock removal (like dimensioning boards). The iron often has a heavy camber (convex curve) that allows it to take deeper cuts.
- Jack Planes: Often identified as #6 planes, these are your all-around “jack of all trades” planes. Dimensioning, smoothing — they can be used for it all.
- Jointer Planes: These are the big papas, sometimes identified as a #7 or #8 planes. Heavy, long, and with super wide irons, jointer planes are ideal for jointing edges and flattening slabs or tabletops.
- Smoothing Planes: Generally #4 planes and below, smoothing planes are meant to create finish-ready surfaces — often smoother than 220 grit sandpaper can achieve.
- Block Planes: These small planes can be held in one hand and are great for detailed light-duty work like breaking edges or shaving away dried glue.
- Low-Angle Planes: Any of the above hand plane styles can be found in a low-angle version (the most common being low angle block planes and jacks). Their advantage is that they’re a little easier to set up (there’s no chip breaker) and the blade can be honed to cut at virtually any angle of attack — making them super versatile.
TIPS ARE ONLY GOOD IF YOU USE THEM
This post only scratches the surface of hand plane technique.
But there’s still enough tips in here to give you a super solid start (a lot better than me!).
That said, the only real way to get better with hand planes is to use them again and again and again and again…
And again.
So toss your phone aside, get into your shop, and start making some seductively thin shavings.
New to the world of hand tools? Read this to find out what I recommend for your first 3 hand planes.
Got any of your own hand plane tips? Share them in the comments below!
Follow us on Instagram @katzmosestools, on TikTok @katzmoseswoodworking, and check out my YouTube channel for more great woodworking content...
And as always, STAY SAFE IN THE SHOP!

3 comments
Michael Keeler
Great tips. Wish I’d known more about chip breakers when I started using hand planes. I also wish I’d known about setting up my smoothing plane with a narrow mouth to prevent tear-out.
Great tips. Wish I’d known more about chip breakers when I started using hand planes. I also wish I’d known about setting up my smoothing plane with a narrow mouth to prevent tear-out.
Bill
Great list of tips. Thanks.
Great list of tips. Thanks.
Mike Norris
Scary Sharp needs a tip on how to get the backing off the film. What luck! I have one. Press some Scotch tape on the film at a corner and pull it toward the center of the film. The film should peal right off.
Scary Sharp needs a tip on how to get the backing off the film. What luck! I have one. Press some Scotch tape on the film at a corner and pull it toward the center of the film. The film should peal right off.