Squaring the corners of a mortise is a make or break moment.
If you don’t place the chisel just right — or put too much pressure the wrong way — it’s easy to bruise an edge or go past your layout line.
That’s why I always use the “swivel trick” when it comes to corners.
Here’s how it works:
- After you’ve cleared the bulk of the waste and are ready to pare down to your lines, make sure to use a chisel slightly NARROWER than your mortise. Stay away from the corners.
- Once the bulk of your edge is pared square, place one corner of the chisel in the mortise at an angle. Keep the flat back of the chisel flat against the inner wall.
- Keeping the chisel flat against the inside mortise wall, slowly swivel the chisel so the corner of the cutting edge comes down into the mortise corner and cuts off the last bit of material.
- Repeat this process to clean up the corner all the way to the bottom of the mortise.
The key here is control on the swivel.
Take only a little material at a time — and you’ll end up with clean, square corners.
If you’re after a faster approach, we now carry this Spring-Loaded Corner Chisel in our store.
The base registers against the edges of hinge mortises, self-aligning the 90° blade.
Now just give it a light tap with a mallet…
And you’ve got perfectly square corners.
What's your mortise corner strategy? Let us know in the comments below!
Follow us on Instagram @katzmosestools, on TikTok @katzmoseswoodworking, and check out my YouTube channel for more great woodworking content...
And as always, STAY SAFE IN THE SHOP!


11 comments
Dave
Excellent technique, as always, sir. I basically do the same, but I often leave a tiny bit of waste at the top, perhaps a 16th or so in both directions, and clean up this last bit with a nice sharp-tipped marking knife. Keep up the good work!
Dave,
Katz-Moses Disciple and Occasional Marking Knife Mis-User
Bob Clark
Jonathan’s explanation makes perfect sense to me – he’s simply discussing the act of paring the waste but using the pivot ing of the chisel to control the cut. In other words, “Paring instead of Chopping” at waste.
Jonathan’s explanation makes perfect sense to me – he’s simply discussing the act of paring the waste but using the pivot ing of the chisel to control the cut. In other words, “Paring instead of Chopping” at waste.
Carl
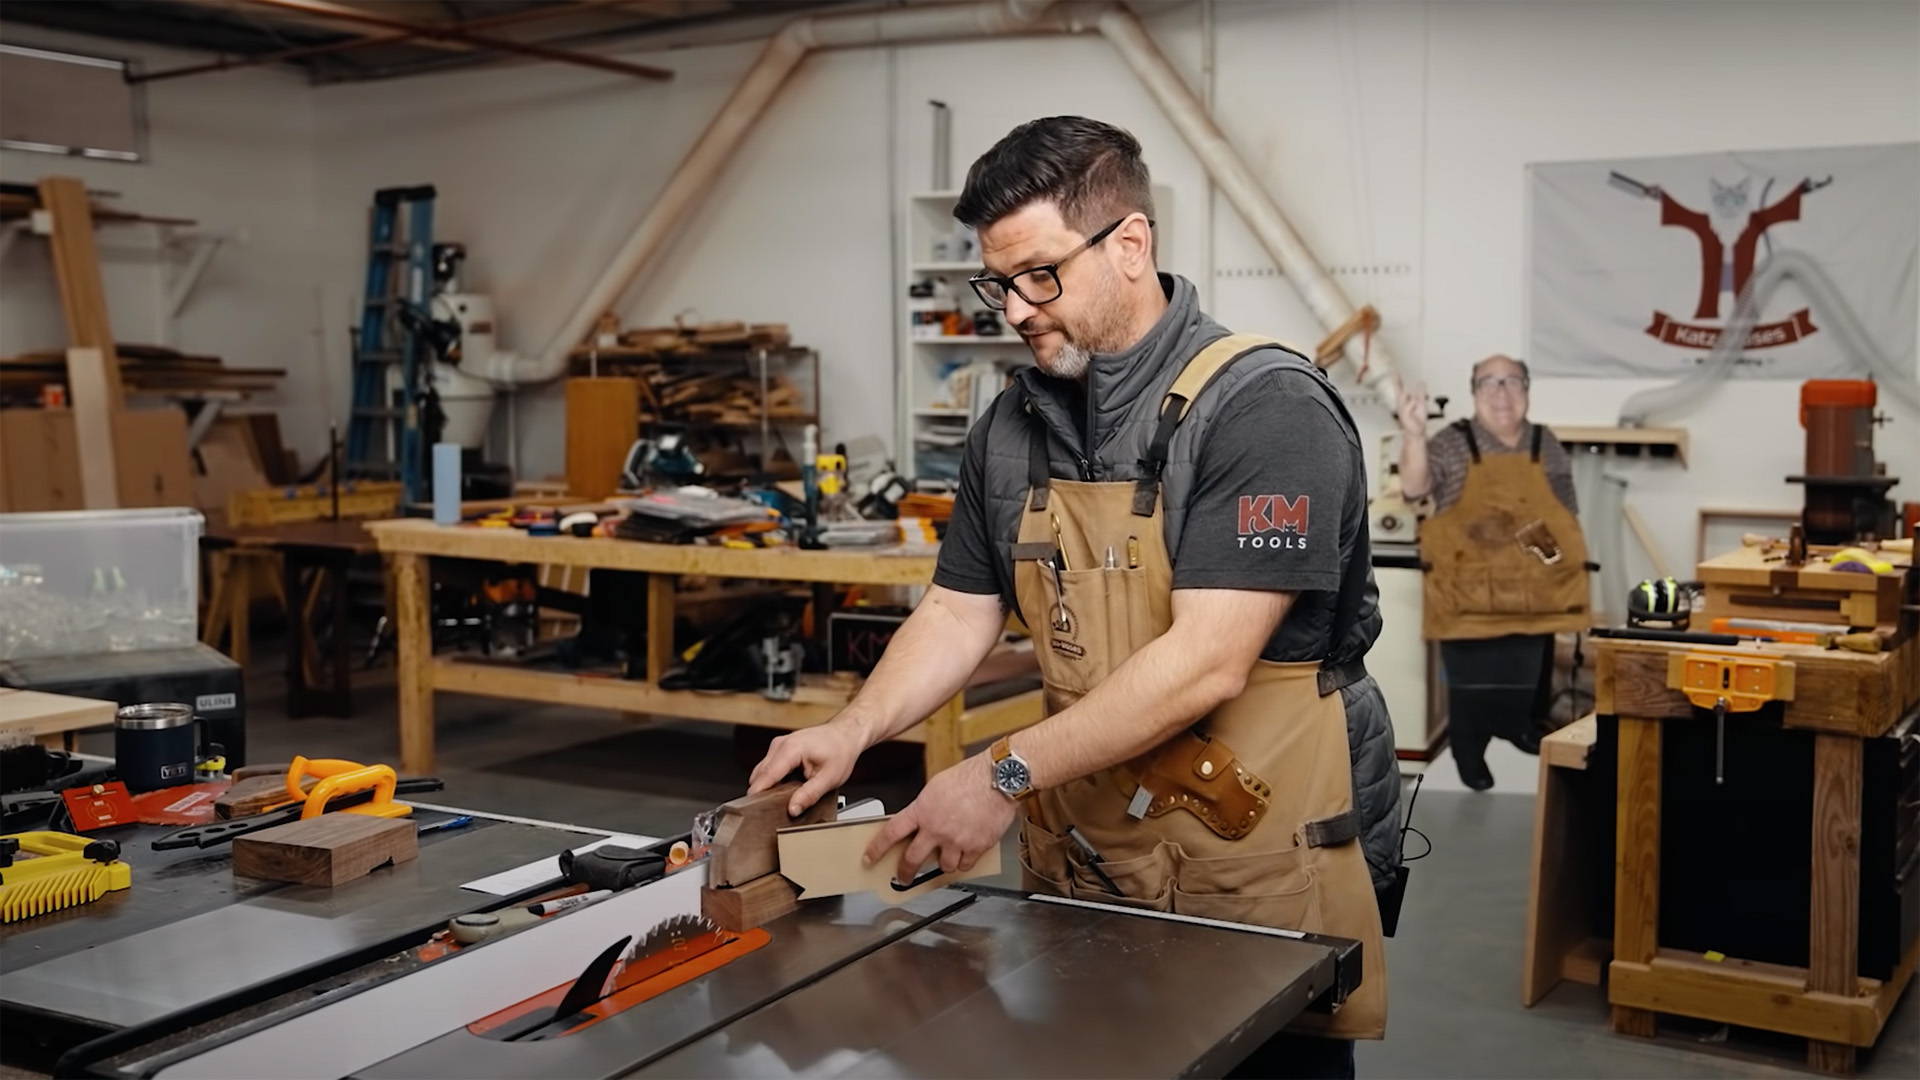
It may be semantics but “pivot” might better describe the action. In the picture, the right hand side (without the watch) is the pivot point and you pivot down into the mortise. The location of the pivot point is the width of the chisel.
It may be semantics but “pivot” might better describe the action. In the picture, the right hand side (without the watch) is the pivot point and you pivot down into the mortise. The location of the pivot point is the width of the chisel.
Anonymous
I’m with Botch. Tough to visualize. Please do a short video
I’m with Botch. Tough to visualize. Please do a short video
HasBeen
I found a video which may or may not be showing what he is talking about: https://www.youtube.com/watch?v=v55rcQDEw4Q The relevant part starts at about 3:10 in the video
I found a video which may or may not be showing what he is talking about: https://www.youtube.com/watch?v=v55rcQDEw4Q The relevant part starts at about 3:10 in the video
Alan
Thanks for these tips. But plus one on a photo or video for this one. I am not visualizeng what you mean.
Thanks for these tips. But plus one on a photo or video for this one. I am not visualizeng what you mean.
Donald Kern
Great tip. The flat of the mortis side against the chisel’s flat side keeps it vertical and on the iine and the angle provides good control to “sneak up” on the corner line without going over.
Great tip. The flat of the mortis side against the chisel’s flat side keeps it vertical and on the iine and the angle provides good control to “sneak up” on the corner line without going over.
Tim
It sounds like it would be very helpful, but would greatly appreciate a video demonstration. Love your content JKM!
It sounds like it would be very helpful, but would greatly appreciate a video demonstration. Love your content JKM!
J Scott Bell
II agree a video would be helpful. What I am visualizing from the description (which could be completely wrong mind you) is that with the back of the chisel registered against the flat cut mortise adjacent to the corner that you would need to angle the “top” edge of the chisel toward the corner line and lightly press or tap that top angled edge up to the corner line. Then reorient your chisel to approach that corner mark from the adjoining 90 degree flat cut of the mortise and carefully bring the leading edge of you cut at the top of the mortise to meet the previously line,
At this point you would hopefully have a near perfect right angle meeting of the two chiseled cut that just barely meet each other at the top of the corner. At this point no wood will have really been removed yet but as you increase the angle of the chisel coming in from each side being careful not to let the top leading edge ever go past the corner mark on top you would slowly pare away the wood from the inside corner and create a solid flat 90 degree reference point as you work your way half way down. I imagine in most cases you would need to flip the board and repeat the process from the other side.
Mike
I’m not seeing it. I agree with the above, video please!
I’m not seeing it. I agree with the above, video please!
Botch
I’m not understanding this one. To keep the chisel’s edge from going past the line, the chisel would have to be perfectly vertical when it hits the uncut portion of the wall, and you no longer have a “pivot” at that point.
Perhaps a video short of how this works?
I’m not understanding this one. To keep the chisel’s edge from going past the line, the chisel would have to be perfectly vertical when it hits the uncut portion of the wall, and you no longer have a “pivot” at that point.
Perhaps a video short of how this works?