Batch milling is the easiest way to get multiple boards to the same thickness. But it’s not always possible.
Batch milling means you run all the boards one after the other through your thickness planer before adjusting the cutting depth.
But what if you need to mill a new board to the same thickness later on in a project?
Batch milling isn’t an option. Checking with calipers after every pass is a pain.
And unless you have a digital read on your planer, getting down to the exact same thickness ain’t that easy.
That’s when it’s time to steal a technique from hand tool woodworkers — and use this simple marking gauge trick.
STEP 1: SET UP YOUR MARKING GAUGE
First, you’ll need a reference board — meaning one that’s already at the thickness you’re after.
Set it on top of a reliably flat surface, like your table saw table.
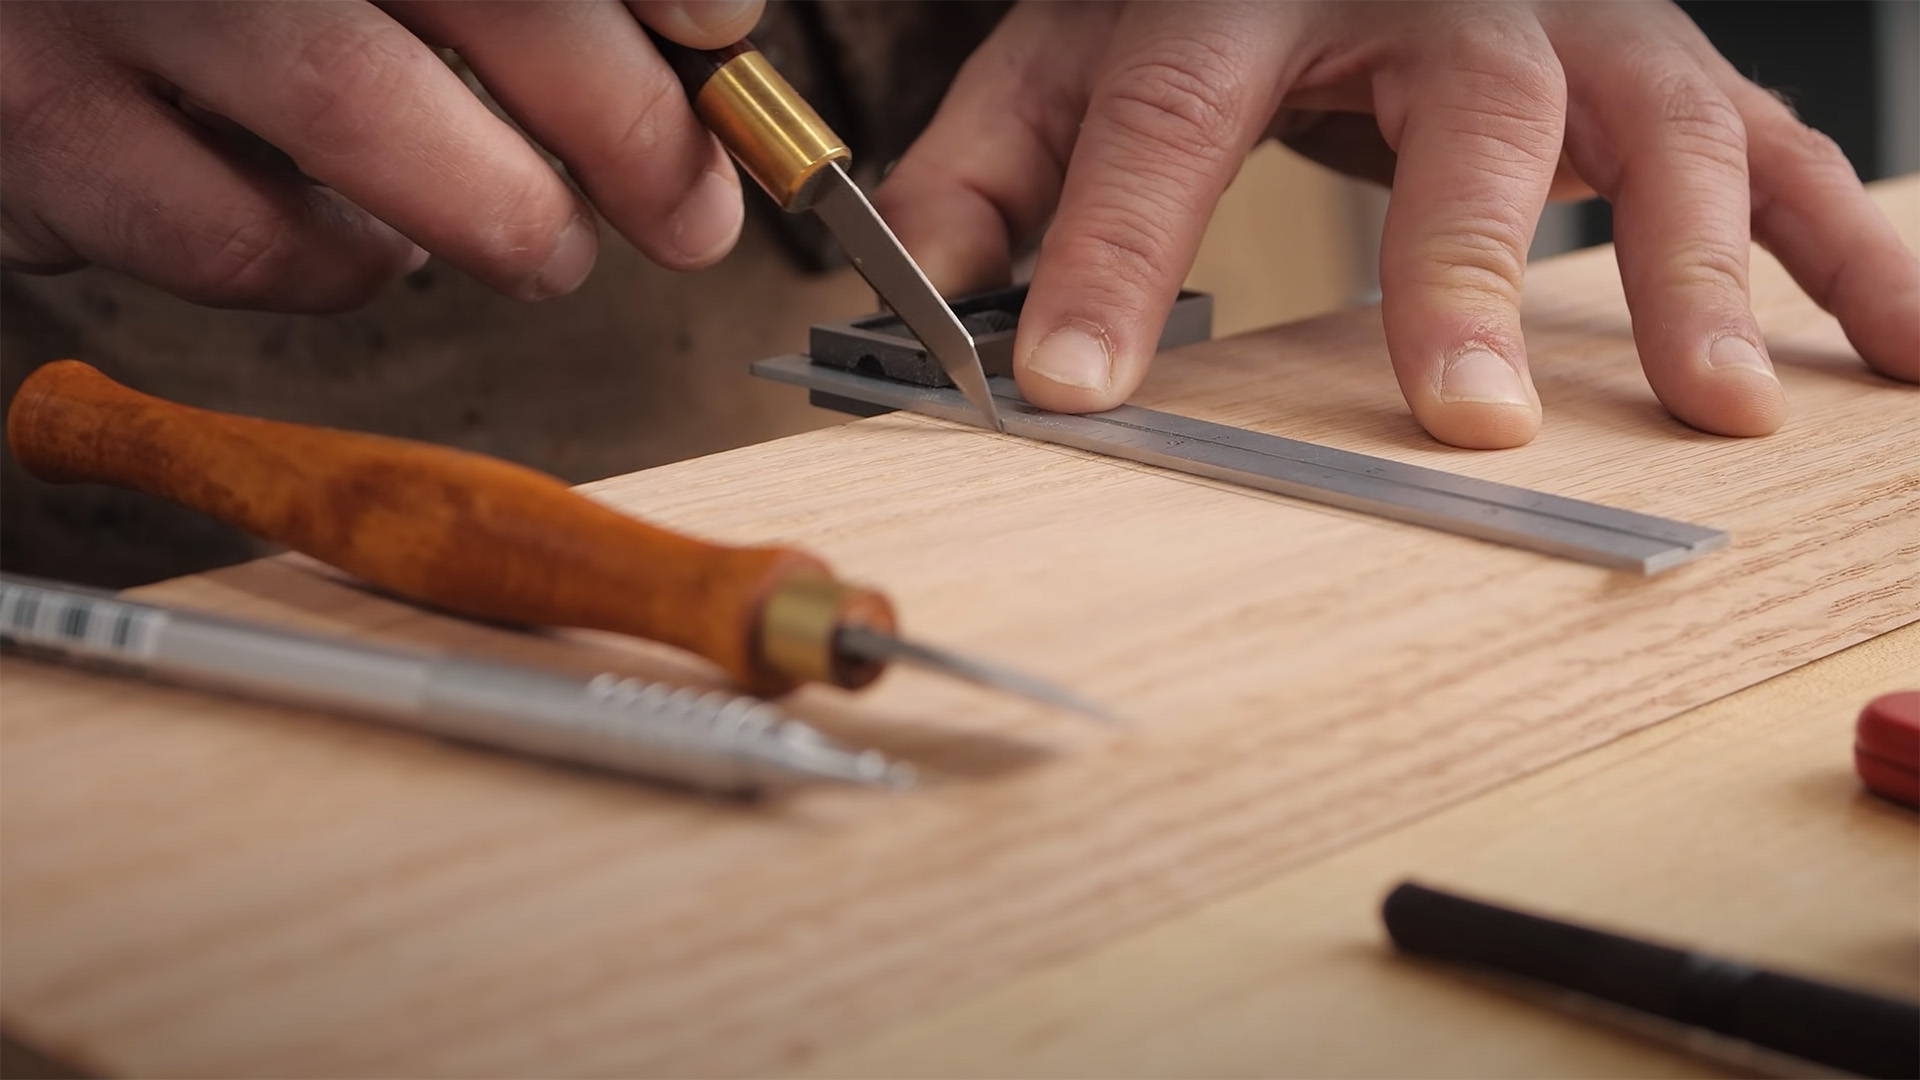
Then set the fence of the marking gauge on the edge of the board, and let the blade fall to the surface below.
(I prefer wheel marking gauges for this).
Lock down the marking gauge here. It’s now set to your reference board’s exact thickness.
STEP 2: MARK A LINE AROUND YOUR NEW BOARD
The new board you’re going to plane should already have one jointed face (read this if you don’t have a jointer).
Reference the fence of your marking gauge against this jointed face.
Then mark a line all the way around the board — on all 4 edges.
I recommend making these lines as deep as possible so they’re easy to see.
(TIP: First scribe the lines lightly to sever the top layer of wood fibers — then follow up with a deeper pass. This ensures the wood grain doesn’t misdirect your marking gauge).
STEP 3: PLANE DOWN TO THE LINE
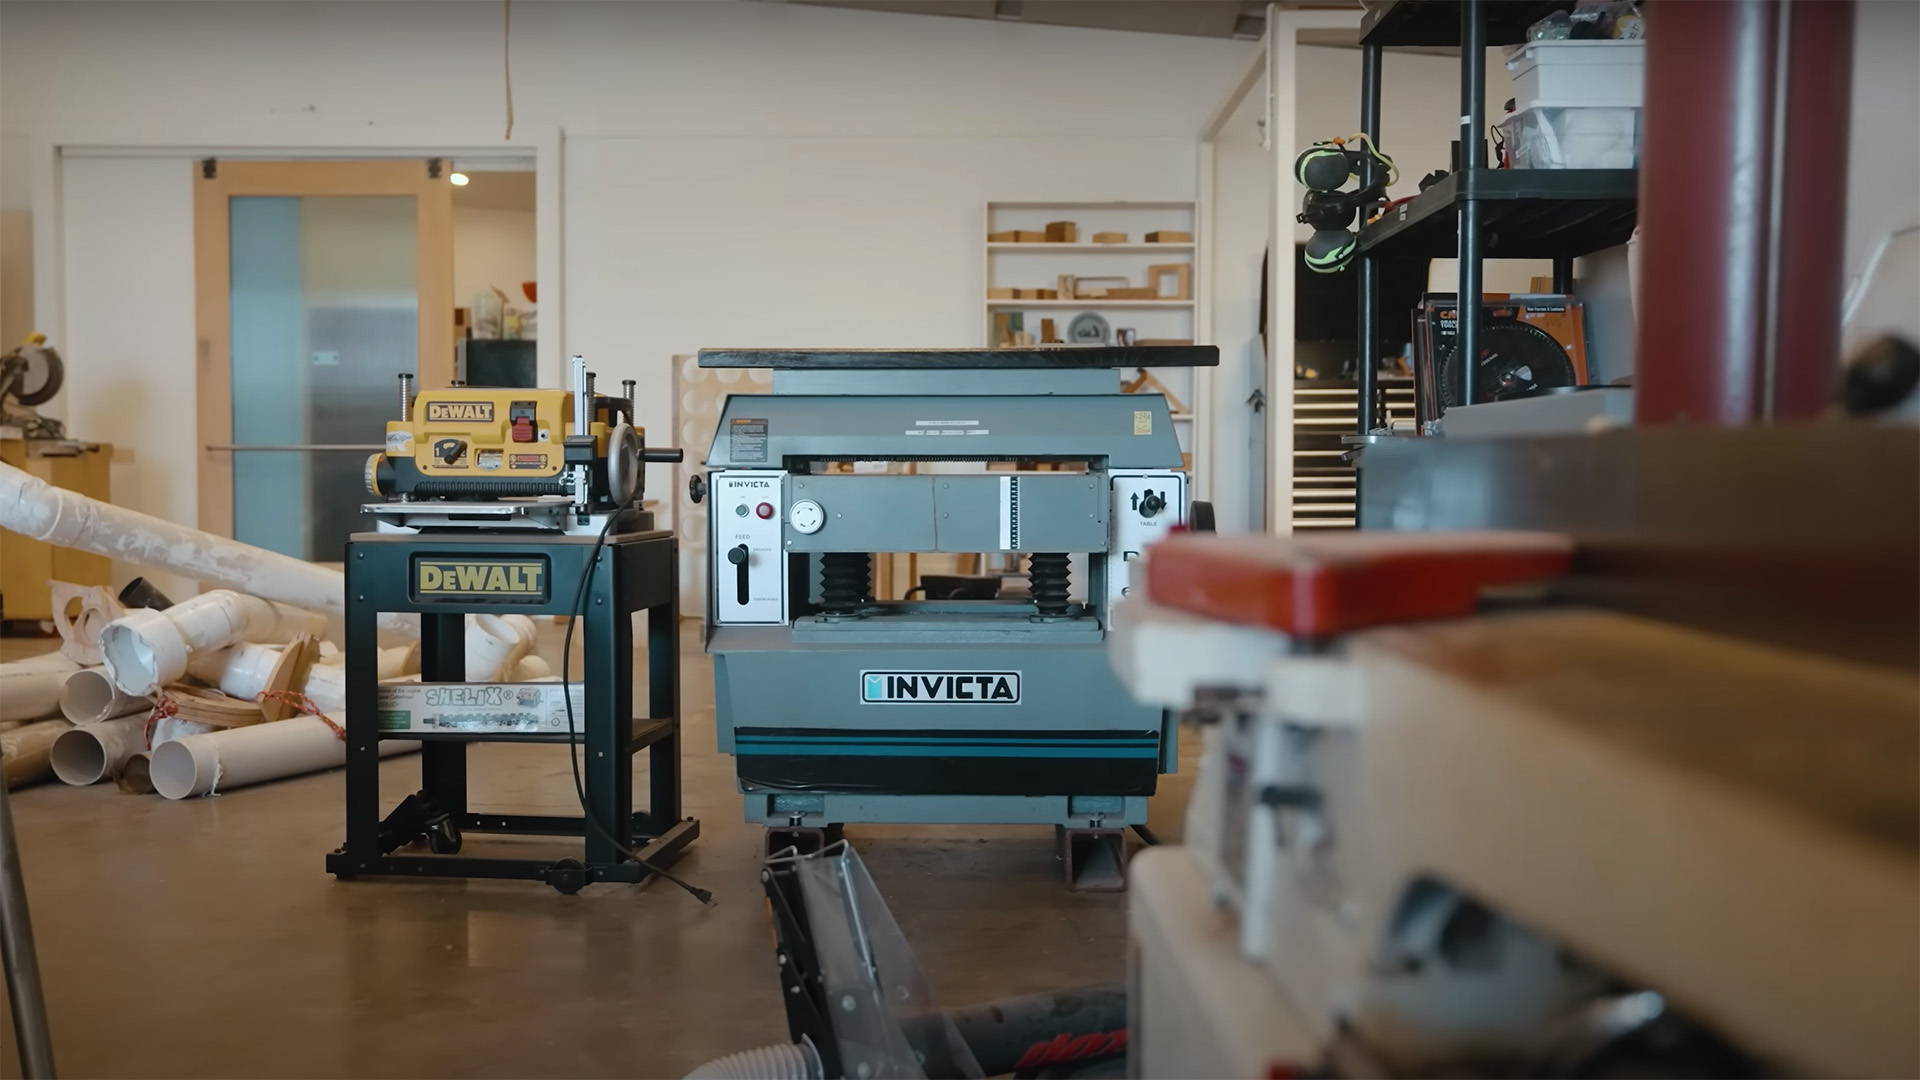
Now you can start running the new board through the planer with the jointed face down.
And with the marking gauge line, you can easily see when you’re approaching the final thickness.
Take smaller passes as you start to get close. Ideally, you should stop right when the marking gauge line disappears.
Do a final check with a pair of calipers to make sure everything’s up to snuff — and move on with your project!
Want to learn how to flatten boards with a hand plane? Read this.
Got another technique for getting boards to the same thickness? Let us know in the comments below!
Follow us on Instagram @katzmosestools, on TikTok @katzmoseswoodworking, and check out my YouTube channel for more great woodworking content...
And as always, STAY SAFE IN THE SHOP!


6 comments
Tim Baldwin
Hello,
I hope this message finds you well. My name is Tim Baldwin, Procurement Specialist at Thoroughtec. I’d like to share a document with you that contains detailed information regarding our inquiry. Could you kindly provide the best email address to send the file?
We’re interested in establishing a long-term relationship with your company, provided your quote aligns with our budget.
I look forward to your response. Feel free to contact me via email if you need any further information.
Thank you for your time and assistance.
Dennis Schulze
I made a simple stop gauge. When I plane lumber to the thickness I want, I use a coupler nut with a flat-head machine screw with a lock nut to make a hard stop. I don’t like to use any ruler or measuring tape; it’s too easy to make a mistake. I’ve been doing this for over 30 years, works great! Cheap too. I just got a digital height gauge, but I think this is easier to use.
I made a simple stop gauge. When I plane lumber to the thickness I want, I use a coupler nut with a flat-head machine screw with a lock nut to make a hard stop. I don’t like to use any ruler or measuring tape; it’s too easy to make a mistake. I’ve been doing this for over 30 years, works great! Cheap too. I just got a digital height gauge, but I think this is easier to use.
Craig Materick
A digital readout on your planer makes solving this issue pretty easy as well. It’s great for getting back to previous measurements quickly and accurately. I also always “park” my planer at the same height when I’m done and even put a label on the unit to remind myself. That way, if the battery needs to be replaced in the DRO or something else causes it to reset, I can just set it back to the thickness I know the planer is at before I start my adjustments and never have to recalibrate. :)
A digital readout on your planer makes solving this issue pretty easy as well. It’s great for getting back to previous measurements quickly and accurately. I also always “park” my planer at the same height when I’m done and even put a label on the unit to remind myself. That way, if the battery needs to be replaced in the DRO or something else causes it to reset, I can just set it back to the thickness I know the planer is at before I start my adjustments and never have to recalibrate. :)
Bob Hinden
Good article. Regarding:
“Do a final check with a pair of calipers to make sure everything’s up to snuff — and move on with your project!”
Better to check by laying down the two boards and running your finger across them to see if they are the same height.
Good article. Regarding:
“Do a final check with a pair of calipers to make sure everything’s up to snuff — and move on with your project!”
Better to check by laying down the two boards and running your finger across them to see if they are the same height.
Jeff Sims
In general, I’ve always read that you should take equal passes from both sides of the board, not just down to one line from one side…
In general, I’ve always read that you should take equal passes from both sides of the board, not just down to one line from one side…
Steve Jones
Shouldn’t you plane just to the line (as the Step 3 headline says)? The text says “when the marking gauge line disappears”. Setting the gauge the way you describe puts the line within the desired thickness. Planing until it disappears would make the stock too thin by the width of the line, No?
Shouldn’t you plane just to the line (as the Step 3 headline says)? The text says “when the marking gauge line disappears”. Setting the gauge the way you describe puts the line within the desired thickness. Planing until it disappears would make the stock too thin by the width of the line, No?