


This might be one of the most annoying mistakes in woodworking:
You’ve put a ton of work into a project and finally apply a layer of finish…
And suddenly, all these tiny swirly, curly-cue scratches appear. Grrrrr.
Called swirl marks or pigtails, these scratches are the scourge of random orbital power sanders.
Luckily, they’re easy to avoid — and even cover up — so keep reading to find out how.
STEP 1: PROGRESS THROUGH GRITS
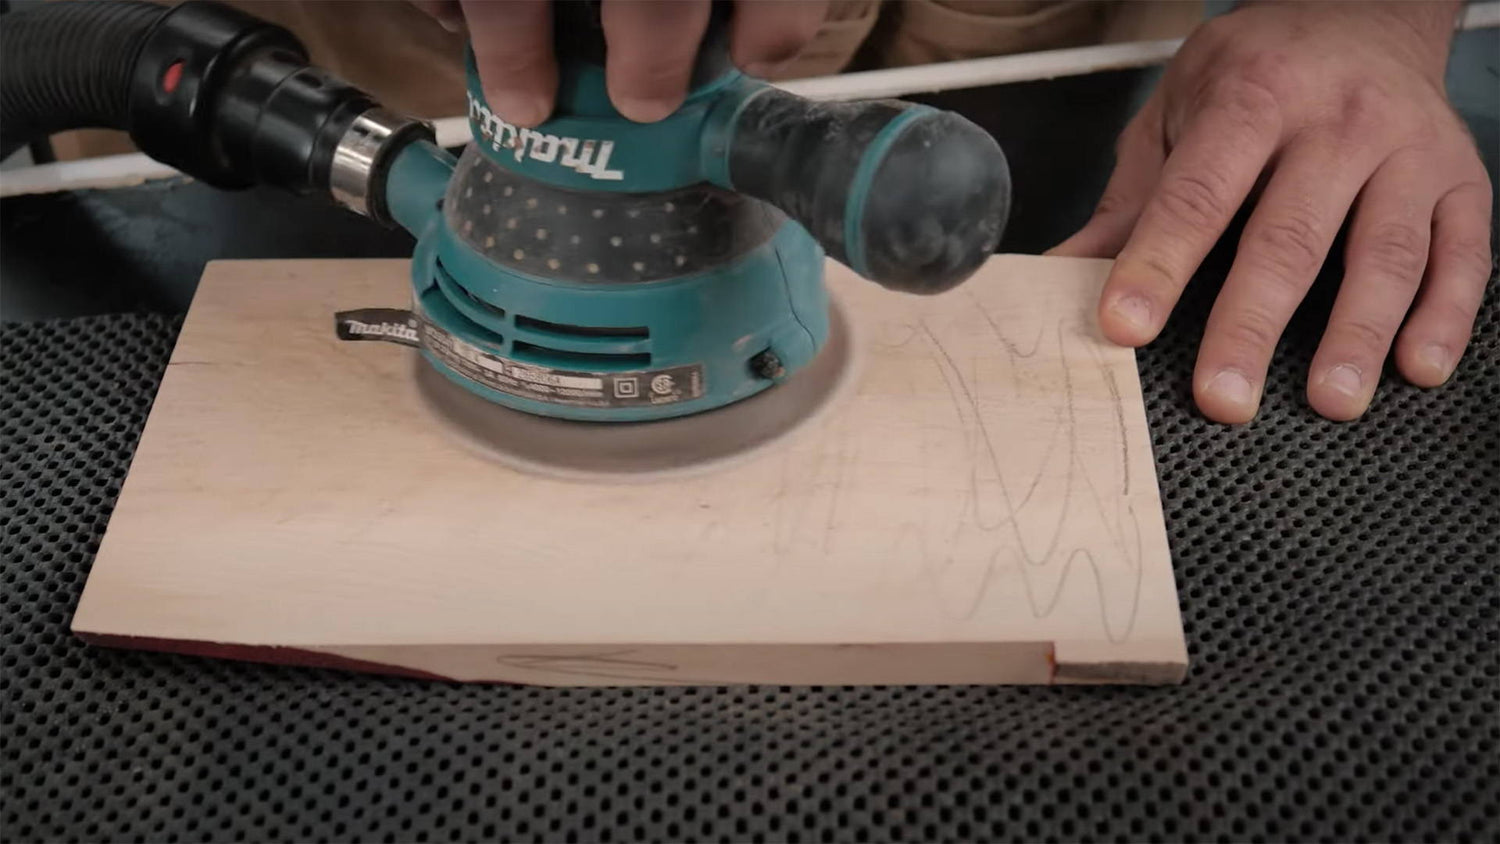
The best way to avoid swirl scratches from your sander is to progress through sandpaper grits.
Say you do a rough sanding with 80 grit sandpaper. It’s going to remove a lot of material — and as a result, leave deep scratches.
(The oscillating motion of random orbital sanders is what creates the pigtail shaped scratches).
If after that you went straight to 220 grit sandpaper, you’d have a hard time removing those scratches. The higher grit just isn’t going to cut deep enough. And it definitely won’t be fast.
That’s why you progress through grits. It removes the deeper scratches from the previous grit efficiently.
My typical order of grits is 120, 150, 180, 220… though I’ll sometimes even just do 150 then 220 grit.
And to know when to move from one grit to the next, use the pencil trick.
(Need sandpaper? Get the best sandpaper around right here).
But what about the swirl marks left by your 220 grit sandpaper?
Glad you asked, because that takes us to the next step.
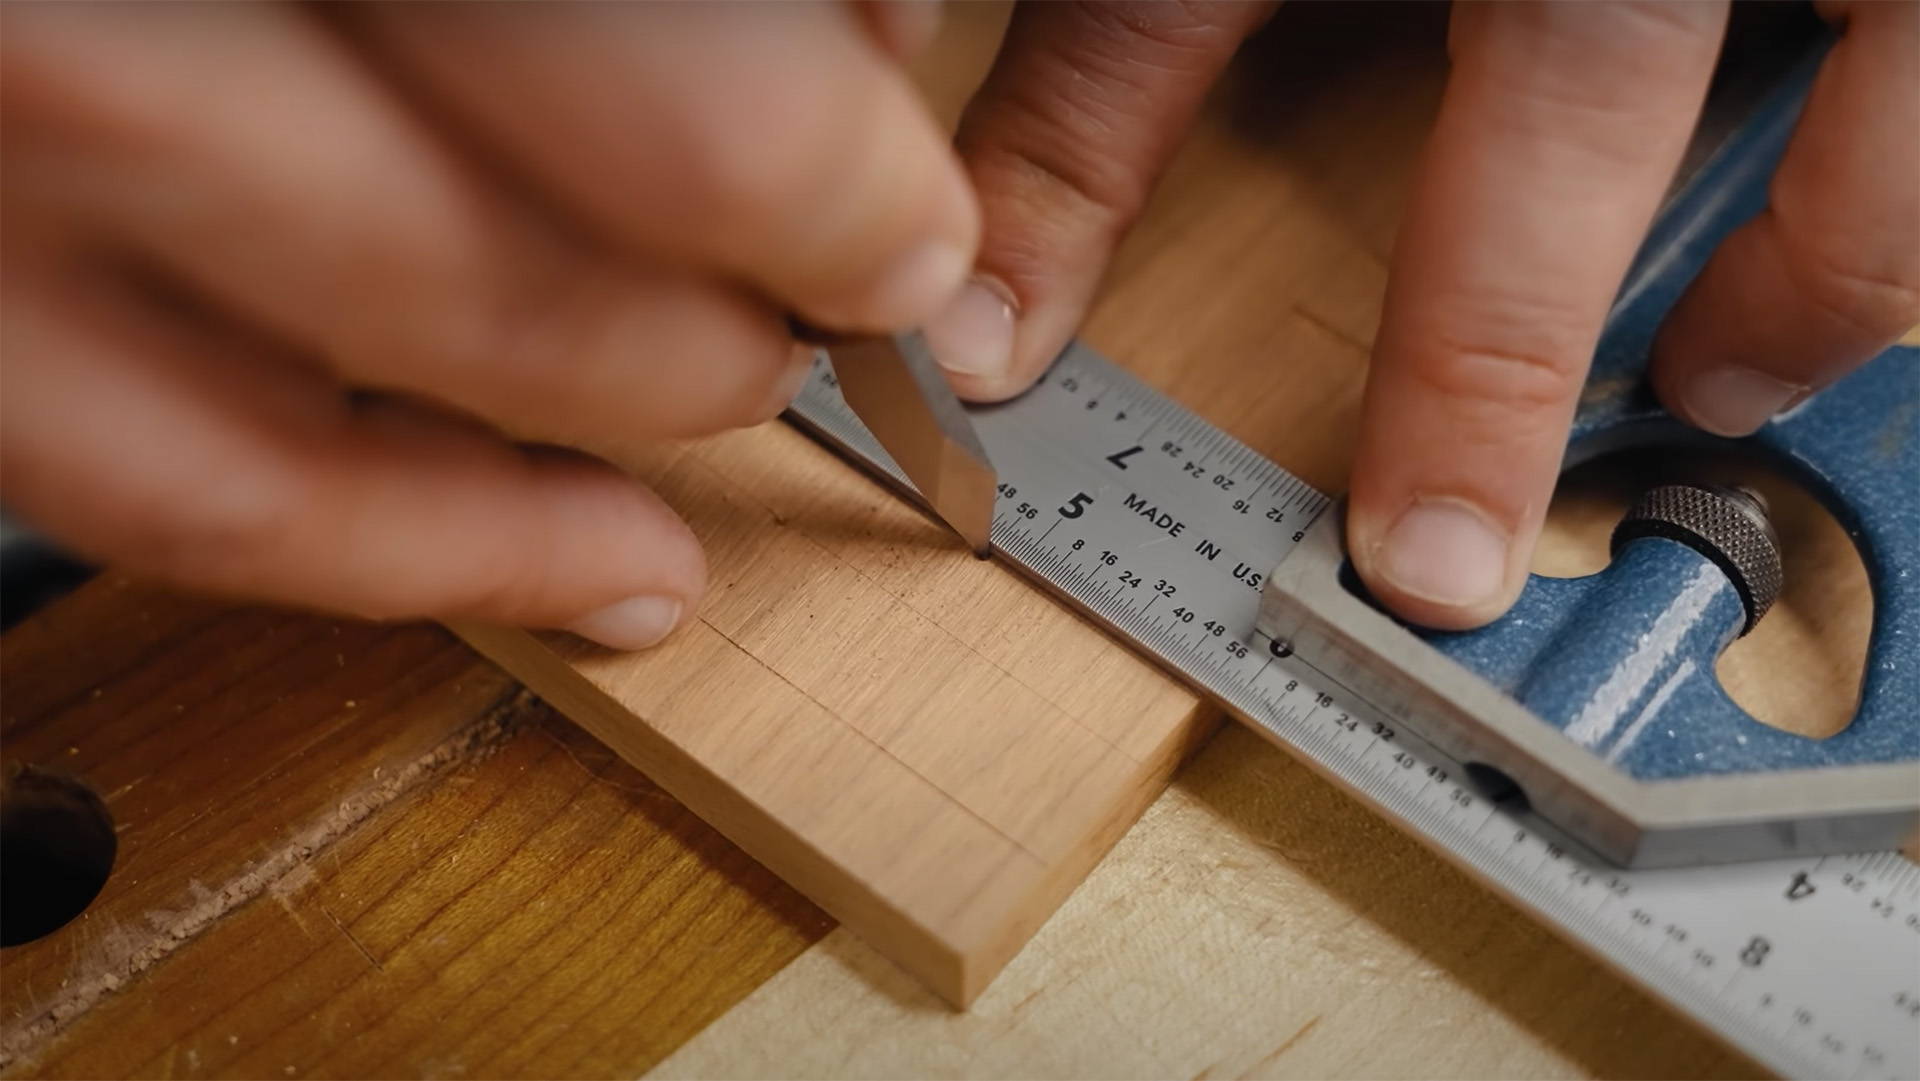
STEP 2: BLEND IN THE SCRATCHES
After I’ve sanded to 220 with my random orbital sander, I like to go analog.
That’s right. I slap a piece of 220 grit sandpaper on my hand sanding pad and give the whole project a quick once over.
But I don’t hand sand willy-nilly. I very intentionally sand with the grain of the boards.
When you hand sand WITH the grain, the scratches from the sandpaper blend into the board’s grain.
(Yes, even 220 grit leaves scratches).
Even though they're still there, the small scratches become invisible between the grain lines — and any curly-cue pigtails get blended away.
Try it for yourself. Hand sand one side of a board with the grain, and the other side across the grain.
You’ll be amazed what a difference it makes.
Want to become a sanding master? Read this.
What’s your method for dealing with swirl marks? Let us know in the comments below!
Follow us on Instagram @katzmosestools, on TikTok @katzmoseswoodworking, and check out my YouTube channel for more great woodworking content...
And as always, STAY SAFE IN THE SHOP!
12 comments
Phil
Hi, newbie here. I was told not to go above about 220 grit cause oil isn’t absorbed very well after that. Is that nonsense?
Cheers
Hi, newbie here. I was told not to go above about 220 grit cause oil isn’t absorbed very well after that. Is that nonsense?
Cheers
Rick
I don’t use orbital sanders anymore. I do it all by hand. I vacuum between grits. I go
all the way up to 1000 and finish with Oldies Oil. A great product check it out.
I don’t use orbital sanders anymore. I do it all by hand. I vacuum between grits. I go
all the way up to 1000 and finish with Oldies Oil. A great product check it out.
Gray Oak Wood Arts
Read your orbital sander instructions. You are supposed to start an orbital sander while it is in full contact with the wood surface. This technique is little known or mentioned anywhere.
Read your orbital sander instructions. You are supposed to start an orbital sander while it is in full contact with the wood surface. This technique is little known or mentioned anywhere.
Anonymous
Don’t forget to remove dust from the piece after each sanding. Small grains from the sandpaper can break off and get left behind on the surface and cause larger than intended scratches when sanding with the next finer grit. A quick shot with an air hose or wipe with a tack cloth will ensure that you are only sanding with the intended grit.
Don’t forget to remove dust from the piece after each sanding. Small grains from the sandpaper can break off and get left behind on the surface and cause larger than intended scratches when sanding with the next finer grit. A quick shot with an air hose or wipe with a tack cloth will ensure that you are only sanding with the intended grit.
Tracy Novak
One thing to add is when finished with sanding, go over the entire project with isopropyl alcohol. It will reveal any scratches you missed, particularly in corners or overhangs. This is an essential step before staining or final finish, as to go back would otherwise be a real pain.
One thing to add is when finished with sanding, go over the entire project with isopropyl alcohol. It will reveal any scratches you missed, particularly in corners or overhangs. This is an essential step before staining or final finish, as to go back would otherwise be a real pain.
Dave
Good article! I’ve done plenty of projects that left those annoying swirly cue marks. What I found to be the main culprit was that I didn’t ensure the sanding pad was free from clumps or small debris that caked up prior to sticking the next higher grit sandpaper onto the orbital sander. Secondly, I learned to vacuum off the dust from the project prior to sanding the next higher grit. This method left a nice smooth sand that was clear from any swirly cues.
Good article! I’ve done plenty of projects that left those annoying swirly cue marks. What I found to be the main culprit was that I didn’t ensure the sanding pad was free from clumps or small debris that caked up prior to sticking the next higher grit sandpaper onto the orbital sander. Secondly, I learned to vacuum off the dust from the project prior to sanding the next higher grit. This method left a nice smooth sand that was clear from any swirly cues.
Austin
I come from the autobody industry, 220 seemed relatively course to me. Typically, with a DA, I’ll go 80, 120 or 150 or 180, 220, all the way up to 800.
I come from the autobody industry, 220 seemed relatively course to me. Typically, with a DA, I’ll go 80, 120 or 150 or 180, 220, all the way up to 800.
Kevin
It isn’t just the orbital sander that leaves pigtails. It is the speed of movement up and down the project with the orbital sander that actually creates them. Everyone wants to get the sanding done as quickly as possible. If you just slow down (yes, I know, everyone hates to sand) the pigtails will diminish. The building of the project is the easy part of the project. The sanding is what makes it a great project.
Being mostly a bowl turner anymore I always will follow up each grit after initially sanding with the bowl turning and sand that grit with the grain. Let me tell ya, sanding a bowl made from extremely figured wood teaches you patience.
Donald Kern
I do wood sculpture and sometimes the contours prevent final sanding with the grain without risking the defined lines of the sculpture. The only answer is to follow your advice in increasing grit but I have to take it to 320, 400, or even 600 to get every last paper scratch out for a first rate sculpture. These super fine grits will polish out all the prior grit lines and reveal every subtlety of what wood sculptors have: the beauty of the growth rings to add to the sculpture.
I do wood sculpture and sometimes the contours prevent final sanding with the grain without risking the defined lines of the sculpture. The only answer is to follow your advice in increasing grit but I have to take it to 320, 400, or even 600 to get every last paper scratch out for a first rate sculpture. These super fine grits will polish out all the prior grit lines and reveal every subtlety of what wood sculptors have: the beauty of the growth rings to add to the sculpture.
Daniel
Thank you! I hate sanding, so I usually jump to a higher level and then hate what it looks like. I’ll start using this trick!
Thank you! I hate sanding, so I usually jump to a higher level and then hate what it looks like. I’ll start using this trick!
Rob Aronson
I’ve seen issues going up to 800 grit where the pores in some hardwoods becomes blocked with micro dust particles. That prevents stains from penetrating the wood. I think there was a recent article in fine woodworking magazine on the topic.
I’ve seen issues going up to 800 grit where the pores in some hardwoods becomes blocked with micro dust particles. That prevents stains from penetrating the wood. I think there was a recent article in fine woodworking magazine on the topic.
Ross
Why stop at 220 grit. I go much higher. Festool orbital on higher grit on fine random much less swirls. I agree final is manual linear sanding long the grain. I use wet n dry 800+ real smooth perfection
Why stop at 220 grit. I go much higher. Festool orbital on higher grit on fine random much less swirls. I agree final is manual linear sanding long the grain. I use wet n dry 800+ real smooth perfection