Routers are one of the most versatile woodworking tools. And that means there’s a lot to know.
Grooves, dados, rabbets, edge profiling, jointing, tattoo removal — the applications of a router are almost endless.
But if you want good results, sharp bits, and ten fingers, you need a good understanding of your tool.
To make it easy for you, I’ve put together my Top 8 Tips for how to use a router like a pro (plus a few tricks for success)…
So you can stay safe in the shop — and get perfectly clean cuts every time.
1. FEED THE RIGHT WAY
The #1 router safety tip: Always feed wood in the opposite direction the bit is spinning.
Think about it like a treadmill.
If you run in the same direction as a treadmill spins, you’ll go flying into a wall.
But if you run in the opposite direction, you have a good time (or at least a less bad time).
Router’s work the same way.
If the feed direction is the same as the bit’s rotation, your stock can shoot out, or you might lose control of your tool.
This is called climb cutting — and it’s a practice you should pretty much always avoid.
So, how do you know the right feed direction?
Here’s an easy way to remember:
THE RIGHT HAND TRICK
Take your right hand and make a thumbs up sign.
Your thumb represents the router bit and your fingers represent the direction it spins. If you’re using a router table, point your thumb up. For a handheld router, point it down.
Twist your arm so your curled fingers are facing the same way as the side of the bit that’s going to cut (I hope you’re flexible).
Whichever way your fingers are curling is the direction the router bit is spinning — and the opposite direction of how you should feed your stock through the blades.
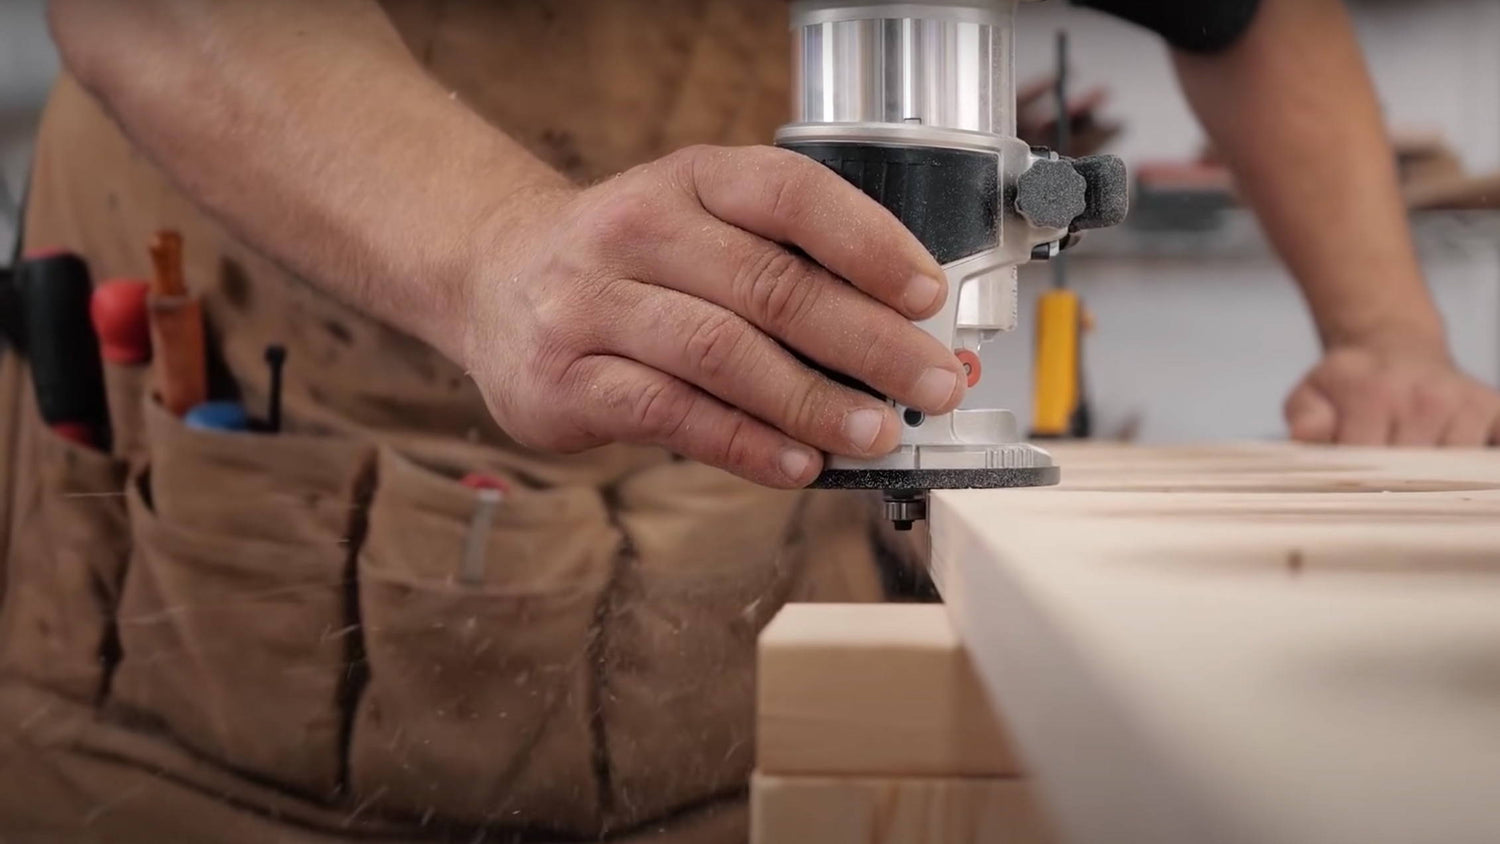
For handheld routers, always move from left to right on the edge of the board closest to you. That means you’ll make your pass counterclockwise around an entire board.
On a router table, run your board from right to left on the side of the bit closest to you.
2. TAKE MULTIPLE SMALL PASSES
One of the biggest mistakes people make with routers is taking off too much material at once.
Taking multiple small passes is not only safer — it’ll give you better results and increase the lifespan of your bits.
RULE OF THUMB: Don’t cut more than half the width of a bit’s shank in a single pass.
For bits with ½ inch shanks, the max you should cut is ¼ inch of material in a single pass.
For bits with ¼ inch shanks, the max is ⅛ inch.
Sure, there are exceptions. Compression bits need to be set deeper than the upcut portion for the first pass.
But in most situations, trying to hog out too much material causes a lot of problems:
- Heat buildup: Your bit has to work harder to cut more material — which increases heat and dulls the blades. Plus, it’ll leave nasty burn marks on your edges.
- Less accurate cuts: They might seem rigid, but router bits flex. Push them too hard and they’ll spring back to position at the end of your cut — taking out more material than you wanted. You’ll also get more chatter and tearout.
- Kickback: Taking too deep of a cut increases the chance of kickback. Not only will it ruin your workpiece — it can ruin your day in ways I won’t spell out.
You should take small passes for almost every type of router application. A few examples:
GROOVES AND MORTISES
Let’s say you want to route a ¾ inch deep groove.
Don't route the full depth in one pass. Take a first pass at a ¼ inch deep, a second pass at a ½ inch, and a final pass at the full ¾ inch depth.
See Tip 3 for an easy way to do this.
TEMPLATES AND FLUSH TRIMMING
Flush trimming edges to a reference is one of the most useful applications of a router.
But you shouldn’t rely solely on your router to cut a roughly dimensioned piece of lumber to a template.
Use your bandsaw or jigsaw to cut as close to your template lines as possible. Get within at least ¼ inch of your template — and closer if you can.
Then you can chuck on your flush trim bit and perfectly align those edges.
LARGE CHAMFER AND ROUNDOVER BITS
If you want a big roundover on a piece, don’t try to do it all at once.
Make multiple passes, gradually increasing how much of the bit is cutting with each pass.
DOVETAIL AND OTHER SHAPED BITS
With shaped bits like dovetail bits, there’s no way to take gradual passes.
But that doesn’t mean you should try and power through the cut all at once.
A great tip Sean Boyd gave me is to use your table saw or a straight router bit to first remove as much material as possible.
Then you can make a pass with the dovetail bit, which now only has to clean up the edges of your cut.
In the end, taking smaller passes will save you time and money.
You’ll spend less time cleaning tearout and burning — and you’ll extend the longevity of your bits and router.
3. USE PLUNGE BASE DEPTH STOPS CORRECTLY
Depth stops are one of the most underused and misunderstood features of plunge bases.
They consist of two parts: a rotating turret and an adjustable rod.
The height graduations on the turret are in ¼ inch intervals (⅛ inch on palm routers) — making it the perfect tool for taking the small bites mentioned above.
There’s two basic ways to use a depth stop.
DEPTH STOP STRATEGY 1
Let’s say you want to cut a ¾ inch deep mortise with your plunge router.
- Set the turret to the highest graduation.
- Push your plunge base down until the bit touches the top of the material and lock it in place.
- Drop the stop rod until it touches the turret and lock it in place. This is your zero stop.
- Now rotate the turret to the next lowest graduation, which is ¼ inch lower. Make your first pass at this depth.
- Rotate the turret again to the next lowest graduation and make another pass, then repeat for the lowest graduation.
You can use a square to make sure the depth of your final pass is exact — but using the turret graduations will get it to almost exactly ¾ inch deep.
DEPTH STOP STRATEGY 2
If you’re cutting to a depth that isn’t in ¼ inch intervals, try this.
- Lower the plunge base so the tip of your router is at your depth line.
- Set the turret to the lowest graduation, then lower the depth rod and lock it in place. This is the stop for your final depth.
- Raise your router and turn the turret to the highest graduation. Now you can take safe passes in ¼ inch intervals.
If you want custom stop heights, the adjustable screw on the turret is made just for that.
4. USE THE RIGHT FEEDS AND SPEEDS
Most routers have a dial (typically from 1-6) that adjusts the RPMs at which your bit spins.
The wider the bit, the faster the outside is moving. So the general rule of thumb is to use higher RPMs for smaller bits and lower RPMs for bigger bits.
The manual for your router will give you the exact RPMs for each value on the speed dial. (If you don’t keep your manuals in a dusty spider-infested box, you can find them online.)
Here are the general guidelines for router RPMs:
- Bits under 1 inch diameter: up to 24k RPMs
- Bits 1 – 1 ½ inches diameter: 18k RPMs
- Bits 2 – 2 ½ inches diameter: 16k RPMs
- Bits 3+ inches diameter: below 12k RPMs
If you’re getting burn marks, try setting your RPMs a step lower.
How quickly should you push the router through your stock?
The lower the RPMs, the slower your feed speed should be. But push as fast as the router allows without any resistance.
Sound is a good guide. The right feed speed will make a consistent buzz.
If your cut starts screeching, you’re going too fast. If you’re getting lots of burning, you might be pushing too slow.
Overtime, you’ll get a sense of what feels and sounds right.
5. AVOID TEAROUT ON END GRAIN EDGES
Tearout is the scourge of routing.
The first trick is taking small passes (noticing a theme here?).
But even then, you’ll likely get tearout on end grain edges.
Here’s two tips to help you avoid it.
- Route end grain edges first: You’ll probably get tearout. But follow up by routing your long grain edges, and you’ll clean that tearout right up.
- Use a backer board: Take a piece of scrap and hold it against your workpiece so their end grain edges line up. Make your pass first through your workpiece and continue into the scrap.
6. FIX YOUR EDGE GUIDE
There’s essentially two types of edge guides: the chintzy ones that sometimes come with routers, or the aftermarket models with all the bells and whistles.
Either one can be incredibly useful — but you need to fix one little issue that’ll dampen your success…
The gap in the middle.
This gap lets you move the fence past the bit in case you only want to cut with part of it.
But as you push an edge guide along a board, this gap can eat corners and make you inadvertently turn the router before you finish the cut.
It’s an easy fix on aftermarket edge guides. Loosen up the screws on both sides of the fence and move them together until they touch.
On the cheaper models, make an auxiliary fence with a piece of plywood screwed onto the front.
Now your edge guide will stay true to the edge for the entire cut — and you’ll avoid the sinking feeling of a wandering router.
7. USE THIS EASY GROOVE JIG
Some jigs are in-depth projects you’ll spend a day or more on.
Others are just two pieces of plywood glued and screwed together.
This jig is the latter — but it’s simplicity doesn’t take away from it’s brilliance (credit to Dustin Penner for the idea).
Here’s how to build it:
TWO-BOARD GROOVE JIG
- Take two pieces of plywood you know are square.
- Attach them at 90° with CA glue and accelerator. Use a good combo square to make it exact, then add a few screws for long term stability.
- Label the jig with the thickness of the bit you're using (say ¼ inch). Now run your router along the fence, cutting a groove in the bottom board.
That’s it. Seriously.
Set up your jig so the bottom piece is resting along the edge of your workpiece.
Wherever the groove is on the jig is where it’ll be on your workpiece. Adjust it to the position you want, and clamp everything down so it’s secure.
Now just run your router over your workpiece along the fence.
This jig is totally adaptable to any length of dado or groove. Just make sure the fence and bottom board are at exactly 90°.
You’ll need a different jig for different groove widths, but they’re a cinch to make.
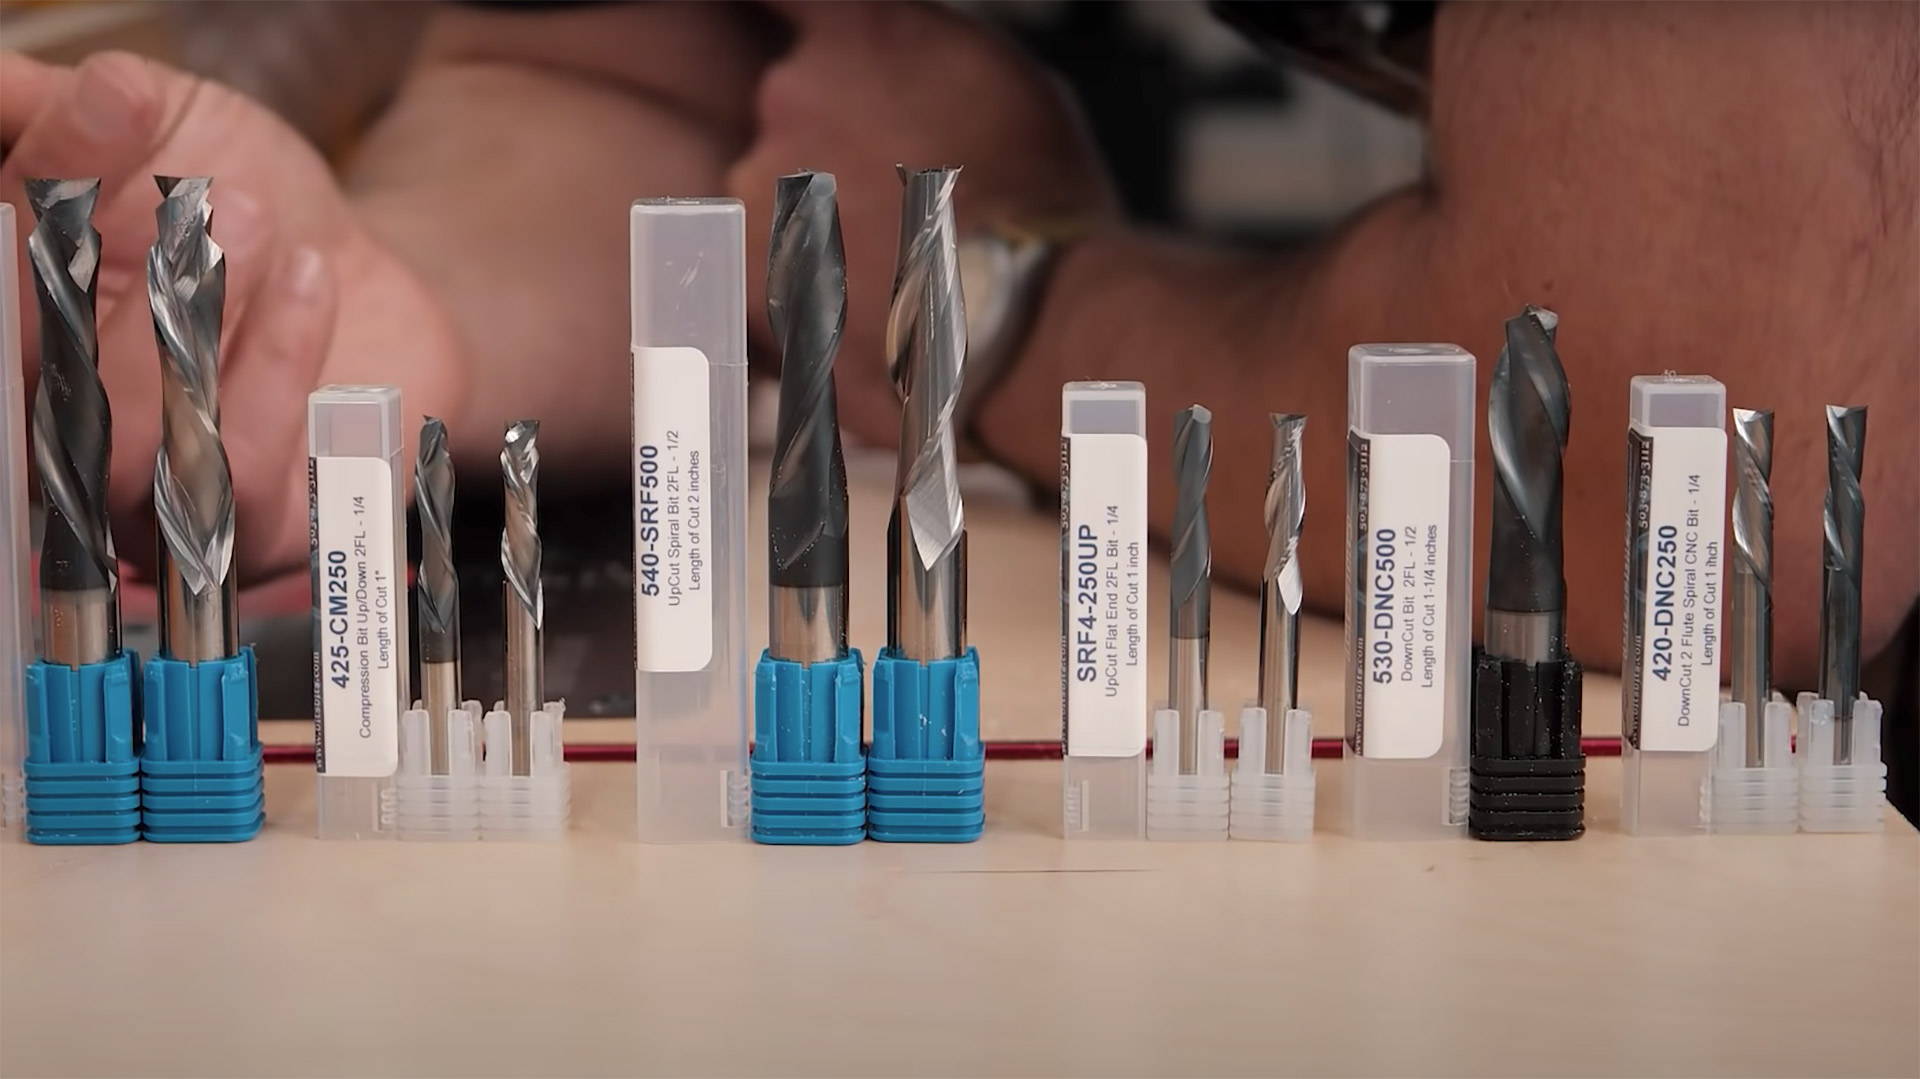
8. ONLY BUY THE BITS YOU NEED
When you get a router, it’s tempting to buy a massive kit with every bit you think you’ll ever need.
But overtime, you’ll find yourself reaching for the same 4 or 5 bits again and again — while the others collect dust.
Buying cheaper bits at first is a great way to find out which you need the most.
Once you’re a little more experienced, however, I recommend investing in high quality versions of your most-used bits.
High quality bits cost more upfront — but they save you money in the long run. They stay sharp longer, give you cleaner cuts, and just provide a better overall experience.
My favorites are the spiral bits from Bits&Bits. They come with a specialty coating that reduces heat, and produce spectacular results.
If you want to see a collection of my favorite bits, you can find them here.
THE WOODWORKING WORKHORSE
Having a deep understanding of how to use your router will open up a world of possibilities in your woodworking.
And using it properly will not only give you better results — it’ll keep you and your lovely hand-sausages safe.
Got any of your own router tips? Let us know in the comments below!
Be sure to follow us on Instagram @katzmosestools and check out my YouTube channel…
And as always, STAY SAFE IN THE SHOP!


11 comments
Perpustakaan Online
What are the top tips and tricks for using a router like a pro to ensure clean cuts, safety in the shop, and getting the most from this versatile tool? Regard Teknik Logistik
What are the top tips and tricks for using a router like a pro to ensure clean cuts, safety in the shop, and getting the most from this versatile tool? Regard Teknik Logistik
Norre
Browser games, played online through web browsers, offer a wide range of interactive entertainment, often without the need for downloads. https://joypygames.gitlab.io/
Browser games, played online through web browsers, offer a wide range of interactive entertainment, often without the need for downloads. https://joypygames.gitlab.io/
pixer
Online games connect players worldwide, offering diverse experiences from thrilling battles to collaborative adventures, uniting gamers in a virtual realm. https://pixgame.online
Online games connect players worldwide, offering diverse experiences from thrilling battles to collaborative adventures, uniting gamers in a virtual realm. https://pixgame.online
henry
Word games challenge vocabulary, creativity, and logic, offering hours of linguistic entertainment that sharpen minds and foster wordplay fun. https://wordpuzzle.website
Word games challenge vocabulary, creativity, and logic, offering hours of linguistic entertainment that sharpen minds and foster wordplay fun. https://wordpuzzle.website
Neck
Word games are linguistic puzzles that entertain and challenge our vocabulary, spelling, and language skills, fostering mental agility. https://findword.org
Word games are linguistic puzzles that entertain and challenge our vocabulary, spelling, and language skills, fostering mental agility. https://findword.org
jack
Welcome to Monkey Mart! An engaging virtual store simulation where you manage adorable monkeys, cater to quirky customers, and solve challenging puzzles for rewards. https://quillfulgames.com/monkey-mart
Welcome to Monkey Mart! An engaging virtual store simulation where you manage adorable monkeys, cater to quirky customers, and solve challenging puzzles for rewards. https://quillfulgames.com/monkey-mart
malish
Phrazle is an addictive word puzzle game that tests your vocabulary and challenges your mind with fun and engaging gameplay. https://phrazle.website
Phrazle is an addictive word puzzle game that tests your vocabulary and challenges your mind with fun and engaging gameplay. https://phrazle.website
Mike
I recently made a jig for my router, similar to your point 7, but got different results based on how the router was positioned.
The bit was off center vs the plastic ring under the router. Any tricks to get that ring centered?
I bought a plastic “centering bit” that went into the router, but that didn’t work…
Philip
When using a router (by hand), most of the weight is positioned off the edge of the board., This can leave you with little support when you are at the end of the board and a very unstable situation. There are a few things you can do.
a) add support in the form of another board on the opposite side of the router bit to the cut so the router is supported and there is no tilt
b) I also sometimes fit the tracksaw attachment (festool QF1400) which provides both a handle and a counterweight. If you don’t have that you could use an extension sub base.
Philip
Remember to use the round part of the router base.
Remember to use the round part of the router base.
William Hope
I take a Sharpie and draw an arrow on the top of my routers to remind me which way the bit spins.
I take a Sharpie and draw an arrow on the top of my routers to remind me which way the bit spins.