


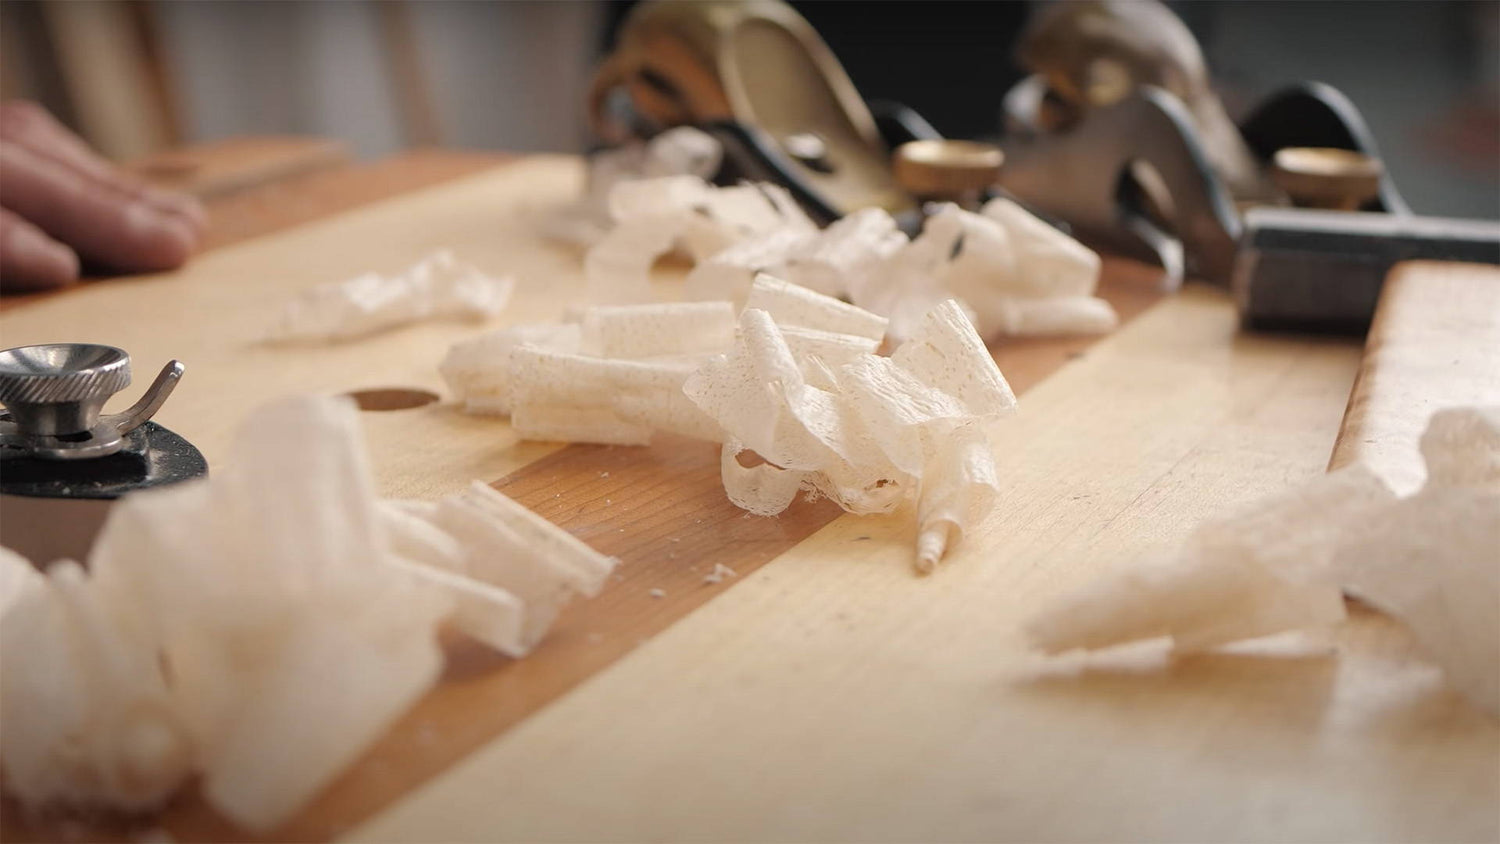
My block plane is my most used plane for good reason.
Need to take down proud joinery? Check. Trim down end grain? Checks in the mail. Break sharp edges into chamfers or roundovers? Check your six. Make sure mating panels are flush?
Czechoslovakia, my friend.
But to get shavings so thin they qualify as lingerie, your block plane needs to be properly tuned and set up.
It can seem a little daunting. But I promise it’s simple.
Whether you’re restoring a hand-me-down haunted by your great-grandpa’s ghost or a brand new top-shelf model…
I’m going to walk you through the whole process of tuning and setting up your block plane so you can get shavings so fine, you won’t even want to throw them away.
ANATOMY OF A BLOCK PLANE
There’s a lot of different styles of block planes, and not all versions have every feature listed below.
- PLANE IRON: This is the blade. Unlike bench planes, most block planes are used “bevel-up,” meaning the angled part of the blade is facing up.
- LEVER CAP: The lever cap is what secures the plane iron to the base, and works differently depending on the block plane you have. Some “snap” on, while others are tightened with a knob.
- BED: The angled part of a block plane body the plane iron rests on. On high or standard angle block planes, the bed is usually at 20°. On low angle block planes, the bed is usually at 12°
- DEPTH ADJUSTMENT KNOB: This knob advances and retracts the blade to control cutting depth. Turning to the right advances the blade, while turning to the left retracts it.
- LATERAL ADJUSTMENT LEVER: This changes depending on the blade, but it allows you to skew and align the blade so you can get it square to the sole.
- SOLE: The cast iron bottom of the block plane base. The front of the sole is often called the “toe” and the back the “heel.” Whoever named these things had a foot fetish.
- ADJUSTABLE THROAT PLATE: The throat is the opening in the sole that the plane iron fits through. Many modern block planes have an adjustable throat, and I recommend getting one with this feature.
HOW TO TUNE UP A BLOCK PLANE
CLEAN IT UP
If you’ve got an old rusty tool, scrub it with a mixture of distilled white vinegar and water to remove most of the rust. Here’s a video that goes deeper into getting rid of rust.
New planes often come covered in anti-rust grease. Douse a clean rag with mineral spirits and wipe all the parts down to remove any gunky stuff.
FLATTEN THE SOLE
This is the most important part of tuning a block plane.
Brand new high-quality models should already come flat. But it’s worth checking with an accurate straight edge to be sure.
No worries if it’s not. Flattening the sole is easy.
But first, a reminder:
DO NOT REMOVE THE BLADE FROM THE BLOCK PLANE WHEN FLATTENING THE SOLE.
Even though it’s almost imperceptible, block planes have a bit of flex when everything’s assembled and locked down.
If you flatten the sole without the blade inside, the sole won’t be flat when you put the blade back in and lock it down.
Here’s the process:
- Back up the plane iron so the blade can’t cut into anything. If your block plane has an adjustable throat plate, lock it down.
- Grab a waterstone, diamond stone, or lapping sandpaper on a flat surface in the 200-400 grit range.
I prefer the sandpaper because you have a larger surface area to make sure the sole is flattened evenly (here’s a video all about the sandpaper “scary sharp system” I also use for sole-flattening). - Set the sole of the block plane on the abrasive surface and start rubbing back and forth. Make sure the toe and heel of the plane stay on the surface the whole time so you don’t end up taking down one side more than the other.
- Periodically check for scratch patterns across the sole. Once there are scratch patterns across the entire surface, your sole is flat.
If it’s taking forever to get scratch patterns everywhere, use dry 150 grit sandpaper, then polish with 320.
Just go easy — you want to get it flat, but take off as little material as possible. If the very ends of the toe and heel won’t take scratches, it’s fine as long as the rest is flat.
You can polish further with higher grits, but it’s not necessary (unless you want to use your planes as a mirror).
Now, use a file to break the sharp edges.
Flattening the sole can make the edges pretty sharp. If you leave them, they can slice into your boards — or even your fingers.
Hold the plane with the sole up and drag a file across the edges. Move the file down away from the sole so no burrs end up cutting into wood later on.
A few light strokes should be enough (who said that?) — and don’t forget the toe (who said that?).
Now your block plane has a flat and clean sole — and we’re ready to move on to the blade.
If you’re not going to sharpen the blade, now’s the time to wipe everything down with a bit of 3-in-1 oil, then rub and buff the cast iron parts with paste wax.
SHARPEN THE BLADE
I’m not going to go through the sharpening process here (we’ll have a blog post on it soon), but here’s a video on how to sharpen a plane iron.
However, I am going to go into a little honing angle deep dive.
The angles at which you hone your block plane blade will have a big impact on its performance. Let’s break it down.
Standard bench planes are used bevel-down on 45° beds. They ALWAYS cut at 45° — no matter what angle you hone the blade to.
Block planes are used with the blade bevel-up — meaning different honing angles will create different angles of attack.
On top of that, the blade’s bevel angle gets compounded with the angle of the bed.
For example, say your blade is honed to 25° degrees (the manufacturing standard).
On a high angle block plane with a 20° bed, your cutting angle ends up actually being 45° (25° + 20° = 45°) — just like a standard bench plane.
But on a low angle block plane with a 12° bed, the angle of attack is 37° (25° + 12° = 37°).
So why does any of this matter? Because different cutting angles are better suited to different situations.
- Lower Angles: Better for end grain, not so good for highly figured wood with shifting grain direction
- Higher Angles: Good for figured wood, not so hot on end grain
My advice is to go with a low angle block plane. All around, I find them better suited to most situations. Plus, they’re easier to use one-handed.
I’d say stick to the standard 25°. You can add a 30° micro-bevel, but just know your final angle of attack will be 42°.
If you absolutely need a higher angle of attack, you can \ get a second plane iron and hone it to 38°. When it’s locked onto the bed, you’ll have a 50° cutting angle — and essentially, a high angle block plane.
Do people make a bigger deal out of honing angles than they should? I’d say so. Try out different angles and find what works best for you.
Once your blade’s honed, dry off any water then rub it down with oil and paste wax.
HOW TO SET UP A BLOCK PLANE FOR ULTRA THIN SHAVINGS
Your block plane’s tuned, shiny, and just begging to slice through some white oak end grain.
But before it does, you need to set it up for the cut. Here’s what to do.
ALIGN THE BLADE
Imagine a sunrise over an ocean horizon.
Does one side of the sun come up before the other? Heck no (unless you hung out with me in college).
Just like a rising sun, you want the cutting edge of the blade iron to “rise” evenly from the sole.
When the blade’s square to the sole, it’ll cut along the entire edge and not go deeper on one side or the other.
Loosen the adjustable throat (if your block plane has one) and open it all the way. Then lock down the lever cap partially so it’s snug but the plane iron still has play.
Flip the plane upside down so the sole is facing up and the heel is closest to you. Look down the length of the sole against a bright background.
Back the plane iron up all the way, then slowly move it forward.
You want to see the cutting edge of the plane iron rise evenly over the sole (not the adjustable throat piece — that’s not always square to the base).
If one side is rising before the other, move the lateral adjustment lever until they appear and disappear evenly as you raise and lower the blade.
Some older block planes don’t have lateral adjustment levers. You’ll need to lightly (LIGHTLY) tap the side of the plane iron with a metal mallet to align it.
Once the whole edge rises and sets evenly, lock down the lever cap.
Some modern block planes have a knob for tightening the lever cap. Twist it until it’s snug, but don’t crank down on it. You should be able to easily adjust the cutting depth while it’s locked down.
To be sure it’s right, you can make test cuts only using the edges of the blade to see if they talk off equally thin shavings.
SET THE CUTTING DEPTH
Now that your blade’s aligned, you can adjust the cutting depth.
Back the blade up so it won’t cut, then move it slightly forward. Now take a test pass. If it doesn’t cut, advance again by just a hair.
Repeat this process until you’re taking off thin shavings that are close to the full width of the blade.
How do you know your shavings are thin enough? You should be able to read this blog post through them.
If you’re cutting too deep, you’ll need to back the blade up then slightly advance it.
Retracting the blade and going for the cut will lead to backlash — where the blade gets pushed back even though everything’s locked down.
You always want your final adjustment to be advancing the blade so the adjustment knob is snug. No willy nilly knobs around here, folks.
ADJUST THE THROAT PLATE
This is the final step before you can start planing to your heart’s desire.
The correct position of the throat plate depends on the depth of cut you’re taking.
Set it so the gap between the blade and the throat plate is a nanometer wider than the size of the shavings you’re taking.
No need to get out your calipers — just move it so there’s a thin gap of light showing through.
The throat plate helps hold down wood fibers ahead of the blade and keep them from tearing out. If this gap is too big, you’re more likely to get tearout.
Once it seems right, lock the throat plate down.
It’s go time baby.
A FEW TIPS FOR HOW TO USE YOUR BLOCK PLANE
We’ll put out a blog post soon all about how to properly use a block plane (plus its many uses).
But in the meantime, here’s a few tips to help you get started.
PAY ATTENTION TO GRAIN DIRECTION
If you’re getting tearout in a straight-grained board, there’s a good chance you’re cutting against the grain.
Look at the edge perpendicular to the side you’re cutting.
You should run your plane in the same direction the grain is laying. Otherwise, the fibers can get hooked in the blade and tearout.
I like to call it the “petting the cat principle.” Pet a cat in the direction its fur lies and everyone’s happy. Pet it the other way, and you’re going to need a band-aid.
CUT AT AN ANGLE
If you’re struggling to get the blade through some tough end grain, stop trying to push the plane head on.
You can often get better results by skewing the position of the block plane and taking a shearing cut.
By skewing your angle of attack, you actually reduce the cutting angle which should make it easier to push through the cut.
It sounds crazy, but give it a try and you’ll see.
USE YOUR FINGERS FOR EVEN CHAMFERS
One of the best uses for block planes is breaking edges and cutting chamfers.
But for an even chamfer, you need to be consistent about how you position the plane — which is tricky with one hand.
Try holding the plane with a hand on either side and your fingers resting on the two adjacent edges.
Adjust the positioning until the plane is at the right angle, then make the cut.
Don’t adjust how you're holding the plane and make successive passes with your fingers as a gauge for the angle.
Obviously, make sure the edges you’re gliding your fingers along are smooth. You don’t want to turn into Edward Splinterhands.
GET YOUR BLOCK PLANE DIALED
A dialed in block plane is one of the most satisfying tools to use.
And it’s easy to achieve by following the steps above.
Taking perfect one-handed shavings makes you feel like the Sundance Kid — and nothing feels better than the buttery smooth surfaces a block plane creates.
Need to sharpen your plane iron? Check out the 2-in-1 Chisel and Plane Iron Sharpening Jig we carry in our store.
It makes honing your block plane blade simple and reliable — so you can get sharpening done quickly and move on to making those sweet seductive shavings.
Plus, the honing guide comes with included plans for a sharpening set up block to speed up the process even more.
Got any of your own tips for tuning and setting up a block plane? Share them in the comments below!
Follow us on Instagram @katzmosestools, on TikTok @katzmoseswoodworking, and check out my YouTube channel for more great woodworking content...
And as always, STAY SAFE IN THE SHOP!


2 comments
Kevin Harvey
The metal ruler trick was invented by the late John Charlesworth.
Good instruction.
Regards
Kevin Harvey
The metal ruler trick was invented by the late John Charlesworth.
Good instruction.
Regards
Kevin Harvey
Kevin Harvey
The metal ruler trick was invented by the late John Charlesworth.
Good instruction.
Regards
Kevin Harvey
The metal ruler trick was invented by the late John Charlesworth.
Good instruction.
Regards
Kevin Harvey