


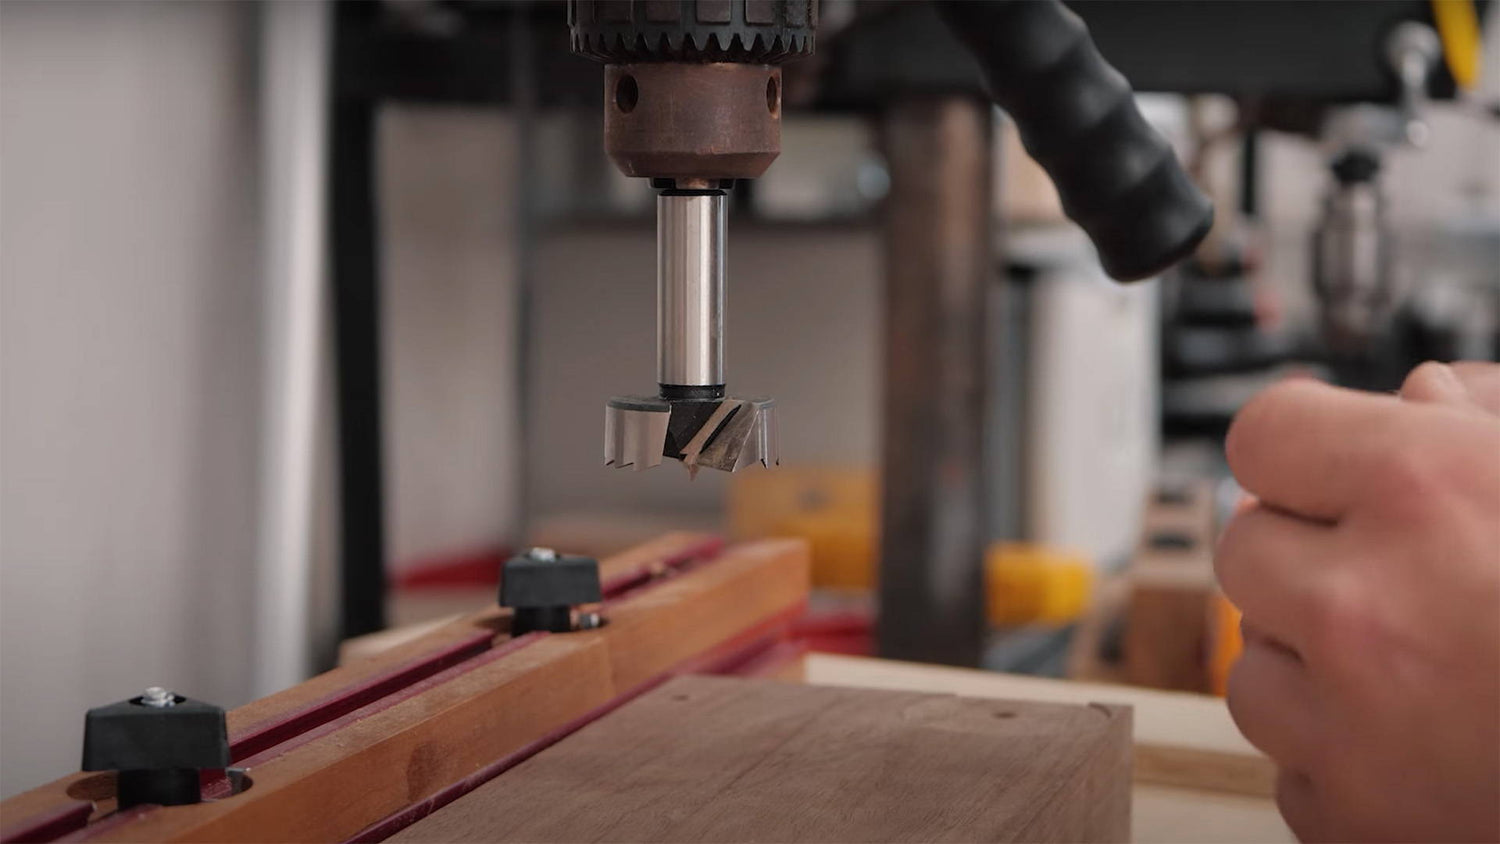
Thought forstner bits were boring? Think again (even though, technically, they are boring…sorry, I’m dadding hard).
They’re probably my favorite kind of drill bit. Used correctly, they cut holes with super clean edges and flat bottoms — something you won’t get with brad point bits.
But what’s great about forstner bits is they can be used in so many ways.
From embedding inlays to hogging out material, you might be surprised to learn all the applications these simple tools have in the shop.
So without further ado, here’s 7 ways to use forstner bits — that may have never occurred to you.
(And if you're in need of quality forstner bits, check out our collection).
1. PLUGS FOR HIDING SCREWS
For some of us joinery focused woodworkers, building a sturdy piece of furniture without screws can be a point of pride.
But sometimes, screws really are the best solution.
Heck, even Sam Maloof used screws in his endlessly emulated rocking chairs (Don’t believe me? Check out his autobiography “Sam Maloof: Woodworker”).
And besides. With a forstner bit and wooden plugs, you can practically make screws disappear — or add a decorative element to your piece.
Start by pre-drilling a hole for the screw. Then grab a forstner bit that’s slightly larger than the screw heads and matches the size of your plugs.
Set the spur of the forstner bit (the sharp pointy bit in the middle) in the pre-drilled hole so it’s centered, and drill a shallow countersink — ¼ or ½ inch should do.
Now drill in your screw.
Spread a little glue on the inside of the hole, then pound in a dowel or plug of the same size.
For the most seamless look, use a face grain plug that’s the same species of wood as your project. It’s super easy with a plug cutter.
If you’re really precise about it, you can try to match the gain lines in the plug to your project.
You could also use plugs of a different wood species to add some contrasting details.
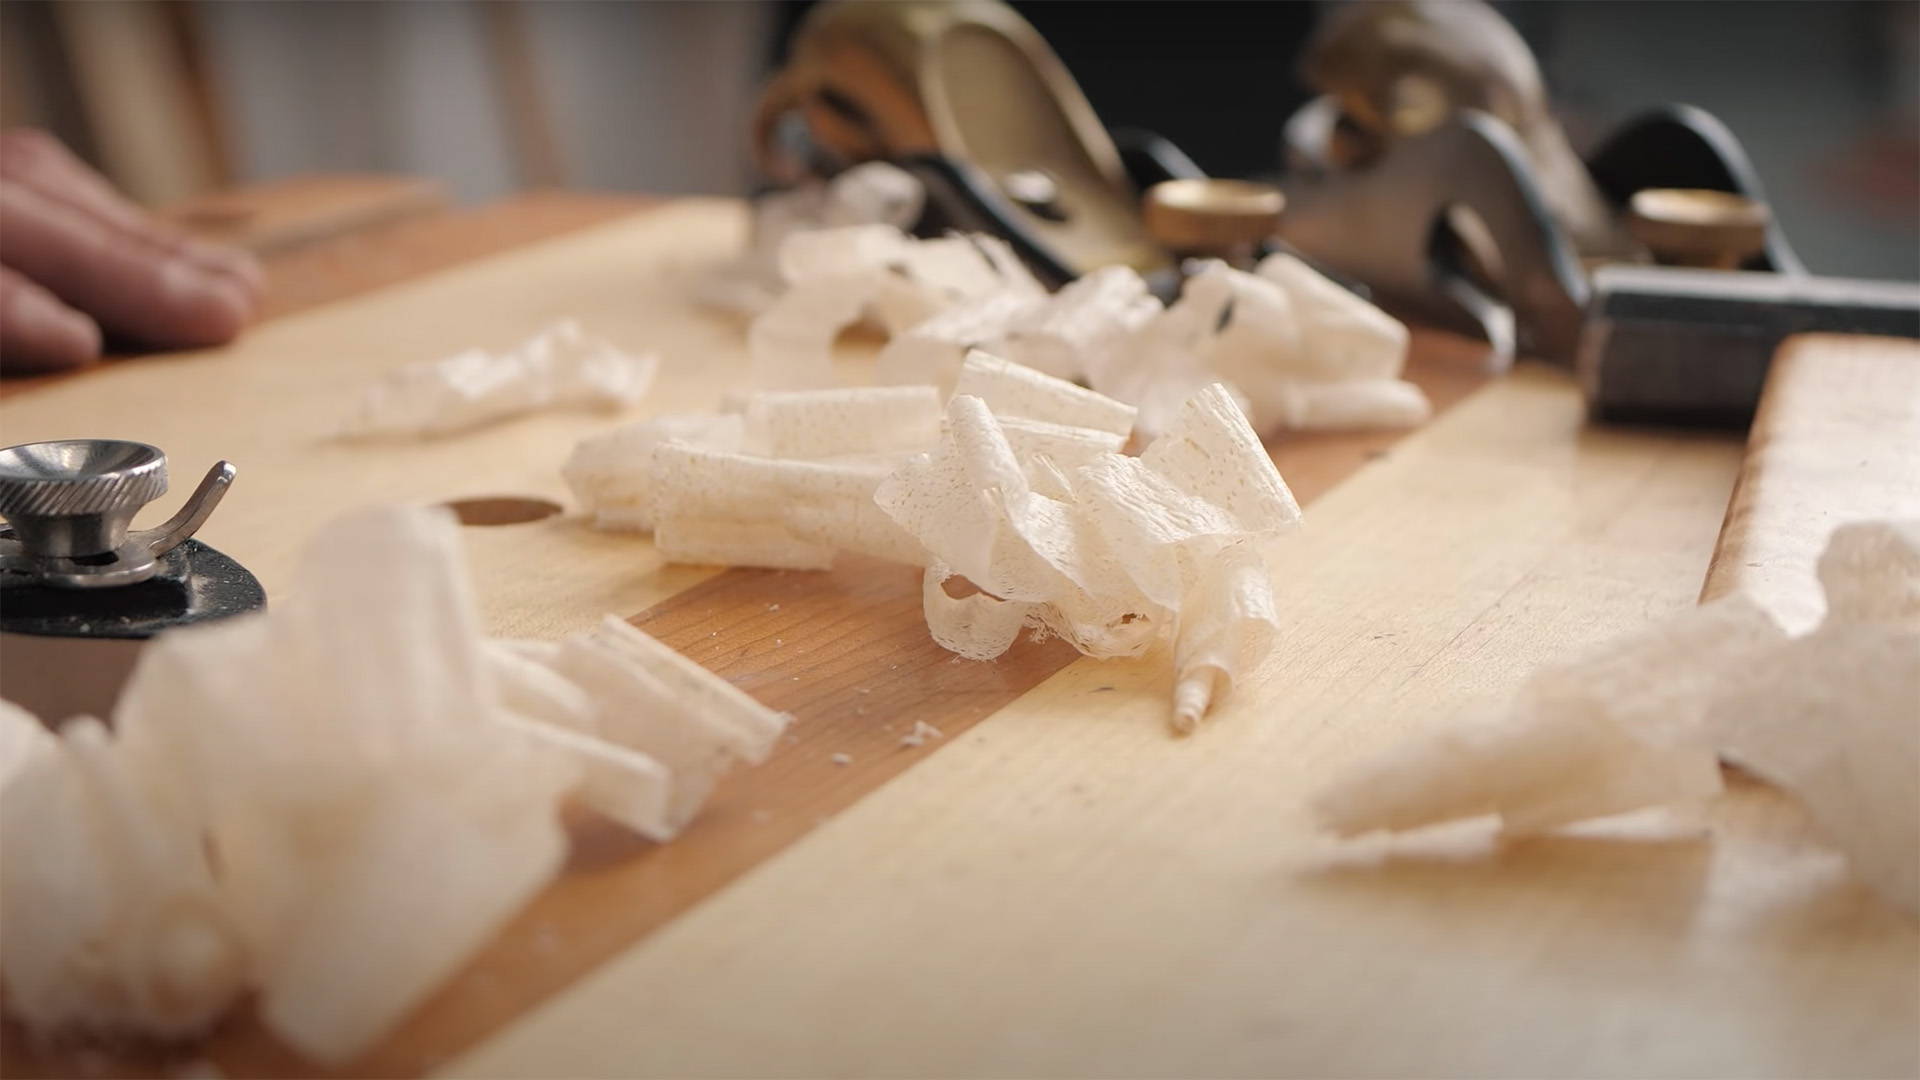
Once it’s set in, trim it flush with a block plane or chisel. Now you’ve got the mechanical strength of screws without interrupting the flow of your project.
2. ALIGNING PANEL GLUE UPS
Getting panel glue ups to dry flat can be a pain in the butt.
It helps if you insert pieces of wood between the edges to keep the tops aligned — and can even pull boards that aren’t flat into alignment.
A lot of people do this with biscuit jointers or dominos. But you can achieve the exact same results with dowels and your forstner bits.
Here’s how to do it:
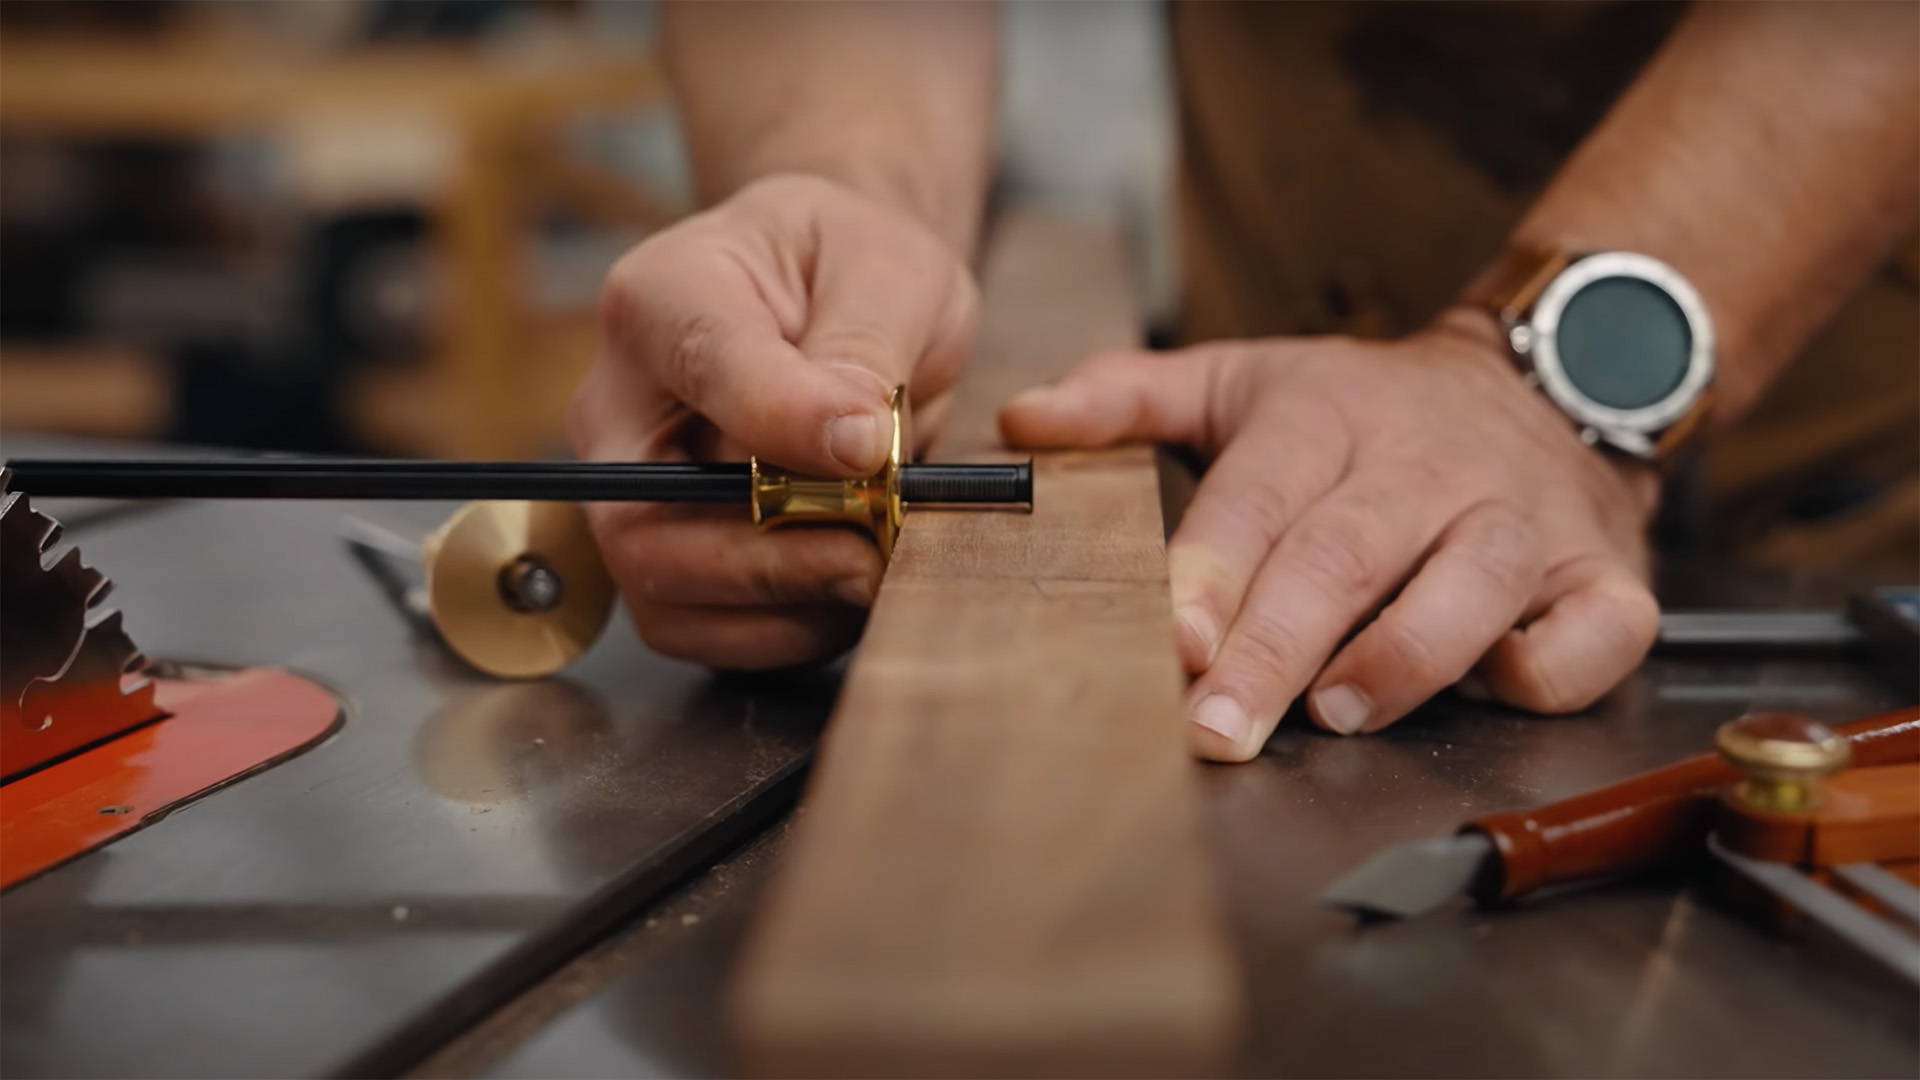
- Lay out the panels side by side in the way you want them arranged. Use a marking knife to mark a point along the edges where they meet. Label the tops with pencil.
- Mark a line from that point across the mating edges of the boards. Set your marking knife blade in the line, slide your square against it, then score a line.
- Set up a fence on your drill press so when you drill the hole, it sits roughly in the middle of the edge. It doesn’t need to be exact — just consistent (which the fence takes care of).
- Set each board with the top against the fence. Adjust the position until the spur of the forstner bit is exactly on the lines you marked, then drill a hole. You might have to make a larger fence to keep wider boards steady.
- Once the holes are drilled, add a little glue and connect the boards with dowels.
The amount of holes you drill will depend on the length of your boards. But 2-3 should do — one towards each end and one in the center.
Note: This method can be tricky to get exact. If things aren’t lining up, try shaving down the dowels to give them a little play.
And to make sure you’re doing everything right, check out these tips for using clamps correctly.
3. CLEARING WASTE FOR JOINERY
This is one of my top uses for forstner bits.
If you need to clear a bunch of waste out of a mortise or half-blind dovetails, forstner bits make quick work of it.
Make sure to choose a bit that’s small enough to fit inside your lines, but big enough to hog out lots of material at once.
For rectangular mortises, use a marking knife to mark a line down the middle of the mortise. Then make multiple cuts with a forstner bit, always keeping the spur centered on that line.
And for half-blind dovetails, make sure you set your drill press’s depth stop to the right depth.
You’ll still have to clean up the joint with a chisel — but using forstner bits to clear a majority of the waste will save you a ton of time.
4. INLAYING MAGNETS IN WOOD
Neodymium magnets are the tool you didn’t know you needed around the shop.
And with the right size forstner bit, you can inlay them flush in any piece of wood.
Put a couple in the side of your workbench for on-the-fly tool storage. Or inlay them in boxes and furniture to create magnetic lids and drawers.
If you purchase the neodymium magnets we carry, you’ll want to use a ⅜ inch forstner bit for a nice friction fit.
You can also add CA glue or epoxy to really fasten them in place.
Read this to learn more creative uses for magnets in the shop.
5. CUTTING CONCAVE CURVES
When I built the back jaw and legs for my moxon vise mini-workbench, I added feet that extended out so I could clamp them to other surfaces.
But I didn’t want there to be sharp 90° corners that made the whole thing look boxy.
Forstner bits to the rescue.
I used a large diameter bit to cut a hole that would become a concave curve.
All you need to do is mark where the two edges will come together, then set your forstner bit so it’ll cut on the waste side of both edges.
Drill a hole all the way through, taking steps to avoid tearout.
Trim off the edges on the table saw, do a little clean up with a chisel or sandpaper, and you’ve got a flawless concave curve.
NO TEAROUT TIP:
When drilling through holes with a forstner bit, you’re liable to get tearout on the exit side.
Here’s how to avoid it:
- Set the depth stop on your drill press so only the tip of the forstner bits spur will make it all the way through the board. Drill your hole to this depth.
- Flip the board over and you’ll see the hole from the spur. Use this hole to center your forstner bit and make a second pass.
You’ll now have a perfectly symmetrical hole with clean edges on both sides.
6. CUTTING BOARDS TO FIT ROUND LEGS
A while back, I built a couple planter stands for my home (still standing, btw).
I made the legs round to give it a more organic look — but that presented a problem.
I didn’t want the rails actually holding the pot to have rectangular ends that just butted into the dowel. So instead, I used a forstner bit.
For a tight fit, you’ll need a bit that matches the diameter of your dowel legs.
Set the dowel so it’s centered on the board you're cutting and trace around it with a pencil.
Take the board to the drill press and line up the edges of the bit with the outline you traced, making sure it’s centered. A center punch is super useful for making sure you're right on the money.
Cut a hole all the way through.
If you do it right, the end of the board will wrap seamlessly around the dowel leg.
To add extra strength, use loose tenon joinery. Cut the mortises in both pieces while they’re still rectangular, making sure to cut them deeper to account for the material you’ll lose once they’re shaped.
7. HOLLOWING WOOD
If you’ve ever wanted to make a wooden cup — but don’t want to buy a lathe — you can just use a forstner bit.
Find the center of the block you’re cutting, and drill away.
Just be warned: The spur will leave a small hole at the bottom of the cut. But you’ll only ever notice it if you’re picking flies out of the last sip of wine.
I’ve even seen people hollow out multiple recesses with forstner bits to add more buoyancy to wooden surfboards.
After drilling multiple hollows, you lay down a board over the top and now have a sturdy flotation device.
BORING DOESN’T HAVE TO BE BORING
The best woodworkers can find a million uses for their tools that never even occur to most people.
And forstner bits are a great example of how some creativity can amplify the uses of a seemingly one-trick-pony.
If you need some quality forstner bits, we sell CMT Forstner Bits in a 16 piece set, a 4 piece set, as well as individual bits from ¼” to 2 ⅛”.
Got any of your own little known uses for forstner bits? Share them in the comments below!
Follow us on Instagram @katzmosestools, on TikTok @katzmoseswoodworking, and check out my YouTube channel for more great woodworking content...
And as always, STAY SAFE IN THE SHOP!
10 comments
Susan
First – I am not a woodworker, so sorry for this very basic question.
It looks like on your recommendations are for use with a drill press. Can a forstner bit be used with a hand drill?
First – I am not a woodworker, so sorry for this very basic question.
It looks like on your recommendations are for use with a drill press. Can a forstner bit be used with a hand drill?
Mark
I bought these bits a while back at your recommendation and they are great!
I bought these bits a while back at your recommendation and they are great!
Terry T
Excellent blog, as usual. Thank you.
Drilling Curved Holes with a Forstner
I have never tried this, but might if I ever find a use for it. I saw a video where the demonstrator drilled a curved hole into a board with a forster bit and a hand drill. He (or she) was able to change the direction from horizontal to almost vertical, before the bit’s shaft got in the way.
What do you think, KM?
Harry De Leon
Can you recommend hole cutters that go up to 4”? The ones I have warble and don’t stay sharp.
Can you recommend hole cutters that go up to 4”? The ones I have warble and don’t stay sharp.
Blake
As somebody getting back into woodworking after many years I so appreciate this blog. Keep them coming, please, but try to get some sleep too! You have GOT to be a very busy man.
As somebody getting back into woodworking after many years I so appreciate this blog. Keep them coming, please, but try to get some sleep too! You have GOT to be a very busy man.
Kristin
Wow, I LOVE this article. I have learned a lot from it. Lots of great ideas. Thank you so much. I can’t even decide which idea is the most applicable to my woodworking.
Wow, I LOVE this article. I have learned a lot from it. Lots of great ideas. Thank you so much. I can’t even decide which idea is the most applicable to my woodworking.
Anonymous
In “Aligning Panel Glue Ups” I would recommend a step 4-1/2: dry fit the dowels and check the alignment at the top.
In “Aligning Panel Glue Ups” I would recommend a step 4-1/2: dry fit the dowels and check the alignment at the top.
Danial
Great work again where do you find the time…how’s the moving in going I know the trick 😉 you just don’t sleep. Play safe be well all the best Danial Sloane ve3tvb@gmail.com
Great work again where do you find the time…how’s the moving in going I know the trick 😉 you just don’t sleep. Play safe be well all the best Danial Sloane ve3tvb@gmail.com
Danny
“Boring doesn’t have to be boring”.
Well done sir. . . well done.
“Boring doesn’t have to be boring”.
Well done sir. . . well done.
kevin
When using large forstner bit I drill a pilot hole a little smaller than the spur on the bit especially on end grain. It can take a lot of force to push a large spur through hard wood.
When using large forstner bit I drill a pilot hole a little smaller than the spur on the bit especially on end grain. It can take a lot of force to push a large spur through hard wood.