


Shooting boards can cut so square, you’ll have to buy your boards pocket protectors.
If you own a hand plane, this is a must-have jig — but it isn’t just for hand tool diehards.
Shooting boards help you cut to your marking line with absolute precision, whether it’s a crosscut, miter, or any other angle.
They’re a great addition to your shop even if you already have a crosscut sled for the table saw.
When I’m trying to dial an inside piece to a perfect fit, this is my go-to jig — especially for smaller projects.
I’m going to show you how to build a simple shooting board you can knock out in a single afternoon — and use to improve your woodworking accuracy for years to come.
WHAT IS A SHOOTING BOARD?
Shooting boards are used in woodworking to accurately shave down boards to a marking line with a hand plane.
They have a reference edge that guides the plane in a straight light through the workpiece, producing an accurate, repeatable cut.
Depending on the fence, they can be used for 90° crosscuts, 45° miters and other angles, and even edge jointing (I never use them for jointing myself — but it can be done).
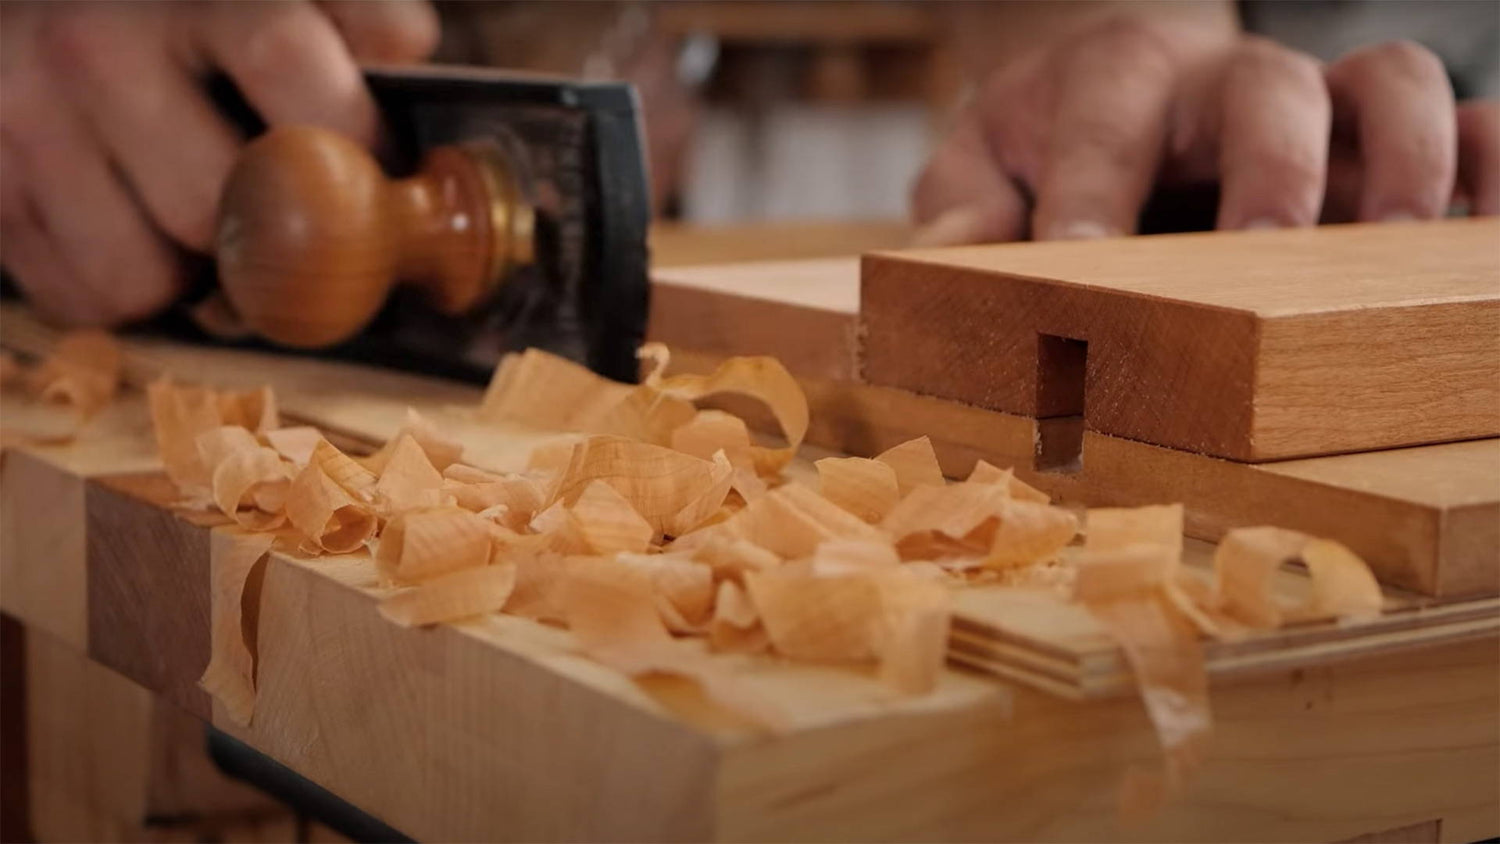
Most shooting boards consist of five parts:
- Upper Base: This provides a flat surface for your workpiece to lie on and a reference edge for the sole of your hand plane to ride along
- Lower Base: Attached to the bottom of the upper base, this board supports your hand plane
- Key: A strip of material imbedded in the base for the fence to “lock” around
- Fence: A board that locks onto the key and serves as the reference face for your workpiece (also works as a backer board to reduce tearout)
- Bench hook: A piece of wood attached to the bottom front of your shooting board for hooking over your workbench or locking into a vise
HOW TO BUILD A SHOOTING BOARD
This simple design is reliable, versatile, and can be built in an afternoon (assuming you’ve foregone all other responsibilities in life).
MATERIALS
- ½ inch plywood or MDF for upper base: As long as it’s flat, it’ll work. I use ½ inch thick material because it leaves more of the hand plane iron exposed. The thicker the base, the less of the blade you’ll be able to use
- ⅛ – ¼ inch plywood or MDF for lower base: Again, just needs to be flat. Any thickness works.
- Hardwood for key and fence: Use a good dense wood for this. Cherry, walnut, and maple are all good options.
- Wood glue and CA glue
- Screws: Optional, but save you from waiting for glue to dry (since we all got into woodworking because we like things done fast)
STEP 1: CUT THE UPPER AND LOWER BASE
The dimensions of the upper base depend on your needs.
Since shooting boards are usually used for crosscuts, the width isn’t as important. But make sure it’s long enough to accommodate the width of boards you typically use.
I cut mine to about 12x16 inches.
Cut the lower base to the same length as the upper base, but a few inches wider to accommodate your hand plane while it’s on its side.
STEP 2: MILL YOUR FENCE
The fence should be as long as the width of your upper base — 12 inches in our example.
The width doesn’t really matter, but make it wide enough to be stable.
Make it at least as thick as the thickest material you’ll use on the shooting board to fully support your workpieces and reduce tearout.
STEP 3: CUT GROOVES IN THE UPPER BASE AND FENCE
Cut a groove through the top of the upper base at 90° to the reference edge. This needs to be square.
If you have a one-sided crosscut sled, you can place the reference edge against the fence and cut the groove with a dado stack.
If you plan on using a router with an edge guide, make sure the reference and back edge (furthest from user) are perfectly square.
Cut the groove about 6 inches or so from the back of the base. The depth isn’t critical — about half the thickness of your material should do.
Now use the same dado setup or router bit to cut a groove through the bottom of the fence.
Right down the middle is fine, and halfway through is plenty deep.
Cut the groove exactly parallel to the reference edge of your fence. This is what ensures your hand plane will cut at 90° when it comes time to use it.
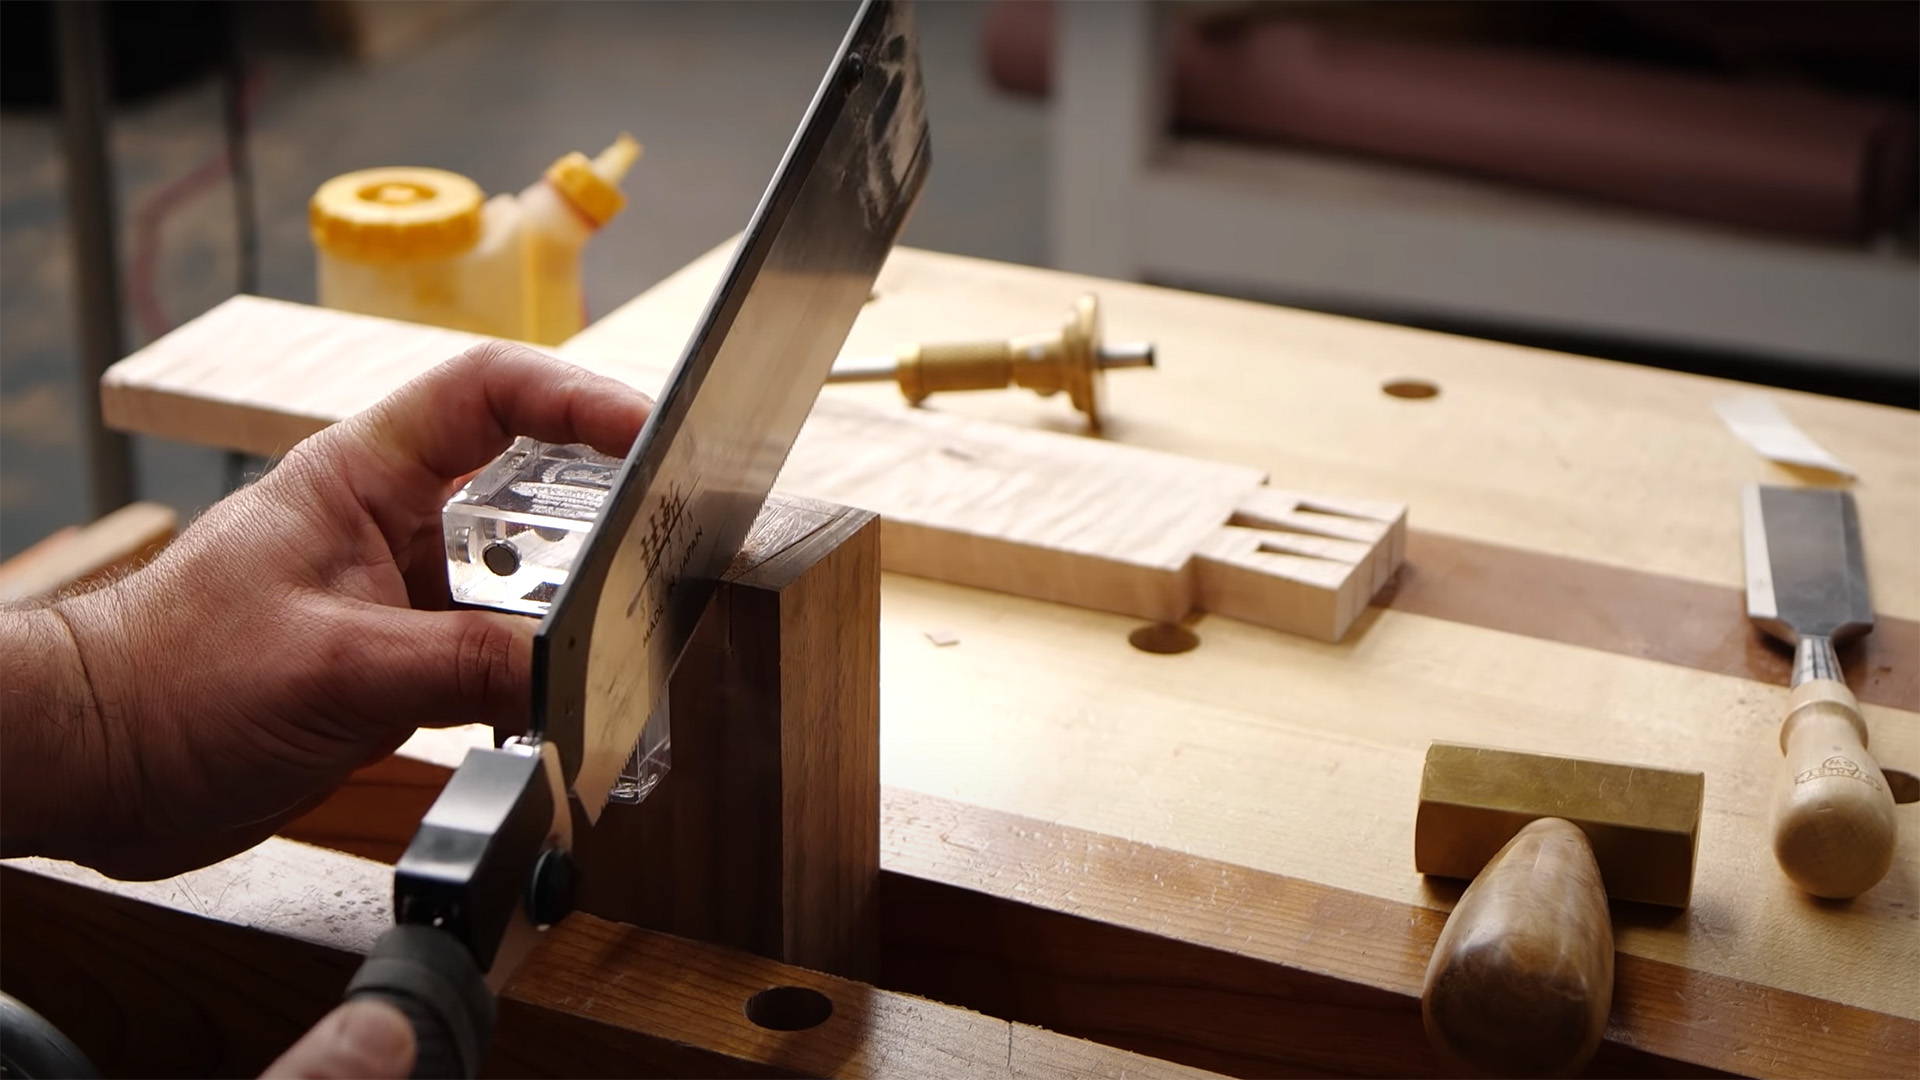
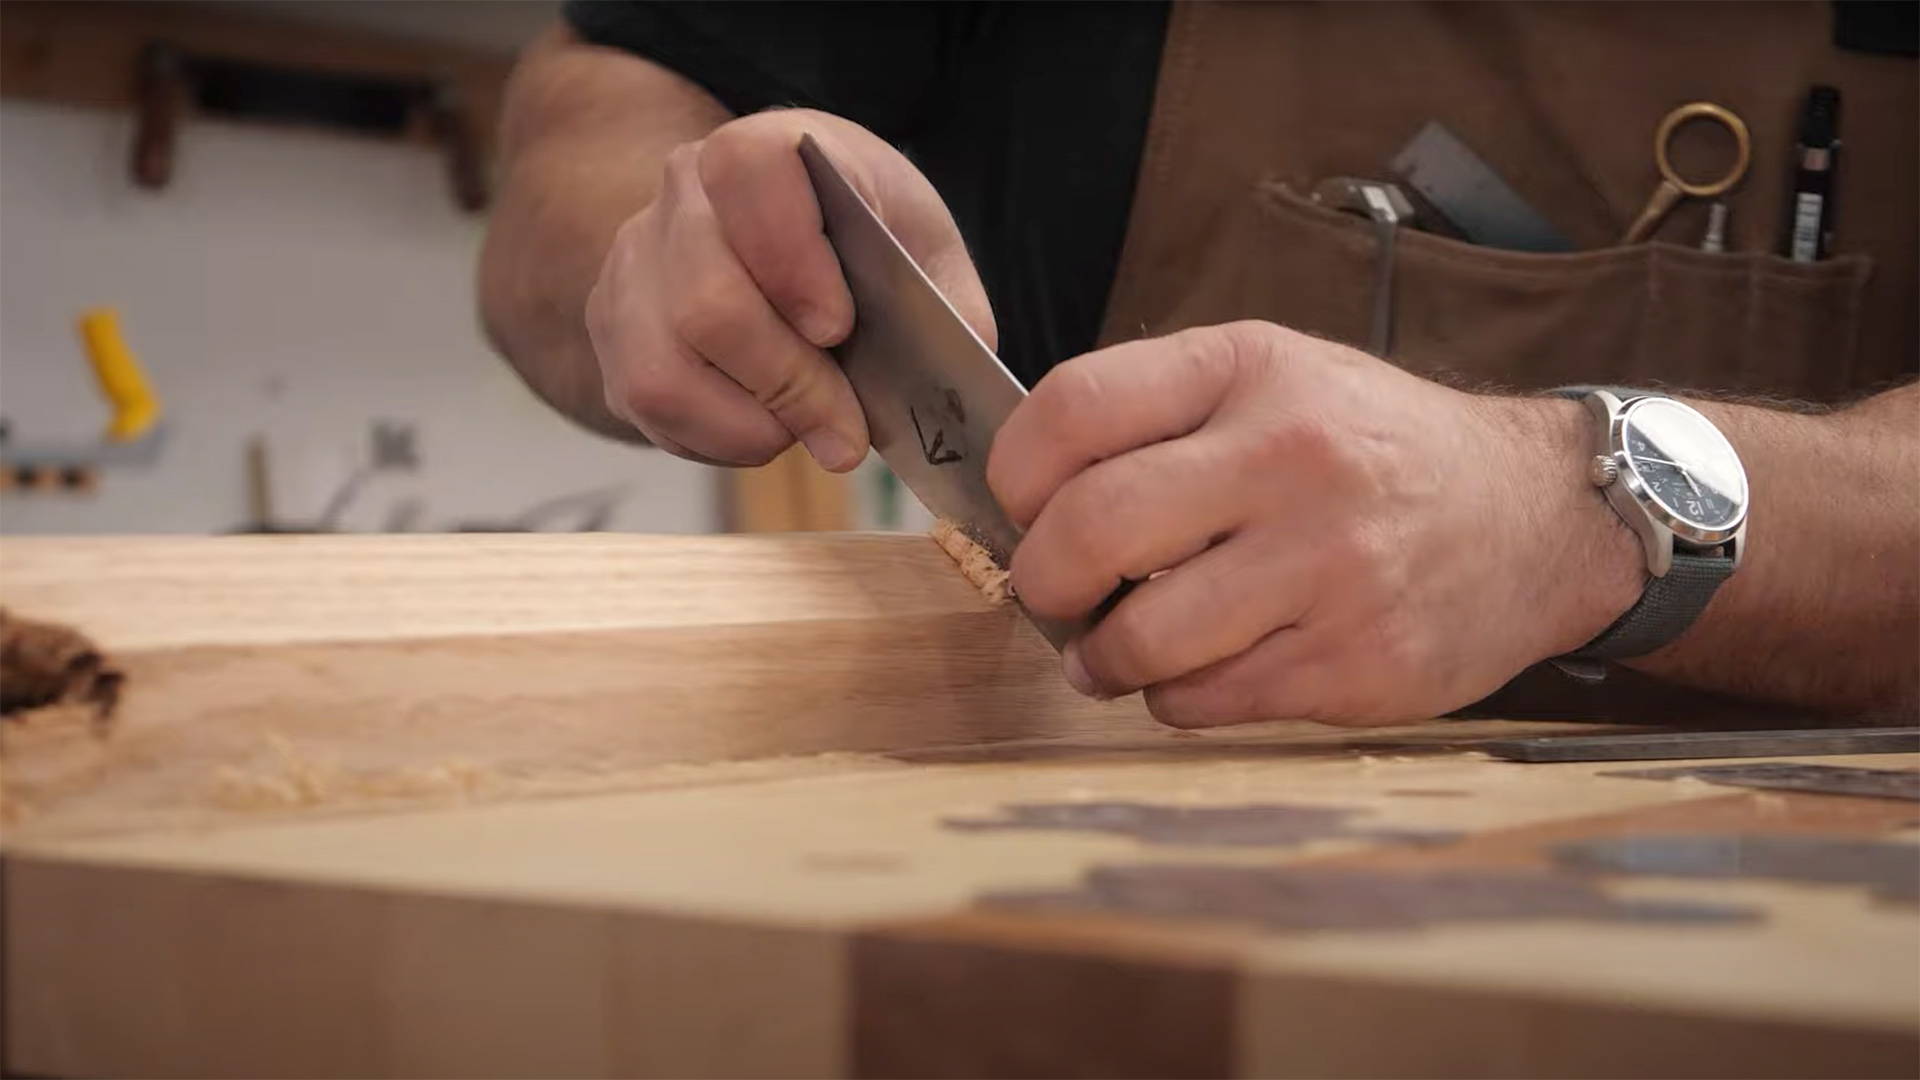
STEP 4: CUT THE KEY
The key needs an airtight fit in the grooves. It should take a light tap with a mallet to set it in.
Measure the exact width of your grooves with a pair of calipers, then use a planer to dial in a piece of hardwood to that measurement — even a hair wider.
For the height, make it slightly less than the sum of the depths for your two grooves (so if the base groove is ¼ inch deep and the fence groove is 1 inch, make the key just under 1 ¼ inch tall).
That way, your fence has plenty to hang onto but sits flat on the base.
STEP 5: GLUE AND ASSEMBLE THE PIECES
Start by gluing the key into the upper base groove.
It’s best to avoid squeeze out. I put just a few drops of wood glue and CA glue in the bottom of the groove, then use a mallet to fully set the key.
Now attach the upper and lower bases together. Glue and screws do the job here. Just make sure no screws stab through the top.
The two bases don’t need to be square — but make sure they stay flat.
If you’re right-handed, let the lower base extend past the upper base on the right-hand side. Do the opposite if you're left-handed. Ambidextrous? Learn to throw a baseball.
Finally, add a bench hook to the bottom user-side of the shooting board. It doesn’t need to be very big, just big enough (ahem). Glue and screws make quick work of it.
DON’T GLUE ON THE FENCE. This needs to be removable so you can re-square it down the line — and make other fences with custom angles.
TIP:
Use a block plane to chamfer the top edges of the key.
This makes it a lot easier to set the fence groove over it, then lock it in place with a light tap.
STEP 6: FINISHING
To make your shooting board last for years, slather it down with some Katz-Moses goo (a.k.a. cutting board conditioner).
The beeswax in this finish also keeps your hand plane sliding smoothly for low effort cuts.
WHAT HAND PLANE TO USE ON A SHOOTING BOARD
On a shooting board, you’re typically cutting end grain — which is super hard and has a tendency to tear out.
The most important thing is that your plane irons are as sharp as possible.
If your blade’s sharp enough, you can get away with any style hand plane.
That said, I like to use low-angle planes since they work a little better with end grain.
Block planes can work — but a longer, heftier plane gives you more stability and inertia for carrying it through the cut. Not to mention a wider blade lets you work with thicker stock.
Work with what you have, but keep that iron SHARP.
HOW TO USE A SHOOTING BOARD
Using this jig is pretty straight-forward — but there’s a couple tricks to know.
Set your shooting board on a flat surface where it won’t rock. For extra stability, lock the bench hook into a vise.
Place your hand plane into position, with the side on the lower base and the sole against the reference edge.
Then rest your stock against the fence and slide it until it touches the toe of your hand plane (the front section of the sole).
Hold your workpiece steady with one hand, then use the other to slide your plane back and forth.
Put pressure on both the workpiece and plane, but just a little more on the plane (down into the lower base and sideways against the reference edge).
You’ll have to play around a bit with the blade depth. Ideally, you want full length shavings — but don’t want it to be difficult to push the plane through.
Repeat this process until you get right down to your marking line, then check with a combination square. If you see no gaps of light, you’re good to go.
TEAROUT TIP:
The fence on a shooting board does a pretty good job of mitigating tearout.
But if you’re still having problems, here’s a tip from Rob Cosman.
Extend your marking line onto the side of the workpiece resting against the fence. Then use your hand plane to make a small chamfer from that line to the end grain edge you’re cutting.
That little chamfer will let you get right down to your line with no risk of tearout (as long as you don’t go past it).
SHOOTING BOARD TROUBLESHOOTING
Everything always seems to go right on YouTube woodworking videos (if only we could edit real life).
But if your shooting board isn’t cutting square, here’s a few things to consider.
HAND PLANE SIDES AREN’T SQUARE TO THE SOLE
If your hand plane’s sides aren’t square to the sole, your cuts won’t be square to your workpiece faces.
Luckily, this is easy to fix with the lateral adjustment lever.
If the workpiece is getting cut more on the bottom vs the top, pull the lever slightly up. If the top’s getting cut more, push the lever slightly down.
It might take a few test cuts to get right. But once you’re getting even shavings, it’s go time.
FENCE ISN’T SQUARE TO REFERENCE EDGE
If your cuts aren’t coming out square to the sides of your workpiece, the issue might be your fence.
First, make sure there isn’t a bunch of sawdust or wood shavings pushing your hand plane or workpiece out of alignment.
If that’s not the issue, you’ll have to resquare your fence.
You can use a square against the reference edge and fence to find where the fence needs to be taken down with a hand plane.
It’s also pretty easy to make a new fence — it’s just a square piece of wood with a groove down the middle, after all.
HAND PLANE WON’T CUT
More likely than not, your plane iron isn’t sharp enough.
If you're positive that’s not the case, play around with the blade depth.
Trying to take off too much material in one pass will put the brakes on your hand plane, and taking off too little will give you nothing but dust.
HAND PLANE IS CUTTING INTO REFERENCE EDGE
This was the most asked question after I posted a video about my shooting board.
Yes, the hand plane WILL cut into the reference edge — but it’s absolutely fine.
Pretty much every hand plane has a ¼ inch of metal between the side and the blade.
That means even when you cut into the reference edge, there will always be ¼ inch of material at the bottom to guide your plane. And that’s all you need.
Seriously. Some woodworkers even cut a rabbet into the reference edge to accommodate for this — but you can just let your hand plane do it over time.
LIKE SHOOTING BOARDS IN A BARREL
If you’re trying to level up your woodworking accuracy — a shooting board is your best friend.
This simple jig makes it easy to dial in cuts to perfection. And best of all, it’s totally customizable to your needs.
Just remember to keep those blades sharp, and you’ll get results worthy of the woodworking gods.
Have any questions or shooting board tips? Let us know in the comments below!
Be sure to follow us on Instagram @katzmosestools and check out my YouTube channel…
And as always, STAY SAFE IN THE SHOP!
3 comments
Alex Adjmi
Subscribe me to your newsletter
Subscribe me to your newsletter
Robert Mahan
Order hasn’t arrived.
Order hasn’t arrived.
Adams Greg
Great information!
Great information!