The key to safe edge profiling? Not overdoing it.
If you’re cutting a chamfer or roundover with your router, it can be tempting to cut to full depth in one fell swoop.
This works for small cuts of less than ¼” or so of material…
But for anything more than that, you want to cut in stages.
With a handheld router, the best way to do this is with a plunge base.
Set the plunge base stop to the final depth you’re after, raise the bit, then use the depth stops to incrementally cut your edge profile.
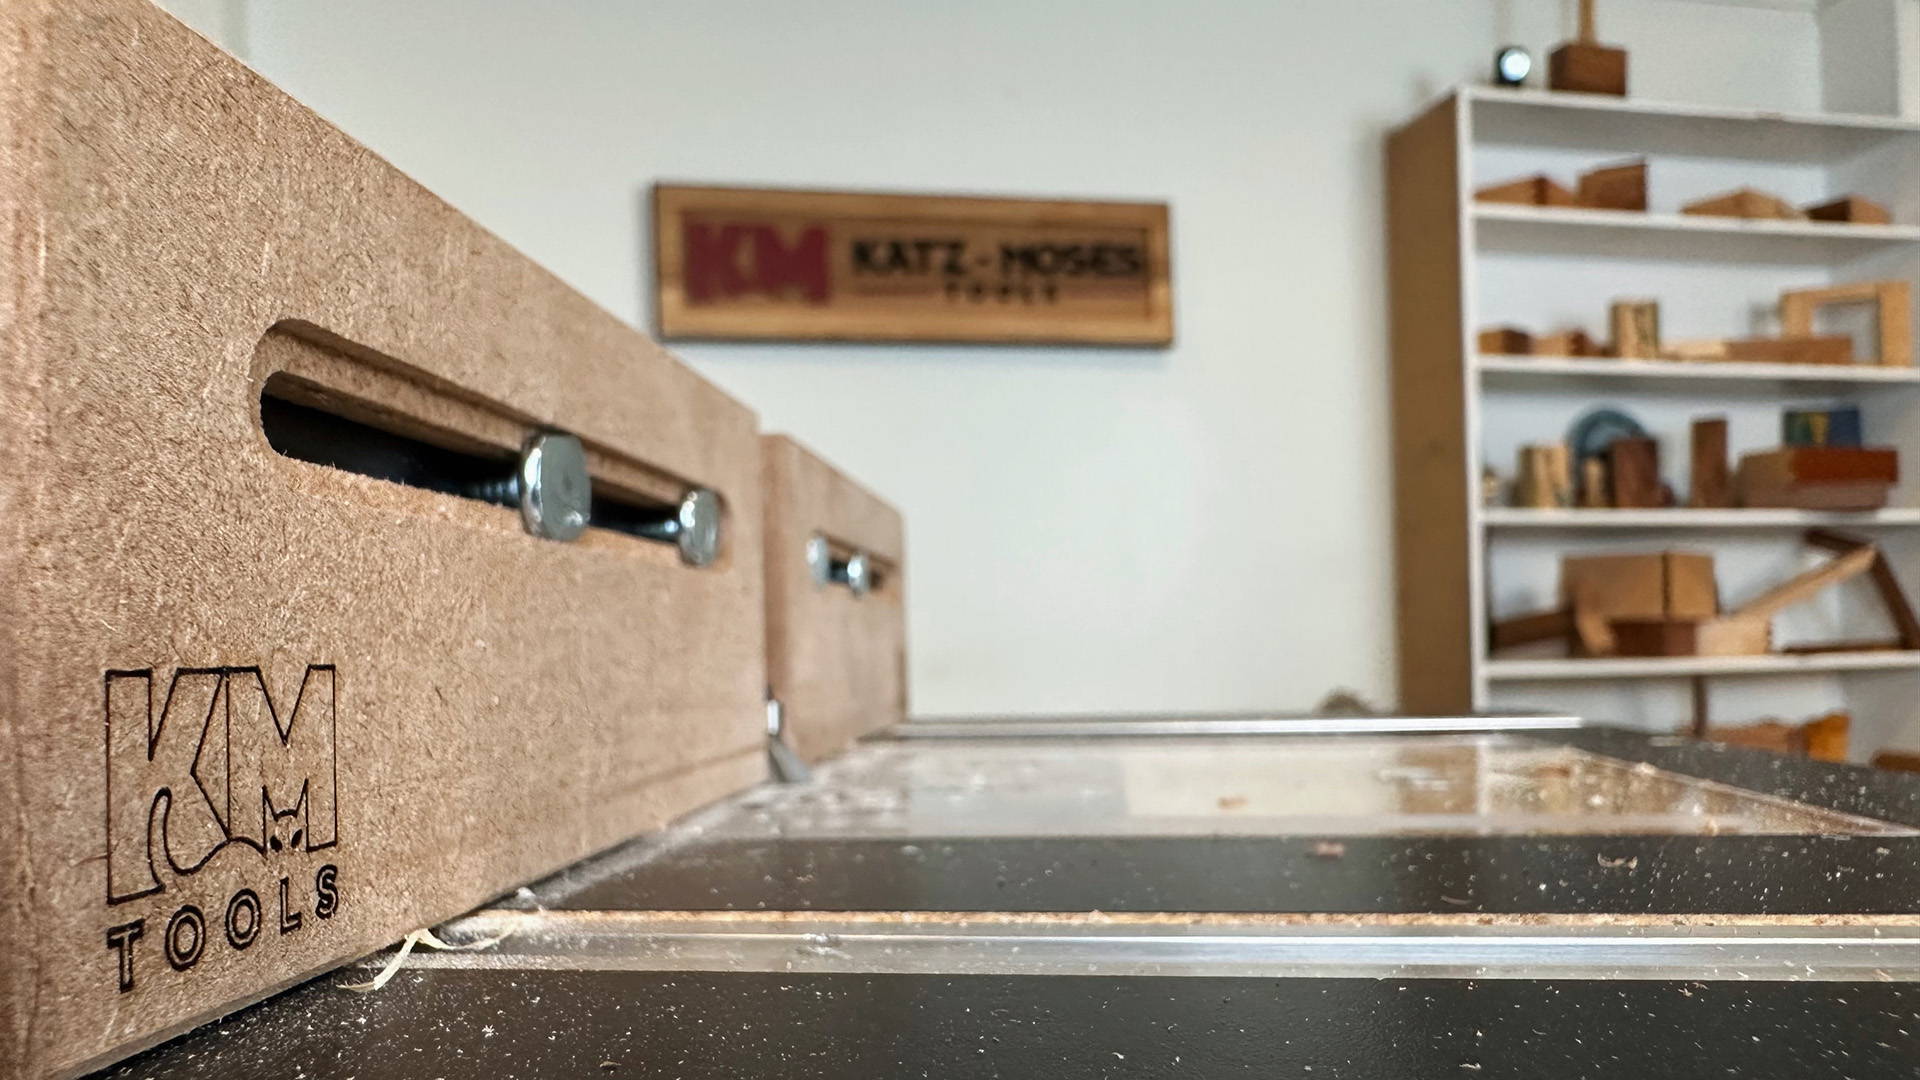
On a router table, use the fence to sneak up on your final depth.
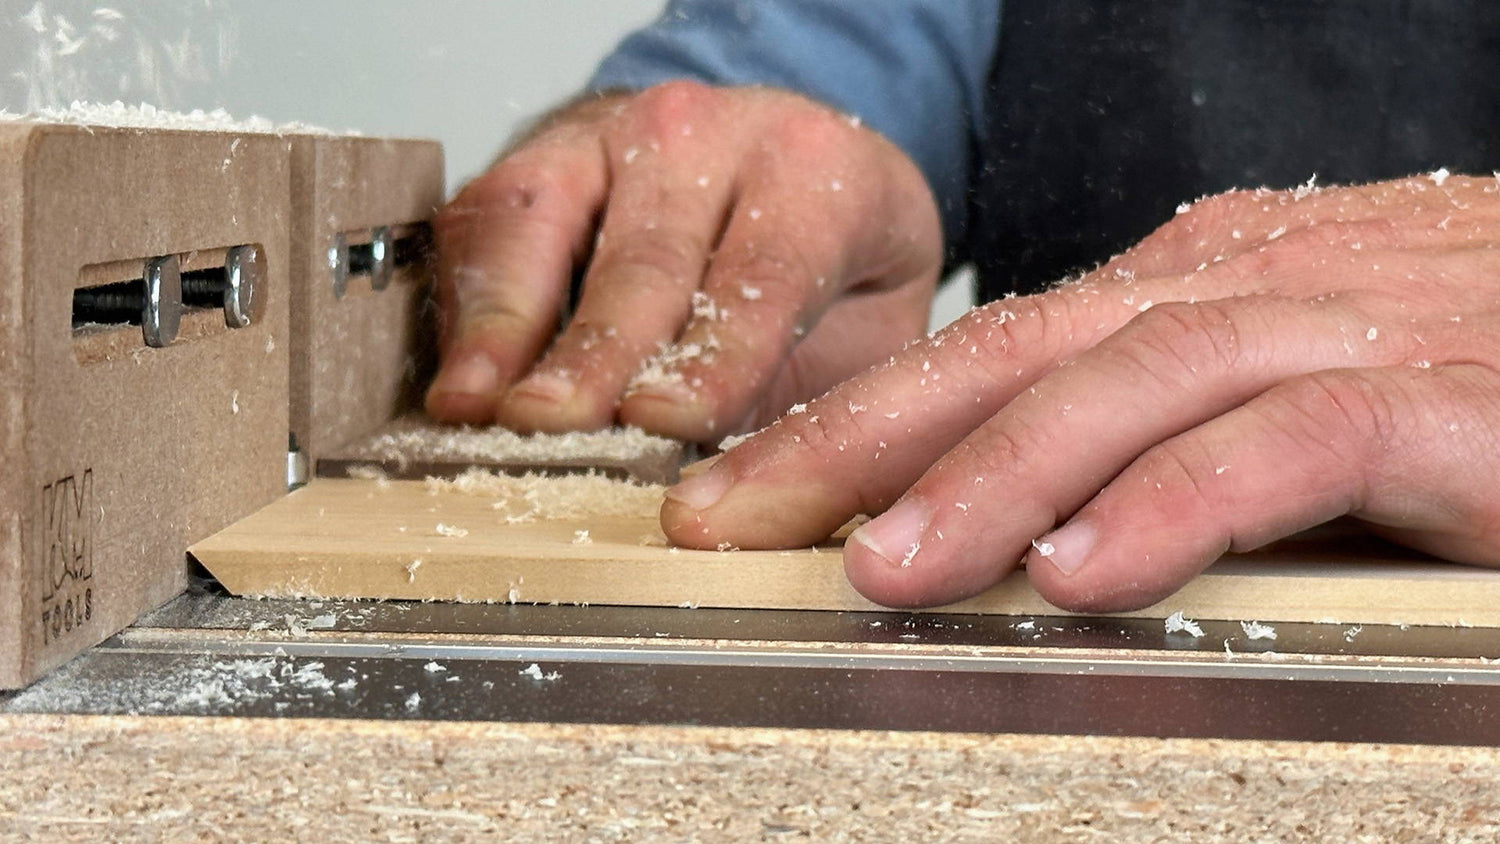
Raise the bit so the entire cutting edge is exposed, then move the fence forward, leaving only about ¼” exposed.
With each subsequent cut, move the fence further back until you arrive at your final depth.
Need a reliable set of roundovers for your trim router? This 3-piece set from CMT has you covered.
This ¼” shank bit set includes the three MOST used roundover radii: ¼”, ⅜”, and ½”.
They come in a compact and sturdy carrying case to help keep their cutting edges sharp… and make sure you don’t lose them in your tool bag.
Do you prefer cutting edge profiles with a handheld router or router table? Let us know in the comments below!
Follow us on Instagram @katzmosestools, on TikTok @katzmoseswoodworking, and check out my YouTube channel for more great woodworking content...
And as always, STAY SAFE IN THE SHOP!


6 comments
Patrick Daniels
I always find a D-handle, or plunge-router nearly as useful as a router table for edging. However using a laminate trimmer was always pretty simple, especially since they’ve become more powerful and one handed useful…the concept of the jig follows some basic routing techniques that have been used for years, I applaud its creator, and this article!
I always find a D-handle, or plunge-router nearly as useful as a router table for edging. However using a laminate trimmer was always pretty simple, especially since they’ve become more powerful and one handed useful…the concept of the jig follows some basic routing techniques that have been used for years, I applaud its creator, and this article!
Anonymous
It depends on how big the pieces is in part. Hand held for big stuff. Then of course, since I’m lazy, and I only have one router, if the router is mounted in my table and I would use that preferentially.
It depends on how big the pieces is in part. Hand held for big stuff. Then of course, since I’m lazy, and I only have one router, if the router is mounted in my table and I would use that preferentially.
Jay
I prefer using a table; you set it up for the function, make a test and go. Hand held things are always moving not as secure or repeatable.
I prefer using a table; you set it up for the function, make a test and go. Hand held things are always moving not as secure or repeatable.
Michael Wilkins
I was trying to order the 3 X 3 jig earlier this week and when I went to checkout it froze. I will try again tonight. I prefer the router table for the control and large work surface, but I still give my 10 hand-held machines a workout.
I was trying to order the 3 X 3 jig earlier this week and when I went to checkout it froze. I will try again tonight. I prefer the router table for the control and large work surface, but I still give my 10 hand-held machines a workout.
Bob Clark
Just purchased Tara’s 3×3 custom router jig, and spent the afternoon experimenting with it. I’m wondering why it took so long for someone to come up with this – it’s probably the most versatile router attachment on the market. I assume Tara came up with this product, and colluded with you to put into production (another smart move). Good show guys. Although I use my table for the most part, I can see many applications that will incorporate the jig. Keep up the good work KM.
Just purchased Tara’s 3×3 custom router jig, and spent the afternoon experimenting with it. I’m wondering why it took so long for someone to come up with this – it’s probably the most versatile router attachment on the market. I assume Tara came up with this product, and colluded with you to put into production (another smart move). Good show guys. Although I use my table for the most part, I can see many applications that will incorporate the jig. Keep up the good work KM.
Andrew French
I prefer a router table, I feel that I have better control, even for big pieces, that the spinning tool in a table works better than me trying to control it by hand. I feel it is also safer.
I DID just purchase 3×3 Custom’s router jig, so I am eager to give that a try.
I prefer a router table, I feel that I have better control, even for big pieces, that the spinning tool in a table works better than me trying to control it by hand. I feel it is also safer.
I DID just purchase 3×3 Custom’s router jig, so I am eager to give that a try.