


Think you know all the ways to use a router table? You might have to think again.
Template routing, cutting joinery, edge profiling; It’s well known that router tables are versatile tools.
But there are a few lesser known ways to use router tables…
And they might just blow your mind.
Today, I’m giving you 5 Lesser Known Router Table Uses — and you’ll be amazed how useful they are.
Some of these techniques can save you in a pinch, and some have the potential to replace bigger expensive tools.
Let’s get to it.
1. CUTTING PERFECT BOX MITERS
Box miters are a deceptively tricky joinery style.
Cutting them on the table saw often takes a bit of finagling and post-production magic (read: sawdust and glue).
But the quickest way to get perfect 45° edges? Turns out it’s on the router table.
It takes minimal set up and effort — and all you need is a fence and a 45° router bit.
Here’s how it works:
- Cut all your box sides to length. Whatever your preferred method is works, just make sure the sides are straight.
- Install a router bit with 45° edges in your router table (a chamfer bit or 45° dovetail bit work). Make sure the bit’s cutting height is more than the board thickness.
- Set the position of the router table fence using a box side as a guide. Adjust the fence until the router bit’s cutting edge perfectly bisects one of the boards edges.
- Make sure your box sides are facing the right way when you cut. For chamfer bits, the show face should be up. For dovetail bits, the showface should be down.
- Cut the mitered edge on each board. As long as they’re all the same thickness, no adjustment is necessary. You’re ready to assemble.
Here’s more tips on how to make seamless-looking miter joints.
2. CREATING ASYMMETRICAL BUTTERFLY KEYS
Symmetrical butterfly keys? Meh. Irregular angles and sides are a lot more enticing to me.
But while angles and dimensions are open to interpretation, butterfly key inlays do need to have straight edges.
And that can be tricky without some sort of jig.
Luckily, there’s an insanely easy way to cut asymmetrical bowtie keys on the router table with just a flush trim bit, scrap piece of wood, and a chisel.
- Draw the rough shape of a butterfly key on a board and cut it out on the bandsaw, staying slightly away from your lines.
- Install a flush trim bit in your router table. Set it so the bearing sits just above the thickness of your rough butterfly key.
- Find a piece of scrap wood that has one straight edge. Use double stick tape to attach it to your rough butterfly key so the straight edge aligns with one of the sides you drew.
- Flush trim the butterfly key to the scrap piece. Repeat for the remaining 3 sides.
- The edges of your butterfly key will meet at a rounded corner (because of the shape of a bit). Use a chisel to bring these together at a sharp angle, referencing the chisel back off the sides.
Once your butterfly key is done, you’re ready to trace it onto your main workpiece and get inlaying.
3. FLUSH TRIMMING PROUD JOINERY
Flush trimming is often the final step of assembling joinery, and it goes a long way in making your work look seamless.
There’s a lot of ways to do it — but the quickest is often with a router.
The problem is handheld routers take a lot of set up for this type of cut.
Router tables, on the other hand, make it pretty simple.
- Insert a regular groove cutting bit. I prefer a downcut spiral bit to minimize tearout.
- Clamp a flat board down onto your router table near the bit. This will be your auxiliary tabletop, so it only needs to be thicker than your joinery is proud.
(On the KM Tools Benchtop Router Table, you can use the extension feet from the 3x3 Custom Universal Trim Router Jig).
- Set the blade of a square (or any straight edge) on the auxiliary tabletop so it hangs over the router bit. Raise the router bit until it’s just a hair shy of touching the straight edge.
- Keep the workpiece flat on the auxiliary bench, turn on the router table, and move the proud joinery back and forth across the bit. Work from left to right, cutting by pushing the joinery into the bit (this helps reduce the chance of tearout or kickback).
- Take off the final bit of material with a hand plane or chisel.
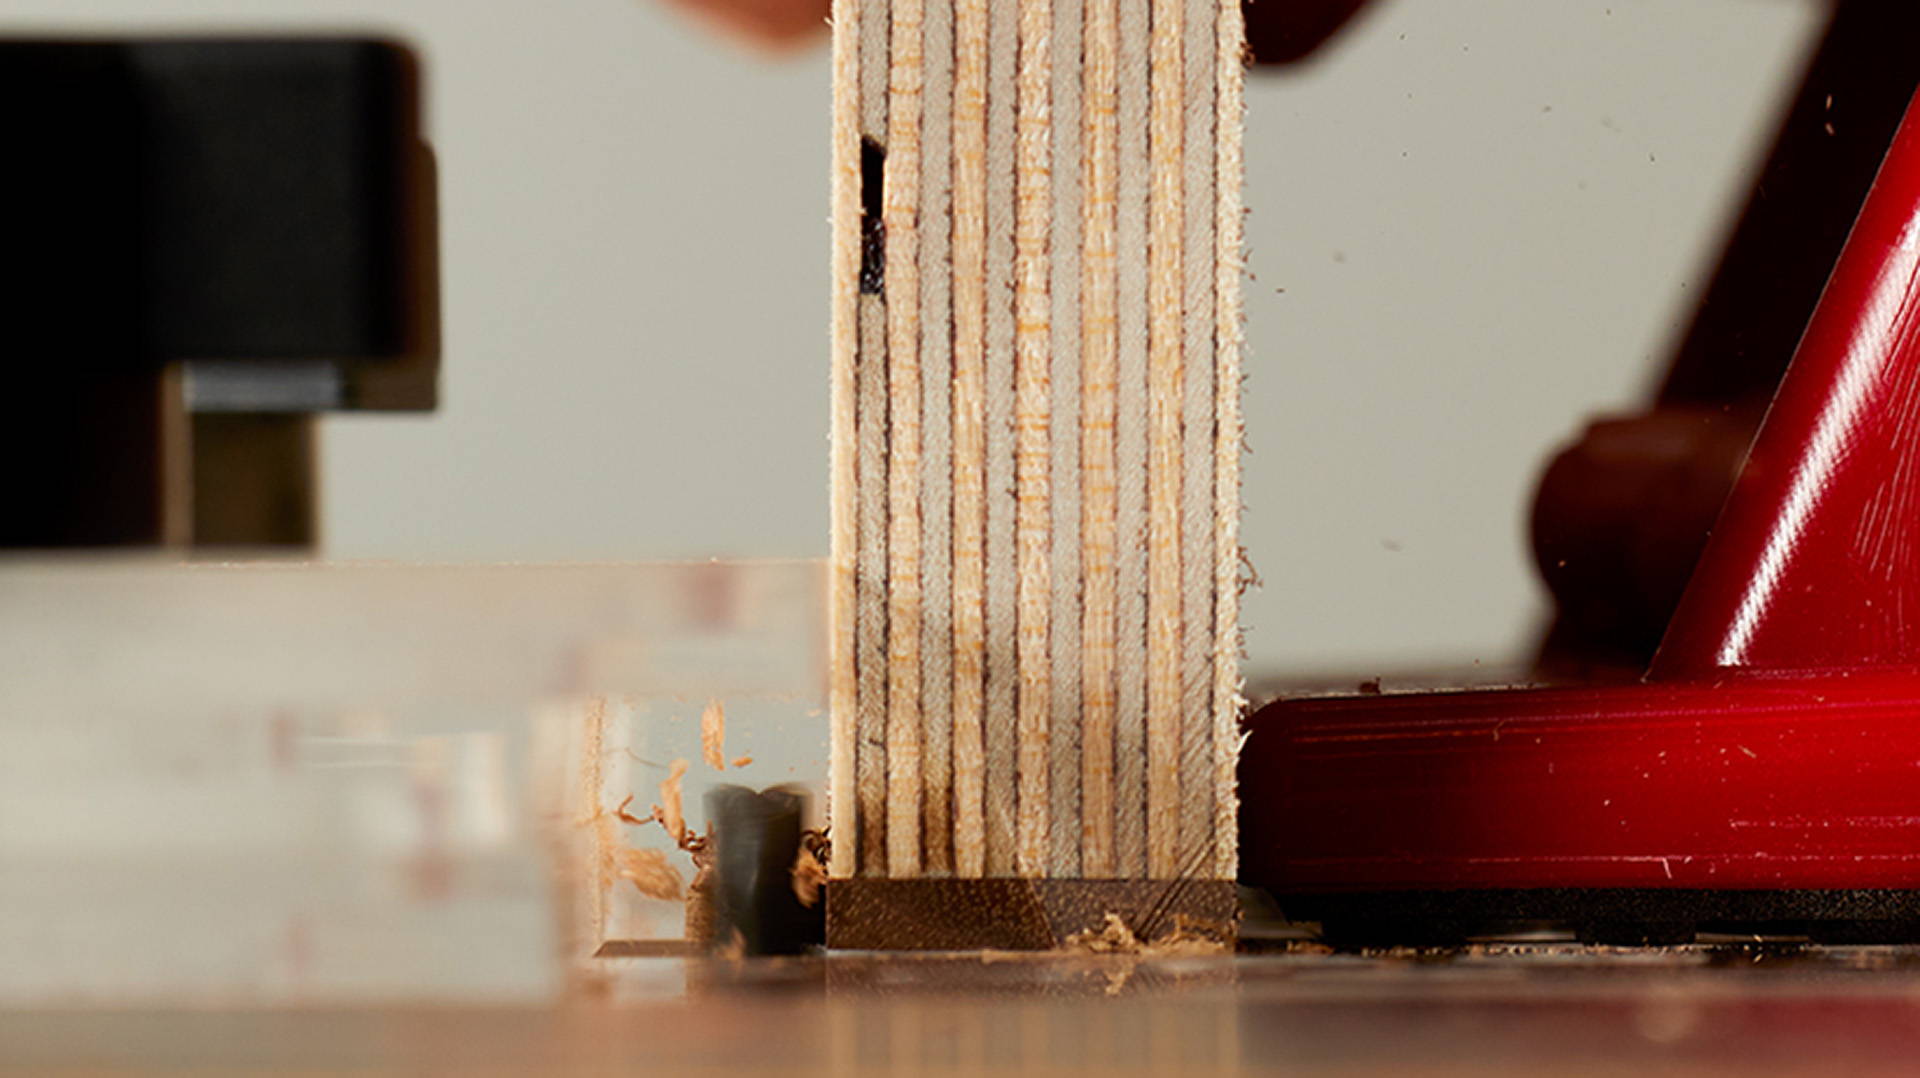
4. MAKING YOUR OWN DOWELS
The best way to get dowels that match your project is to make them yourself. And with a router table, it’s easier than you think.
It all starts with a roundover bit.
Use a roundover bit that’s radius is HALF of the dowel diameter you’re after. For example, if you want a ½” thick dowel, you’ll need a ¼” radius roundover bit.
From there, it’s pretty simple.
- Place the blade of a square on the table so it overhangs one side of the router bit. Raise the bit until the bottom corner of the curve just barely touches the square.
- Cut a piece of stock into a ½”x½” thick rectangle on the table saw, leaving it a couple inches longer than the final dowel length you’re after.
- Turn on the router and do a sideways plunge cut into the bit, around 1” or more away from the end of the workpiece.
- Push the workpiece through the cut until you’re about 1” away from the end, then pull it off the bit. The two ends remain square and able to support the workpiece which is critical to safety.
- Repeat the process for the other 3 sides. Trim off the rectangular ends, and cut your dowel to size as necessary.
Being able to make your own dowels gives you more control over the look of your final piece — and saves you from having to make a trip to the big box store.
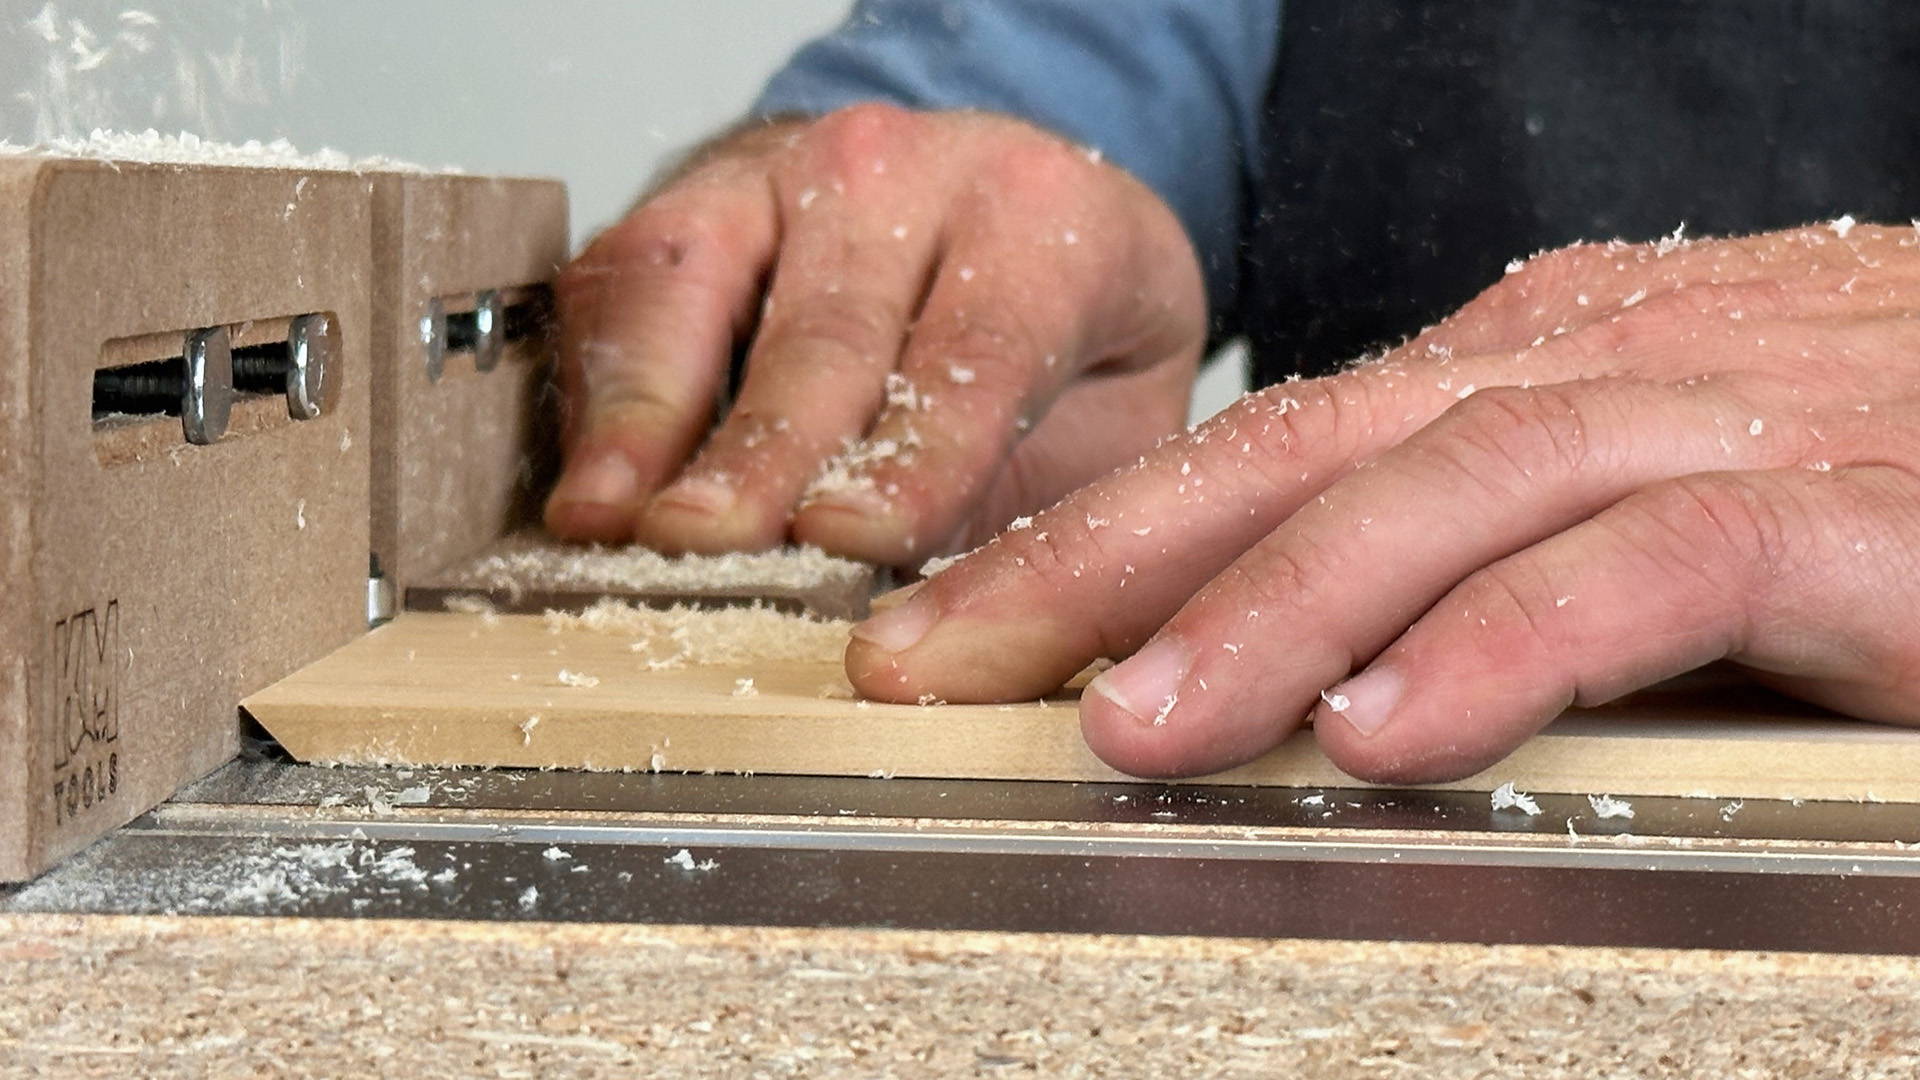
5. EDGE JOINTING
With just a bit of blue tape, you can transform your router table into a mini jointer — letting you quickly cut straight and square edges.
You add multiple strips of blue tape to the left side of your fence as an auxiliary fence, which functions like the outfeed table of a jointer.
I recommend using a compression spiral bit for this since it limits tearout on both faces.
Here’s what to do:
- Put multiple pieces of blue tape over the left side of your router table fence. Around four pieces should work. Do your best to make sure they stay flat so there are no hills that might push your board out of alignment.
- Place the blade of a square flat against the auxiliary fence. Adjust the fence until the router bit just barely touches the square, meaning it’s in line with the auxiliary fence.
- Turn on the router. Keep the board face flat on the table and the edge against the right side of the fence. Slide it from left to right, through the bit.
- As the board edge passes onto the auxiliary fence, start putting more pressure on this side (just like you would with a full sized jointer).
You may have to do a couple passes, but you’ll end up with a perfectly straight and square edge.
It’s the perfect mini jointer for small projects with thinner boards.
THE EVER CAPABLE ROUTER TABLE
As you can see, router tables can be used for far more than your run-of-the-mill routing operations.
Edge jointing, dowel making, even perfect box miters — router tables are practical tools every woodworker can benefit from having in their shop.
New to router tables? Read this to learn more about router table safety.
If you don’t own a router table, check out the KM Tools Benchtop Router Table for the 3x3 Custom Trim Router Jig.
It’s compact, sturdy as heck — and capable of all the operations mentioned above in this blog.
Got any other lesser known router table uses up your sleeve? Let us know in the comments below!
Follow us on Instagram @katzmosestools, on TikTok @katzmoseswoodworking, and check out my YouTube channel for more great woodworking content...
And as always, STAY SAFE IN THE SHOP!
6 comments
Wayde
Great read. Thanks!
A mini jointer… What a smart idea. I’ll definitely be using this trick. Thanks for all the great tips you keep sending through to us, they really do help, a lot!
Great read. Thanks!
A mini jointer… What a smart idea. I’ll definitely be using this trick. Thanks for all the great tips you keep sending through to us, they really do help, a lot!
Michael Rafa
I love making small boxes. Along with #1, I also cut my key slots to reinforce my box corners using a slot cutter and bearing set up in the router table.
A single height setting of the bit cuts symmetrically spaced slots by simply cutting one set near the bottom and then flipping the box over to cut a set near the top.
Lowell F.
I watched a video recently that the woodworker said his router table only collected dust. I can’t imagine my router table not being used in my woodshop. Granted, when I am turning on my lathe, the router and router tables don’t get much use. BUT my routers and accessories are a Main Stay in my full wood-crafting shop. Thanks for all the cool reminders of what can be done on/with that great tool.
I watched a video recently that the woodworker said his router table only collected dust. I can’t imagine my router table not being used in my woodshop. Granted, when I am turning on my lathe, the router and router tables don’t get much use. BUT my routers and accessories are a Main Stay in my full wood-crafting shop. Thanks for all the cool reminders of what can be done on/with that great tool.
Anonymous
I inherited a rollable work table when my father passed away (at 92) and converted it into a router table. Four feet wide. The best thing I did to it was install a miter slot using miter T slot aluminum extrusion (I forget which brand) But I after that I built a large sled that can hold boards up to four feet long. I bought a 1/2 X 2 inch router bit and have successfully jointed boards up to 1-1/4 inch thick with it. I have no jointer, so that is my substitute. The length of my sled limits the length of board I can joint. It also allows me to taper boards. More things one’s router table can do.
I recommend to anybody thinking about making or getting a router table that they get the widest table that will fit in their shop and their budget.
Angie
Thank you for the wonderful tips. It’d be awesome if we could watch these techniques on YouTube. Keep up the amazing work and innovations…love them!
Thank you for the wonderful tips. It’d be awesome if we could watch these techniques on YouTube. Keep up the amazing work and innovations…love them!
Russ Thacher
This was a great read, I’d never had thought about all these things that could be done with a router table. The butterfly keys tip is something that I am definitely going to be trying.
This was a great read, I’d never had thought about all these things that could be done with a router table. The butterfly keys tip is something that I am definitely going to be trying.