Embedding magnets in wood isn’t hard — but there’s definitely a right way to do it.
And boy howdy, have I learned the hard way.
I used to make the original Katz-Moses Dovetail Jigs out of wood… and embed all the magnets myself (meaning I’ve literally embedded thousands).
Needless to say, I’ve learned the best technique to imbed magnets in wood — whether it’s to make hand tool jigs or secret compartments in furniture.
Here’s how it works.
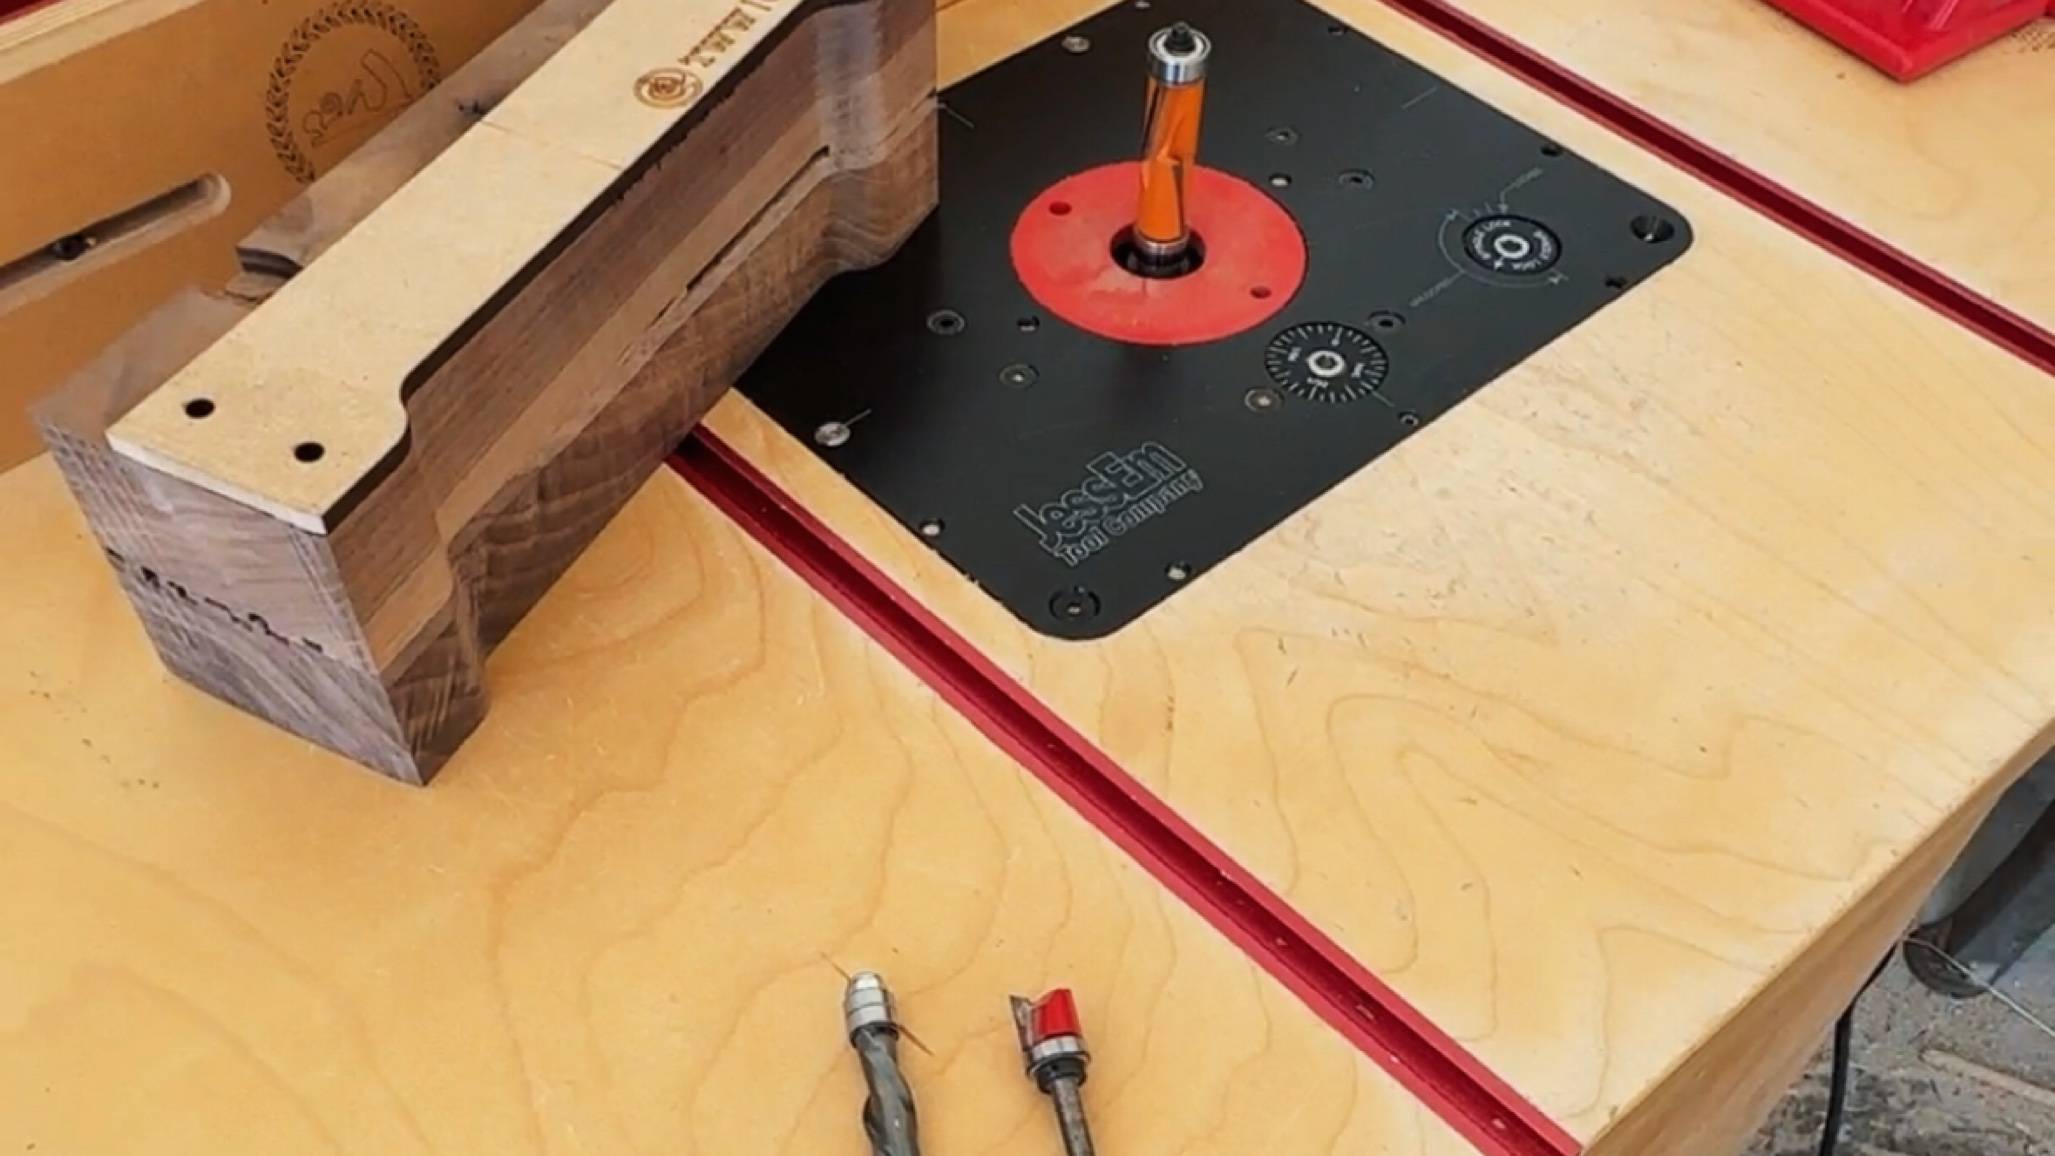
1. DRILL A HOLE
To fit the neodymium magnets we sell, you’ll need a 10 mm or ⅜” forstner bit.
Drill the hole a hair deeper than the thickness of the magnet. You can attach a piece of blue tape to the drill bit as a guide for when to stop drilling.
The hole’s shallow enough that it shouldn’t be hard to drill the holes accurately with a hand drill. But if you want absolute perfection, do it on the drill press.
2. ADD SOME GLUE
The friction fit of the hole you drilled should provide a pretty good hold. But for extra strength, I like to add a little glue.
I usually use CA glue (super glue) with a spray of accelerator. It dries quickly and will last for years.
If you want a super permanent bond, use some 5-minute epoxy.
Put a bit of glue in the bottom of the hole as well as the sides.
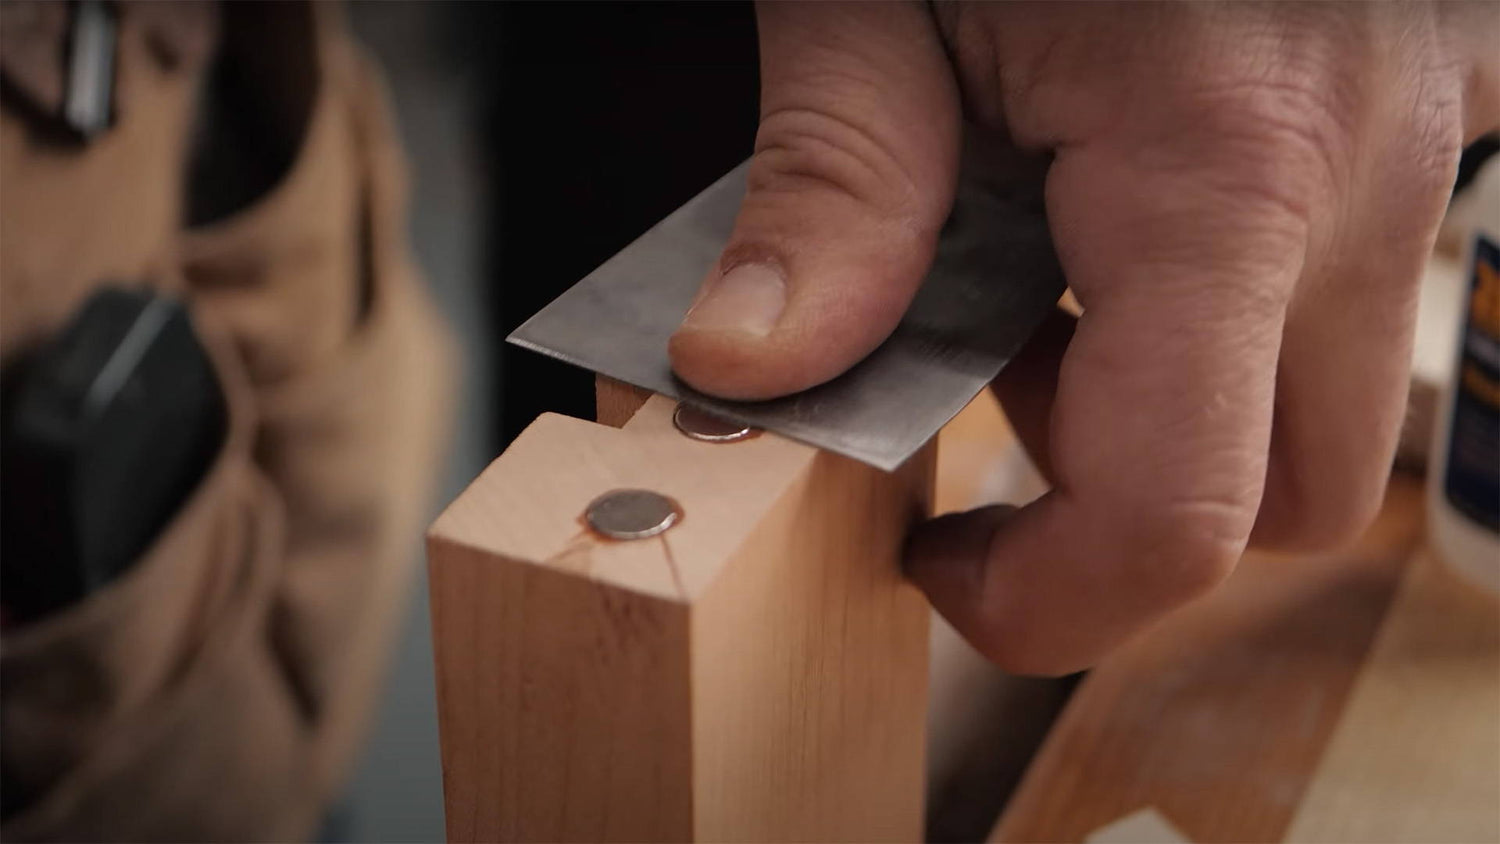
3. SEPARATE MAGNETS WITH A PUTTY KNIFE
Neodymium magnets are super strong — and trying to separate them by hand is tricky.
The best tool for the job I’ve found is a putty knife.
Use the edge of the putty knife to slightly wedge two magnets apart, then slide the top one onto the putty knife blade.
You can then use it to set the magnet over the hole and push it into position. Slide the putty knife away so you don’t pull off the magnet.
4. KNOCK THE MAGNET HOME
Neodymium magnets are brittle. You don’t want to hammer them directly with a metal hammer because they might break.
Instead, I use a piece of scrap wood as a buffer.
Set the scrap wood on top and use several light taps to knock it flush.
If you’re having a hard time getting the top flush with the wood, use a dowel with a smaller diameter than the hole to finish knocking it home.
5. CLEAN UP ANY EXCESS GLUE
Give the surface a quick wipe with a wet rag to clean off any excess glue and you’re all done.
Want to see what magnets make possible? Check out our blog 10 Creative Uses For Magnets In Woodworking.
Where have you used magnets in your woodworking projects? Let us know in the comments below!
Follow us on Instagram @katzmosestools, on TikTok @katzmoseswoodworking, and check out my YouTube channel for more great woodworking content...
And as always, STAY SAFE IN THE SHOP!