Template routing is one of my favorite ways to cut complex or curved parts… But sadly, size does matter.
The size of your flush trim bit can seem like a big limitation in what you can template route.
You might be ready to flush trim a thick component, but when you set it on the router table, your bit’s bearing doesn’t reach the template.
Does that mean your only option is to cut it on the bandsaw and spend an interminable amount of time sanding?
Nope (thankfully). Because there’s always more than one solution to any woodworking problem.
Today, I’m giving you 3 methods for flush trimming extra thick boards — so you can template route even the chunkiest of lumber.
These tips can save you down the line… and ensure you don’t shy away from that 8/4+ lumber.
TABLE OF CONTENTS
1. THE TWO BIT METHOD
For this technique, you need two router bits: a pattern bit and a flush trim bit.
Pattern bits have a bearing next to the shaft. In a router table, this means it’s at the bottom of the cut.
Flush trim bits have the bearing at the tip. So in a router table, it’s at the top of the cut.
For this trick to work, the combined cutting edge of both bits needs to be longer than the board’s thickness.
So if you have a pattern bit with a ¼” cutting edge and a flush trim bit with a 1” cutting edge, you’ll be able to template route boards up to 1 ¼” thick.
Start with the pattern bit. Flip the workpiece so the template is facedown on the router table, set the bit so the bearing rides on the template, and flush trim all the way around.
Now flip the workpiece over so the template is face up, and switch to your flush trim bit.
Set the bit height so the bearing rides on the area of the board you just cut with the pattern bit. Flush trim all the way around again, and your board should be a perfect match to the template.
2. THE DOUBLE-BEARING BIT METHOD
Some specialty flush trim bits have removable top and bottom bearings (like this one) — one by the shank and one at the tip
This allows you to follow similar steps to the two bit method described above, but all with a single bit.
Start by removing the top bearing. Place your workpiece with the template facedown, and set the bit height so the bottom bearing rides on the template. Flush trim all the way around.
Now put the top bearing back on and lower the bit. Flip the workpiece so the template is faceup, set the bit height so the top bearing rides on the section you already cut, then finish flush trimming all the way around.
I recommend using double-bearing bits with a compression flute design so you get clean, tearout-free edges on both sides of your workpiece (read more about compression bits here).
Looking for a double-bearing flush trim bit? This one we carry from CMT is an absolute BEAST.
The 2” cutting edge can easily handle most thicknesses of lumber you’ll likely flush trim, it has a compression flute design, and both bearings are easily removable.
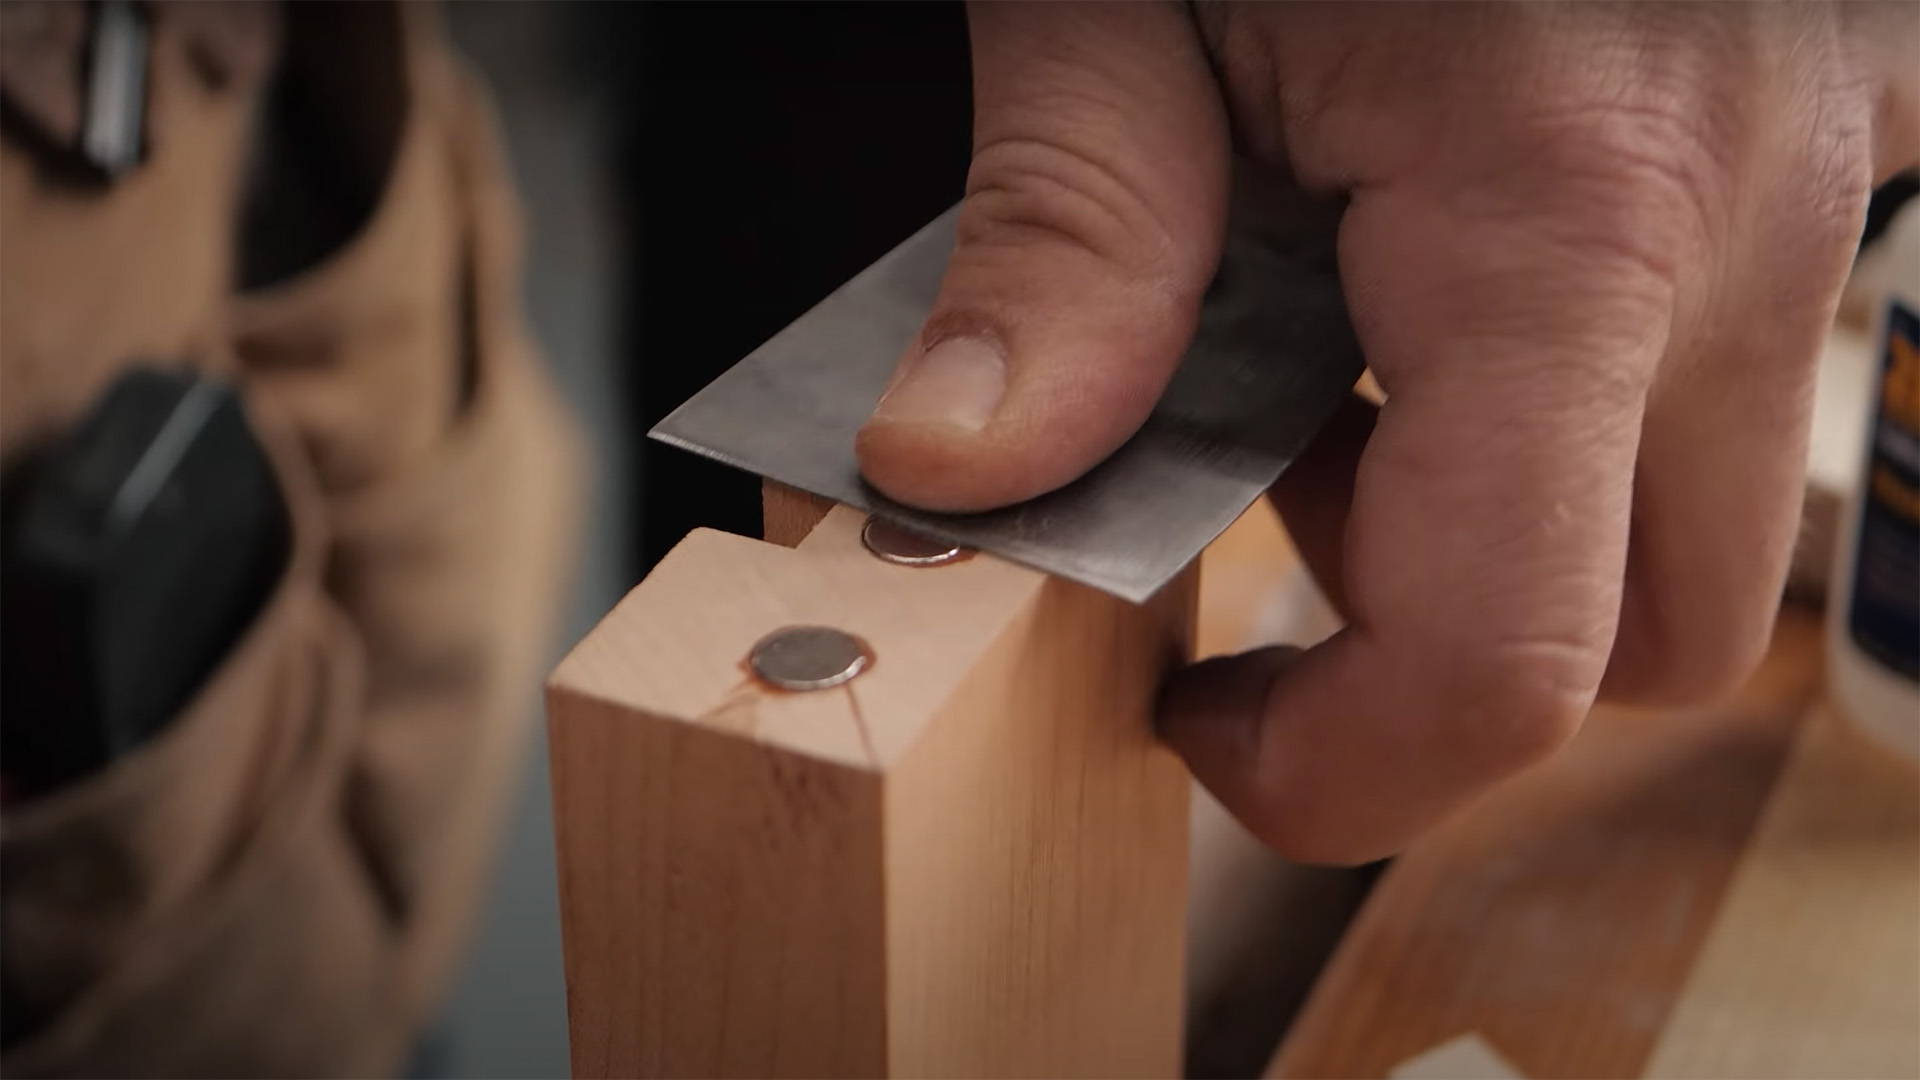
3. THE GLUE UP METHOD
This method is more of a process — but it works with any flush trim bit and can be used to make components of virtually unlimited thicknesses.
It’s especially useful for when you need to make a tall component, like the curved backrest of a chair that might be 4” from top to bottom.
The idea is to build up the thickness of a piece with multiple thinner layers, and flush trim them one by one.
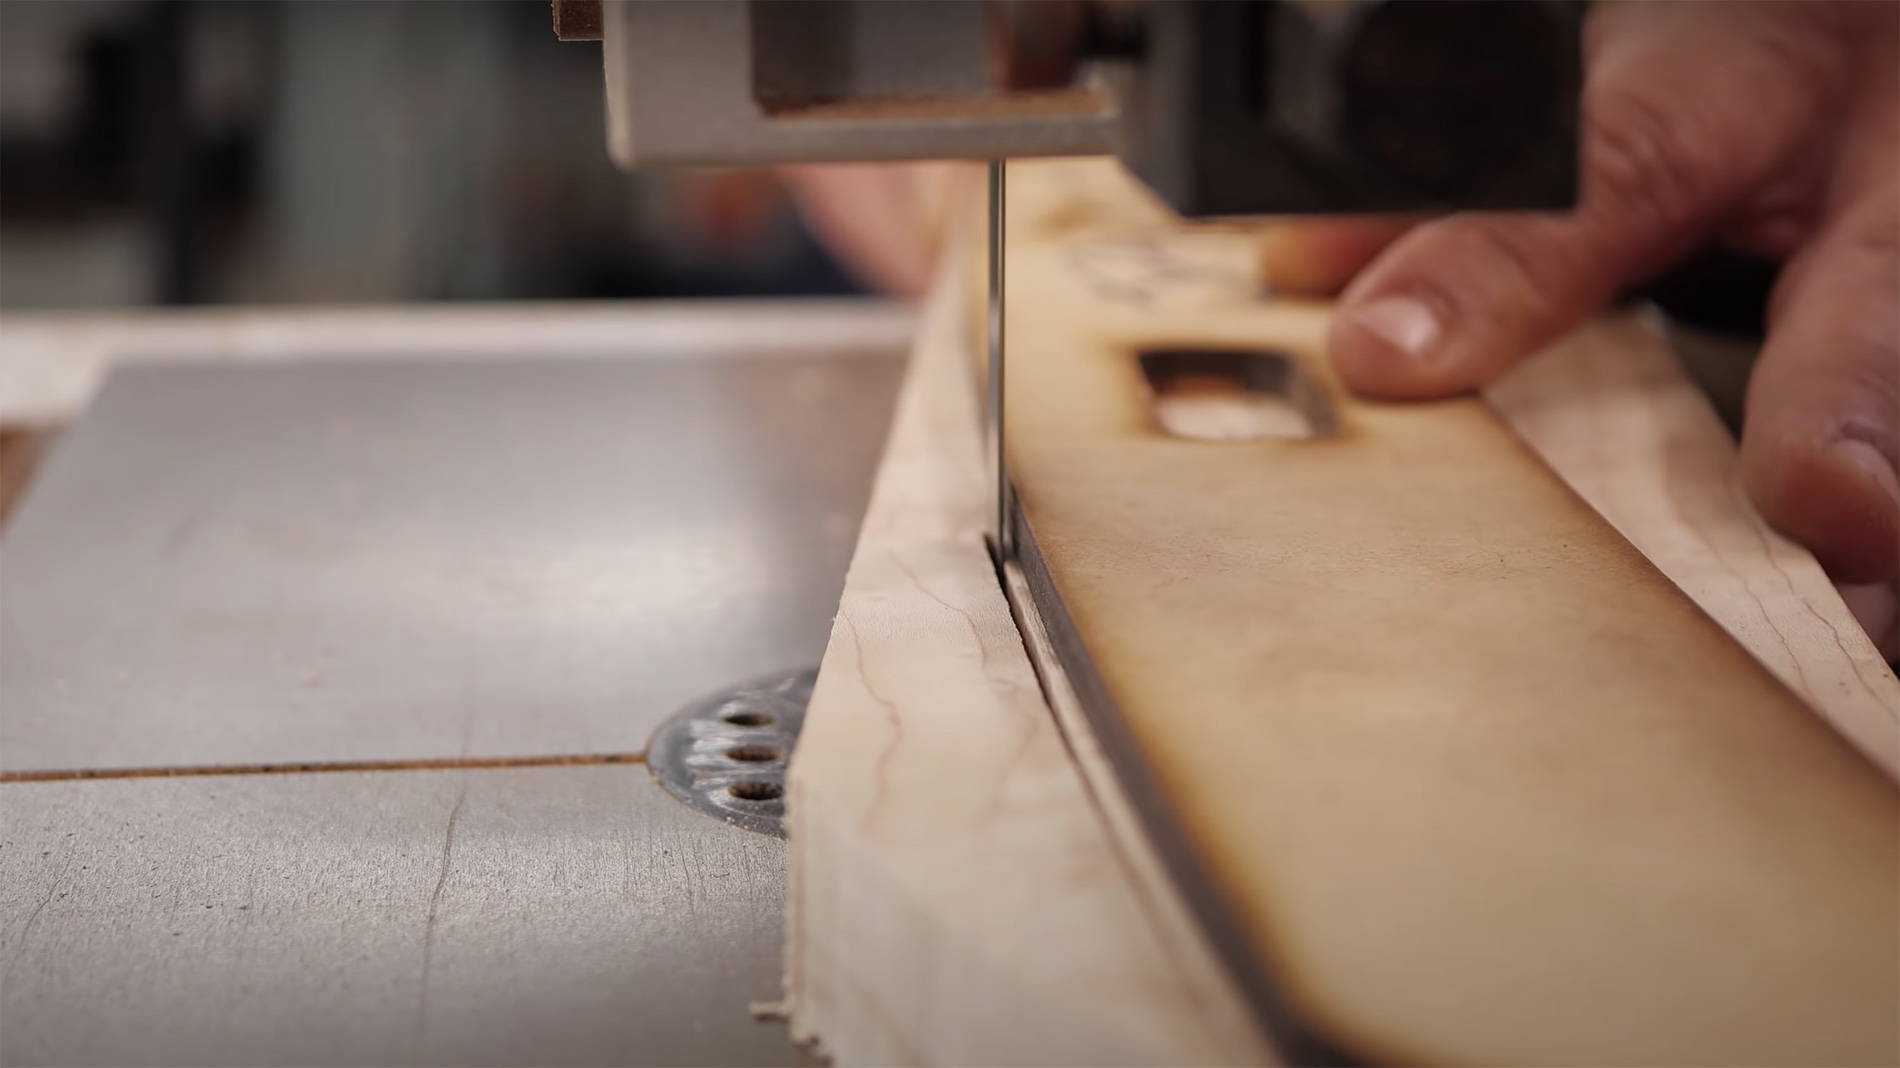
Start by template routing a board whose thickness your flush trim bit can handle.
When you’re done, glue another board of the same thickness on top. It just needs to extend past the edges of the template routed board on all sides (you can remove the template at this point).
Once the glue is dry, trim the new layer close to the shaped board on the bandsaw. Then place the new layer face down on the router table, set the bit height so the bearing rides on the board you originally template routed, and cut all the way around.
You can repeat this process endlessly to create super thick components that perfectly match your original template.
Pretty clever, huh?
NOTHING’S TOO THICK FOR YOUR BIT
One of my main woodworking mantras is that there’s more than one way to do something (maybe there’s more than one way to veneer a cat?).
Any problem you encounter in the shop has multiple solutions. It’s just a matter of figuring out which one is the safest and will give you the best results.
With the methods above, you’ll have no problem template routing even the thickest of boards.
So in the end… maybe size doesn’t matter? (I’m praying).
Want to learn more about template routing? Check out my blog Template Routing Basics: How to Easily Cut Repeatable Parts.
What’s your favorite way to cut thick, complex components? Let us know in the comments below!
Follow us on Instagram @katzmosestools, on TikTok @katzmoseswoodworking, and check out my YouTube channel for more great woodworking content...
And as always, STAY SAFE IN THE SHOP!