


Before you can safely make a rip cut on the table saw, a board needs one straight edge to ride along the fence.
Normally, this is the job of a jointer. But not every woodworker has one in their shop.
Don’t worry though. There’s an easy, minimal setup solution.
To joint an initial edge on rough lumber with a table saw, all you need is a straight edge and some double stick tape.
For the straight edge, you can either use a piece of plywood or a long ruler. All that matters is that it’s at least as long as the board you’re ripping.
Place a strip of double stick tape along the entire face of the board close to the edge. (No double stick tape? Use two strips of blue painter’s tape and super glue).
Now place your straight edge on top so that it overhangs the entire edge slightly. Double check that no bumps in the board extend past the straight edge, and make sure it’s well engaged with the tape.
You can now make a rip cut with the straight edge riding along the table saw’s fence.
Set the fence so you’ll cut a fresh edge on the opposite side of the board, and keep the straight edge engaged with the fence at all times (I recommend using a featherboard and push sticks).
Once you have a fresh edge, remove the straight edge and double stick tape, flip the board over, and cut the other side.
Want to learn other ways to joint a board without a jointer? Read this.
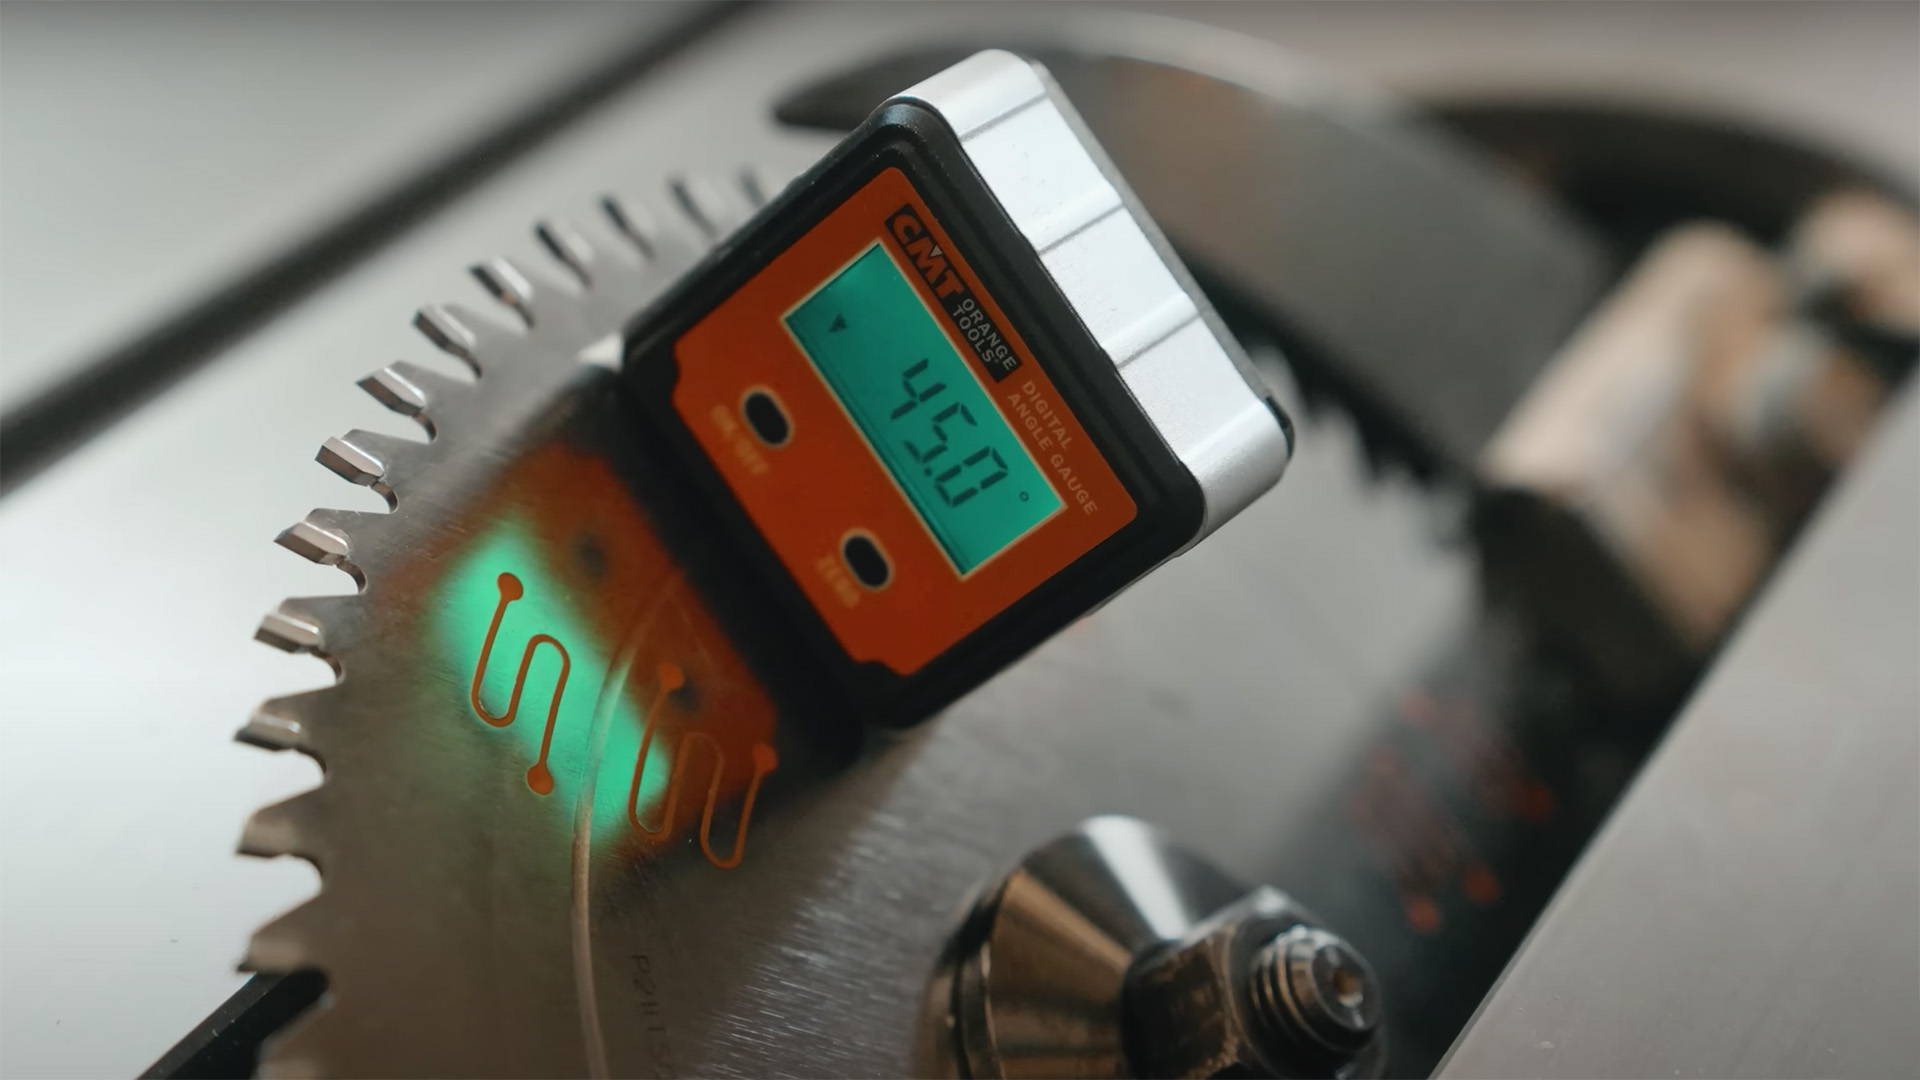
The secret to clean, burn-free rip cuts is using the right blade. And this CMT Full-Kerf Glue Line Ripping Blade is a beast for the job.
With 30 alternating Triple Chip Grind (TCG) and Flat Top Grind (FTG) teeth, this is the smoothest ripping blade in our arsenal.
I use it whenever I need a glue-ready surface right off the saw — which saves a ton of clean up time later on.
Know any other tricks for jointing rough lumber on the table saw? Let us know in the comments below!
Follow us on Instagram @katzmosestools, on TikTok @katzmoseswoodworking, and check out my YouTube channel for more great woodworking content...
And as always, STAY SAFE IN THE SHOP!
3 comments
Alan Ganek
This method only works and is only safe if the board has a reasonably flat face. That is not something you can count on with rough lumber. If the board has any twist, cup, or bow, and a lot of rough lumber does have some, double stick tape is not likely to hold. Moreover, there’s a chance of bounce and shift which can cause kick back. To get a flat face one can use a thickness planer with a sled and wedges or a router flattening mill. If the face is milled after the edge is straightened using this method, then there is little chance the edge from the table saw will be truly square to the milled face. This method is fine for flat, surfaced two sides (S2S) lumber only.
This method only works and is only safe if the board has a reasonably flat face. That is not something you can count on with rough lumber. If the board has any twist, cup, or bow, and a lot of rough lumber does have some, double stick tape is not likely to hold. Moreover, there’s a chance of bounce and shift which can cause kick back. To get a flat face one can use a thickness planer with a sled and wedges or a router flattening mill. If the face is milled after the edge is straightened using this method, then there is little chance the edge from the table saw will be truly square to the milled face. This method is fine for flat, surfaced two sides (S2S) lumber only.
Mike L
I can think of two other ways to joint on a table saw, although both are a little more complicated. One, set up a sacrificial fence and bury the blade about halfway into it. Use good push pads (not sticks) and nibble away the edge.
Two, if you have a tapered stock jig that handles wide stock, set it parallel to the blade and use it to rip one edge.
Donald Kern
So simple but yet so effective. This makes more sense that multiple passes on the jointer when you have a really warped edge. Make the first pass on the table saw! I buy all my hardwoods unmilled and use my jointer and planer to save costs and get the dimensions I want. I will definitely use this tip at some point in the future! Thanks Jonathan!
So simple but yet so effective. This makes more sense that multiple passes on the jointer when you have a really warped edge. Make the first pass on the table saw! I buy all my hardwoods unmilled and use my jointer and planer to save costs and get the dimensions I want. I will definitely use this tip at some point in the future! Thanks Jonathan!