


Burned wood belongs in a campfire — not on your table saw.
But sometimes, it seems like you can’t avoid charring the edges of boards…
Especially with rip cuts.
Some of it might be your saw power. A 2 hp jobsite saw will have a harder time cutting through thick lumber compared to a 5 hp cabinet saw.
But if you have a tendency to BBQ boards, here’s a few tips that might help:
1. USE THE RIGHT BLADE
For rip cuts, it’s really important to use a blade with fewer teeth and bigger gullets (which carry sawdust out of the cut).
Ripping removes a lot of material — and while a general purpose or combination blade can work, a dedicated ripping blade is guaranteed to give you better results.
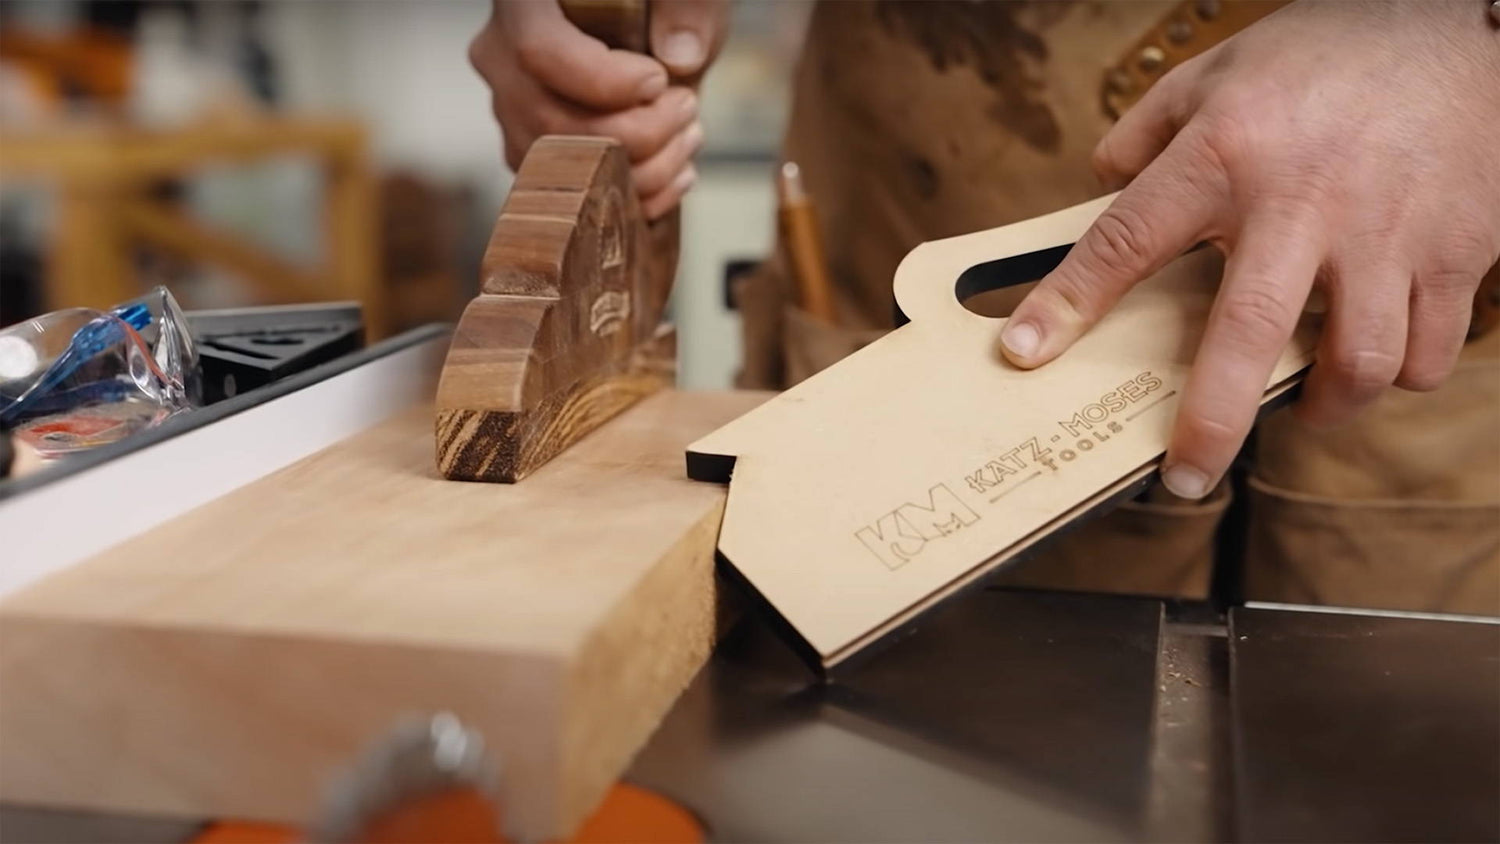
2. CHECK BLADE & FENCE ALIGNMENT
During rip cuts, a lot of pressure can build in between your table saw blade and fence — which leads to burning.
The best way to reduce this pressure is making sure the blade and fence are perfectly parallel.
That way, boards won’t bind up. Here’s how to align your blade and fence.
3. WHEN ALL ELSE FAILS, CUT TWICE
If you need a clean edge right of the saw — but get burning no matter what you do — make your cuts in two passes.
First set the fence so you cut slightly off your final width on the waste side. As in less then a blade kerf away.
Make the cut to remove the bulk of material. If you’re ripping multiple boards to the same width, do this first for all of them.
Then set your fence to the final width you’re after and rip all the boards a second time.
The minimal amount of material being removed makes the cut a lot easier for your table saw…
Meaning a clean, burn-free edge ready for finish.
Need a dedicated ripping blade? This full kerf Glue Line Ripping Blade from CMT will give you the cleanest possible edge right off the saw.
Got any other strategies for avoiding burned board edges? Let us know in the comments below!
Follow us on Instagram @katzmosestools, on TikTok @katzmoseswoodworking, and check out my YouTube channel for more great woodworking content...
And as always, STAY SAFE IN THE SHOP!
9 comments
Todd Anderson
Make the first cut as suggested in #3 above.
Finish with a sharp hand plane. You will never get a burn.
Make the first cut as suggested in #3 above.
Finish with a sharp hand plane. You will never get a burn.
Darragh o coonnor
Clean the resin from your blade from time to time it really helps takes about 5 to 10 mins the results speak for themselves
Clean the resin from your blade from time to time it really helps takes about 5 to 10 mins the results speak for themselves
Chris Randazzo
What Doug said! Really like the thin kerf blade and keep it moving!!
What Doug said! Really like the thin kerf blade and keep it moving!!
John Ware
Perryn, #3 works because when you are only cutting that final saw kerf width on the second cut, there is more air flow and easy evacuation of the chips/dust as the cut is made, both contribute to reduced friction and some small bit of cooling.
I think (maybe obvious) that using good dust collection can also help for same reasons.
Doug Bloomberg
I rip 2.5" thick Cherry for a product.. TIPS: I find that continual cutting, don’t pause as you run the wood through the saw helps a great deal. Also, I use a board/push block to apply pressure to the wood being cut, pushing towards the fence just before the blade. I use a Freud 40tooth thin kerf glue line blade. Which does leave a nice glue line cut. I used to have burn marks, now doing this I rarely have a burn mark,
I rip 2.5" thick Cherry for a product.. TIPS: I find that continual cutting, don’t pause as you run the wood through the saw helps a great deal. Also, I use a board/push block to apply pressure to the wood being cut, pushing towards the fence just before the blade. I use a Freud 40tooth thin kerf glue line blade. Which does leave a nice glue line cut. I used to have burn marks, now doing this I rarely have a burn mark,
William Cuff
Right on! I leave my blade week way out of the work piece, and keep my blade guard in place! Push slowlyas well.
Right on! I leave my blade week way out of the work piece, and keep my blade guard in place! Push slowlyas well.
Perryn White
Have had to use #3 (cut twice) in the past and it works, but could someone explain in a little more detail? Same amount of material being removed from the blade. Does it have more to do with more control and less friction on the table, making it easier to cut?
Have had to use #3 (cut twice) in the past and it works, but could someone explain in a little more detail? Same amount of material being removed from the blade. Does it have more to do with more control and less friction on the table, making it easier to cut?
Ralph Pezda
1. Allowing the board to wander away from the fence as you cut.
2. Pushing the board too slowly through the cut.
1. Allowing the board to wander away from the fence as you cut.
2. Pushing the board too slowly through the cut.
Casey Nowak
Tip #4, make sure you’re starting with a clean blade, or clean your blade.
Tip #4, make sure you’re starting with a clean blade, or clean your blade.