


When it comes to sharpening woodworking tools, consistency is key.
Sticking to the same sharpening angle means faster sharpening over time…
And more consistent performance from your chisels, hand plane blades, and other hand tools.
That’s where sharpening jigs (a.k.a. honing guides) come in. They hold your blades at a precise angle — making the process a cinch.
But how can you ensure your tools are locked in the honing guide at a consistent angle across multiple sharpenings?
Meet the setup block: A simple jig that lets you lock your tools at the exact same angle every time with minimal effort.
Today, I’m going to show you how to build your own setup block (sometimes called a protrusion stop)…
So you can speed up your sharpening process — and get back to woodworking.
1. SQUARE SOME SCRAPS
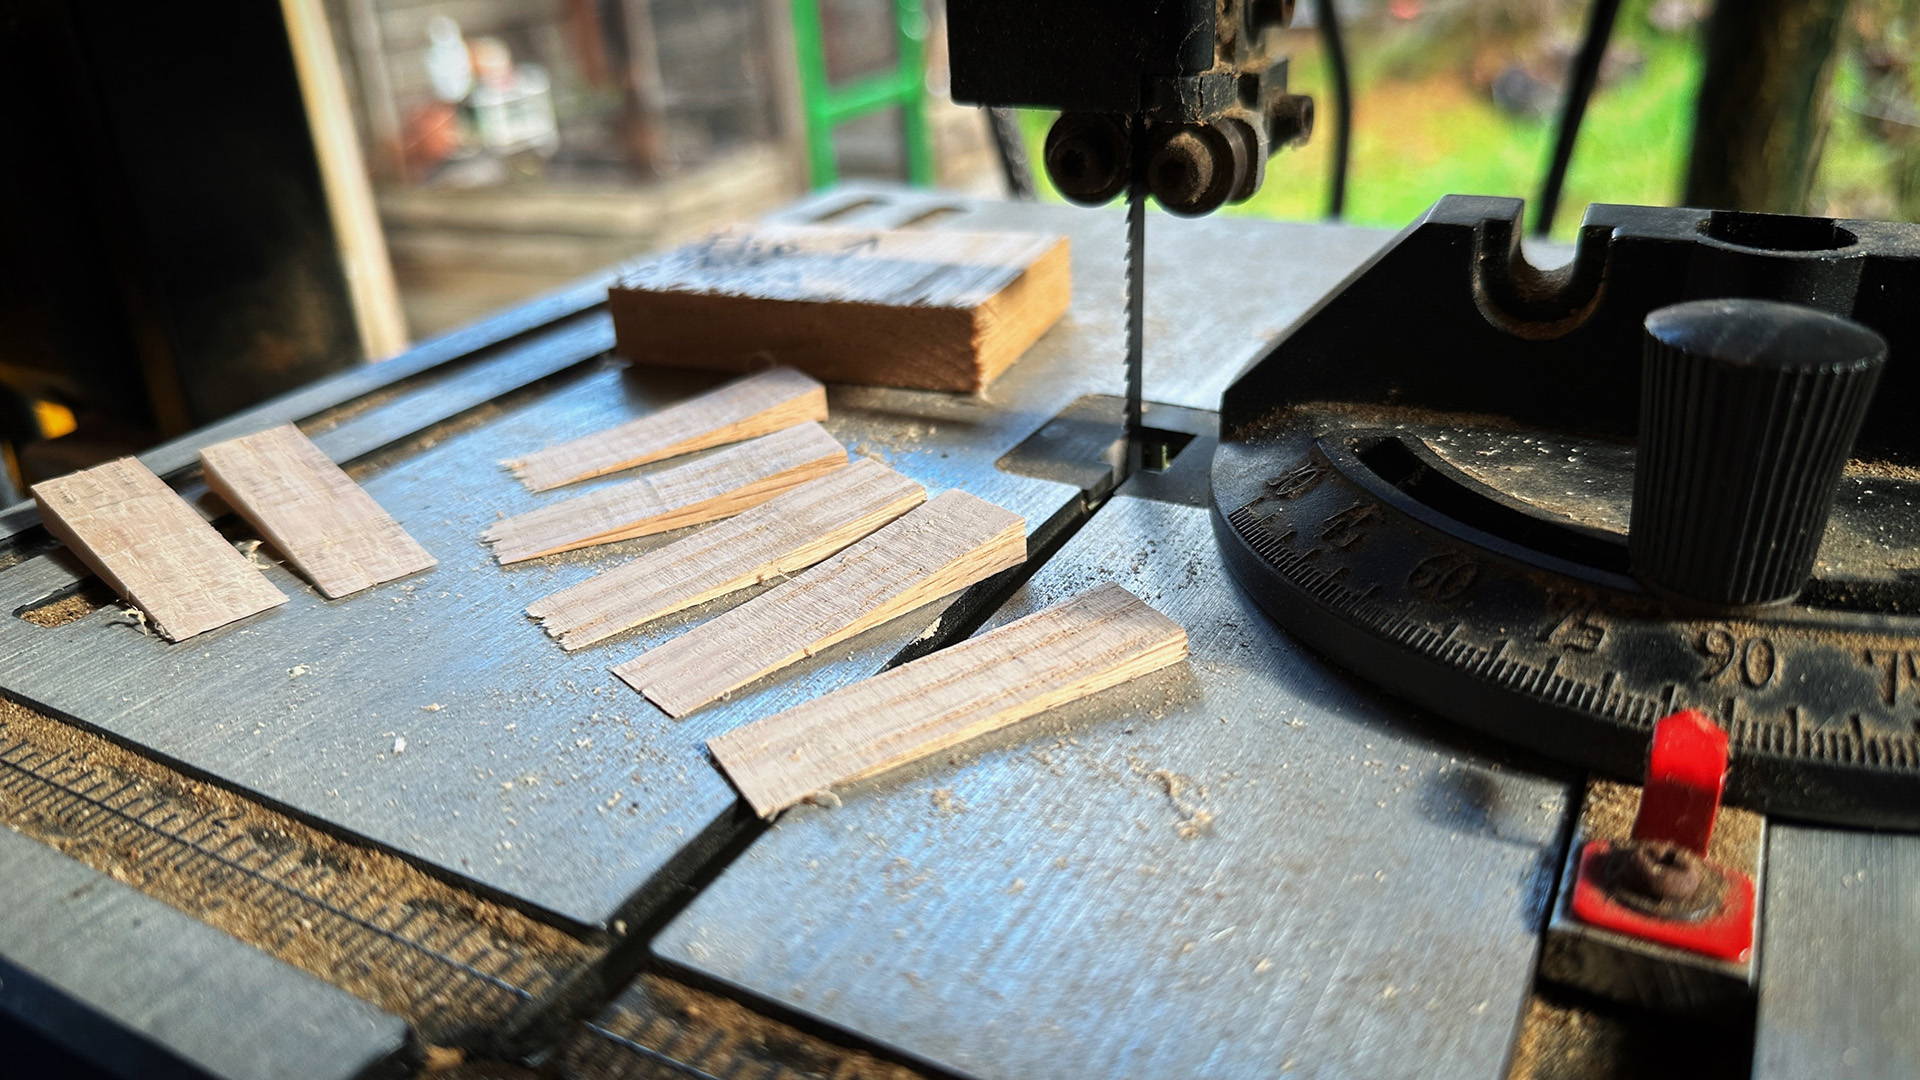
You can make your setup block out of any material you like. Hardwood, plywood, MDF — any scrap pieces around the shop will do.
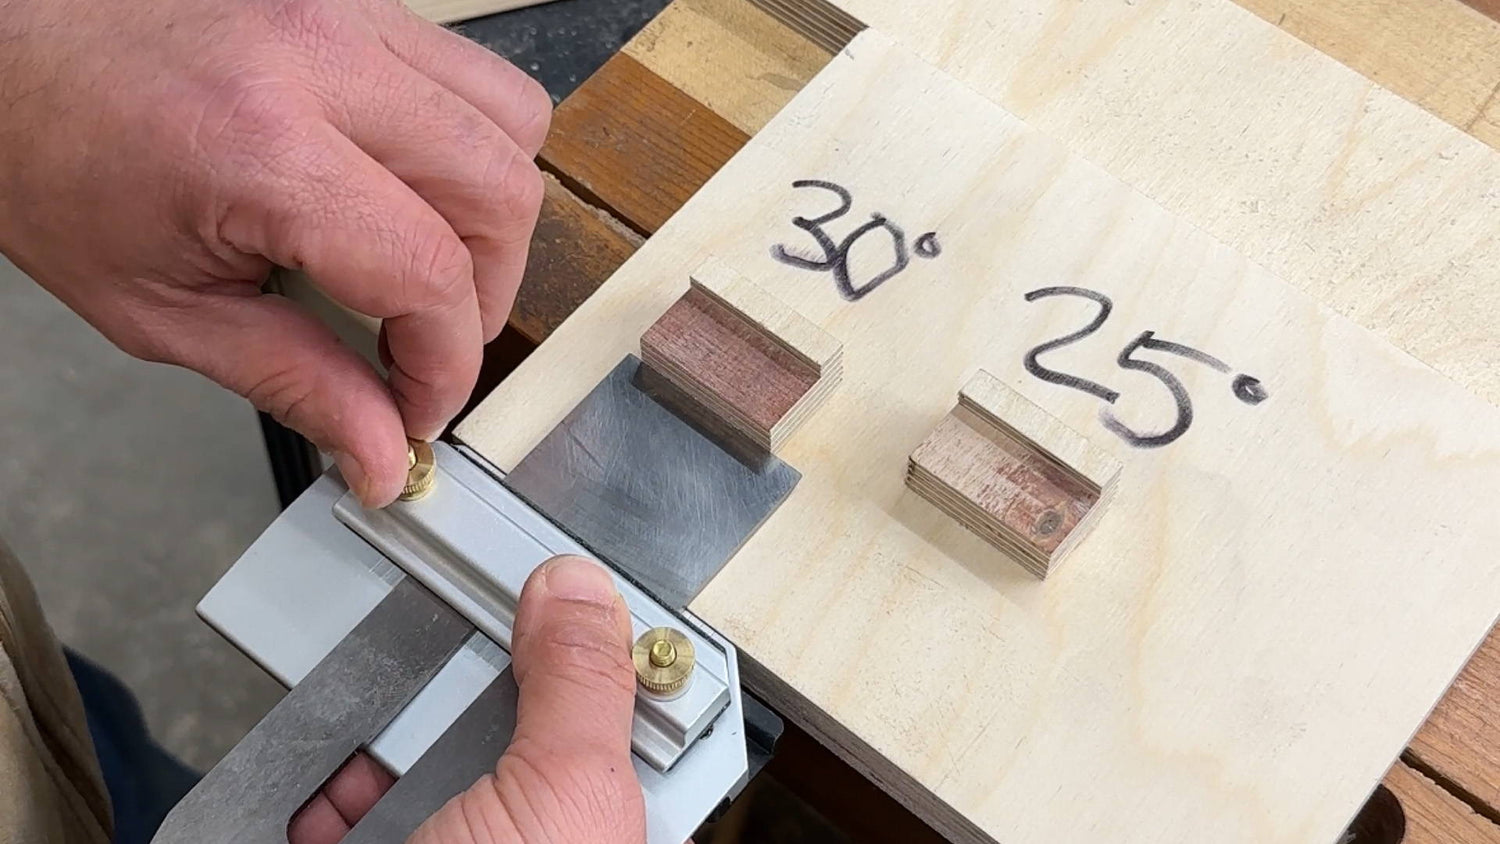
For a basic setup block, you’ll want three scrap pieces. A bigger piece for the base and two pieces that’ll act as stops (one for 25°, the other for 30°).
Start by squaring the pieces up on a crosscut sled. This will make your life a lot easier for the rest of the build.
2. LOCK A BLADE IN THE HONING GUIDE
Place a chisel or plane iron in your sharpening jig. You’re going to set it to 25°.
There are a couple ways to do this.
One is with a magnetic digital angle finder. Set it on the back of the blade and adjust the chisel’s position in the honing guide until you’re at 25°.
The other is with a protractor or sliding bevel. Set it to 25°, then do your best to match the angle of the blade to it (with the tip of the blade resting on a flat surface).
Once that’s set, you’re ready for the next step.
3. MARK A LINE FOR THE 25° STOP
Choose one side of the base piece to be your reference edge (you can mark it with sharpie).
Butt the front edge of the sharpening jig against this reference edge. Make sure the chisel is flat on the setup block base.
Now push one of the stops against the blade of the chisel. Hold it steady and set the chisel and honing guide aside.
With your marking knife flat against the edge of the stop closest to the reference edge, stab a little divet in the base piece. Set the stop aside.
Place a square against the reference edge and with your marking knife in the divet, adjust the blade of the square until it touches the blade of the knife, then lock it down.
Mark a line against the end of the square’s blade.
(Alternatively, you could just set your square using the blade's edge as a reference — just be gentle so you don't damage it).
4. ATTACH THE 25° STOP
Put super glue on the button of the stop. Now set the front edge of the stop in the marking knife line so it “clicks” into place.
Carefully lower it down flat on the base and keep pressure on it for 30 seconds. You can also use your square to help keep it snug against the marking knife line.
Once the super glue is dry, drill pilot holes and drive two screws to fully fasten the stop to the base.
Use a sharpie to write “25°” on the stop, ensuring the reference edge of the base is facing you when you do.
5. REPEAT THE PROCESS FOR A 30° STOP
Now follow all the same steps again, this time for 30°.
You can either place it next to the 25° stop (accounting for the width of your widest plane blade) or on the back side of the base.
By placing the second stop on the back, you can use the setup block on the edge of your workbench when setting up your honing guide.
The stop on the bottom holds it steady, letting you use two hands to adjust the tool in the sharpening jig.
HOW TO USE YOUR SHARPENING JIG SETUP BLOCK
Now that your setup block is done, you’re ready to use it.
Start by finding a way to steady the setup block near the edge of your workbench.
Place the chisel or plane iron you want to sharpen in your honing guide and loosely lock it down.
Now butt the edge of the honing guide against the reference edge of the setup block (it’s important to always reference the same edge of the honing guide).
Adjust the blade until the cutting edge touches the setup block, then lock it down.
You’re ready to start sharpening!
Use the 30° stop for your day to day sharpening. This is the “secondary” or “microbevel” of your cutting edge.
You only need to use the 25° stop for regrinding a new primary bevel (something you should hardly ever have to do).
SET YOURSELF UP FOR SUCCESS
With a setup block, you’ll have no problem setting your tools to a consistent sharpening angle again and again.
Need a sharpening jig? The one we carry includes a set of digital plans for making a setup block.
Want to learn more about sharpening? Read this.
Any tips for making or modifying sharpening jig setup blocks? Let us know in the comments below!
Follow us on Instagram @katzmosestools, on TikTok @katzmoseswoodworking, and check out my YouTube channel for more great woodworking content...
And as always, STAY SAFE IN THE SHOP!
3 comments
Kristn McCullough
Dyslexic here….
It is not clear how this is used.
Where do you place your chisel and how do you move it to do the sharpening?
BTW, it always helps to have a video to clearly understand. It also helps for us dyslexics for understanding angles and directions of pieces and because reading is a challenge.
Thanks tons.
Kristin
Steve
Garryck, “divot” and “divet” are essentially the same. True: “divet” is considered an old spelling, not commonly used, today. Correct, acceptable nonetheless.
Garryck, “divot” and “divet” are essentially the same. True: “divet” is considered an old spelling, not commonly used, today. Correct, acceptable nonetheless.
Garryck
Ahem.. it’s “divot”. Not “divet”.
Ahem.. it’s “divot”. Not “divet”.