


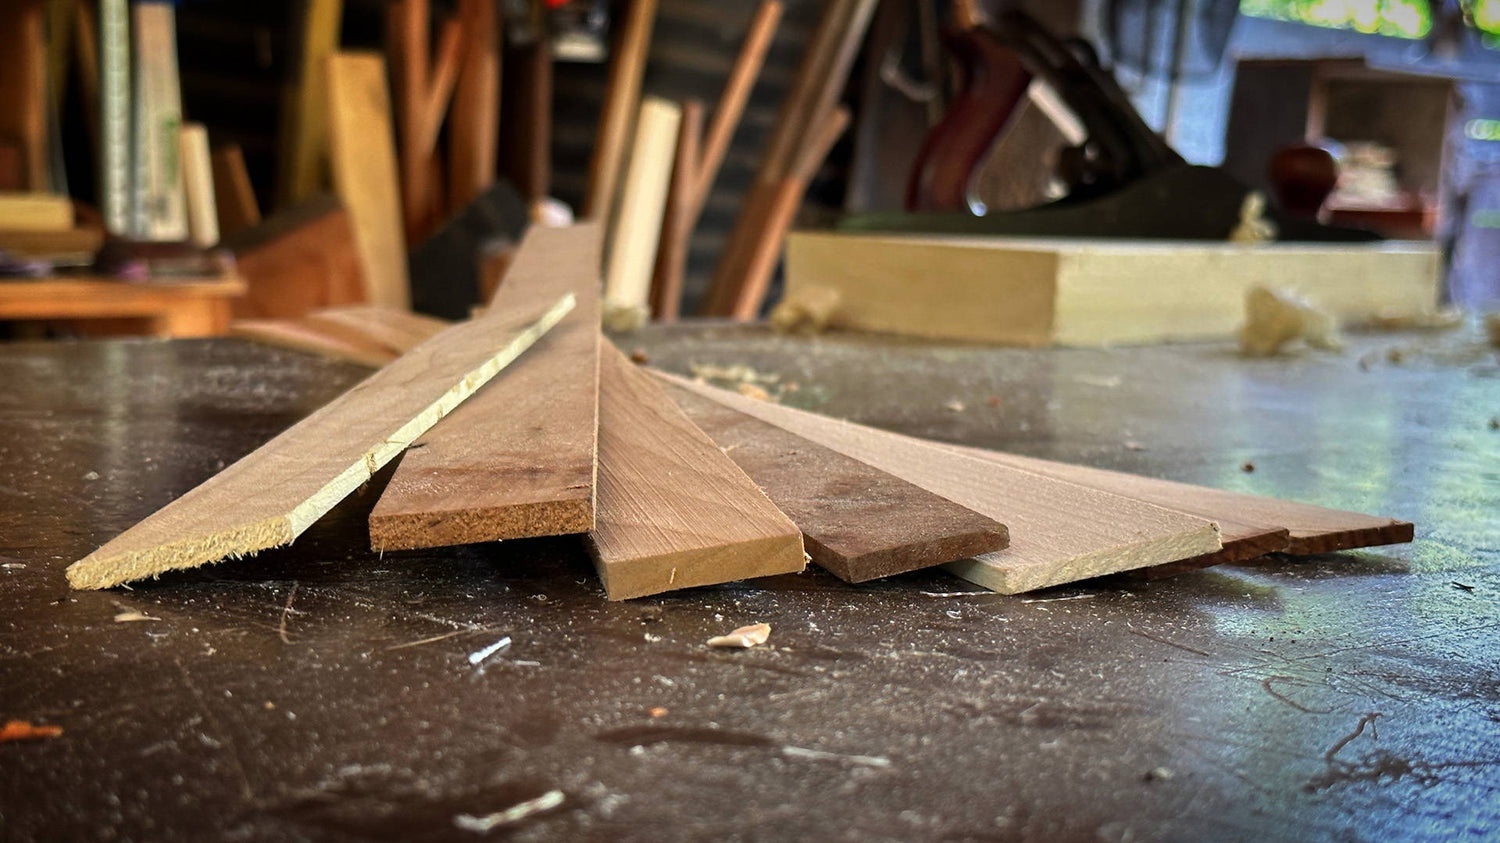
Thin strips of wood have a ton of uses in woodworking. But what's the best way to cut them?
It turns out there are multiple methods... and a few "dos and don'ts" to stay safe.
Today, I'm explaining how to cut thin strips safely with various tools — and exploring creative ways you can use them in your next project.
Whether you're planning a piece that requires thin strips — or just have pieces lying around you've been wondering how to use — this post will guide you to success.
Need to rip a lot of thin strips? Check out our table saw thin strip jig here.
WAYS TO USE THIN STRIPS IN YOUR WOODWORKING PROJECTS
EDGE BANDING
Edge banding is the secret sauce of finishing work — especially if you work with plywood.
It's a thin strip of wood that's often glued to the exposed edge of plywood to give it a cleaner, more finished look.
Done right, edge banding can make plywood furniture look like it's made entirely from hardwood. Call it plywood camouflage.
But edge banding isn't just for plywood. Use a contrasting wood species to add a pop of visual interest to your projects and elevate them from "meh" to "magnificent".
And if you need help flush trimming edge banding, the 6-in-1 Universal Trim Router Jig (pictured above) makes it easy.
INLAY WORK
Inlays add an extra touch of craftsmanship to your work, and thin strips of wood are the ideal accomplice.
Working on a jewelry box or a fancy chessboard? Thin strips of contrasting species can be inserted into grooves or incorporated in your glue-up to create simple borders or intricate patterns.
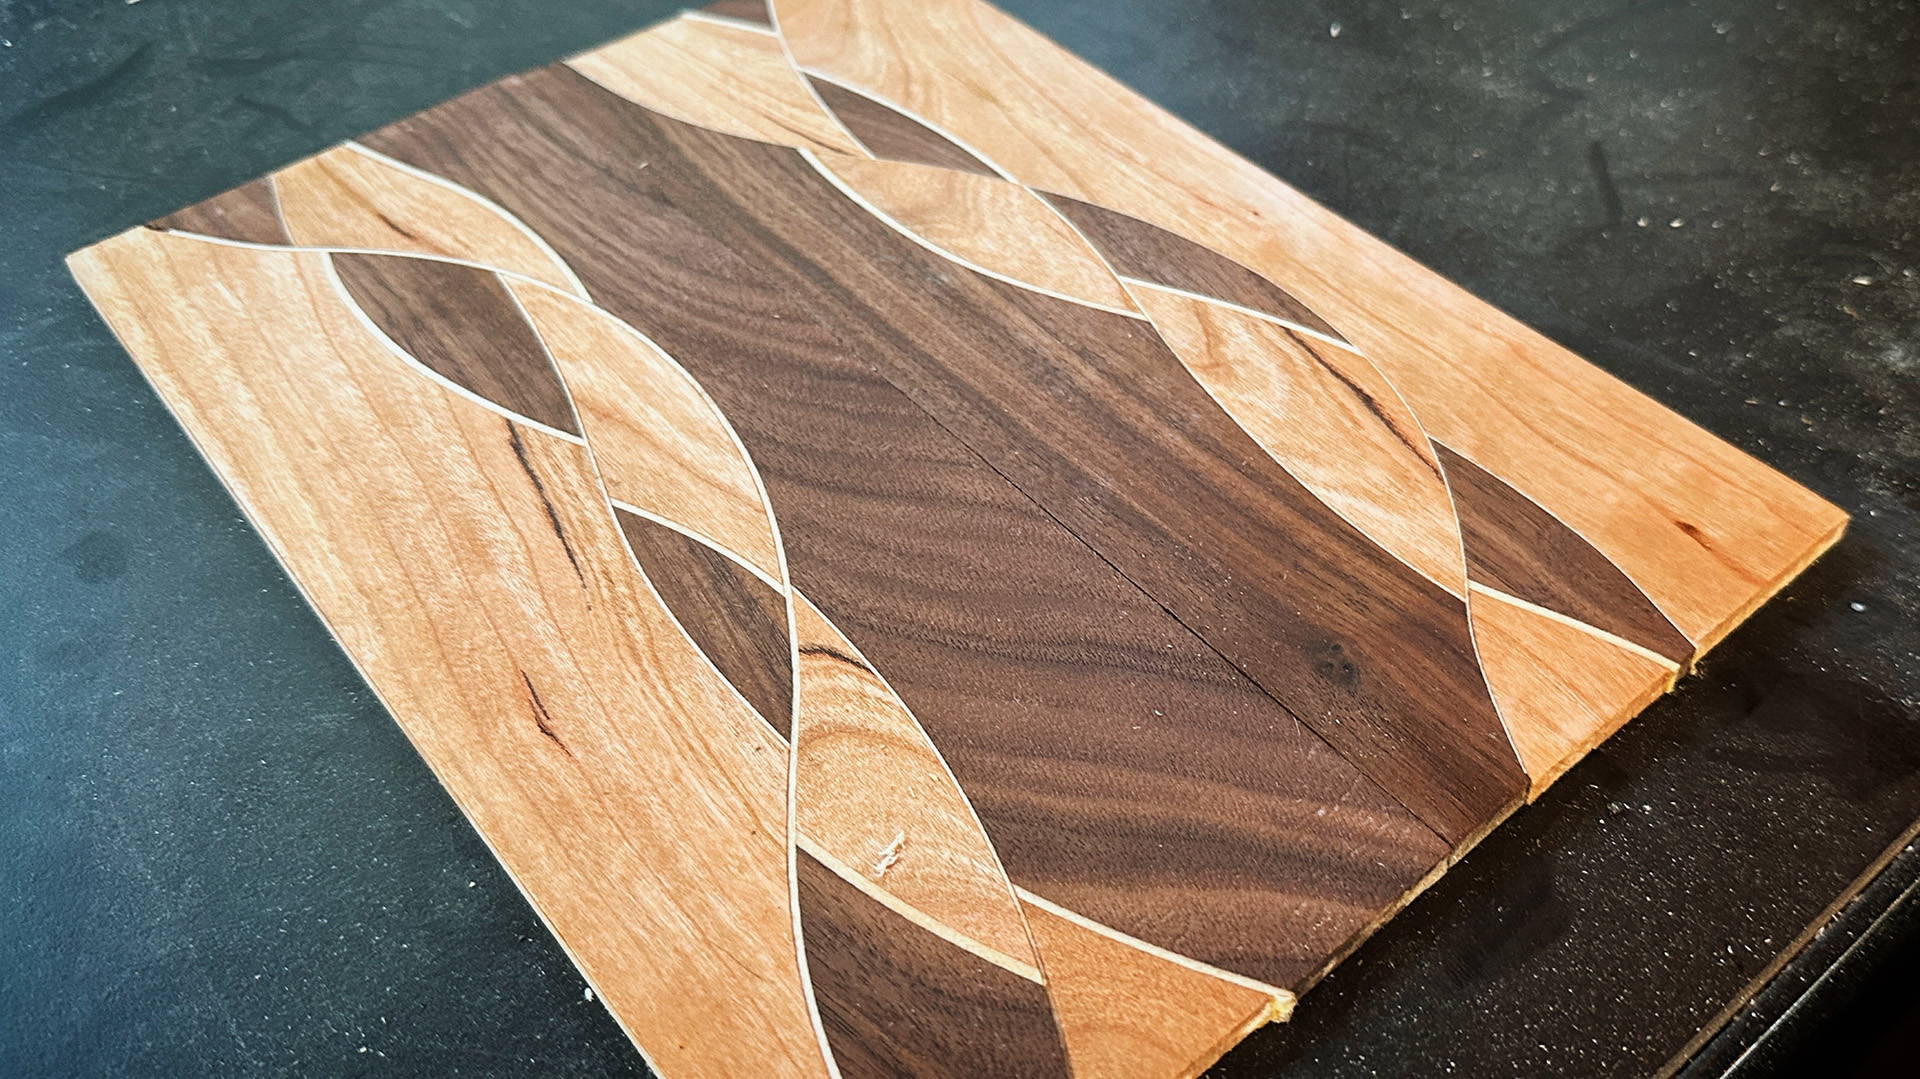
A really cool way to use them is to add curved designs to projects. Cut a board apart with a curved cut on the bandsaw. Then glue the two pieces back together with a thin strip of wood between. It'll perfectly conform to the curve and create a seamless-looking joint.
My buddy Fisher's Shop has a great video where he takes this technique to the next level to create some mind-boggling cutting boards.
CURVED FURNITURE COMPONENTS
One of the best uses for thin strips is creating curved furniture components with a technique called bent lamination.
It works by gluing multiple thin strips together. But instead of laying them flat, they're pressed against a form/template of the desired shape. Position the strips against the reference form, applying a layer of glue between each one, then clamp them in place.
As it dries, the strips will take the form's shape.
This method ensures that there's no weak short grain, making it perfect for parts that need to withstand stress. Think about the rockers on a rocking chair or curved armrests.
VENEERS
While veneers are usually made from a single full-width piece of wood, you can totally use thin strips to cobble one together.
The trick is in how you arrange the strips. If cut from the same board and arranged in sequence, you can get a grain pattern that blends together and can even look like a solid piece of wood.
It's a great solution if your bandsaw doesn't have a lot of resaw capacity or you're working on a smaller project.
HOW TO CUT THIN STRIPS ON A TABLE SAW
The table saw is my go-to tool for cutting thin strips. But the process might not be what you think.
What you don’t want to do is place the table saw fence really close to the blade. This can cause the board to bind between the blade and fence — leading to a kickback.
Instead, set up a stop or thin rip jig on the opposite side of the blade from the fence.
Make sure the stop is securely locked in place, and adjust its distance from the blade to match the desired thickness of the strips.
Now, gently guide the board against the stop and lock down the table saw fence against the other edge. Set up a featherboard and make the cut. Your thin strip will be the offcut.
Repeat this process for each cut, adjusting the fence position so the outer edge of the board is butted up against the stop.
This method lets you quickly and safely produce multiple thin wood strips of the same thickness.
You can use a lot of different tools or jigs to act as the stop, but my favorite is this thin rip jig.
It slides in your table saw's miter slot, can be adjusted for different strip thicknesses, and has a wheel that lets your board slide smoothly through the blade.
Oh, and using a dedicated ripping blade is a good idea to keep the cuts cool and avoid scorching the edges.
HOW TO CUT THIN STRIPS ON A BANDSAW
A bandsaw is a safe and effective tool for cutting thin strips (no risk of kickback) — but the strips might need a little cleanup.
Start by positioning the fence at the desired strip thickness, ensuring it's square to the blade.
Then slide your board against the fence and guide it steadily through the cut. For greater precision, you can use a featherboard.
The strips might end up a bit rougher than those cut on a table saw, but it's nothing a hand plane can't fix. A couple of strokes and you've got some smooth, perfectly thin strips.
And the advantage of a bandsaw is you can safely cut much wider strips than a table saw can handle (as well as resawing).
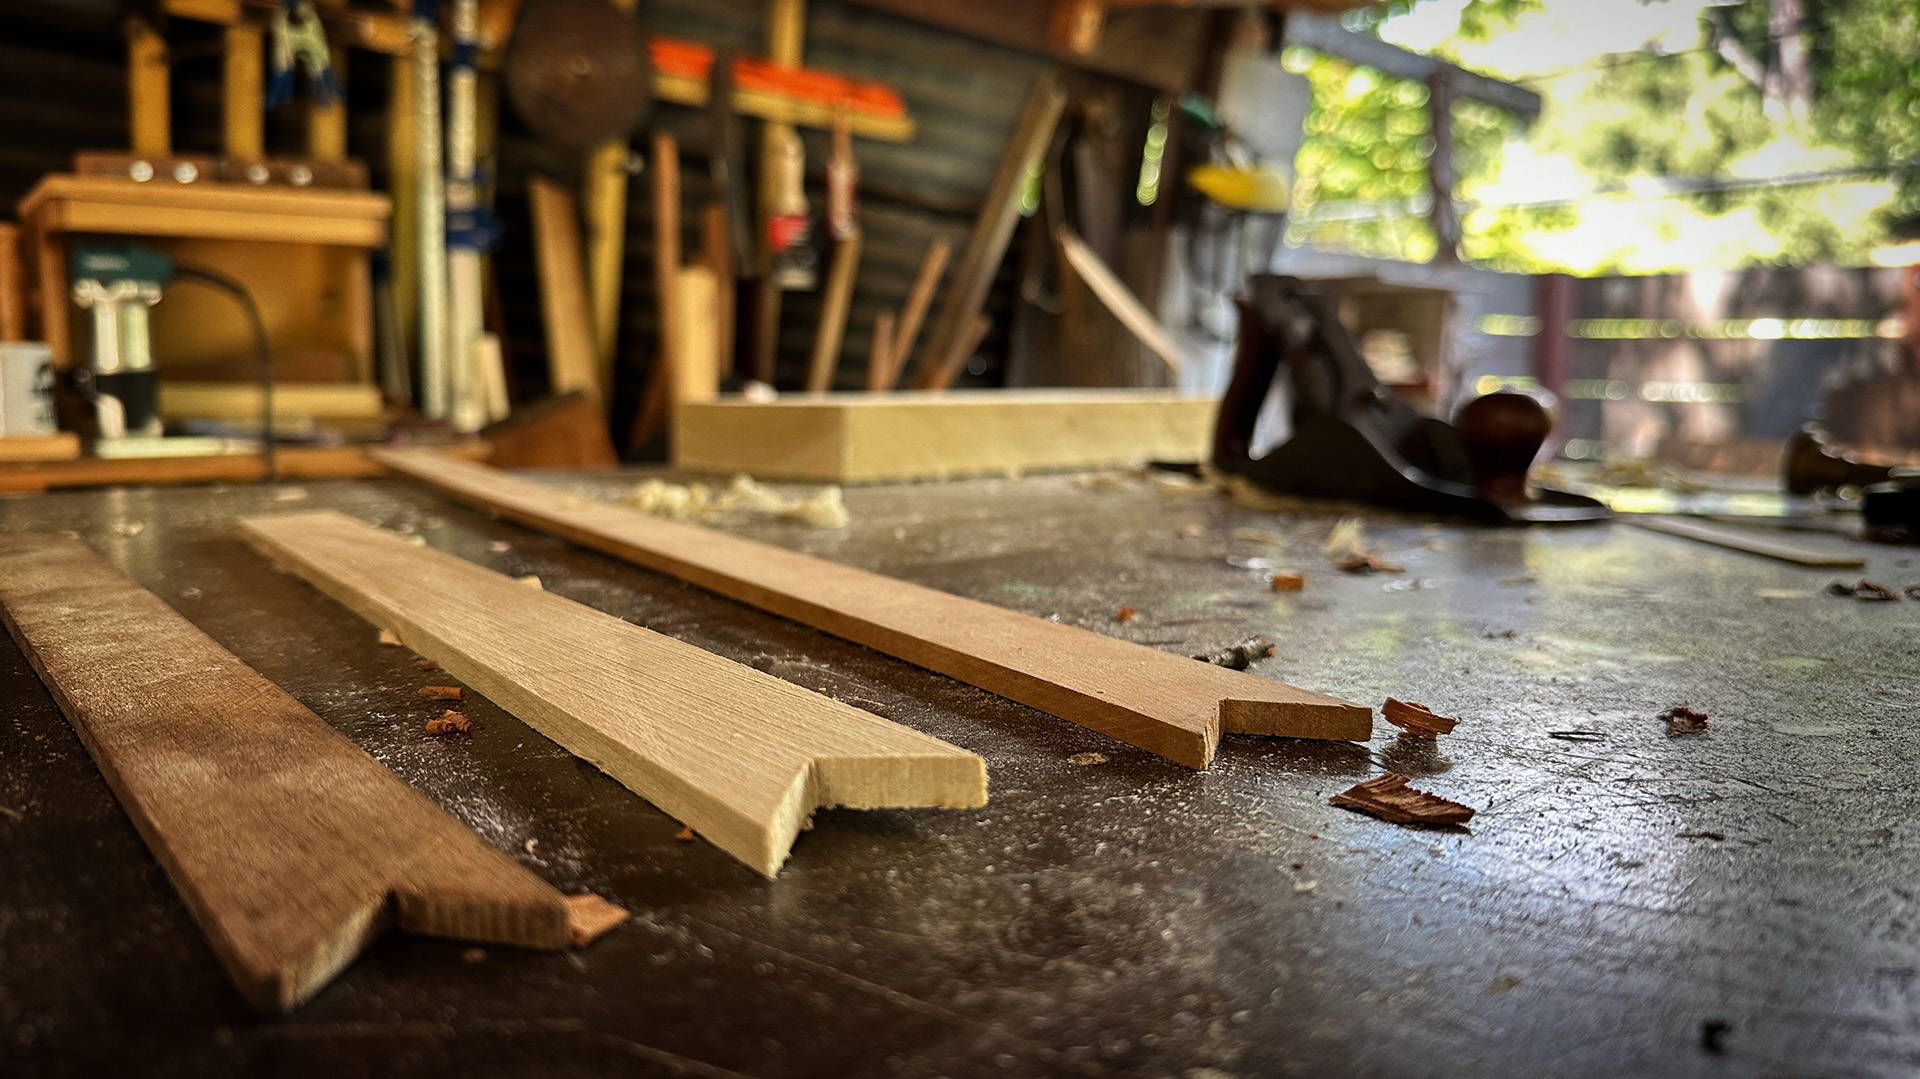
HOW TO CUT THIN STRIPS WITH HAND TOOLS
Cutting thin strips with hand tools is a bit more labor-intensive ("a bit" might be an understatement). But it can be done.
Start by marking the thickness of the strip you want with a marking gauge. The marking gauge should run against the straight, jointed edge of the board to get an accurate line.
Once you've marked the board, grab your hand saw. A ripping saw with big teeth and gullets is the tool of choice here. Start cutting on the waste side of the line. You want to get as close to the line as possible without crossing it.
Take your time; speed isn't the goal. Steady, consistent strokes are key. (Here are a few tips on hand sawing).
After the cut is made, you'll find the freshly cut side of your strip is pretty rough. That's where your hand plane comes in.
Clamp a thin stop on one end of your bench to keep the strip steady (or hold it down with a strip of double-sided tape). Then run the plane along the rough side, taking off shavings until you reach the marking gauge line. With care and patience, you can get a smooth, even strip.
Use a hand plane to re-joint the rough edge of your board and repeat the process. I hope you're ready to sweat.
DON’T TRIP OVER THIN STRIPS
Whether you're a power tool enthusiast or a hand tools purist, there's a thin strip cutting method that's right for you.
Mastering these techniques can open up new possibilities in your woodworking repertoire...
So fire up that table saw — or wax up that hand plane sole — and get to stripping (not like that...).
Want better results at the table saw? Here's 10 Essential Table Saw Accessories for Safe and Accurate Cuts.
Know another way to cut and use thin strips? Let us know in the comments below!
Follow us on Instagram @katzmosestools, on TikTok @katzmoseswoodworking, and check out my YouTube channel for more great woodworking content...
And as always, STAY SAFE IN THE SHOP!
3 comments
John
I have used your table saw and bandsaw methods. They work well. However, my go to method for thin strips is a jig. I use a 6inch by 16" or so piece of plywood against the fence with a small tip glued/nailed/screwed to the bottom that sticks past the 6 inch ply. Set your table saw to 6" plus the width of the desired strip width and rip away.
I found i can get very consistent widths this way.
By the way, This is not an original idea.
Frank
I like the table saw with a stop method – maybe try setting the blade height 1/64” under the top of the board so that a “bridge” is left between the mother board and the strip? (The thin strips being between the blade and fence) Then break it off – trim the edge and push it thru again and again. Or use a router table with fence? The router bit height set just below the top of board – maybe a much cleaner cut?
I’ve found that the thin strip vibrates, easy to burn thin wood and leaves saw shadows when parting.
Thin strips are a great way to use up long off cuts of nice wood!
Thanks!
Frank
Remy
Thank you for all your videos and blogs. Very instructive… question: i have to make a frame with 3/4 thick, 2.5 wide and 48 length oak planks. I need to cut the boards to 3/8 thickness. How would you recommend to do it on a table saw? Thank you
Thank you for all your videos and blogs. Very instructive… question: i have to make a frame with 3/4 thick, 2.5 wide and 48 length oak planks. I need to cut the boards to 3/8 thickness. How would you recommend to do it on a table saw? Thank you