Workholding: The art of getting a board to stay put while you shape it with your tools.
A lot of people default to modern clamps. But they're not always the best solution.
Regular clamps don't give you full access to a board's top face. And they're pretty slow to attach and remove if you need to repeatedly move a board around.
But there are so many other ways to keep boards still.
Today, I'm giving you 11 workholding techniques — a mix of timeless classics and modern solutions — that keep boards steady as a rock.
These strategies can save you time and help you get better results...
So let's get rocking (not your boards, though).
BUTT & KNEE CLAMP
The butt clamp is a work-holding solution that has stood (or sat) the test of time.
By using a low workbench (check out these plans), you can comfortably sit on top of a board while you work. This is great for heavy chisel work like mortises, or even a bit of hand planing.
Need to rip or crosscut a board? Hold it steady with a knee instead.
Best Uses:
- Heavy chisel work
- Light hand planing
- Rips and crosscuts with a hand saw
PLANE STOP
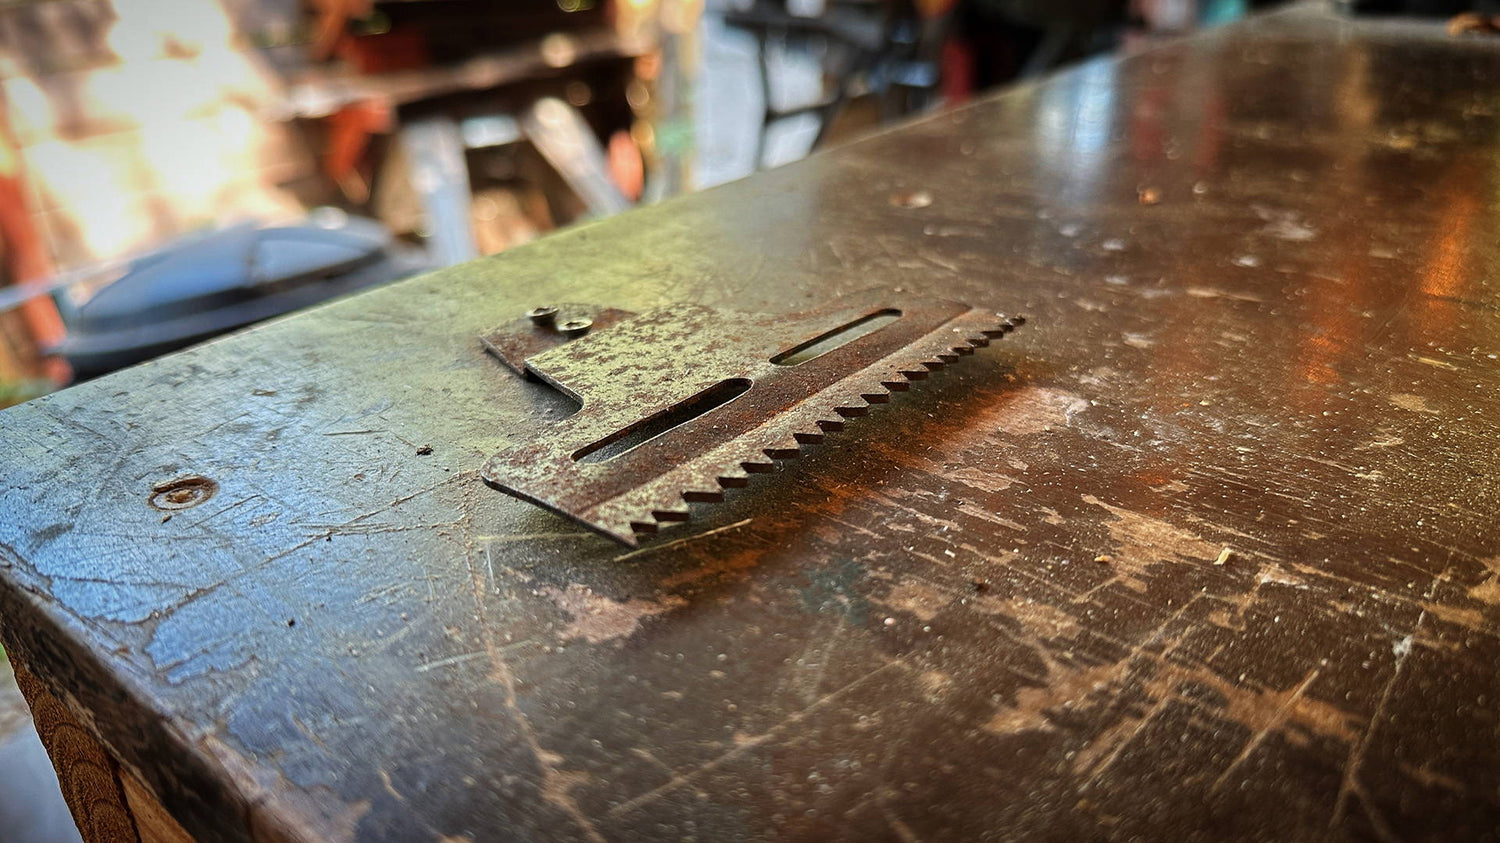
A plane stop, at its most basic, is a little ledge on your workbench.
It can be as simple as a thin piece of wood screwed into your bench, or as fancy as a blacksmith-forged claw that fits in a wooden tenon and adjusts up and down.
Plane stops resist movement in one direction — which is perfect for hand planing board faces (hence the name).
Some have little teeth that grip the end grain edge of the board even tighter. You can even make your own plane stop with an old hinge and a file.
Plane stops won't resist lateral movement... unless you add the next workholding trick mentioned below…
Best uses:
- Heavy and light hand planing with the grain
DOE’S FOOT
A doe's foot is an awesome, old-school work holding solution that works in tandem with a plane stop.
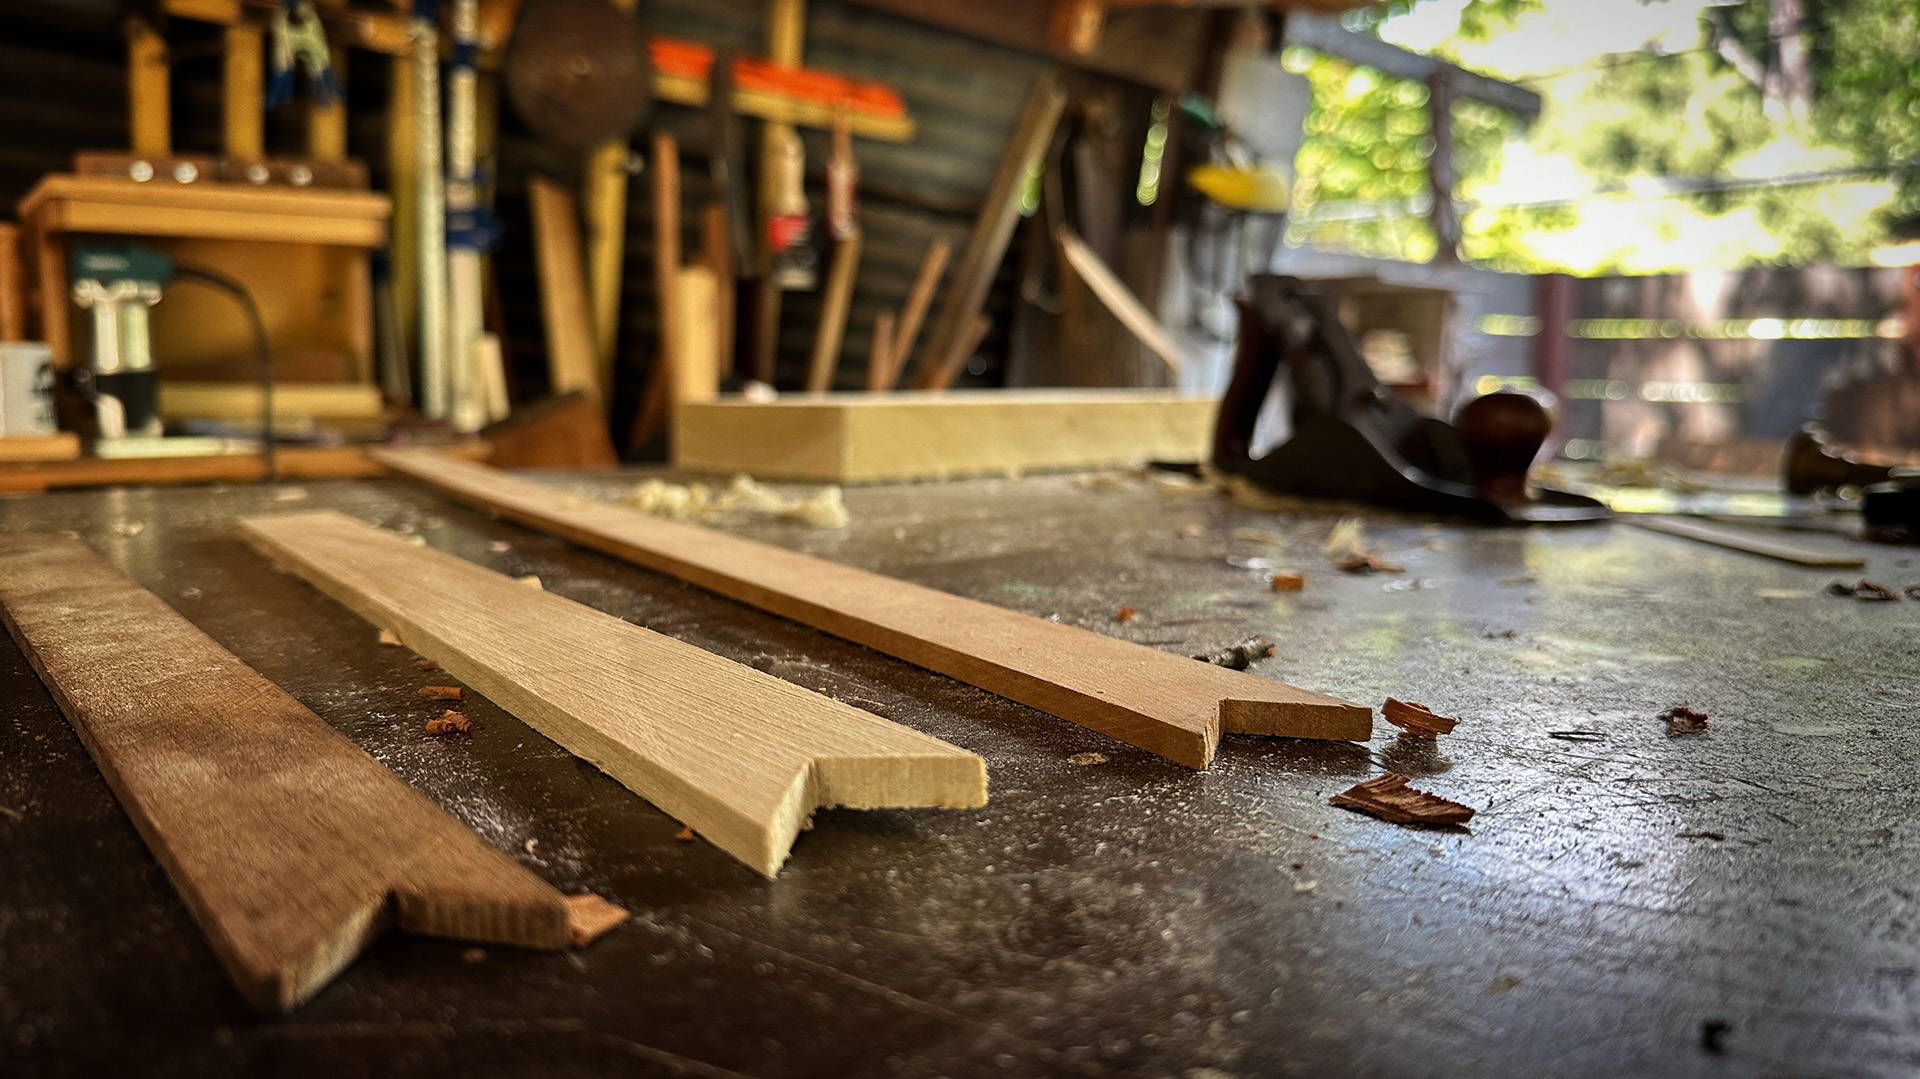
It's easy to make yourself. Just cut a bird’s-mouth notch cut at the end of a strip of wood and you're done.
The mouth locks around one corner of the board (the corner opposite you and the bench stop), and the far end is locked down with a clamp or holdfast.
By some miracle of physics, the doe's foot lets you plane across the grain without the board budging. Even when it's at an angle
It’s so useful because you can quickly flip a board around to deal with shifting grain direction or inspect your work.
Best uses:
- Heavy and light hand planing with and across the grain
BENCH HOOK
A bench hook is another great workholding jig you can easily make yourself.
It's made up of a flat board with two fences on opposite sides and faces. One fence hooks onto the side of your workbench, while the other works as a stop for your workpiece.
The idea is to provide resistance against the cutting direction of your saw.
For western push saws, make one that hooks onto the side of the bench closest to you. If you're using Japanese pull saws, a longer jig that hooks onto the opposite side of your workbench works better.
With this jig, you'll be able to make precise crosscuts while minimizing your setup time. And you won't have to power-hold boards down like they're rabid animals.
Best uses:
- Crosscuts with hand saws
HOLDFAST
Holdfasts are kind of like the old-school version of squeeze clamps.
They consist of a long piece of iron or steel with a curved top.
The stem of the holdfast sits in a hole in your workbench (called a doghole), and uses angles and friction for holding power. Just knock it down with a mallet to hold work steady, then hit it from the back to loosen it up.
You might want to place a leather pad or piece of scrap wood between the holdfast and workpiece to avoid marring the surface.
Just know that like clamps, they don't give full access to the top face of a board.
Best uses:
- Heavy and light chisel work
VISES
Vises are a workbench standard, and there are all sorts of styles.
Moxon vises, leg vises, tail vises. You get the picture.
These are ideal for holding boards vertically or sideways, like when you’re cutting joinery or jointing an edge.
You just want to make sure that the inner jaws of the vise won't dent or gouge your workpiece. A bit of cork or leather does the job.
Want to make your own vise? Check out these physical templates for a moxon vise as well as these plans for a benchtop moxon vise joinery workbench.
Best uses:
- Hand cutting joinery
- Edge planing
BENCH DOGS
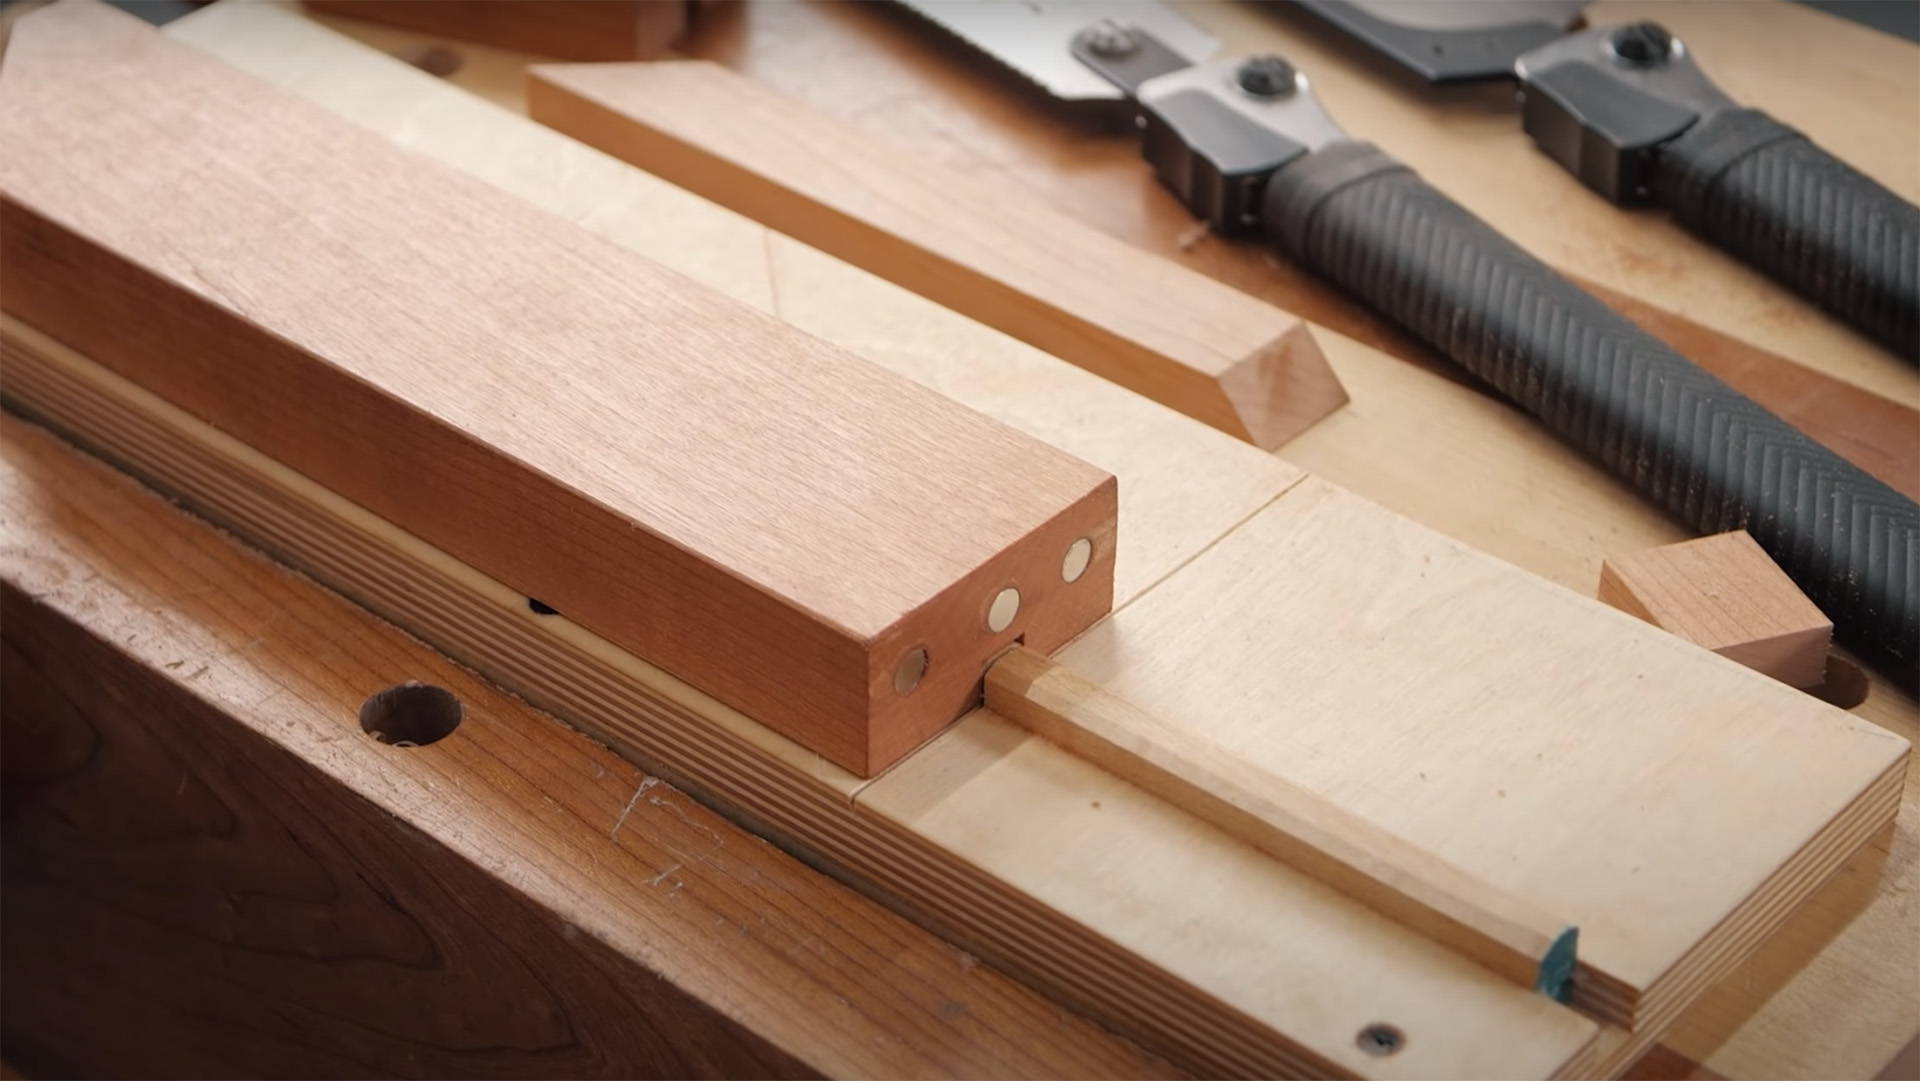
Bench dogs are used with a vise to hold boards super securely.
They come in all sorts of iterations — but can be as simple as a dowel you cut into smaller pieces.
One or two bench dogs sit in dog holes on your vise while others are laid out along your workbench. As you tighten the vise, the bench dogs clamp around your board.
They're great because they leave the top face of a board fully accessible — but you need to be careful with thin boards. Tighten the vise too much, and the board can bend… which leads to some pretty wacky results after hand planing.
Best uses:
- Heavy and light hand planing with and against the grain
- Heavy and light chisel work
- Heavy and light router work
- Sanding
SHAVEHORSE
The shavehorse is a bonafide classic in the world of woodworking. It's part workbench, part vise, and a classic workstation for drawknives and spokeshaves.
The clamping action is controlled with your feet while you sit, which lets you quickly release and lock boards down. This is super useful for spindles and rounded pieces where you constantly need to rotate and inspect your work.
Shavehorses are also a fun project to build — and even more fun to use.
Best uses:
- Drawknife and spokeshave work
- Spindles
DOUBLE-SIDED TAPE
Double-sided tape is a quick and easy modern solution to workholding.
Put a strip or two of double-stick tape on the underside of your workpiece and attach it to your bench.
It has an impressive amount of holding ability, making it a viable option even for light power tool work.
Best uses:
- Light router work
- Sanding
RUBBER PAD
A rubber pad is a super simple way to keep boards steady for light-duty work.
I never go without one while sanding. On top of keeping my workpiece from bouncing around, it ensures no stray wood chips dig into the bottom.
You can also use them for light routing work, like small edge profiles.
Get your own rubber sanding and finishing pad here.
Best uses:
- Sanding
- Light router work
VACUUM TABLE
This may be the highest-tech form of workholding, and it uses suction to hold boards steady.
Vacuum tables are mostly only used on CNCs, but there's no reason you can’t set one up on your workbench if you’re so inclined.
They can be a little finicky to get working well, and they're only going to work as well as your spoilsboard. So testing and improvement are key.
Best uses:
- CNC work
STEADY DOES IT
In the end, the best workholding solution depends on the type of work you're doing.
But there are clearly A LOT more options beyond just clamps.
A steady board means precise cuts and a safer working environment. So make sure you find the best method for your needs... and get to shaping.
Curious about clamps? Here’s 7 clamping tips for stress-free glue-ups.
What other workholding solutions do you use? Let us know in the comments below!
Follow us on Instagram @katzmosestools, on TikTok @katzmoseswoodworking, and check out my YouTube channel for more great woodworking content...
And as always, STAY SAFE IN THE SHOP!


9 comments
MobilephoneBill
I have gone all-in on the Match Fit System. I use a combination of dovetail clamps, dogs, stops, and cams to hold the work securely. Of course double-sided tape (or painters tape / CA glue) is great for template cutting too. I do seem to struggle holding thin strips of if I have to plane the saw marks off – any tips?
I have gone all-in on the Match Fit System. I use a combination of dovetail clamps, dogs, stops, and cams to hold the work securely. Of course double-sided tape (or painters tape / CA glue) is great for template cutting too. I do seem to struggle holding thin strips of if I have to plane the saw marks off – any tips?
Denny
I sometimes get my wife to hold the wood.
I sometimes get my wife to hold the wood.
Dan
Use my plane stop, and hold fast have for the past 2 years. I have not used a deers foot yet. But would like to check it out. Pinch dogs work too. I usally use mine on a 4 × 4 then put the wood to be planed on the 4 × 4.
Use my plane stop, and hold fast have for the past 2 years. I have not used a deers foot yet. But would like to check it out. Pinch dogs work too. I usally use mine on a 4 × 4 then put the wood to be planed on the 4 × 4.
Peter
In “old” Asia where some of the finest joinery come from, few craftsman, if any, have a Western style workbench. Low wide saw horse-like bench suffice. Materials are held using their feet, butt and other means. Of course even older people in Asia are able to squat and work close to the ground. String or rope with toggles to tighten the tension and wedges are used to hold joints tight if they’re using glue.
In “old” Asia where some of the finest joinery come from, few craftsman, if any, have a Western style workbench. Low wide saw horse-like bench suffice. Materials are held using their feet, butt and other means. Of course even older people in Asia are able to squat and work close to the ground. String or rope with toggles to tighten the tension and wedges are used to hold joints tight if they’re using glue.
Rod Hyatt
Wedges work for me for workholding – planing, carving etc. Clamps for gluing boxes.
Wedges work for me for workholding – planing, carving etc. Clamps for gluing boxes.
John McBratney
I use several of these , bench dogs, vice (of course), various stops (my Danish joinery bench has square bench dogs all along the front), end vice (holds stop pieces) and wedges. Wedges are a forgotten art and when used with bench dogs and other stops they are very effective. I have several hand made saw stops that hold in the bench vice, the trick here is make sure the initial cut is square to the back piece.
Lancefield, Victoria, Australia
Anonymous
Excellent job on encapsulating multiple methods of securing work pieces. Personally, I tend to use a couple of these ideas, but good to read a straight forward, concise, article for review. Nice job!
Excellent job on encapsulating multiple methods of securing work pieces. Personally, I tend to use a couple of these ideas, but good to read a straight forward, concise, article for review. Nice job!
Andy Palmer
I am having trouble visualizing the doe’s foot option you mentioned. Might be because I’m not familiar with a birds mouth notch. Can you show the example from a different angle?
Thank you for everything you do…
I am having trouble visualizing the doe’s foot option you mentioned. Might be because I’m not familiar with a birds mouth notch. Can you show the example from a different angle?
Thank you for everything you do…
Roland Kennedy
When making a chess board i use sliding tapers that engage underneath a bar that is an inch or so above the work piece. The bar is attached to the base…that is larger than the chessboard. i can use multiple pairs of tapers, in parallel, to hold down each rank/file, keeping them uniformly flat, while gluing them to their base and to each other…and at the same time exerting pressure from the side with two toggle clamps…that work against a stop on the opposite side. i use spacers, depending on how many slats i am gluing at once. i get uniform sideway pressure and downward pressure…does a great job. i could send a photo of the jig with its ‘holders’ in place..to anyone interested. R.
When making a chess board i use sliding tapers that engage underneath a bar that is an inch or so above the work piece. The bar is attached to the base…that is larger than the chessboard. i can use multiple pairs of tapers, in parallel, to hold down each rank/file, keeping them uniformly flat, while gluing them to their base and to each other…and at the same time exerting pressure from the side with two toggle clamps…that work against a stop on the opposite side. i use spacers, depending on how many slats i am gluing at once. i get uniform sideway pressure and downward pressure…does a great job. i could send a photo of the jig with its ‘holders’ in place..to anyone interested. R.