


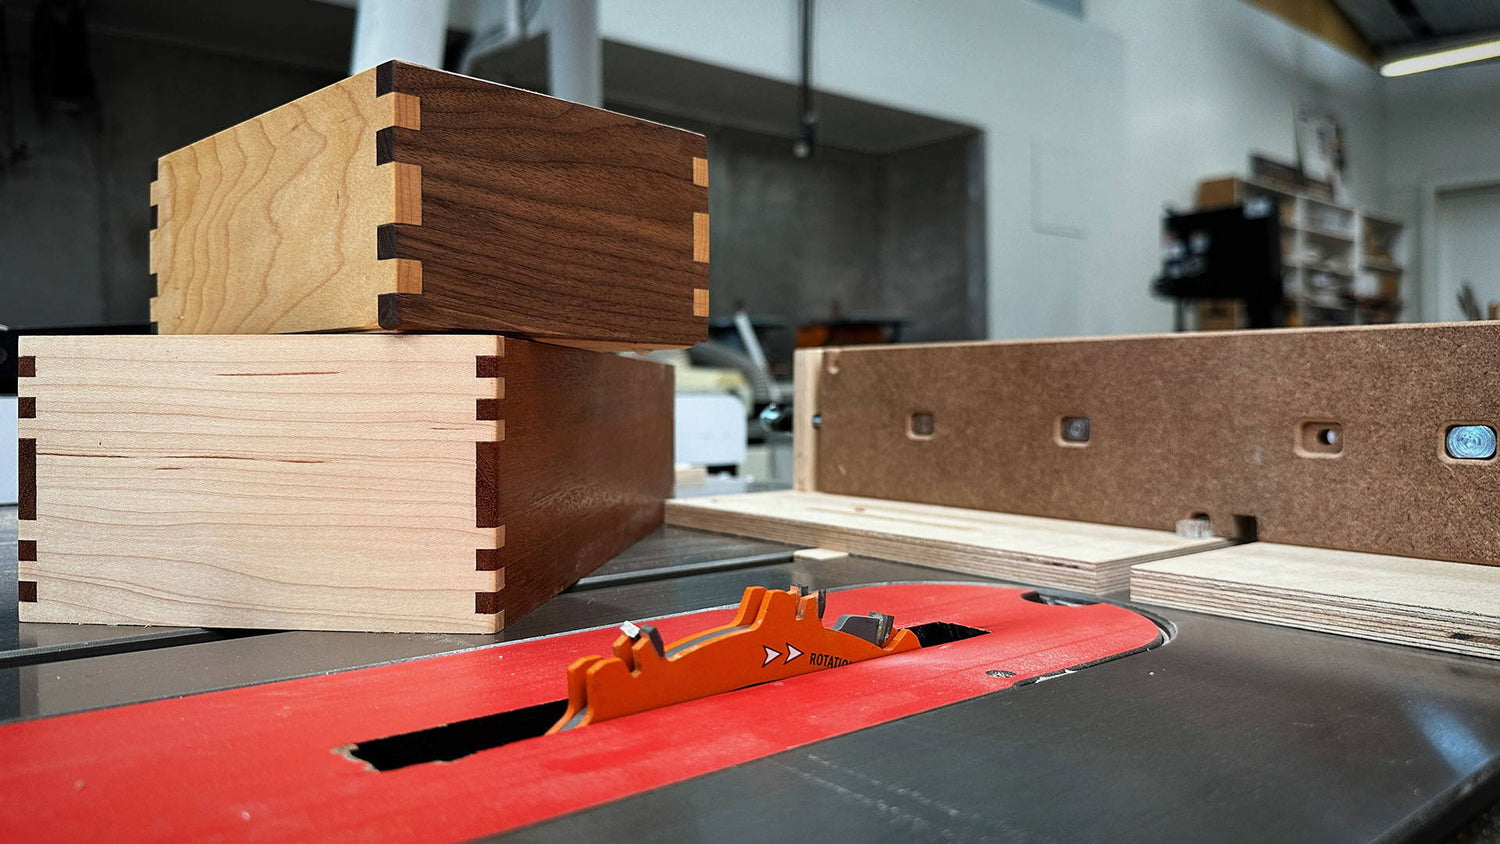
Box joints might be the FASTEST joinery style to build super strong woodworking projects.
They’re easy to cut quickly and accurately with a jig…
They provide a TON of gluing surface for a super strong joint…
And they can be used for everything from cabinets, to jewelry boxes, to drawers.
The tricky part? Setting up your box joint jig accurately and using it the right way.
Today, I’m walking you through the process of setting up and using a box joint jig for a perfect fit — so you can build better projects faster.
Note: This blog won’t cover how to build a box joint jig — just how to set one up and use it.
And if you want to avoid the hassle of building your own, the KM Tools Universal Box Joint Jig is now on presale for you to order!
WHAT ARE BOX JOINTS?
Box joints are like the dovetail joint’s inbred cousin.
I kid. But they do have a lot in common with dovetails (and may lack genetic diversity).
Like the pins and tails of dovetails, box joints feature multiple interlocking “fingers.”
The difference is that box joints are cut at 90° instead of the wedge-like angles of dovetails. And that makes them SUPER easy to cut.
Since there are no weird angles, you can cut the entire joint on a simple jig that works on your table saw or router table. No hand tool work required.
But are box joints as strong as dovetails? With the strength of modern glues, I’d argue there’s minimal difference.
And since box joints allow for so much long grain to long grain gluing surface, they’re certainly strong enough for any piece of furniture.
(Plus, there’s the fact that you can cut box joints probably twice as fast as dovetails).
Because of their strength, aesthetic appeal, and approachability, box joints are one of the BEST joinery styles for beginner woodworkers.
You just need to learn how to work a box joint jig.
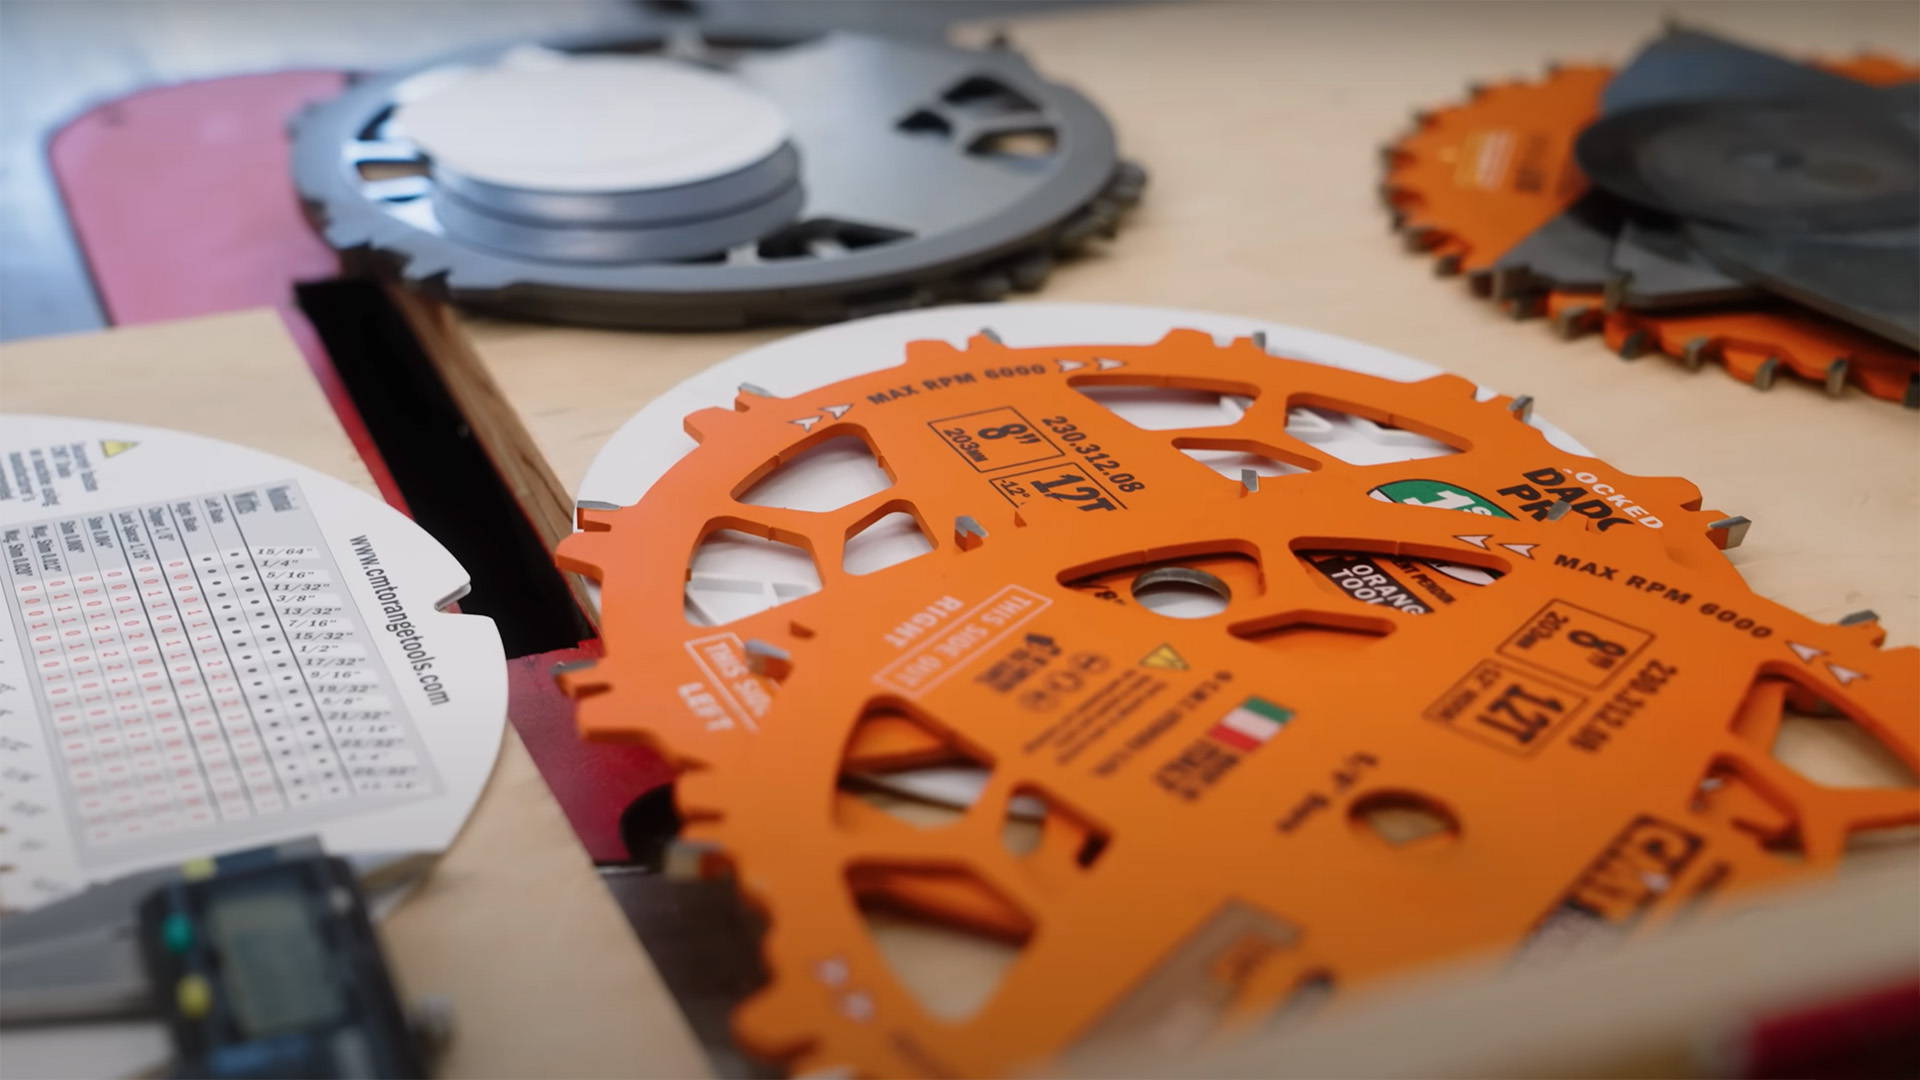
The Katz-Moses Tools Universal Box Joint Jig is designed to be used on a table saw with a dado blade (but box joint jigs can be built to work on router tables as well).
So let’s get jiggy.
HOW A BOX JOINT JIG WORKS
At the heart of the box joint jig is the key: a spacer block that matches the thickness of the cutter — and is offset from the cutter at that same width.
Huh?
Basically, the key’s width matches the kerf left by your dado stack or router bit. So if your dado stack is set to cut a ½” kerf, your key would be ½” wide.
AND it would be placed ½” from the edge of the dado blade.
This key is used as a guide for creating evenly spaced box joints across multiple pieces that come together like a puzzle.
It sounds simple enough. But where a lot of woodworkers fail is in the initial setup of their box joint jig — and the process for cutting them.
So let’s dive in.
HOW TO SET UP A BOX JOINT JIG
For the sake of this guide, we’re going to use the example of building a simple box.
1. LABEL YOUR PARTS
Make sure your box sides are milled to the same width. They don’t need to be the same thickness, but it does make the process easier.
If you want symmetrical box joints, adjust the width of the sides to be easily divisible by your key width.
For example, if you want ½” wide box joints, cut your sides to a width easily divisible by ½” — like 4”.
Now line up your pieces the way they’ll be placed in your box and label the adjacent sides.
I like to write A1-A1, B1-B1, etc. on adjacent sides. Then on the back, A2-A2, etc. The 1 side will be the show faces, while the 2 sides will be the inside of the box.
Make sure to label the parts with the same orientation so you always know which side will be the top and bottom of the box.
Also, cut at least two extra sides you can use for cutting a test joint.
2. SET THE WIDTH OF THE CUTTER
To get accurate box joints, the kerf of your cutter should almost exactly match the width of your key.
Check your dado stack instructions to set it to the appropriate thickness, then make a test cut in a piece of scrap.
The key should fit in the kerf with no play — but without having to force it in.
Adjust the shims and spacers on your dado blade to get it as close as you can.
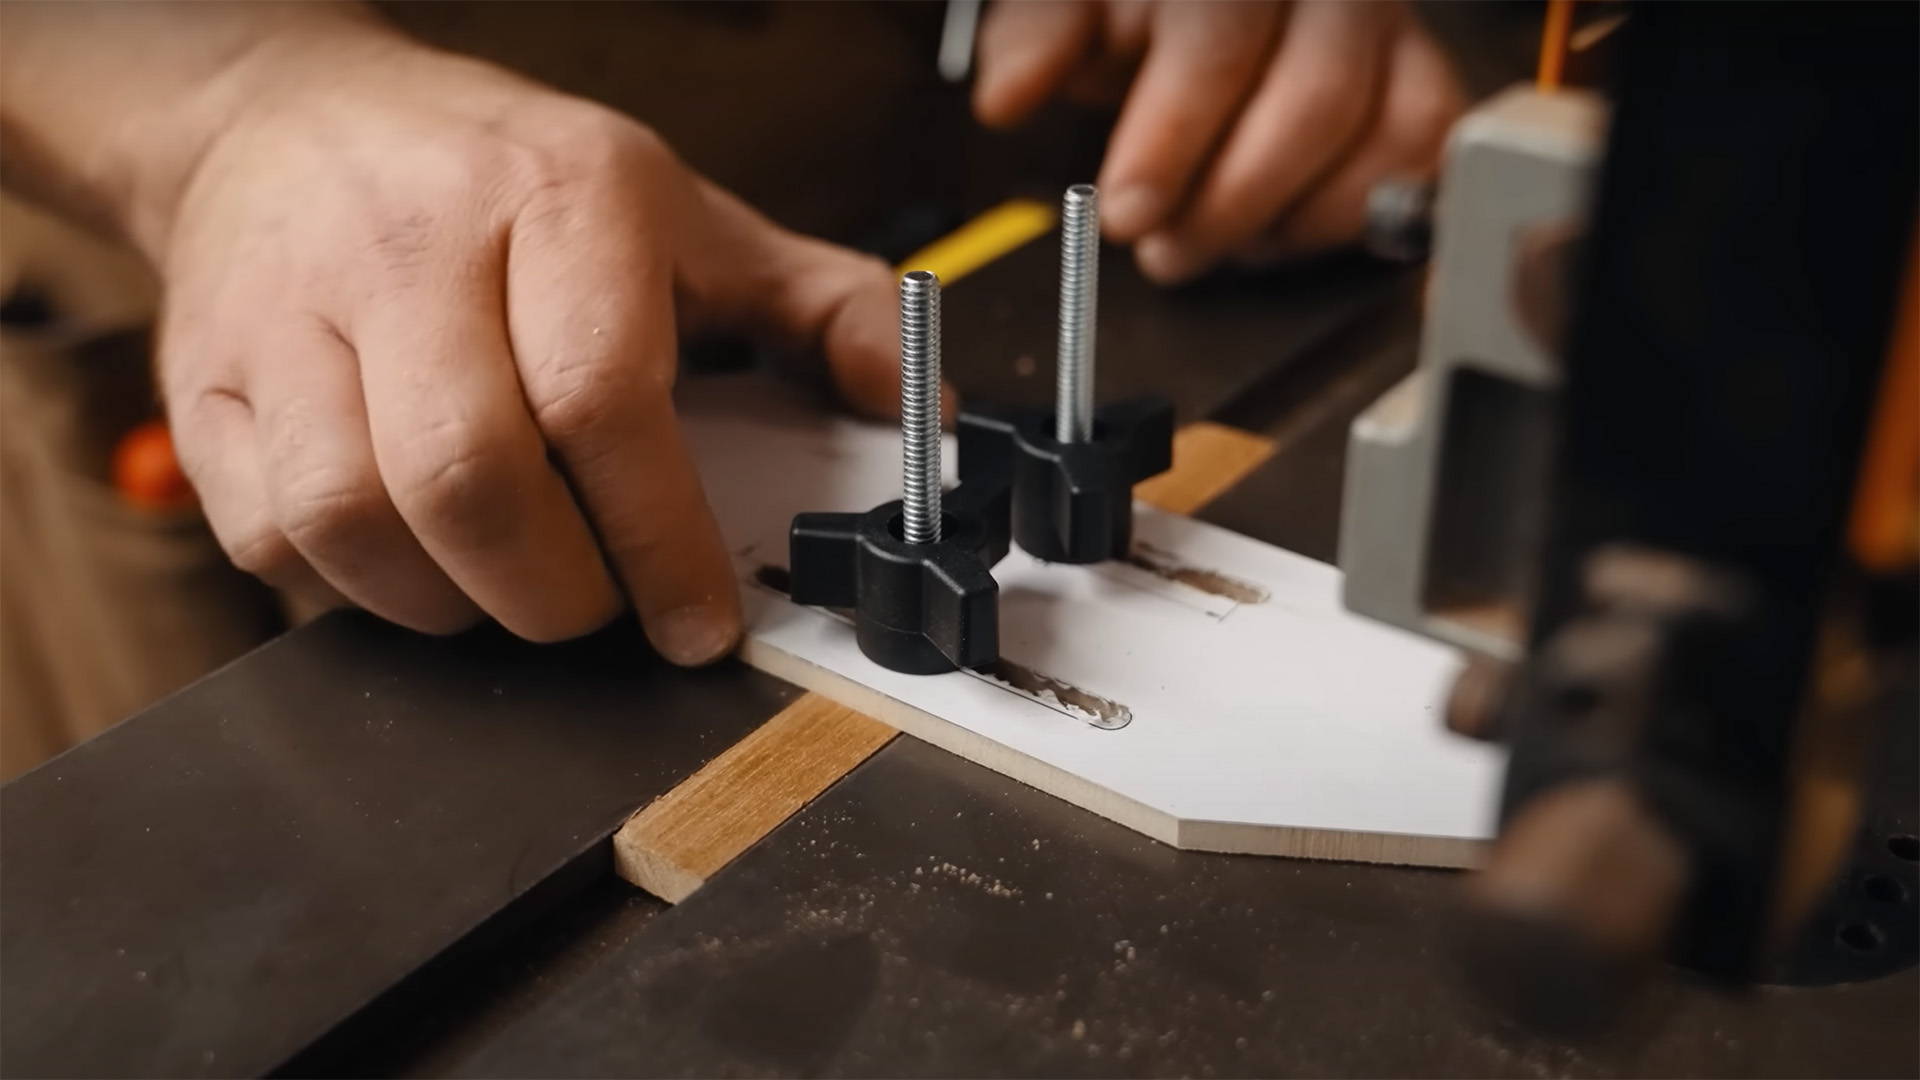
3. SET THE KEY DISTANCE FROM THE BLADE
Now you need to set up your jig so the key is at a distance from the blade that matches the key’s width.
The easiest way to do this is with a spacer block that has an identical width to the key.
Place the spacer block against the edge of the dado blade, bump the key against it, then lock down the fence there. Make it snug but not overly tight.
The KM Tools Universal Box Joint Jig comes with 2 keys in each size so you can do exactly this.
Our jig also features another way to set up the key distance in the fence itself.
The portion of the fence on the blade side of the key is exactly the same width, so you can simply bump the edge of the fence against the blade and be ready to go.
4. CUT A TEST JOINT
You’ll now cut a test joint with your extra pieces to test the accuracy of your initial setup (the process is outlined in the next section).
What’s the ideal tightness?
You should be able to put your box joints together by hand (no mallet required), but they should also hold together without glue.
- If your joint is too loose, you need to move the key AWAY from the blade
- If your joint is too tight, you need to move the key TOWARDS the blade
The important thing to note here is you want to make VERY SMALL adjustments.
The KM Tools Universal Box Joint Jig makes this easy with its built-in micro-adjust knob that allows you to adjust joint tightness meticulously.
Once you’re satisfied with the tightness of your test joint, don’t adjust the position of the key relative to the blade.
5. SET THE BLADE HEIGHT
Set one of your box sides flat on the base of the jig and slide it up next to your dado stack.
Adjust the blade height until the apex of the blade is just a hair above the board (rotate the blade back and forth to find the highest point).
This will leave you with box joints that are slightly proud on their endgrain and are easy to flush trim later.
If your box sides are different thickness, you’ll need to adjust the blade height for each board.
Make sure you create a fresh zero-clearance kerf in the fence of the jig to limit tearout (another easy feature of our box joint jig).
Now you’re ready to cut your box joints.
HOW TO CUT BOX JOINTS
Now that you’ve taken the time to perfect your initial setup, the rest of the process is a breeze.
1. MAKE THE FIRST CUT
Bump the top edge of your A1 piece against the key.
Hold it against the key while making sure the bottom is flat on the box joint jig base. If you like, you can use a clamp to hold it steady.
Turn on the table saw and push the board through the blade to make the first cut.
2. LOCK THE KERF OVER THE KEY
With the A1 side still facing the blade, place the kerf you cut over the key. It should lock into place with minimal play.
Ensure the bottom edge is flat on the base of the jig and that the back of the board is flat against the fence.
Make the cut.
Repeat this process until you reach the end of your board.
Slide the last kerf you cut over the key, make another pass, and repeat.
3. MAKE THE FIRST CUT ON MATING PIECE
Here’s where the magic happens — so pay attention.
Flip your A1 piece so the A2 side is facing the blade. Lock the first kerf you cut over the key.
Now bump the mating piece with the A2 side facing the blade against the edge of the first piece.
Make sure it’s flat on the base of the jig, then either hold it steady or clamp it in position.
Remove the first piece you cut from the key, then cut the second piece.
Once that’s done, slide it over so the freshly cut edge of the board is flush against the key. Then make another pass.
From here, follow the same process of locking the kerf over the key and making a cut until you’ve reached the end of the piece.
4. CUT THE REST OF THE BOX JOINTS
Now follow the same process for the rest of your box sides.
The critical thing to pay attention to is the orientation of your boards. That’s why labeling them is so important.
Make sure to cut the B, C, and D sides together so they’ll lock together correctly when you assemble your box.
5. ASSEMBLE AND CLEAN UP YOUR BOX
Now you’re ready to glue everything together and finish it up (although I recommend sanding the insides before doing so).
There’s no need to go overboard with glue on box joints. Just a thin layer between the joints is enough.
I like to use clamps to help fully seat the joints (bring them together), as well as bring the box into square if anything’s wonky.
Once the glue dries, flush trim any proud joinery (or leave it proud if you like).
Add your favorite finish and you’re done!
BUILD BETTER BOX JOINTS
Box joints are a truly satisfying joinery method — and are excellent for both beginner and experienced woodworkers alike.
Dialing in your box joint jig takes a bit of initial setup. But once that’s done, the rest is quick and easy.
Want the easiest-to-use box joint jig on the market? Check out the Katz-Moses Tools Universal Box Joint Jig.
Want to learn other great joinery styles for beginner woodworkers? Read this.
What questions do you have about box joints? Ask away in the comments below!
Follow us on Instagram @katzmosestools, on TikTok @katzmoseswoodworking, and check out my YouTube channel for more great woodworking content...
And as always, STAY SAFE IN THE SHOP!
6 comments
Dan Orr
My instructions came in the form of a QR code, which I was able to open on my phone…in the shop. Not ideal for me since my reception is mostly blocked. I did manage to get through it okay, and my first box came out perfect. I have a Rockler jig and an Incra I-Box jig, but this has immediately become my go to jig. So much easier than either of the other ones. Thanks Jonathan.
My instructions came in the form of a QR code, which I was able to open on my phone…in the shop. Not ideal for me since my reception is mostly blocked. I did manage to get through it okay, and my first box came out perfect. I have a Rockler jig and an Incra I-Box jig, but this has immediately become my go to jig. So much easier than either of the other ones. Thanks Jonathan.
kelly fagan
Is there an assembly video on this jig. I hve it and I m sure it will work great but I cannot put it together . Thank you
Is there an assembly video on this jig. I hve it and I m sure it will work great but I cannot put it together . Thank you
Rob Bertram
https://vimeo.com/911067749
https://vimeo.com/911067749
Patrick Shannon
I agree with Bill Boak. No instructions. Assembly directions should be included with the shipment. Your website says It comes with assemble instruction video but no It doesn’t and I cannot find It on the internet. Costly purchase and sure It works great once I know how It goes together…
I agree with Bill Boak. No instructions. Assembly directions should be included with the shipment. Your website says It comes with assemble instruction video but no It doesn’t and I cannot find It on the internet. Costly purchase and sure It works great once I know how It goes together…
Bill Boak
There was no instruction video with the box joint tool that I just ordered, how and where do I put the insert in. I had to look at the website 4 times to figure out how to build it. I’ve been a woodworker going on 40 years when I sell things that need assembly, I give instructions or tell people where to find the instructions. I was given neither. I don’t mean to be harsh , but when I spend money I expect certain things and instructions is top on the list.
There was no instruction video with the box joint tool that I just ordered, how and where do I put the insert in. I had to look at the website 4 times to figure out how to build it. I’ve been a woodworker going on 40 years when I sell things that need assembly, I give instructions or tell people where to find the instructions. I was given neither. I don’t mean to be harsh , but when I spend money I expect certain things and instructions is top on the list.
David Braden
Tried to follow this in my head but got confused on the start of board #2.
Get thru A1 ,turn it so A2 faces the blade. Grab board B1 facing blade Sawant joint B1 to end. Turn so B2 is facing and do C1. When d1 is done flip to D2 and joint A2. Continue untill D2 is jointrd6. Is that correct or do you use the spacer to start A2?