


I have a very specific way of cutting box miters. And it helps me overcome one of the trickiest parts of this joinery style.
The essence of the miter joint is a 45° cut. Just angle your table saw blade, set up the board on your crosscut sled, and push it through.
Seems simple enough.
But here’s the problem.
When your blade is angled, it gets really tricky to line things up accurately. Especially when you’re building a box that needs sides of exact lengths.
Luckily, this 2-step system makes it easy to make miter box sides of precise dimensions — and it’s super easy to follow..
Here’s how it works.
STEP 1: CUT THE BOARDS TO LENGTH
For the first step, completely ignore the fact that these will be miter joints.
That’s right.
You’re going to cut your box sides to their final length with a boring old 90° crosscut.
It’s a lot easier to accurately mark a 90° layout line in the edge of a board than a 45° line.
And you can use that line to click into the table saw blade’s teeth for a supremely on-the-money cut (here’s a refresher on how).
Also, make sure to use a stop block. There’s no better way to ensure two different boards are cut to the exact same length.
Now all your board sides are cut to length — but we’re not making a butt joint box. Have some self respect (totally kidding… there’s a chair for every butt joint).
So here we move on to making these butt joints into miter joints.
STEP 2: TRIM THE MITERS
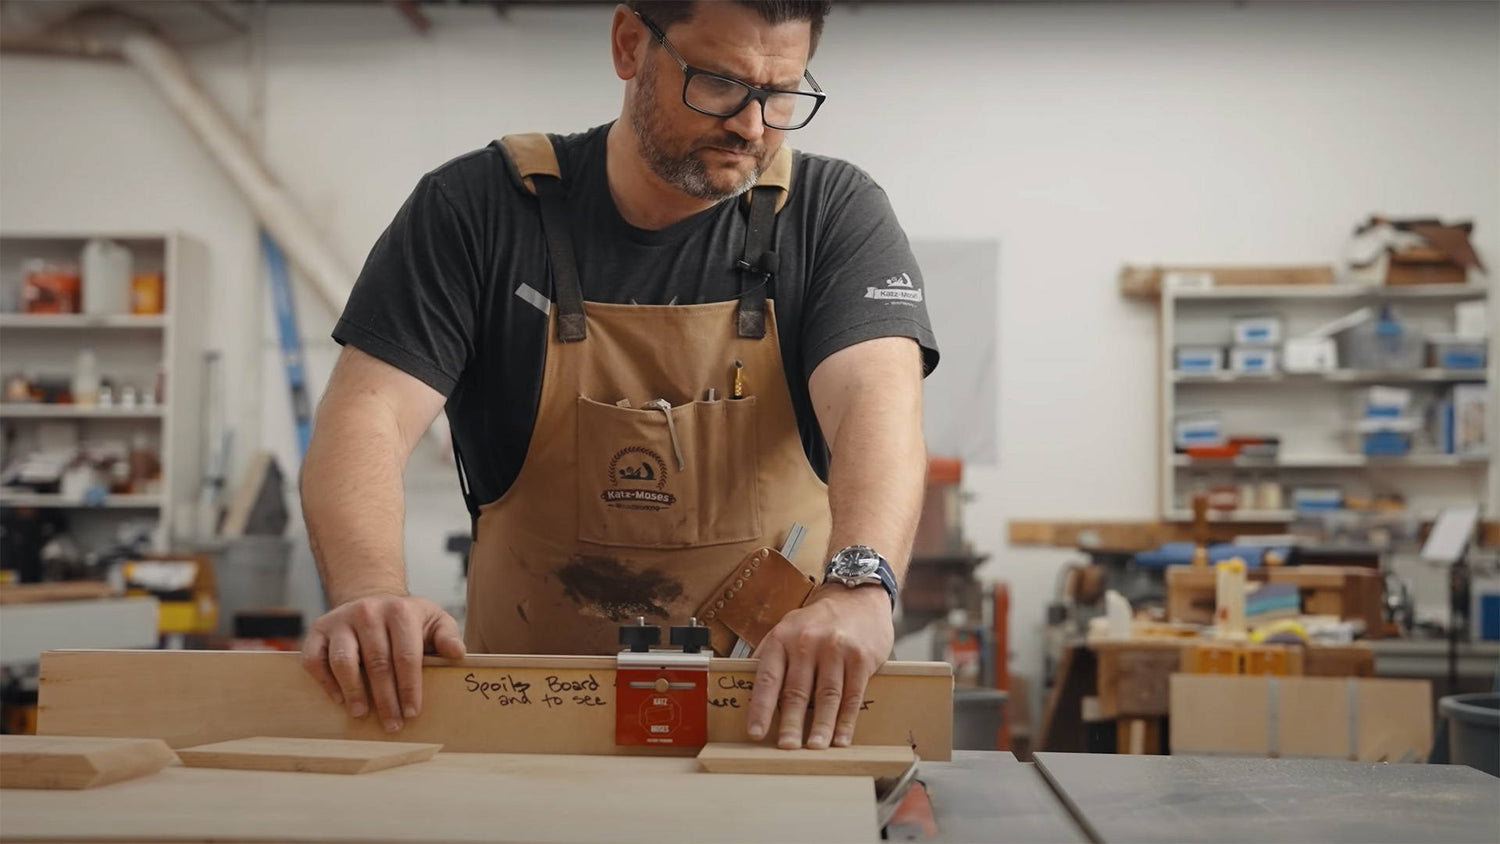
For these cuts, I like to use my 1-sided crosscut sled.
But the real trick is cutting a new zero-clearance guide kerf.
This is a sacrificial board you attach to the face of your crosscut sled’s fence (use screws, clamps, whatever works).
After setting the blade to 45°, push the sled through the blade to cut a fresh kerf in the auxiliary fence.
Since “45°” setups can sometimes differ slightly, this fresh kerf will show you the EXACT edge of the cut. Which makes setting up your boards a cinch.
Place one of your boards on the sled and position it so the top end grain corner just barely touches the edge of the kerf.
The goal is to position it so the length of the top face doesn’t change at all — you’re simply cutting away the material below.
Once it’s set, lock down your stop block to keep it stable and make the cut.
(If you’re a little unsure, you can also sneak up on this cut. The micro-adjust feature on the Katz-Moses Stop Block makes it easy).
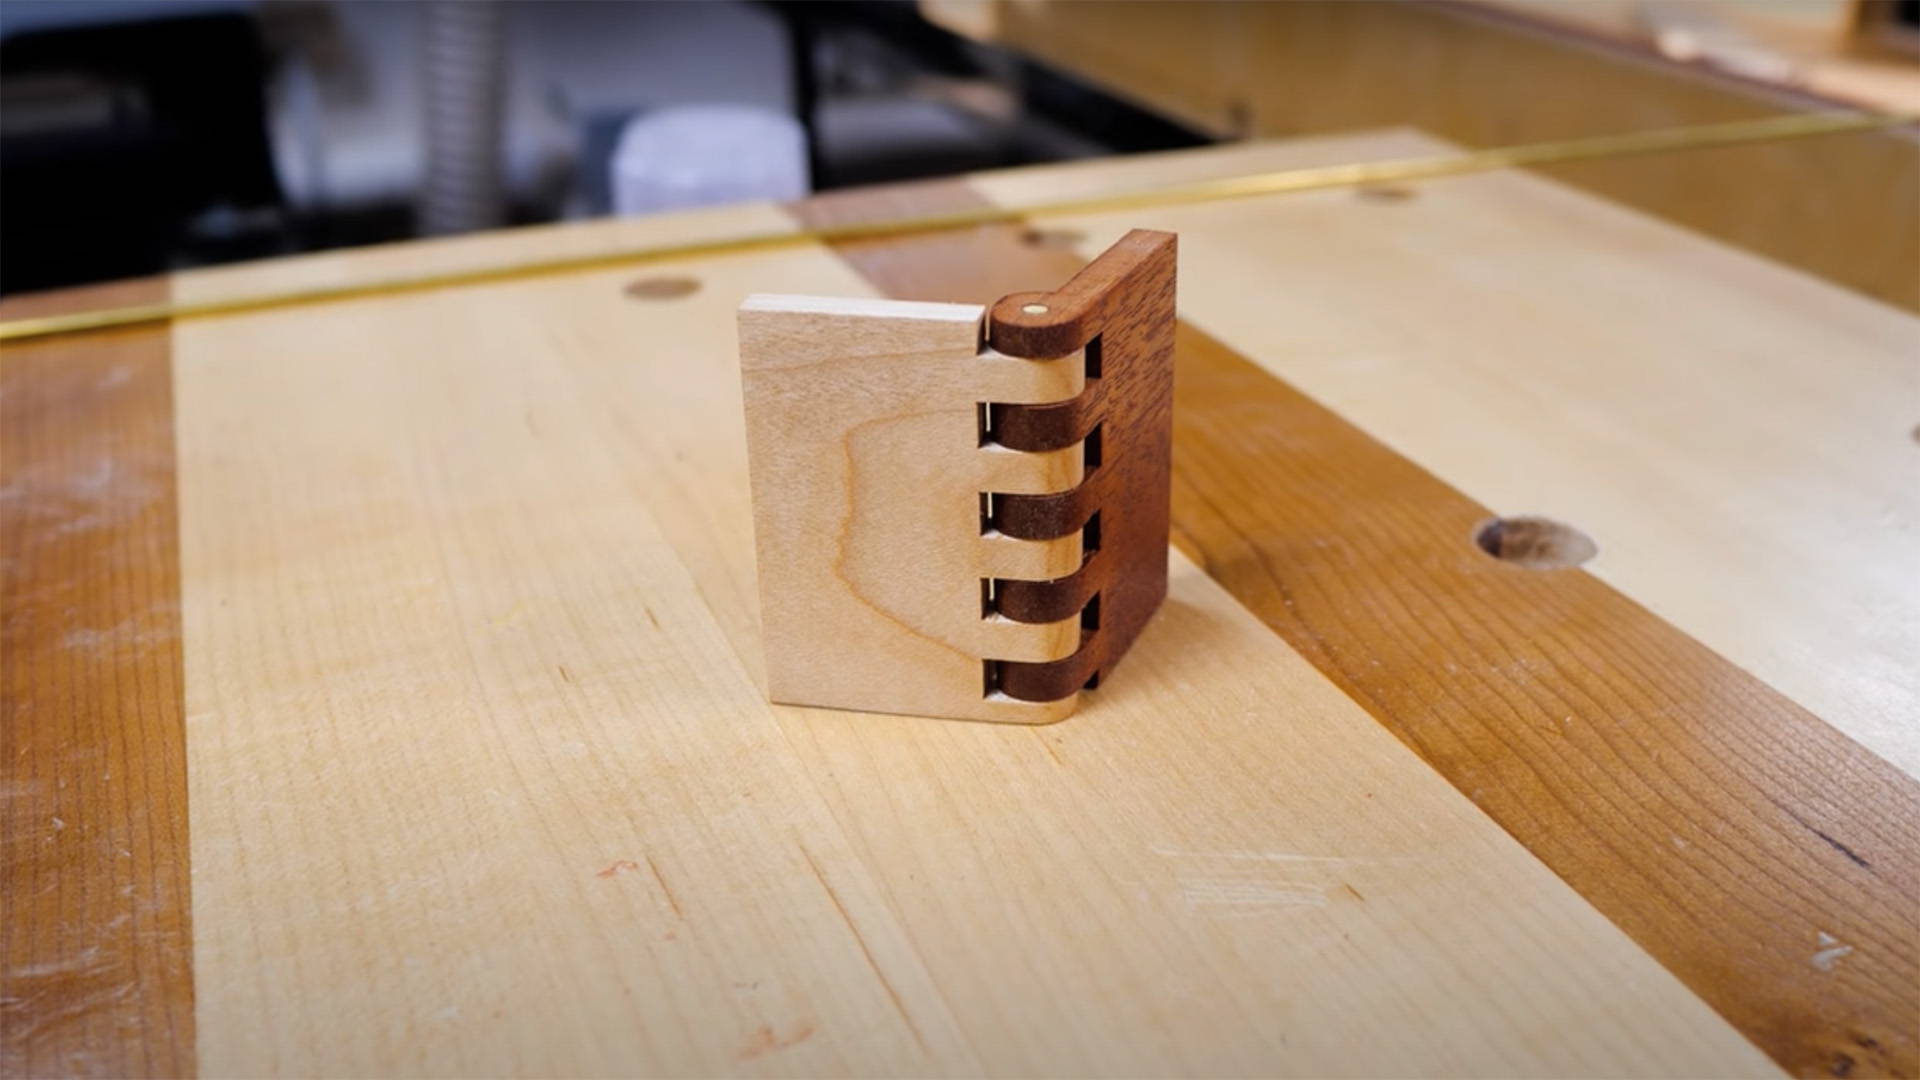
Repeat this process for all the other boards, and voila. You’ve got perfectly sized sides for your miter joint box.
Want more tips for cutting accurate miter joints? Read this.
Do you have another system for making sure miter box sides are the right length? Share it with us in the comments below!
Follow us on Instagram @katzmosestools, on TikTok @katzmoseswoodworking, and check out my YouTube channel for more great woodworking content...
And as always, STAY SAFE IN THE SHOP!

4 comments
William
If I remember correctly you take what you want your box sides (for example you want 7 in sides) then subtract the thickness. So let’s say 1/2 stock you then set up your stop at 6 1/2 and your good to go and will get your 7 in.
If I remember correctly you take what you want your box sides (for example you want 7 in sides) then subtract the thickness. So let’s say 1/2 stock you then set up your stop at 6 1/2 and your good to go and will get your 7 in.
Ira Meltzer
Great tip. Being a newbie to woodworking your tips have saved me hours of work and $$$$ for wood.
Thanks and keep it up.
IRA
Great tip. Being a newbie to woodworking your tips have saved me hours of work and $$$$ for wood.
Thanks and keep it up.
IRA
Frank H Kalinski
I’ve found that nobody has whipped out their tape measure or ruler and measured anything I’ve made; so why should I?
I machine the four sides of each panel – cut a nice miter on one end of each – flip the shortest piece – clamp down to the sled where the opposite cut will be by eyeball – set the stop block and whack off the other miters – that’s the size of the box!
Paul Bolton
Hi Jonathan
Interesting piece on cutting box mitres. However, I use a different method which is easy and accurate. Effectively I treat the two opposing sides of the box as a single piece by laying them out on the cross-cut sled one ‘above’ the other with the long sides of the top and bottom of each piece together and applying masking tape along the long join between them. I can then pass them through the saw as one ensuring they are the same length. Hope I’ve explained this clearly? ‘Keep a grip’ Paul Bolton. UK