


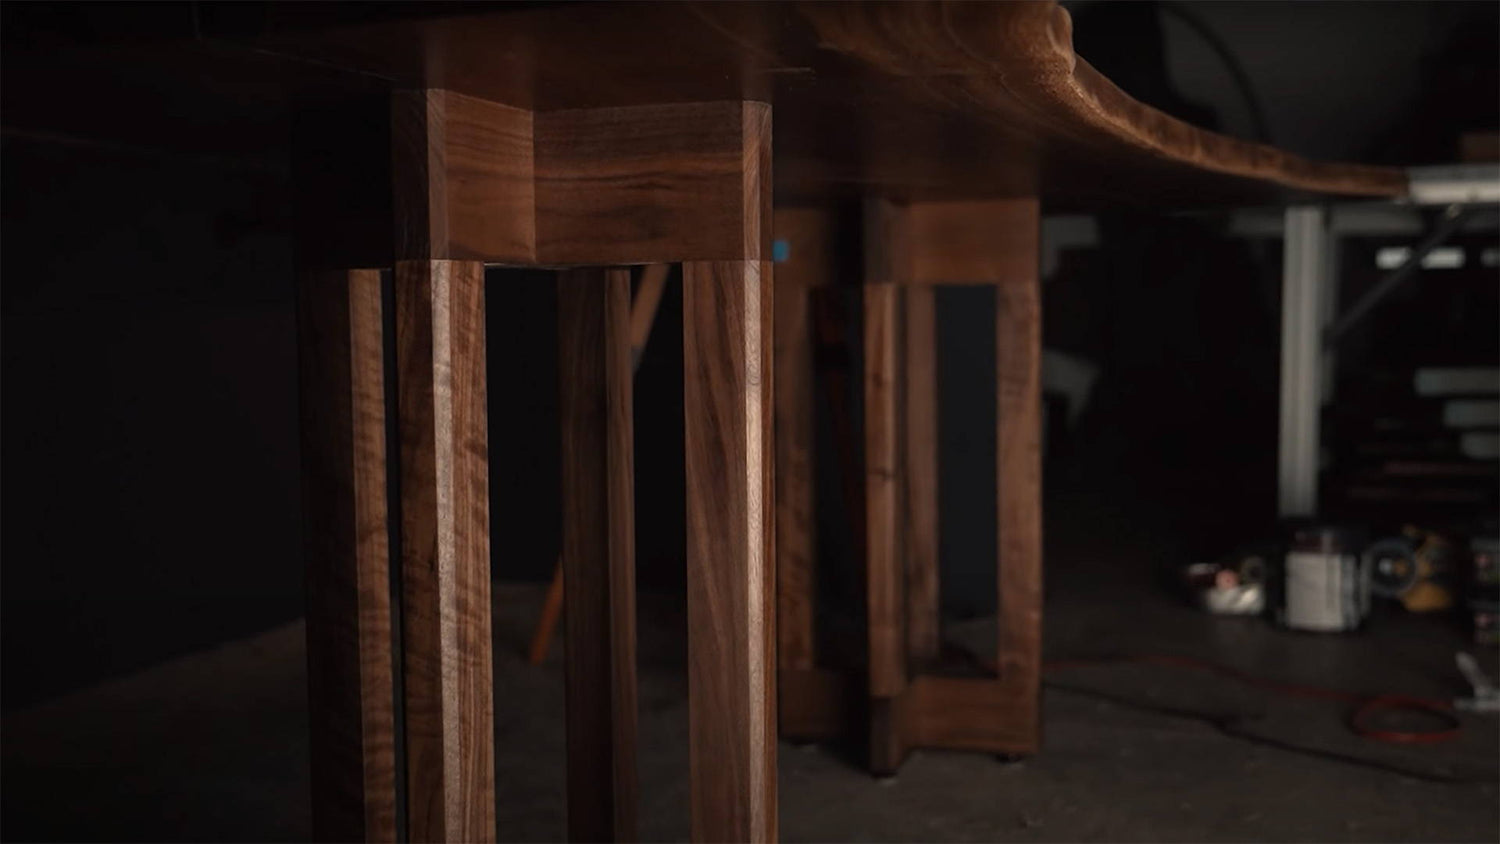
When attaching tabletops to table bases, you really need to think about wood movement.
Since the tabletop will expand and contract with the seasons, you need to secure it in a way that allows for this movement.
Because if you simply drive screws through the base into the bottom of the tabletop — it can eventually crack and ruin all your hard work.
There’s all sorts of specialty hardware out there to solve this problem. Figure 8 fasteners and z-clips are designed to shift with seasonal movement while still holding the tabletop steady.
But today, I’m going to show you a simple way to attach tabletops with NO specialty hardware.
In fact, all you need are some regular screws, washers, and a couple forstner bits.
Here’s how it works.
1. ASSEMBLE YOUR MATERIALS
First collect all the hardware you’ll need (which you can probably find around your shop).
You’ll need some screws that are long enough to go through the table base and into the table.
And for each screw, you’ll need a washer to fit. The exact size doesn’t matter, but it’s easier if they’re all the same.
Lastly, you’ll need 2 forstner bits (like these).
The first forstner bit needs to have a diameter larger than the diameter of your washers.
And the second forstner bit should be about ¼” bigger than the diameter of your screws (you can use any drill bit for this, to be honest).
2. DRILL COUNTERSINKS FOR THE WASHERS
Use a center punch to mark where you’ll put screws through the base and into the table.
Now at each point, use the larger forstner bit to drill a countersink for the washers.
It doesn’t need to be very deep. Just deep enough that the washer will be hidden — but you can adapt this based on the length of your screws and thickness of material.
3. DRILL OVERSIZED HOLES FOR THE SCREWS
Now you’ll drill a second hole all the way through the base using the smaller forstner bit.
Do your best to center this through-hole in the countersink (you can insert the washer as a guide).
Make sure to make gradual plunges so your forstner bit doesn’t overheat and get dull.
What’s important is that this hole be about ⅛” bigger than your screws on all sides.
4. ATTACH THE BASE TO THE TABLE TOP
Now you’re ready to assemble your table.
Center the tabletop on the base and hold it in place with some clamps.
Then place a washer in each countersink.
You can then insert the screws in the through-holes and drive them into the tabletop until they engage with the washer and lock tight (not overly tight — but solid). Also, make sure to drill pilot holes in the tabletop first.
Because of the oversized holes, the screws won’t impede the tabletop’s seasonal movement — but will still hold it securely to the base thanks to the washers.
This is the method I used for the table that’s in my office today… and after several years (and a big shop move) it’s still holding together beautifully.
Want to learn more about dealing with wood movement? Read this.
What’s your favorite method for attaching tabletops to bases? Let us know in the comments below!
Follow us on Instagram @katzmosestools, on TikTok @katzmoseswoodworking, and check out my YouTube channel for more great woodworking content...
And as always, STAY SAFE IN THE SHOP!
6 comments
Anonymous
Seems like a good, simple way to make a strong connection – I’ll have to remember that one!
One minor point: I think the pockets that you’ve made for the washer and screw head would typically be called a “counterbore” rather than a ‘countersink". (I don’t mean to be picky, I just want to save your readers some potential confusion.) :)
Some clarifying info from McMaster-Carr:
https://www.mcmaster.com/products/counterbores/
https://www.mcmaster.com/products/countersinks/
Donald Kern
It’s very reliable because the oversized holes allow for the screws to move slightly with the wood. The only thing to be aware of is not to overtorque the screws or you chance frictionally locking them in place defeating their movement potential. Just tighten them enough to hold the top firmly in place.
It’s very reliable because the oversized holes allow for the screws to move slightly with the wood. The only thing to be aware of is not to overtorque the screws or you chance frictionally locking them in place defeating their movement potential. Just tighten them enough to hold the top firmly in place.
Mike
Thanks for sharing this method. Quick question, would this method also work on a outdoor table?
Thanks for sharing this method. Quick question, would this method also work on a outdoor table?
John Ford
I expected the “wooden tab joining apron and top” method – everyone’s got wood in their shop, right? I think your method is much easier. Thanks for sharing.
I expected the “wooden tab joining apron and top” method – everyone’s got wood in their shop, right? I think your method is much easier. Thanks for sharing.
Anonymous
I’m struggling to come up with the best method for installing legs on a slab table. Any suggestions? (No metal hairpins please!)
I’m struggling to come up with the best method for installing legs on a slab table. Any suggestions? (No metal hairpins please!)
Voo Doo Woodworking
At what point do we abandon this type of fastening and it becomes one piece of furniture? There must be a size top, maybe, like an end table that we don’t worry about the movement and everything gets glued together. Then there’s always how the top was glued, how many boards, species….the list goes on….. but let’s stick to my original question.
At what point do we abandon this type of fastening and it becomes one piece of furniture? There must be a size top, maybe, like an end table that we don’t worry about the movement and everything gets glued together. Then there’s always how the top was glued, how many boards, species….the list goes on….. but let’s stick to my original question.