


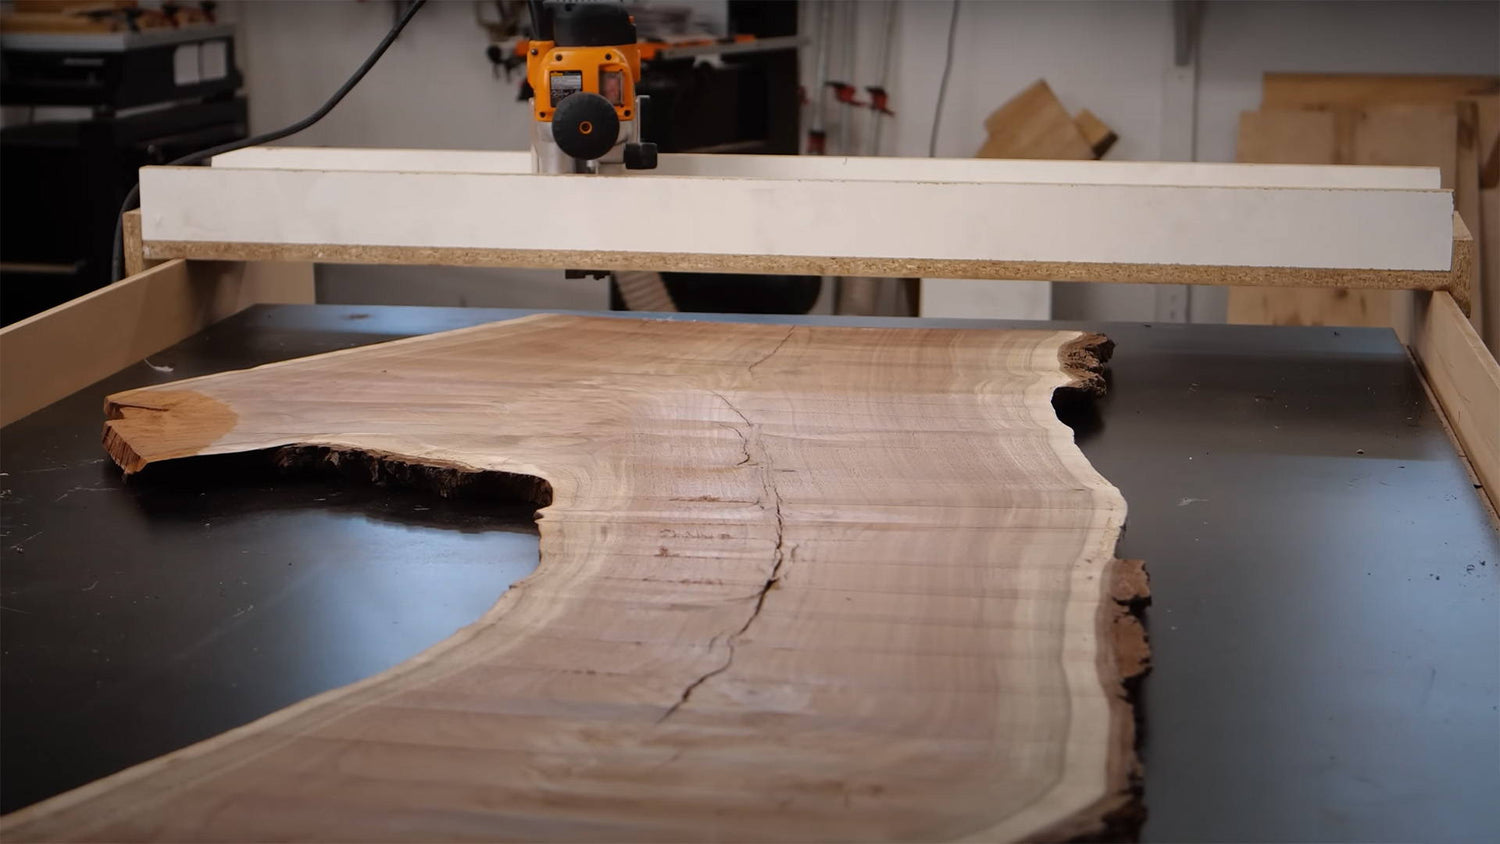
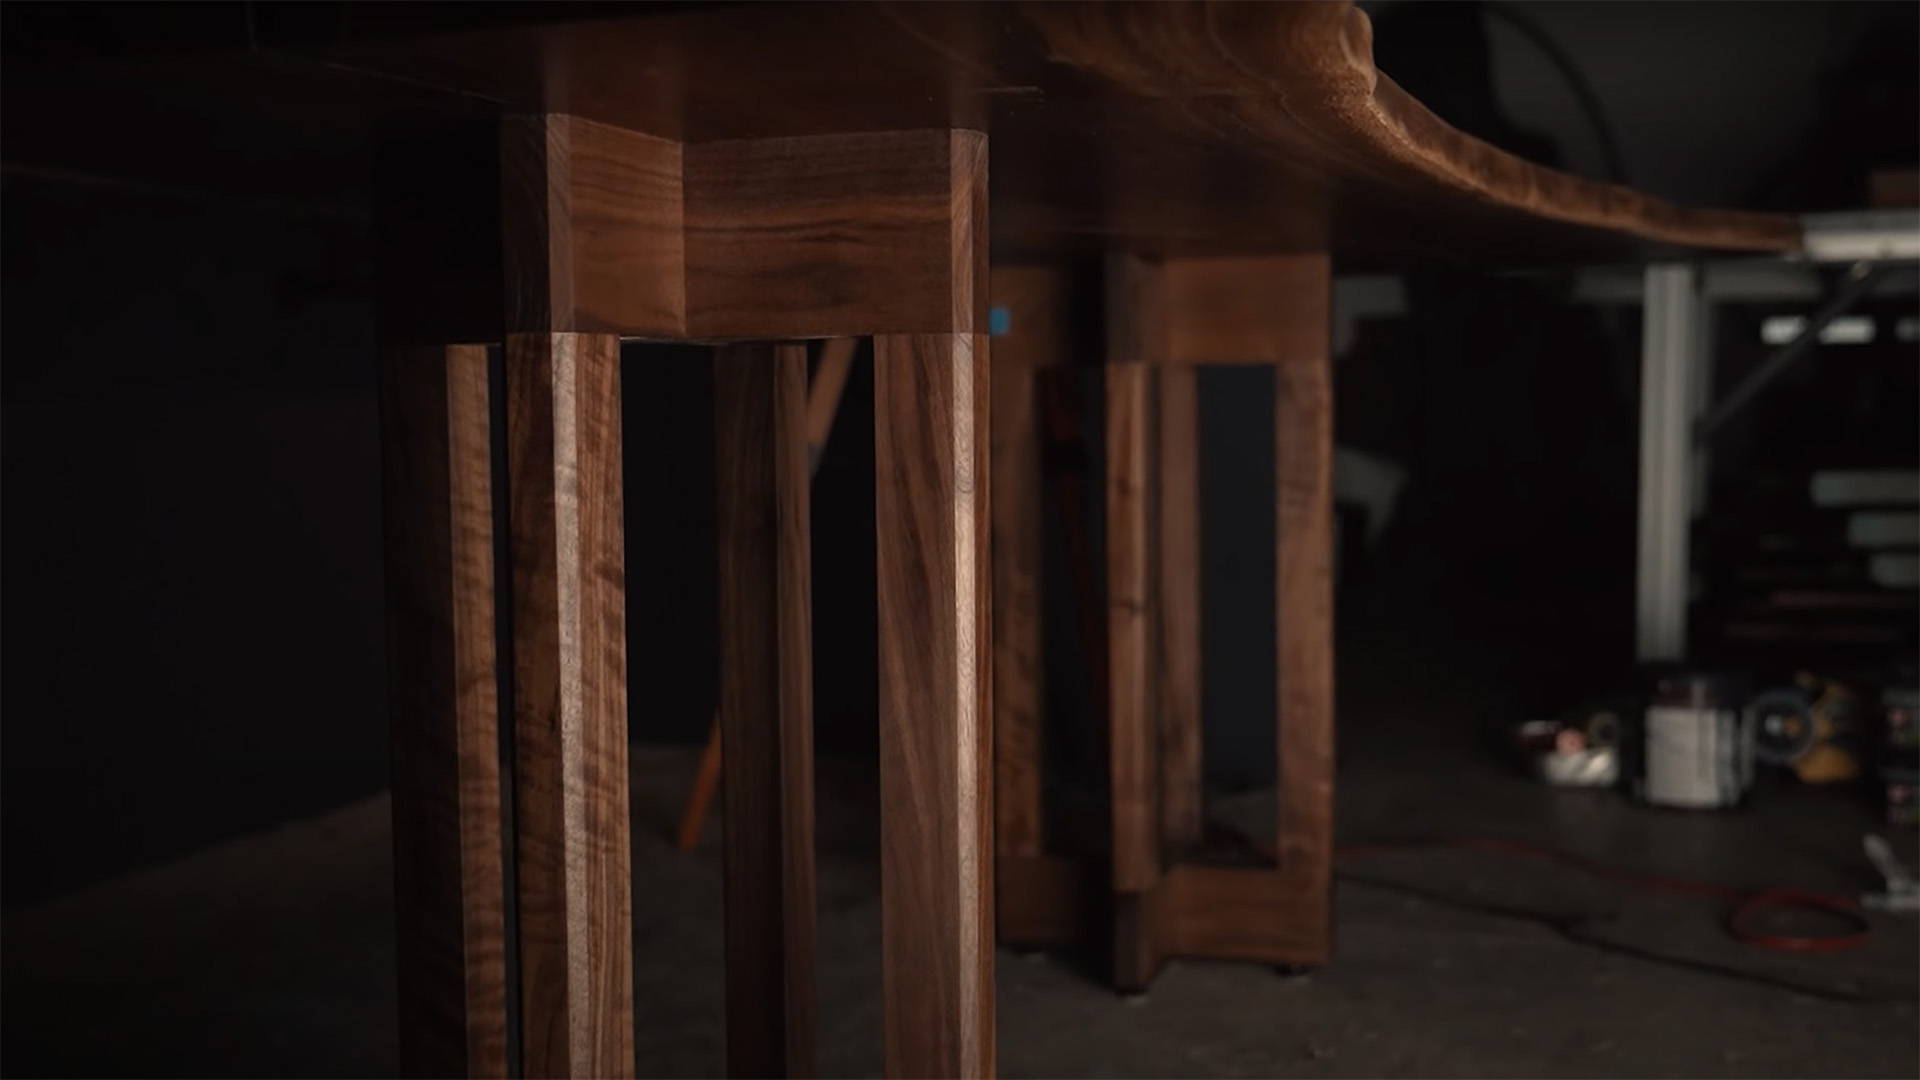
Sometimes you need to flatten a slab, wide board, or panel — and there’s no chance it’ll fit through your planer.
So how the heck do you get it flat?
One way is to attack it with hand planes. It’s tricky and a ton of work, but kudos to you if you can do it.
The good news is you don’t need to look like Paul Bunyan to get big boards flat.
In fact, there’s a genius way to flatten slabs with a router-based sled that’s almost like a shop-made CNC.
Today, I’m showing you how to build and use a slab-flattening jig for your router…
So you can get perfectly flat slabs and boards regardless of their size — even if you don’t own a planer.
HOW DOES A SLAB-FLATTENING SLED WORK?
This large jig lets you use your router almost like a CNC — or an oversized planer.
It starts with a flat base to stabilize the slab, with two rails of a fixed, parallel height attached on either side.
A sled sits on top of the two rails and holds your router above the slab, with the bit protruding through.
This design allows you to keep the router bit at a fixed height over the entire slab — meaning any areas higher than the bit will get taken down.
The beauty of this jig is that it’s useful for so much more than just massive slabs.
Most home shop planers have at most a 13” width capacity. And this jig lets you still easily flatten boards and panels wider than that.
A FEW TIPS FOR USING SLAB-FLATTENING SLEDS
Before we get into the build, there are a few tips for success.
-
Use a Sufficiently Powerful Router: For this type of work, you should use a full-sized router with at least 2 hp. You’re going to be removing a lot of material — and want a router that can handle the job.
-
Use the Right Bit: This is a case where buying a specialty slab-flattening bit is worth it. The wide diameter DRASTICALLY speeds up the process. Here’s a slab-flattening bit we carry in our store (that also has replaceable cutters).
-
Take Small Bites: As with any tool, setting small cutting depths and taking shallow passes is the best way to get good results and stay safe. I recommend taking no more than ⅛” deep passes.
- Prepare for a Mess: If anything is sure, it’s that this process will create MOUNTAINS of sawdust. Make sure to use the best dust collection you can, definitely wear a dust mask — and know it’s about to get real messy.
Now, let’s get into how to build the jig.
HOW TO BUILD A SLAB-FLATTENING JIG FOR A ROUTER
I made my slab-flattening jig out of melamine for a more frictionless surface, but plywood works just as well.
Dimensions will depend on the size of board you’re flattening.
1. CREATE A FLAT BASE
The first thing you need is a flat surface for your slab to lay on.
Make sure it’s at least a couple inches wider and longer than the slab on all sides.
This surface should be as flat as possible — but how you get there is up to you.
I used shims to level the melamine board on my assembly table since that was the easiest option.
Alternatively, you might want to build a simple torsion box.
It doesn’t need to be crazy. Mill a bunch of 2x4s so they’re square and have the same dimensions, attach them to a substrate in a grid framework, then attach your base piece on top.
Side note: Depending on how you set up the base, you may have to attach the rails first (see next step).
2. ATTACH THE RAILS
Now you’ll build the two rails on the sides of the base that’ll support the router sled.
When sitting on their edges on top of the base, the rails should be just a little higher than the highest point on your slab.
This allows the sled to ride freely without hitting the slab, but still be close enough for the router bit to reach.
What’s really important is that the rails have identical widths with straight and parallel edges.
This ensures the router stays at a consistent height over the slab. The easiest way to achieve this is to cut them on a table saw against the fence.
Once they’re cut, place them on top of the base and attach them at the edge with either pocket hole screws or screws from below.
The straight edge of the rails will help improve the flatness of the base.
(Alternatively, you can attach the rails on the side like in the photo above — but you need to ensure the top edges of both rails are at the same height relative to each other and the base).
3. BUILD THE ROUTER SLED STRUCTURE
Now you’ll build the sled that holds your router and rides on the rails of the jig.
It consists of a base piece that supports your router, two rails that enclose it, and two guide blocks on the end.
The width of the base piece will depend on your router and the thickness of material you’re using.
It’s very important you attach the side rails on TOP of the base piece — not the sides.
The straight edges of the rails help keep the base piece flat and rigid. If you screwed them into the sides, the base piece could sag (and the screws could even cause bumps to form).
That means that when cutting the base piece to width, you need to account for the thickness of the rails.
Start by finding the diameter of your router base — let’s say it’s 7”. If you’re using ¾” plywood for the rails, add 1 ½” to account for both.
So in the example above, you’ll cut your base piece to 8 ½” wide.
Now, your material is likely slightly undersized, and that’s ok. We want a little bit of play so the router base doesn’t get wedged between the rails.
Cut the rails to width (they don’t need to be super high), then cut all the pieces to a length so they span across the base rails and can rest on top.
Screw the sled rails to the base piece, making sure to countersink your screws.
4. PUT FINISHING TOUCHES ON THE SLED
Next, you’ll need to cut a large channel in the sled base for the router bit to pass through.
Place your router in the sled with the bit installed, and mark the outer diameter of the bit on the sled base. Add an extra ⅛” so the hole is slightly wider than the diameter of the bit.
Use these points to mark the outside edges of the hole, and make them long enough so the router can ride from one end of the sled to the other with the bit extended.
Now cut the hole.
I drilled a hole at both ends with a forstner bit, then cut out the excess with my DIY track saw. You can also use a jigsaw (the edges don’t need to be super clean).
Finally, add some guide blocks / stops to the end of the sled to keep it from sliding off the base rails.
You can either attach these at the ends or on the base itself. Make sure there’s enough play that you can easily push the sled along the rails.
If you like, add a bit of paste wax to the inside of the sled so your router can slide more easily.
Now your sled is done and you’re ready to start flattening your slab!
HOW TO USE YOUR SLAB-FLATTENING JIG
Now onto the dusty part.
1. STABILIZE THE SLAB
First things first, you’ve got to stabilize the slab on the base.
And the secret to that? Shims and hot glue.
(This is similar to how you stabilize a board on a planer sled.)
Slide shims under the edges of the slab until it doesn’t wobble. Once it’s stable, use a hot glue gun to secure the slab and shims to the base.
Now take a pencil and scribble all over the top of the slab (this will help you see progress as you cut).
If you notice any super high spots, taking them down with a hand plane now will make the process faster later on.
2. START MAKING REPEATED PASSES
Set the router bit depth so it’s barely touching the highest point of the slab.
Now slide the sled over to one end and turn on the router.
Keeping the sled in position, push the router across the slab (cutting across the grain).
Once you reach the opposite edge, pull the router back and nudge the sled over. You want each pass to overlap by half for the best results.
Also keep in mind the direction the bit is spinning — it's best to only cut against the bit's rotation (read this if you don't know what I mean).
Repeat this process until you’ve made it across the entire slab.
Now set the router bit to cut ⅛” deeper and repeat the process from the beginning.
Once all the pencil line is gone, you know this side of the slab is flat.
3. FLIP THE BOARD AND REPEAT
Now remove all the shims and super glue and flip the slab over onto its newly flattened face.
The flat base of the jig is now serving as the reference edge — so make sure no stray bits of hot glue or sawdust are preventing the slab from laying flat.
Again secure the slab to the base with hot glue (shims shouldn’t be necessary this time).
As you did in the step before, mark the whole surface with pencil lines, then make repeated passes with the router.
When all the pencil lines are gone, you know you’ve got a slab with two flat and parallel faces.
Troubleshooting: If the slab is suddenly too thin for your router bit to reach, elevate it with a uniformly thick and flat piece of plywood beneath.
4. SAND TO CLEAN UP ROUTER BIT LINES
This process can often create a slightly scalloped surface left by the router bit. But it’s easy to clean up with some sanding.
Mark pencil lines all over the slab. These are going to be your sanding guides.
Now slap some 80 grit sandpaper on your sander and get to it.
As soon as you see the pencil lines disappear in an area, don’t sand that area any more.
Continue until all the pencil lines are gone, and repeat each time you move up to a higher grit.
AIN’T NO SLAB THAT’S WIDE ENOUGH
With this jig, you’ll be able to successfully flatten boards no matter how wide…
Even if you only own a small-capacity planer… or no planer at all.
Just make sure to follow all the steps above — and prepare for a LOT of sawdust.
Want to learn how to flatten boards without a jointer? Read this.
How do you flatten slabs and wide boards? Let us know in the comments below!
Follow us on Instagram @katzmosestools, on TikTok @katzmoseswoodworking, and check out my YouTube channel for more great woodworking content...
And as always, STAY SAFE IN THE SHOP!

4 comments
Alena
Hi,
We own the domain Grainflakers[dot]com which is a keyword oriented domain. It will bring immense traffic to your website, boost your website ranking and provide you an edge over other competitors in the field.
I would love to know if you like to receive more information related to this.Kindly forward this message to the concerned person in your organization.
Regards
Alena
Dustin
This is my first time doing this. I am wondering does the slab itself have to sit level? I understand the bed of the jig does. I also understand shimming the slab so as not to rock and move.
This is my first time doing this. I am wondering does the slab itself have to sit level? I understand the bed of the jig does. I also understand shimming the slab so as not to rock and move.
Ed Gross
Do you have a recommendation for a collet extension that isn’t terrifying?
Do you have a recommendation for a collet extension that isn’t terrifying?
Walter Wall Scott
My battery screwdriver doesn’t have a wee light on it, will this still work ok.
My battery screwdriver doesn’t have a wee light on it, will this still work ok.