


Want to make your projects mesmerizing? This technique for overlapping curves looks insane — but is super simple.
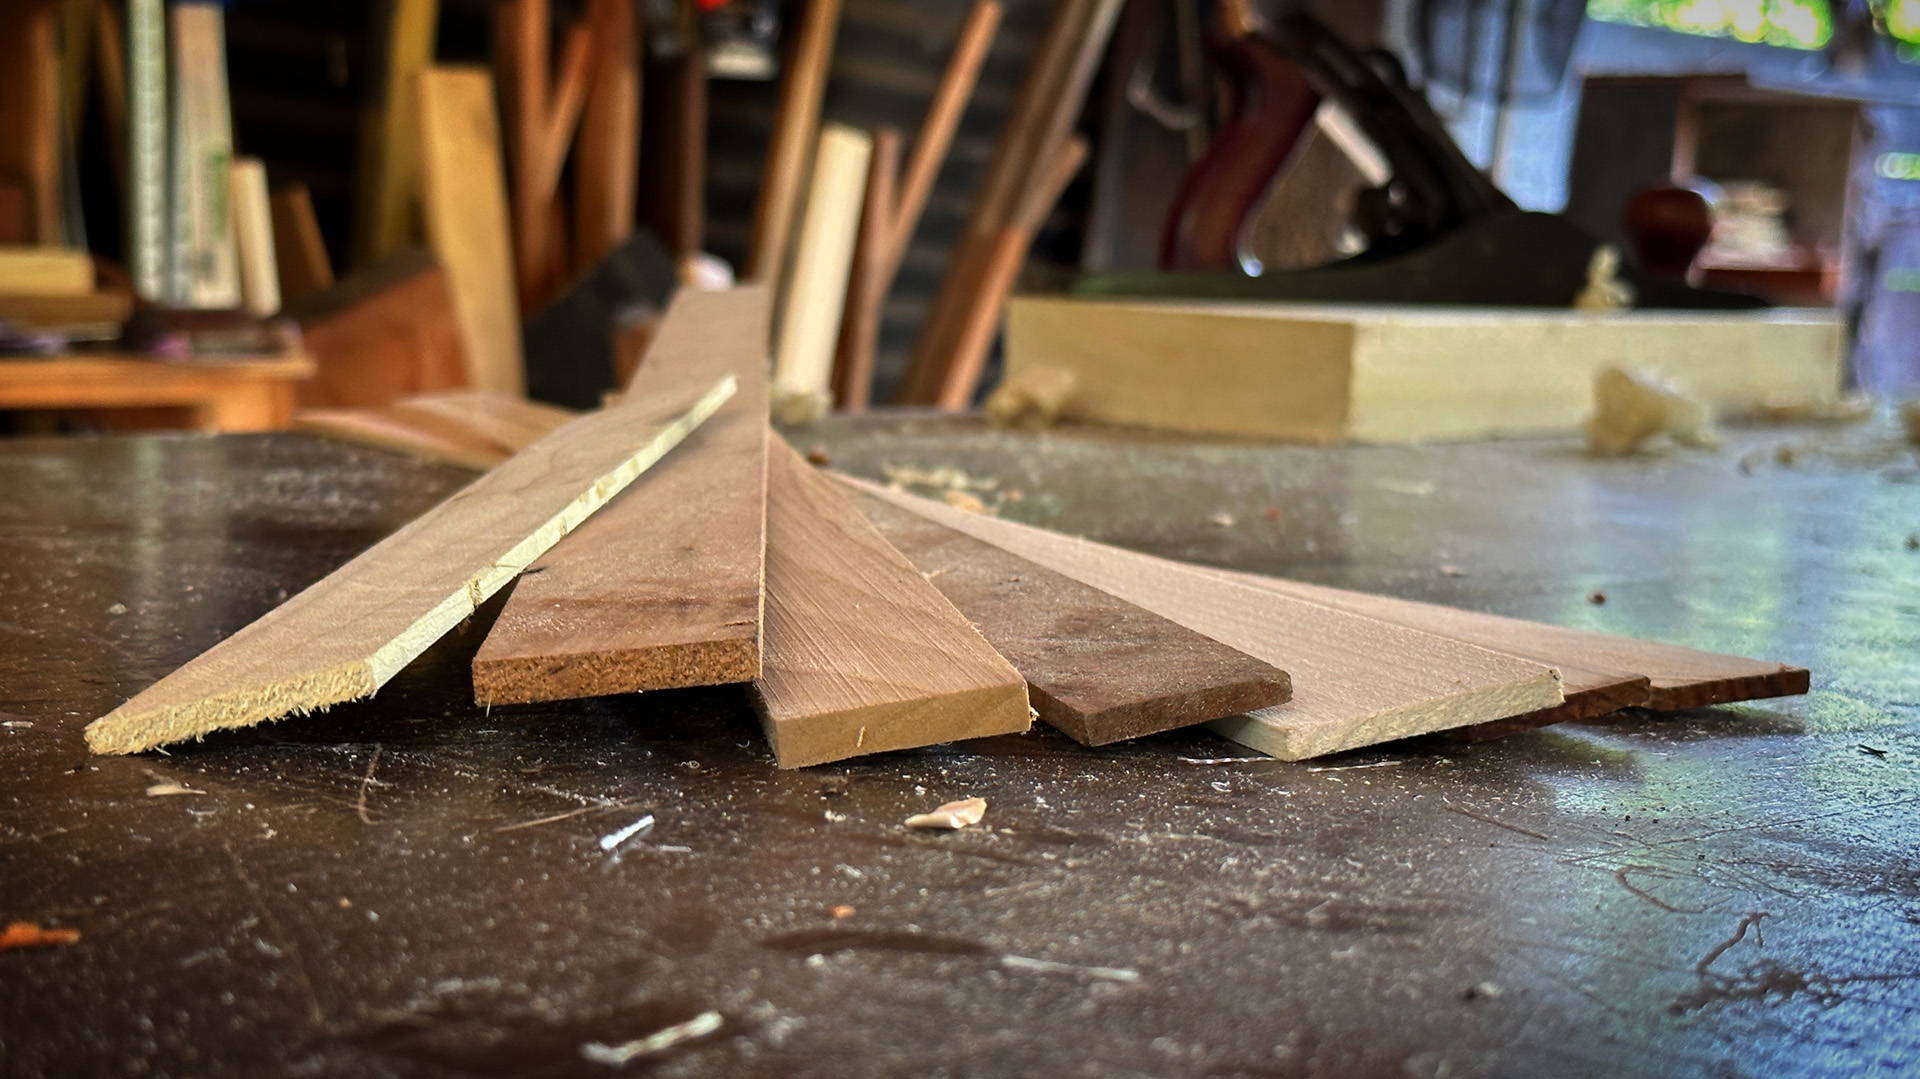
It works best with 2-3 different species of wood. And all you need is some double-sided tape, a bandsaw, and a way to flatten boards.
Here’s how it works.
1. ATTACH AND CUT BOARDS
Start by attaching the faces of two boards with double-sided tape or blue tape and super glue. They’re edges don’t need to line up perfectly — but they should be the same thickness.
The effect will be most noticeable if you use contrasting wood species.
With the two boards secured, use a pencil to sketch out a curve through the middle of the board.
It can be a simple parabola, an s-shape, or a squiggly line. Just make sure your bandsaw blade will be able to make the turns.
Once you’re happy with the line, cut along it on the bandsaw. Try to keep the cut as smooth as possible.
Hit the edges with a bit of sandpaper if they’re really rough, but make sure to keep it light.
2. GLUE OPPOSITES TOGETHER
Now pry the pieces apart and match them with the corresponding piece of the other board.
For example, the right side of the top board goes with the left side of the bottom board, and vise versa. Because you cut the boards simultaneously, they’re edges will match perfectly.
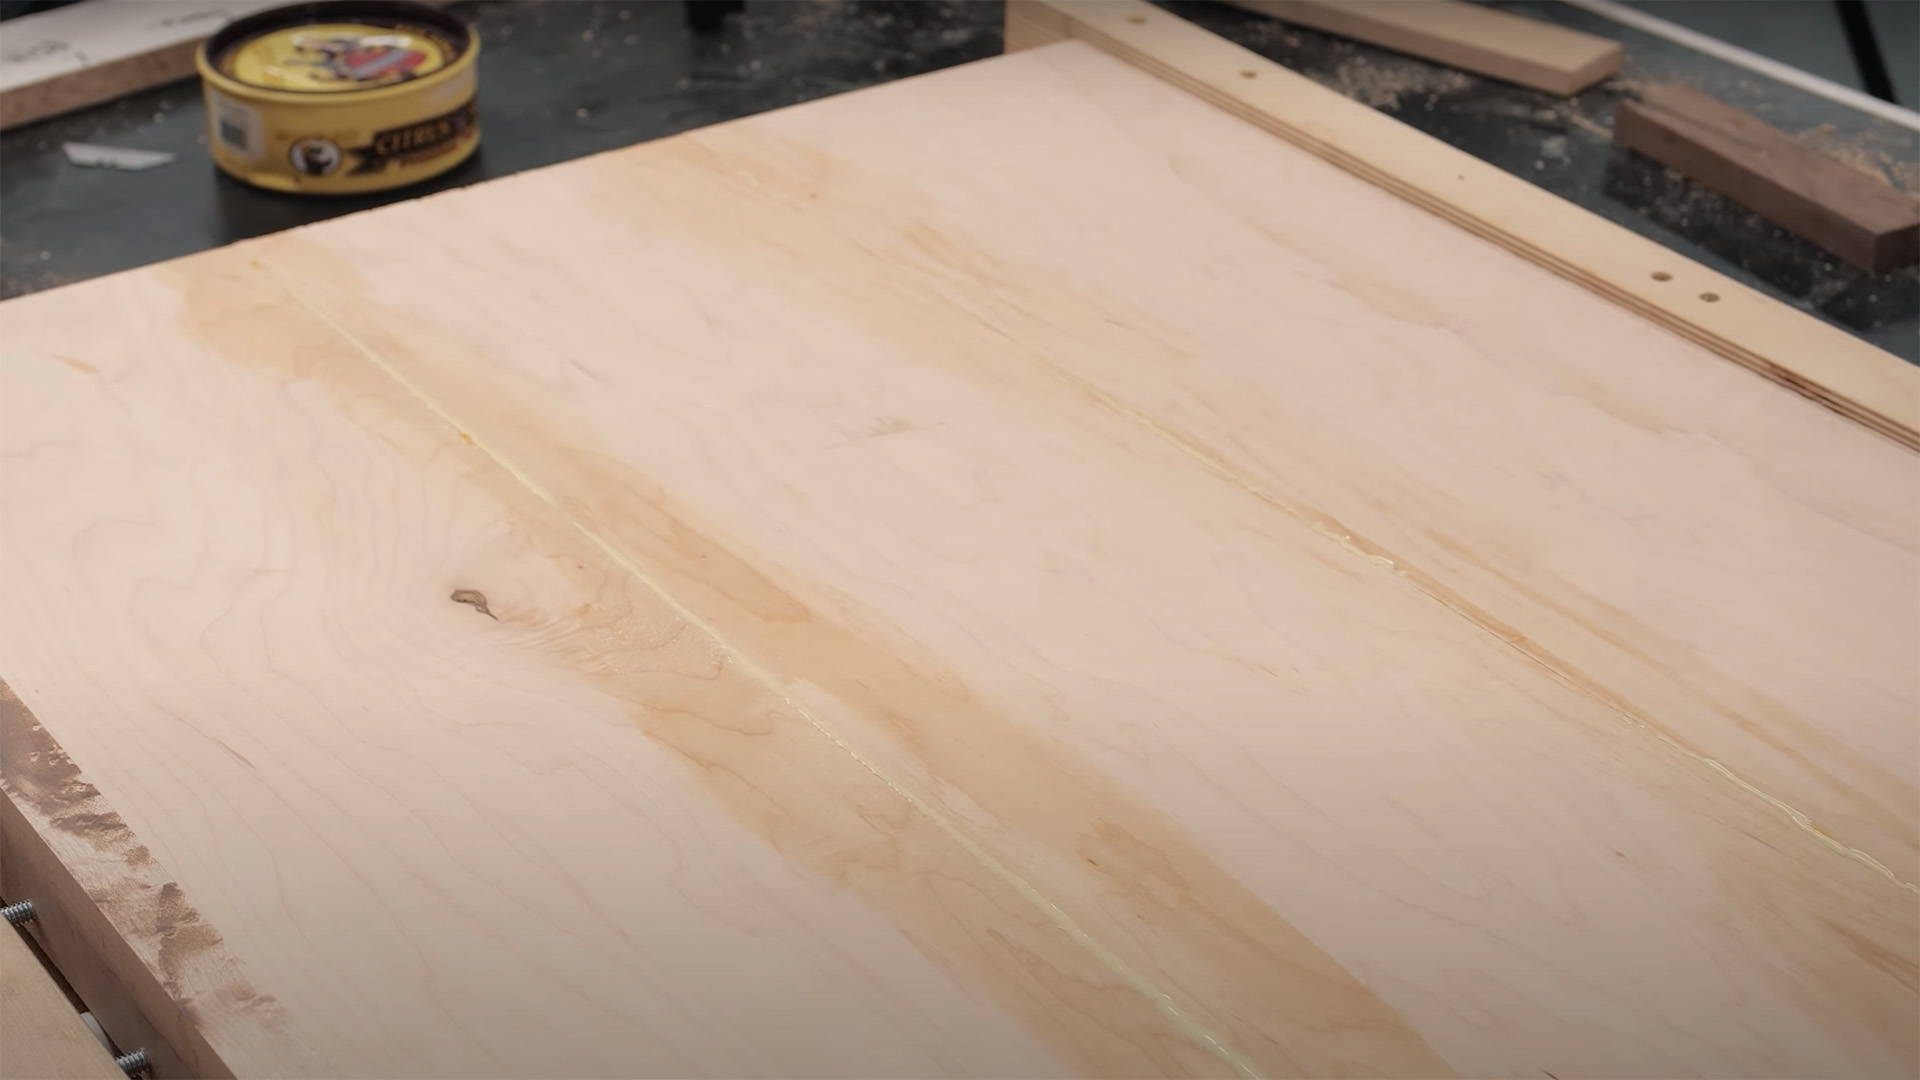
You can now glue the pieces directly together — or sandwich a thin strip of another contrasting wood species between.
As you tighten the clamps, the thin strip will conform to the curve and create even more visual interest.
3. FLATTEN AND REPEAT
Once the glue has dried, flatten your workpiece with a planer, hand plane, or sander (depending on how much material needs to be removed to make things even).
You could call it done here…
But the coolest part of this technique is you can keep repeating it for even wilder and intricate overlapping curved designs.
Just double-stick tape the workpiece onto another board and repeat the steps.
Whether you’re creating cutting boards, coasters, boxes or more, this technique helps you make projects that drop jaws and keep people wondering how you did it.
My friend Fisher's Shop has a great video where he shows the process step-by-step.
Want to learn how to cut and use thin strips? Read this.
Got any questions or thoughts on this technique? Fire them off in the comments below!
Follow us on Instagram @katzmosestools, on TikTok @katzmoseswoodworking, and check out my YouTube channel for more great woodworking content...
And as always, STAY SAFE IN THE SHOP!

5 comments
John
Wonder if you could get similar results with a jig saw.
Wonder if you could get similar results with a jig saw.
Russ Thacher
Its amazing how something that looks so complicated is actually somewhat easy to do. I would have never thought this is a way to accomplish a woven wood look. I can’t wait to give it a try and see what kinds of things I can come up with.
Its amazing how something that looks so complicated is actually somewhat easy to do. I would have never thought this is a way to accomplish a woven wood look. I can’t wait to give it a try and see what kinds of things I can come up with.
Paul Bolton
What a brilliantly simple way to create a professional and unique effect for box lids
Well done that man!
What a brilliantly simple way to create a professional and unique effect for box lids
Well done that man!
Anonymous
My wife said yesterday that she always wanted to make a cutting board with me but wanted to make something different. This is it.
My wife said yesterday that she always wanted to make a cutting board with me but wanted to make something different. This is it.
Greg
That’s brilliant! Thanks for my next “this’ll be fun” project.
That’s brilliant! Thanks for my next “this’ll be fun” project.