


Box joints are a super efficient joinery style — but getting them symmetrical can be tricky.
The width of your project pieces needs to be evenly divisible by the width of the jig’s key or you’ll end up with different sized box joints at the corners…
And not only is it annoying to figure out.
It’s sometimes not possible for projects that require specific dimensions.
Enter center keyed box joints.
This box joint variation features a differently sized “key” (usually wider) in the center of the joint.
And on top of adding visual interest to your project, they make symmetry a cinch.
Today, I’m walking you through how to cut center keyed box joints — so you can achieve perfectly symmetrical joinery with minimal effort.
Want the easiest box joint jig to use on the market? Check out the KM Tools Universal Box Joint Jig.
(Read this for a refresher on box joint basics).
WHY I LOVE CENTER KEYED BOX JOINTS
This variation on basic box joints has actually become my standard approach for this joinery style.
And there are a couple reasons for that.
For one, they make symmetry SO easy.
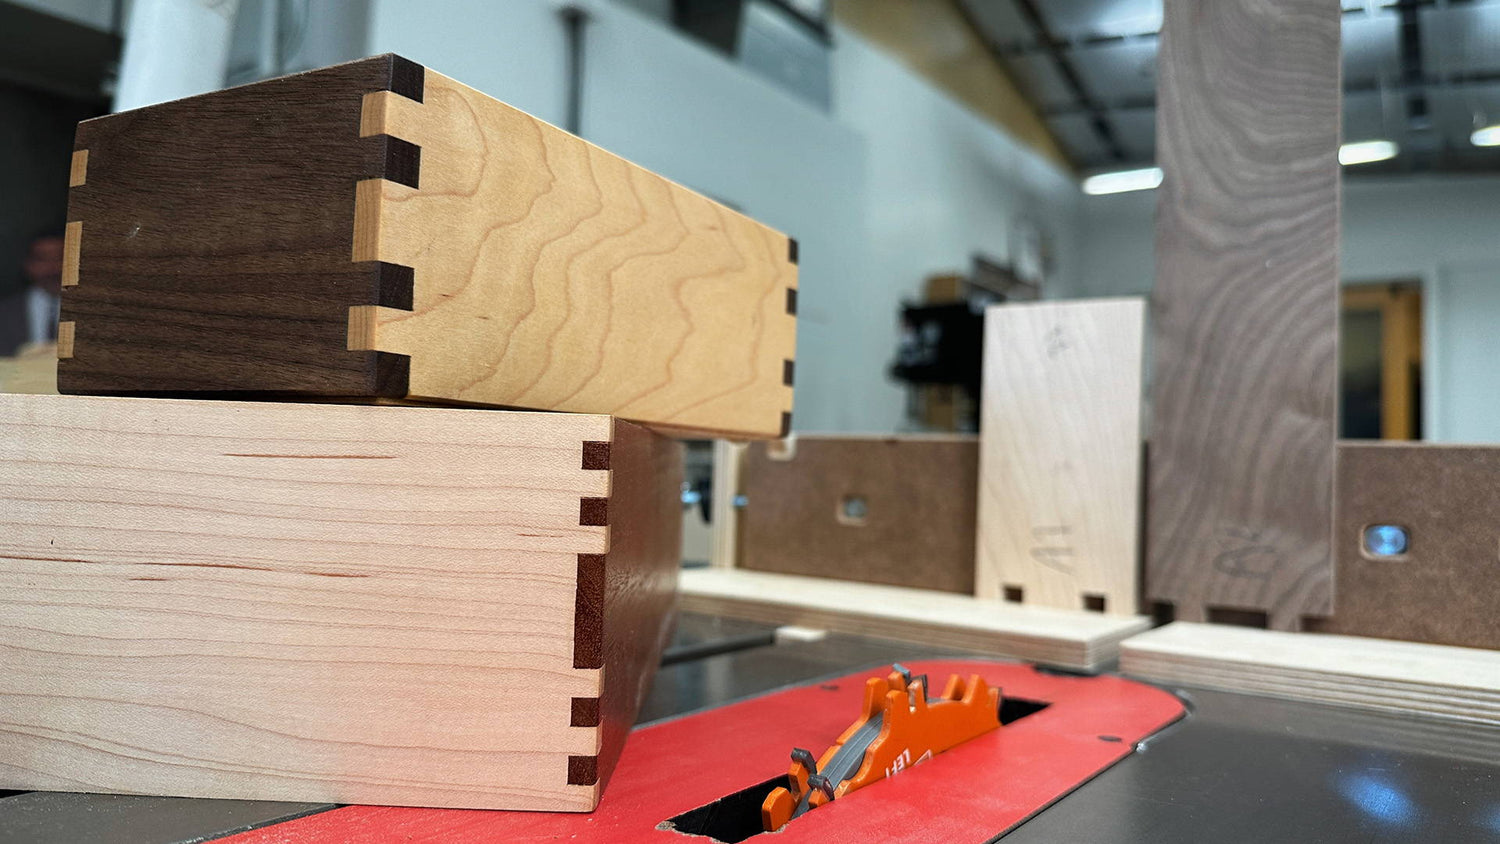
There’s no need to adjust the width of your project sides to be divisible by a certain number of box joints (as you can see in the picture above, regular box joints almost always have an irregularly sized key on one end).
In fact, the width of your box joints doesn’t even matter. You can use any size key you like and this method still works.
Secondly, they look friggin’ awesome.
While the edges of your joint are symmetrical, the uniquely sized and perfectly centered middle key draws in the eye.
I especially like to use them with contrasting wood species — like walnut and maple.
That extra detail of visual interest elevates your project (and is way easier than it looks).
So let’s get into how exactly you cut center keyed box joints.
1. LABEL YOUR PARTS
As is always the case in box making, labeling corresponding sides is super important.
I like to use a system that tells me not only which edges go together — but also indicates the show faces and vertical orientation (top vs bottom).
Start by laying out your box pieces side by side, end grain to end grain. Place them in the order they’ll be in your box, with the show faces out and top edges in line.
If you’re making a box that isn’t perfectly square, it’ll be Long side - Short Side - Long Side - Short Side.
(And if you’re doing a grain wrap, double check it’s set up correctly).
Then on each adjacent side, write a matching letter and number: i.e. A1-A1, B1-B1, etc.
(The two outside edges that aren’t touching will be D1-D1.)
Now flip all the pieces around so the same edges are still touching and the top edges still face the same direction.
Now label A2-A2, B2-B2, etc. MAKE SURE you use the same letter for an edge as the opposite face (it can get a little confusing, so flip things over to check) — and also check that the up/down orientation is the same.
TIP: Write the labels slightly offset from the edge of the board so they don’t disappear when you start cutting the box joints.
2. SET UP YOUR BOX JOINT JIG
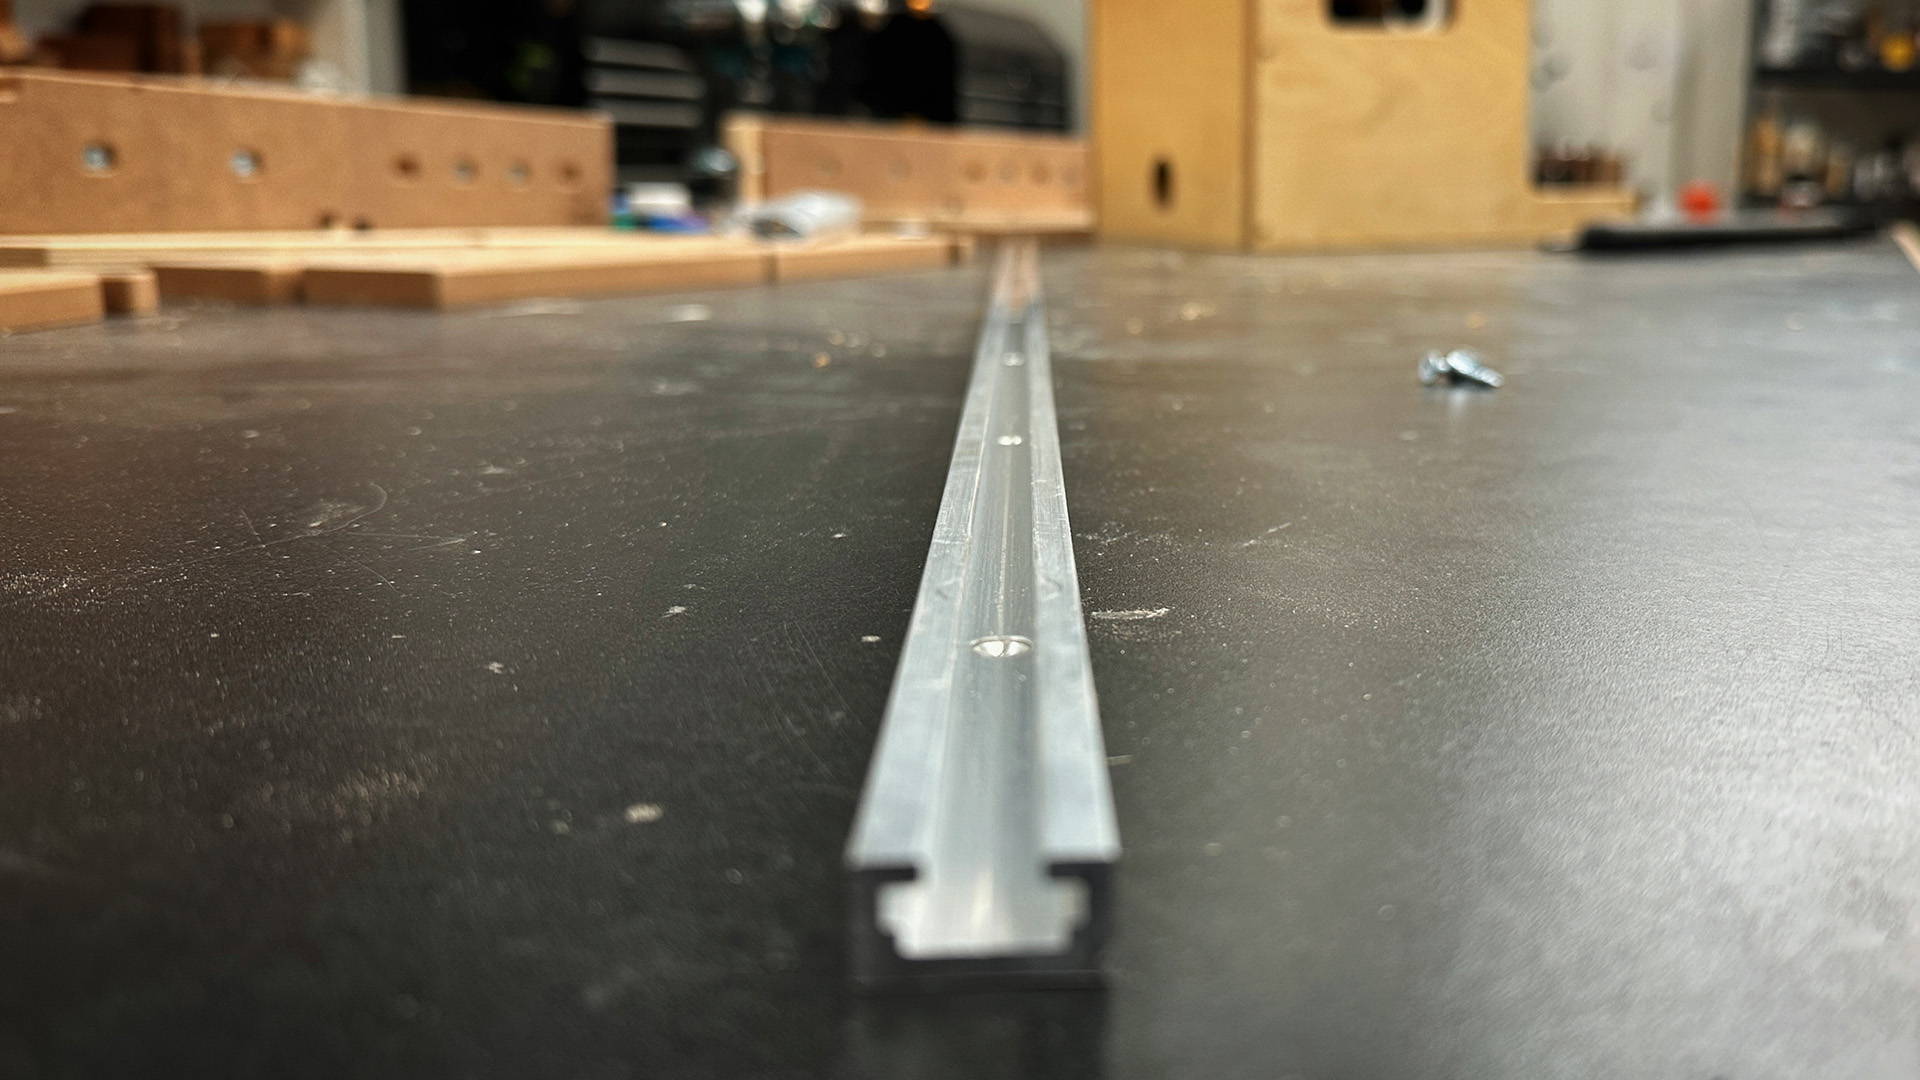
Decide how wide you want your individual box joints to be and set up your box joint jig with a key of that size.
This is purely an aesthetic choice and up to you.
Double check that your dado stack cuts a kerf that matches the key, and use an identically sized spacer block to set the key distance from the edge of the blade.
(Read more about initial setup for a box joint jig here).
Cut a quick test joint to make sure everything’s right and adjust the key position as needed.
3. MARK CENTER ON THE FIRST BOX SIDE
Grab whichever piece you’re going to start with and mark the center point of the edge.
I like to do this on the show face side with a pencil. This is just a reference.
Important note: Whatever piece you cut first will be the side that features the center key.
So if you start with your longer box sides, those will have the center key.
Just something to keep in mind if you’re using contrasting wood or have a preference.
4. DETERMINE THE “SACRED” NUMBER OF CUTS
Ok, “sacred” is a bit overboard — but here’s what I mean.
Bump the edge of the workpiece against the key like you would with regular box joints. Make a first cut.
Now this is where to pay attention.
The distance between your last cut and the center of the board will be HALF the width of your center key.
So if you want a massive center key, you’re done.
But if you want more modestly sized center key, place the kerf of that first cut over the key and make the second cut.
Again, just like you would with regular box joints.
You can repeat this process as many times as you like as long as you DO NOT pass the center point.
What matters is that you count the final number of cuts (including the first cut you made) and remember it.
This is the “sacred” number of cuts — and what you’ll reference for all other pieces (it may be worth writing down).
A quick refresh:
- Start like you’re cutting regular box joints — but don’t go past the center point
- Your center key’s width will be TWICE the distance from the center point to the edge of the final cut
- Remember the number of cuts you made
5. FLIP BOARD AND REPEAT FOR OTHER SIDE
Now flip your board around so the opposite side is facing the cutter.
If the A1 side was facing out initially, now the A2 side will be.
Bump the edge of the board against the key just like you did before and make the cut.
Make the same number of cuts as you did the first time. If you cut 2 kerfs on the first side, cut 2 kerfs on this side.
When you’re done, you should have a centered key between your box joints — and now you’re ready to cut the mating piece.
6. CUT THE MATING PIECE
Here’s where the magic happens.
Lock the first piece you cut over the jig’s key, using one of the outside kerfs (closest to the edge).
Now bump the mating piece against it.
Check that the labels facing out are the same, like A1-A1 etc. (In theory, this shouldn’t matter — but it’s better to play it safe).
Hold the mating piece steady, remove the first piece, then make the cut.
You’ll again make the same “sacred” number of cuts PLUS ONE CUT MORE. In our example, that’s 3 cuts (including the first one).
As long as you stick to the “sacred number” + 1, you’re good.
7. CUT THE OTHER SIDE OF THE MATING PIECE
Now as you did before, flip the piece over its width.
Use the first piece you cut to set up this side, again checking your labels, and repeat the same number of “sacred” cuts plus ONE MORE.
In some cases, your final cut will be partway into an already existing kerf and create space for the mating board's center key.
If this happens, you’re all set to assemble your joint!
But if there’s still a bit of material left in the middle, finish up with the next step.
(In the picture below, the keys all look identical — but the center one is actually a unique side. It's up to you how big you make this center key).
8. CLEAR THE WASTE IN THE MIDDLE
To get your joint to come together, you may need to remove waste between the two final kerfs of the second piece.
That means you’ll need to remove the key temporarily from your box joint jig.
The KM Tools Universal Box Joint Jig makes this easy. You can easily remove and reinsert the key into the fence without messing up the position relative to the blade. This is NOT possible with most other box joint jigs (if any).
Once you’ve removed the key, line up your board so the dado blade will clear the waste in the middle.
Depending on how much there is, this may take a few cuts.
Once it’s cleared, you’re ready to assemble the joint.
Repeat this process for all your other pieces. And make sure to check the labels so you correctly match corresponding edges.
Congrats — you just cut a set of center keyed box joints!
(Side Note: This same process outlined above works in reverse — where the first piece you cut has the recess for the center key. In that case, the width of the center key will be the distance between the outside edges of the two middle kerfs on the first board you cut).
FIND YOUR CENTER (KEY)
Center keyed box joints are the EASIEST way to cut symmetrical box joints — and add an extra touch of visual interest to your work.
They’re great for any carcasse-based project like boxes, cabinets, and drawers..
And allow you the versatiliy of cutting massive center keys — or super modest ones.
Need a refresher on how to set up and use a box joint jig? Read this.
Got any of your own box joint variations? Tell us about them in the comments below!
Follow us on Instagram @katzmosestools, on TikTok @katzmoseswoodworking, and check out my YouTube channel for more great woodworking content...
And as always, STAY SAFE IN THE SHOP!
4 comments
Neville
And if you do not have a dado stack or a saw that can take a dado stack?
And if you do not have a dado stack or a saw that can take a dado stack?
Brent
How would you cut the box joint with a longer piece like a 6’ bed rail?
How would you cut the box joint with a longer piece like a 6’ bed rail?
Matt
I second that Bruce, please can we have a ‘sacred box joints vid’.
I second that Bruce, please can we have a ‘sacred box joints vid’.
Bruce Jones
This would make a wonderful instructional video! Title: SACRED keyed box joints!
This would make a wonderful instructional video! Title: SACRED keyed box joints!