


One of the hardest things to do with a hand plane is flatten a board face — but once you learn it, hand planes are a cinch.
The process forces you to master almost every aspect of these tools, from sharpening, to set up, to proper planing technique.
Flatten enough boards and you’ll master it all.
Even if you’re primarily a power tool woodworker, this skill can really save you when a board’s too wide for your planer or you need to get rid of snipe.
Today, I’m guiding you through the process of flattening a board with a hand plane.
Since this is the most difficult and critical part of milling lumber with hand tools, I’ve dedicated this entire post to it — but I will cover the entire hand plane milling process in the future.
This isn’t the only way to approach this process, but it works great for me.
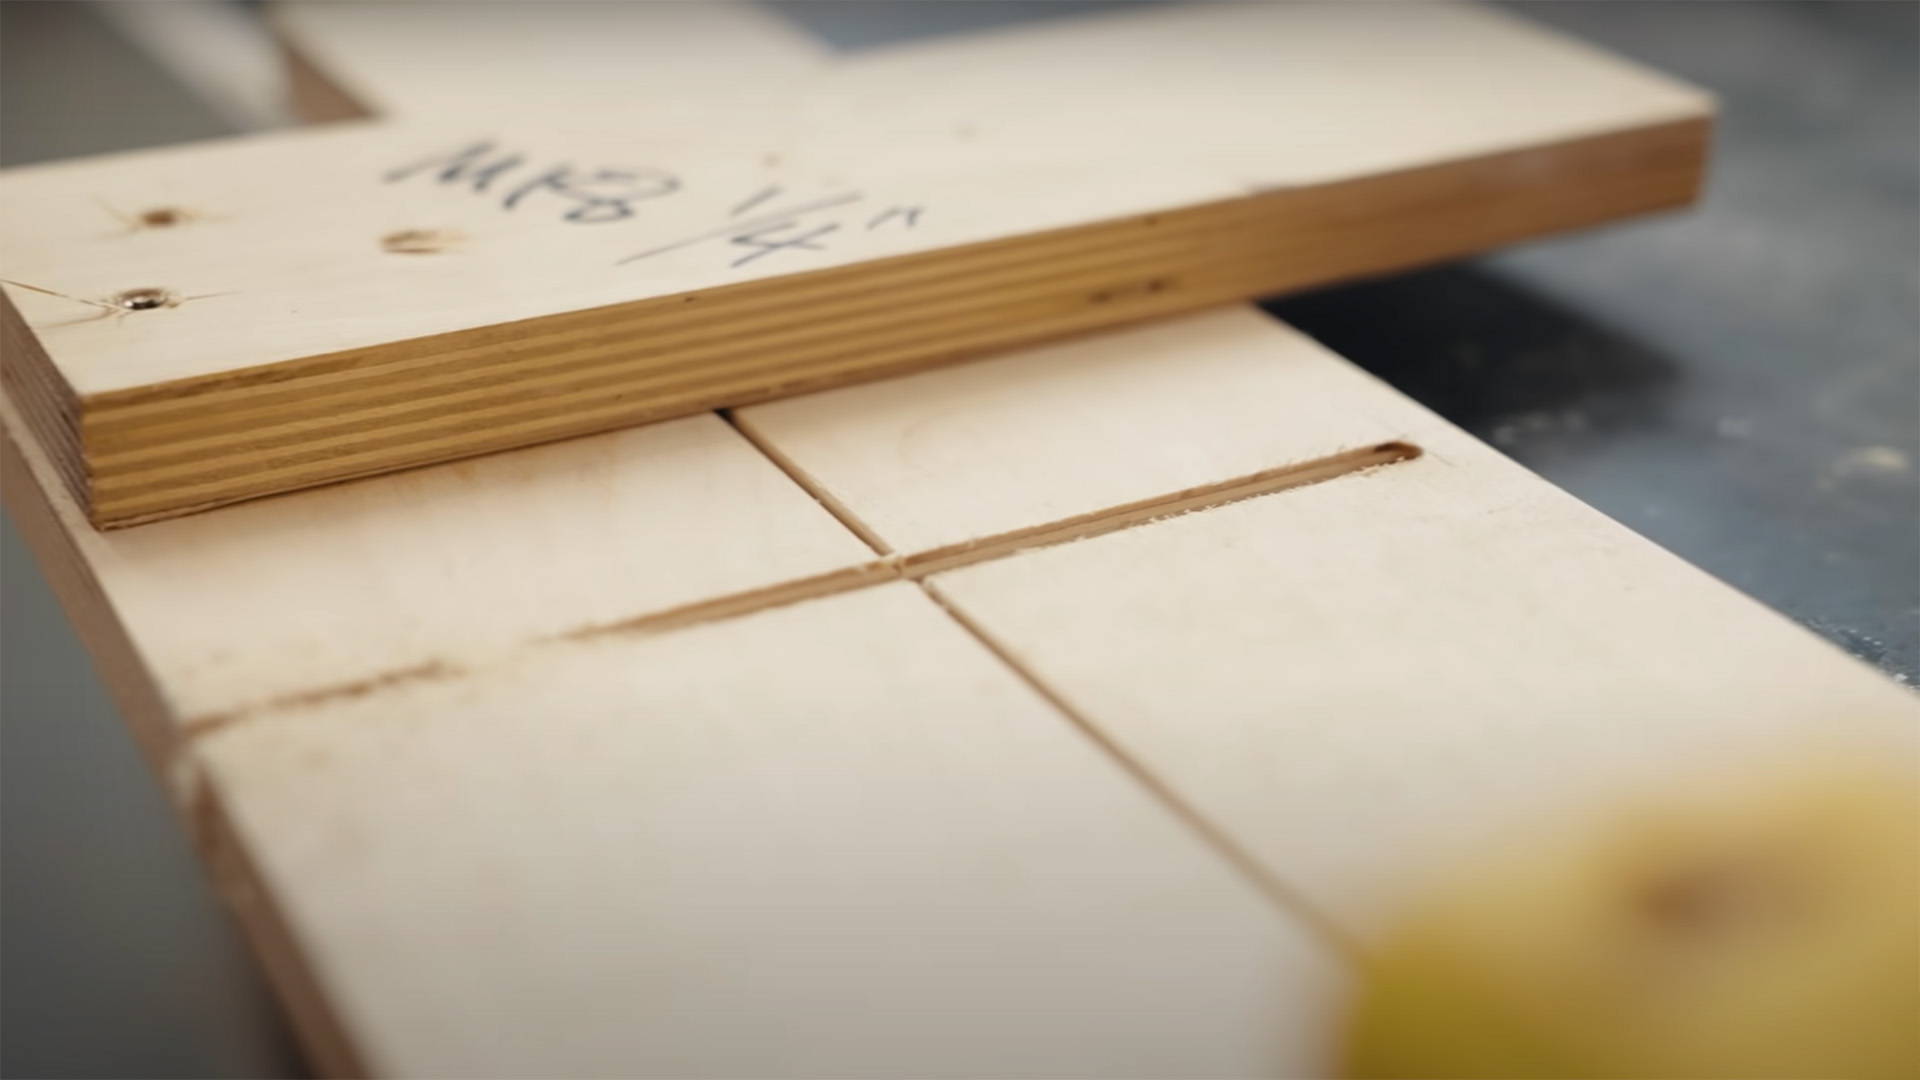
ANALYZE THE BOARD
Start by getting to know the board you’ll be working with.
Place it on a flat surface to find any twist, cups, or bows. Get a sense of how the grain moves throughout. Depending on how the board will be used, figure out which side will be your show face.
I like to start with a board on its most stable side. If it’s cupped, I start with it cupped side down. If it’s twisted, set it down on whichever side rocks less.
Once you’ve got a rough sense of the board, figure out your workholding.
It’s best to use something that leaves the surface of the board fully exposed, like bench dogs or a plane stop.
FLATTEN ACROSS THE WIDTH
You’ll start by getting the board roughly flat along its width — that is, from side to side.
Some people do this by traversing, where they cut across the grain and are able to take super deep passes.
If you choose to do this, first take a few passes along the edge where your plane exits. Taking it down a bit will prevent blowing it out.
Since I usually start with the cupped side down, I begin by planing with the grain down the middle of the board.
Take one pass straight down the middle. Then take another, followed by a pass on both sides further out from the middle, overlapping each pass by half.
For now, avoid taking down the actual edges (since these are the low points).
Repeat this process of working out from the middle, frequently checking for flatness with a square or the edge of your hand plane.
You can look to see how much light shows (the less the better), or even test flatness by trying to rotate the square or plane edge while it lays across the board.
If it rotates easily, you have a high spot in the middle that needs to be taken down.
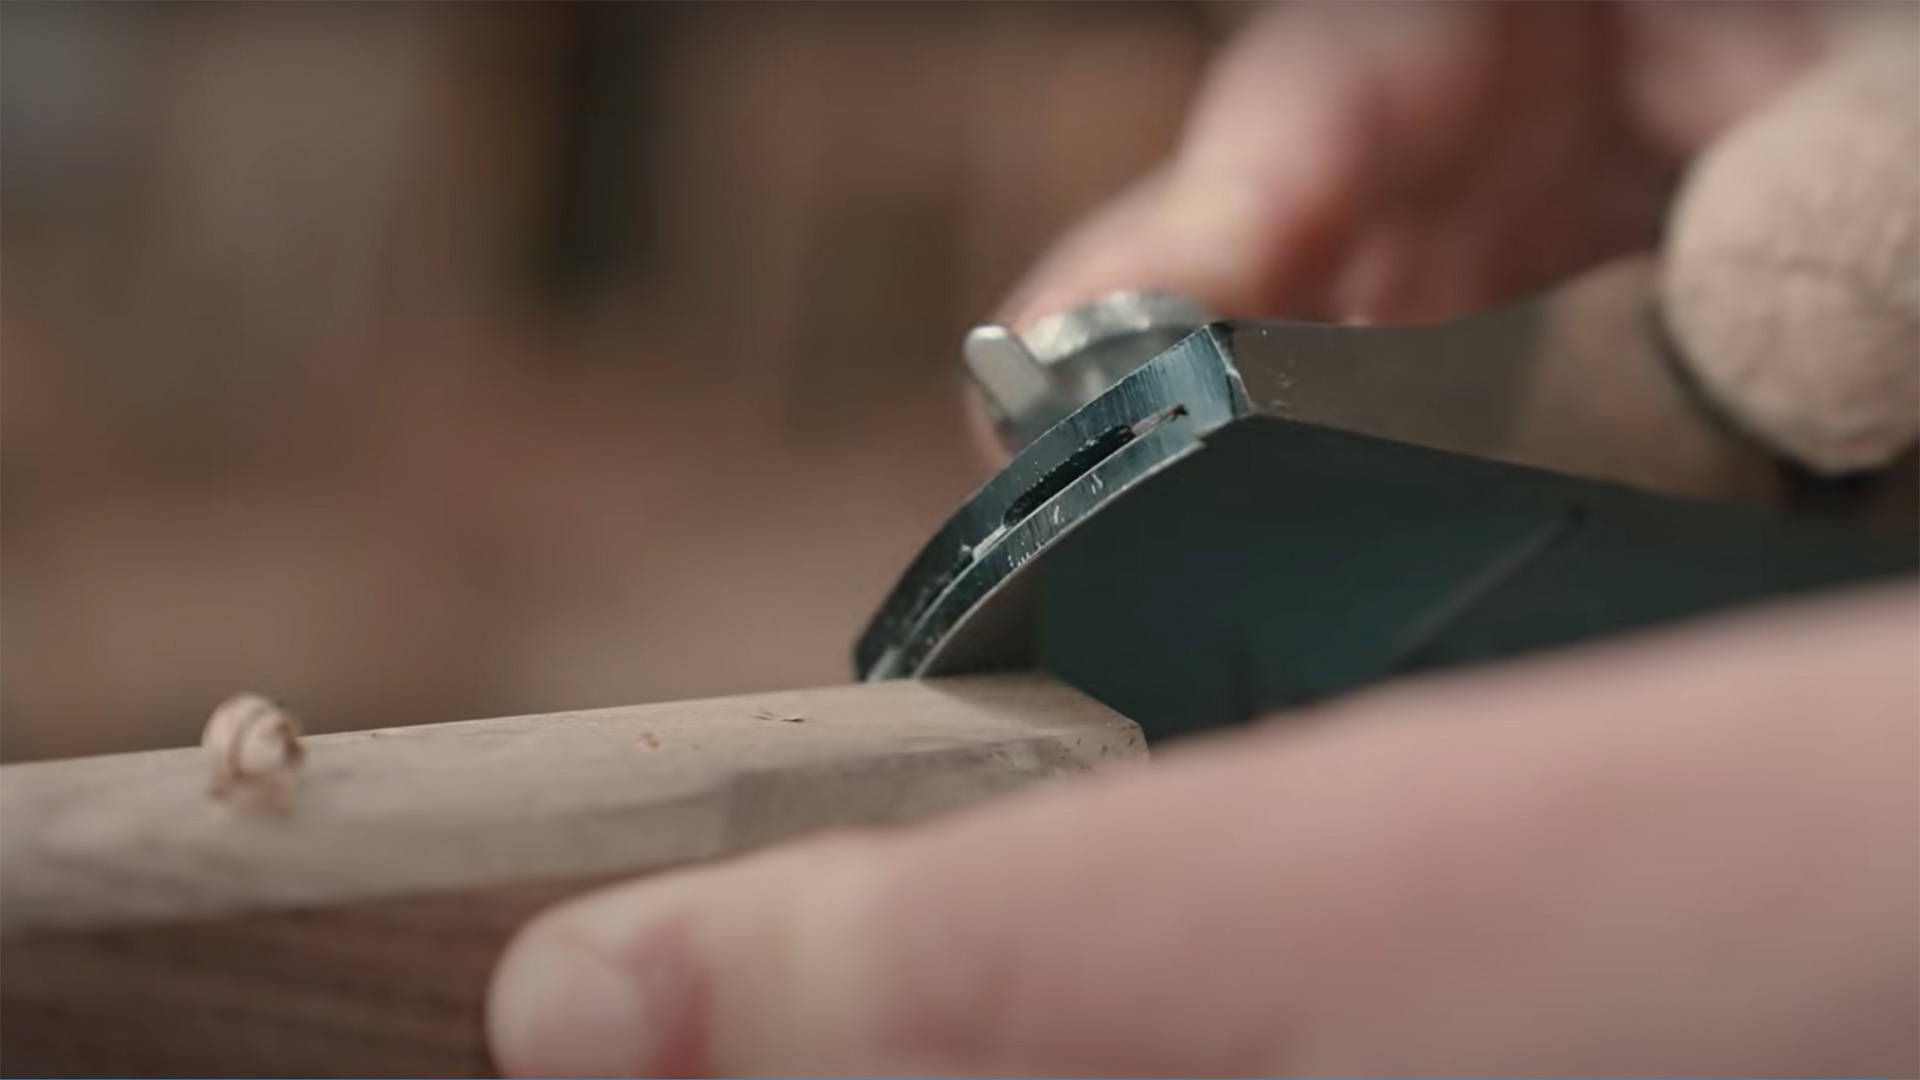
TIP FOR TAKING DOWN HUMPS
Here’s a great little cheater trick for taking down the hump on a cupped board.
When you make your passes, keep the plane at enough of an angle so that the toe and heel of the sole extend past both edges of the board.
Done continuously, the edges work as depth stops.
There will come a point when your plane stops taking off shavings from the middle — meaning the surface is lower than the edges by the exact depth of the plane blade.
Take a final light pass on each edge and check your work.
IDENTIFY AND REMOVE TWIST
Now that your board is flat along its width, it’s time to check for twist — and that’s where winding sticks come into play.
Winding sticks can be any two “sticks” that are straight and have the same width. You can make them from plywood, hardwood, or even aluminum bars.
I make mine from plywood, then spray paint a contrasting color on the top corners of one of them.
Place your winding sticks across each end of your board.
They should fully touch both edges. If they rock, you need to go back a step and make sure the board is flat across its width.
Lower your eye level so you can only see the top edge of the further winding stick (with colored corners) over the top edge of the one closest to you. Slowly lower your gaze.
You’re looking to see whether one corner of the back winding stick disappears first or whether both corners disappear at the same time.
If one corner disappears first, that corner and the opposite corner of the opposite edge are low spots.
For example, say the left corner of your back winding stick disappears last. That means the left corner of the furthest edge and the right corner of the closest edge of the board are high spots.
It’s a bit confusing at first, but makes sense once you think about it.
Once you’ve identified your high corners, take them down with diagonal passes from corner to corner.
Start from one high corner and move the plane towards the other high corner across the middle of the board. Do a couple other sideways passes working your way out from the middle.
You might have to make a few passes afterward down the middle of the board again to make sure it’s flat from edge to edge.
Check again with the winding sticks and repeat until the corners of the back winding stick disappear at the same time.
Once they do, move the back winding stick a few inches towards the front one and repeat the process.
Repeat until the corners of your back winding stick disappear evenly no matter where on the board it’s placed.
There will be a bit of bouncing back and forth between removing twist then removing high spots in the middle, so be patient.
FLATTEN ALONG THE LENGTH
The final step of flattening a board face is making sure the board is flat along its length.
A long straight edge is the best way to tell. Lay it down across the length of the board and look for gaps of light to identify low spots.
If you see a gap of light in the middle, you just need to take down the ends a bit.
More likely, the ends of the board will be lower than the middle. This is the natural result of extensive planing.
Use a pencil to draw a bunch of lines over the board face. They can be straight with the grain or form a crosshatched pattern.
Then make light passes from just the middle of the board along its length, taking even strokes from edge to edge and overlapping by half each time.
Use the pencil lines as a guide for where to start and stop your passes. Then repeat, taking a longer pass this time but still focused away from the ends.
Finish by taking a final series of passes along the entire length of the board to clear away any final high spots (this is a great time to use a jointer plane if you have one).
Once your pencil line is gone, check again with a straight edge.
You may have to repeat this process once or twice to get everything dialed in.
FINISHING TOUCHES
Do a final check for flatness across the width and length of the board, as well as for any twist.
While the above is the general process I follow, you’ll need to bounce back and forth between the different steps.
The board face doesn’t need to be perfectly flat…
But you do want to get it as close as you possibly can to have good results with the subsequent steps — since this will be the face you reference.
Once you're satisfied, mark the face so it can be easily identified. The traditional symbol is a little curly cue / fish symbol.
UNPLUGGED WOODWORKING
Flattening a board the old fashioned way is definitely not easy — but it will absolutely help you master hand planes.
It’ll take time for you to get the hang of it, so be sure to approach the process with plenty of patience.
But do it enough and you will get better…
And further connect with the tradition of woodworking.
Want to learn hand plane basics? Here’s 11 tips for hand plane set up and technique.
Got any of your own tips for flattening boards with a hand plane? Let us know in the comments below!
Follow us on Instagram @katzmosestools, on TikTok @katzmoseswoodworking, and check out my YouTube channel for more great woodworking content...
And as always, STAY SAFE IN THE SHOP!

2 comments
Anonymous
Great article! I’ve lost a good amount of my upper body strength but still enjoy reading about those that are still capable. You furnished a good list of procedures and techniques and I always enjoy your writing and humor.
Great article! I’ve lost a good amount of my upper body strength but still enjoy reading about those that are still capable. You furnished a good list of procedures and techniques and I always enjoy your writing and humor.
Mikey
Great article!
The most important tip is to enjoy the process.
I recently flat planed a 4×2 laminated bench top, 1 × 5 feet so far to big for my jointer.
It had over a half inch of twist corner to corner, so I had to take down about 1/4 inch at each opposing corner.
Boy was it a lot of work, it took me about 2 weeks in 1 hour a day sessions, but everything I do with a hand has changed as a result. All my planing has improved, I am much more confident, I know when to switch planes, when to sharpen the blades and I am much better at setting the cut depth.
I recommend it anyone wanting to get better; pushing through the pain and frustration of now will greatly lessen the pain for future you – for me this was a true baptism of fire lol.
On another note, from what I understand, in the UK we use a face mark as an “f”, without the middle line, on the face with the bottom pointing to the face edge. The face edge is marked with a V pointing to the face after it is planed square. This indicates both reference faces clearly to take any measurements or for laying out.